REVIEW – I have been a Spotcam customer for about 8 years. I have tried many of their cameras, of all shapes and sizes, indoor and outdoor. I still use many of them today inside and outside my house, so I am always interested in what new products they come out with. Up until now, every camera I have used has been wireless, so aside from power in some cases, I didn’t need to connect the camera to anything except my home wireless network. The Spotcam Solo Pro is my first foray into a setup that includes a base station that plugs directly to my home router, and the camera communicates directly with the base station, bypassing my home wireless network. So let’s see how it worked out.
What is it?
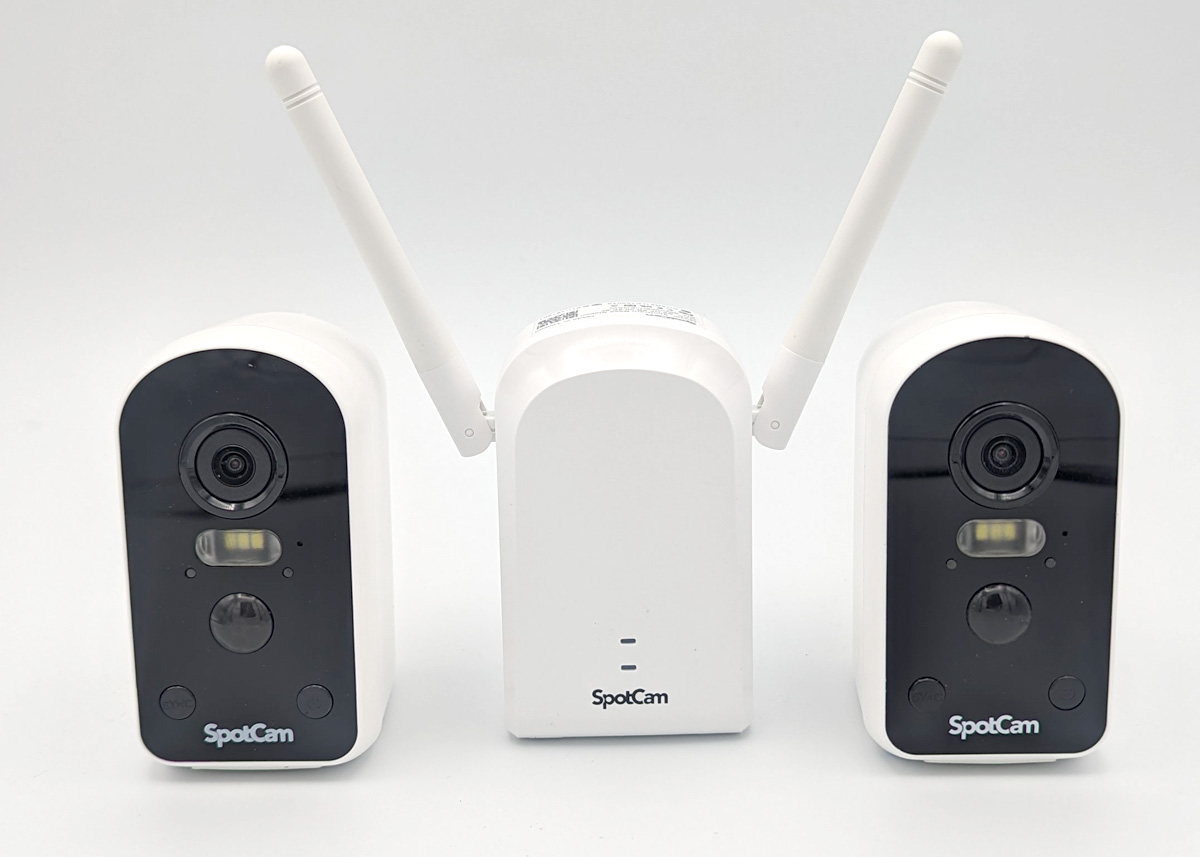
The Solo Pro is a compact, wireless, weatherproof 2.5K HD camera that connects to a base station that plugs into your internet router. You can add up to 4 cameras per base station.
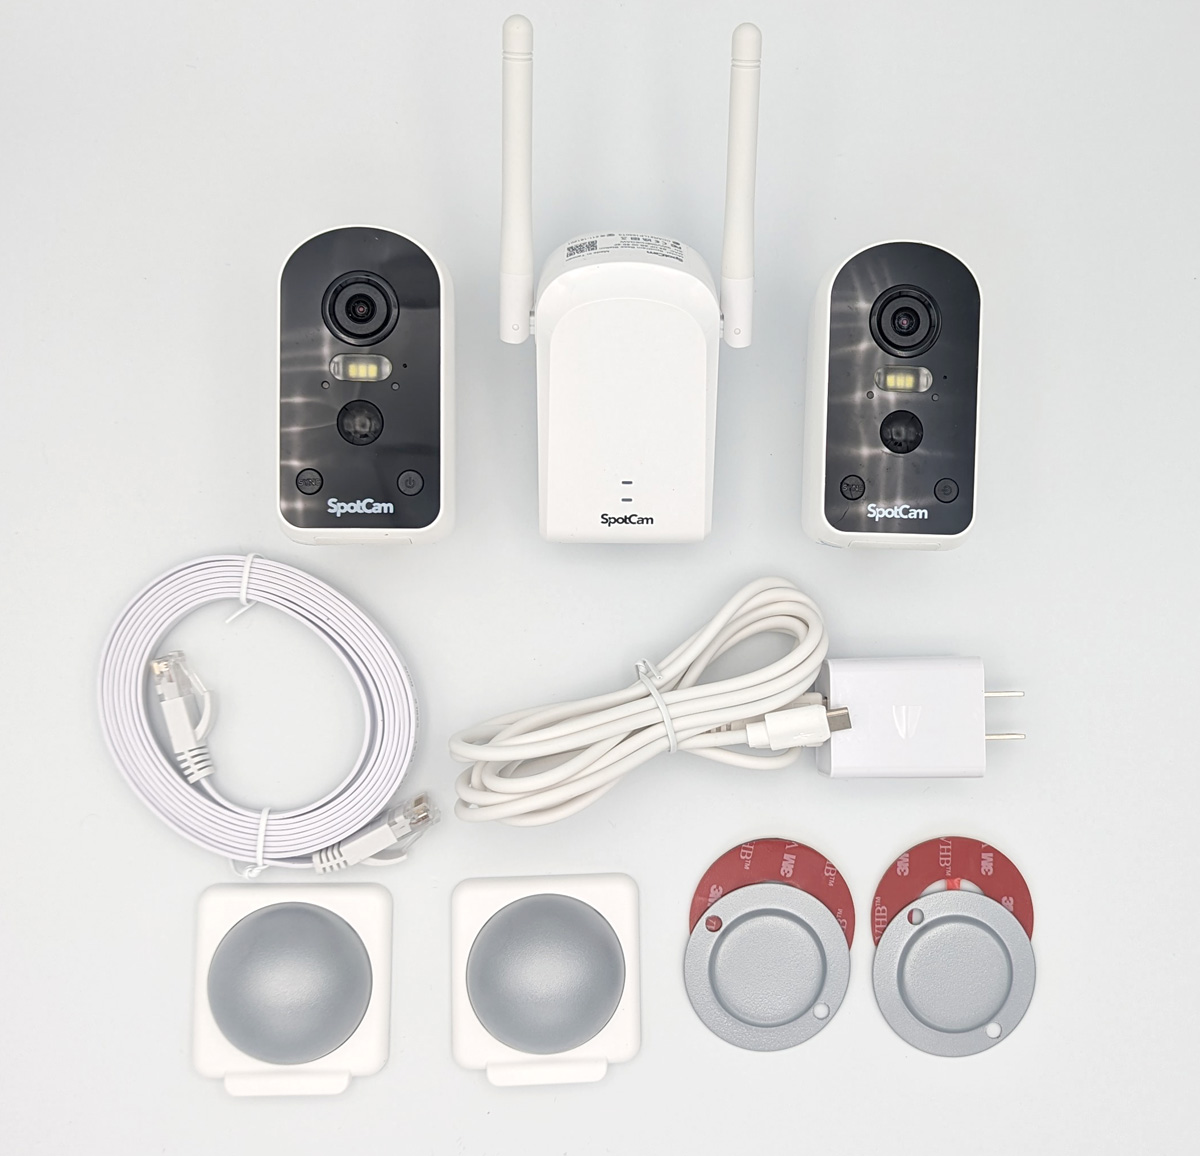
What’s included?
NOTE: my package came with two cameras ($299), but as mentioned above, you can buy a package that includes 4 cameras for an increased price of $479.
- Base station
- 2 cameras
- Magnetic wall mount for each camera, with screws and anchors, and adhesive stickers
- Ethernet cable
- USB-C charging cable with power brick
- Quick start guide and user manual
Tech specs
- Camera Dimensions: 43″ X 1.85″ X 2.33″
- Weight: Without bracket 7.69oz, With bracket 8.57oz
- Streaming: 264 encoding
- Battery Capacity: Up to 6 months per charge with daily event trigger 10-20 times
- Video: Up to 2.5K (2560 x 1440) at 15 frame/sec
- Operating Temperature: -20℃- 50℃, designed for indoor/outdoor use
- Power Input: Built-in lithium battery
- Field of View: 160 degrees (diagonal)
- Night Vision: 10 High power IR LEDs
- White Spotlight: 3 High power white LEDs
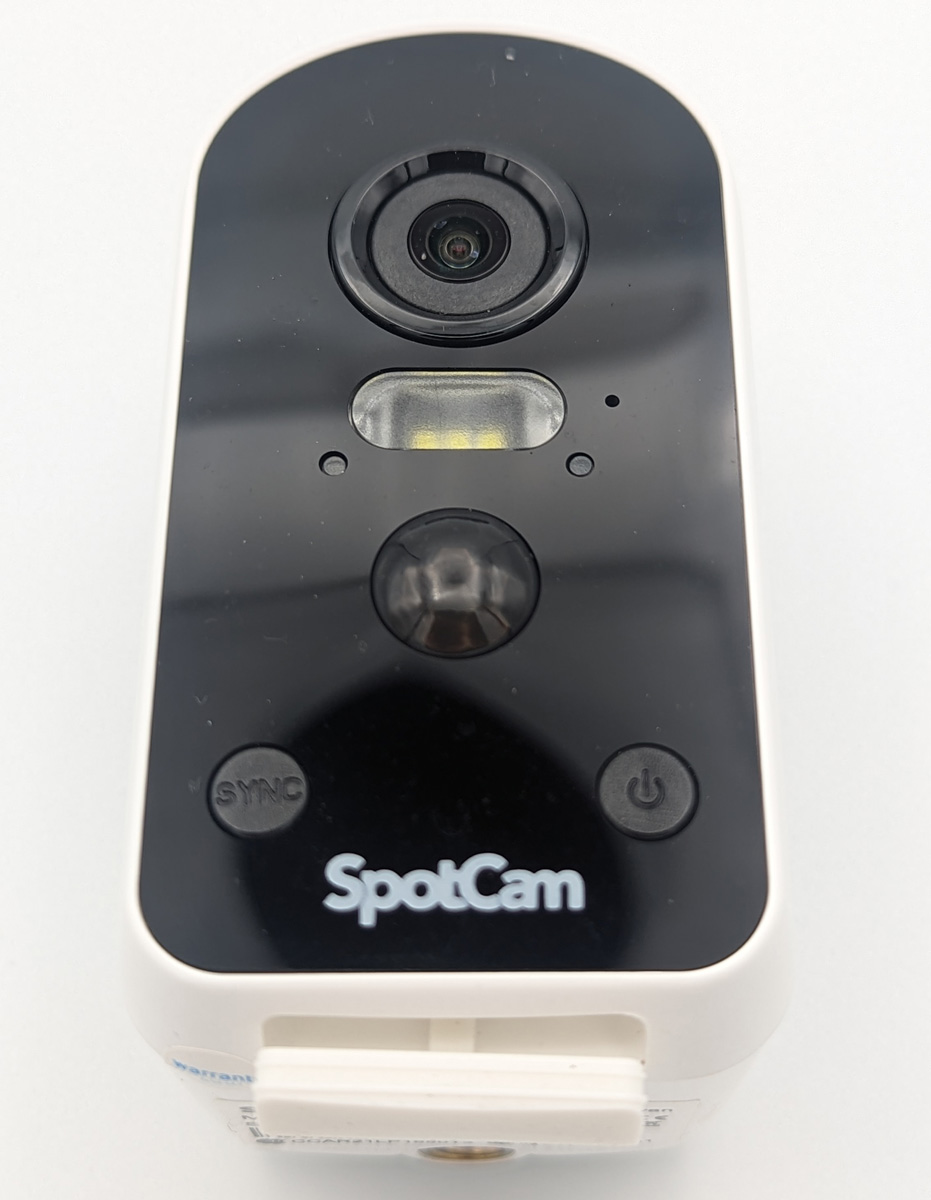
Design
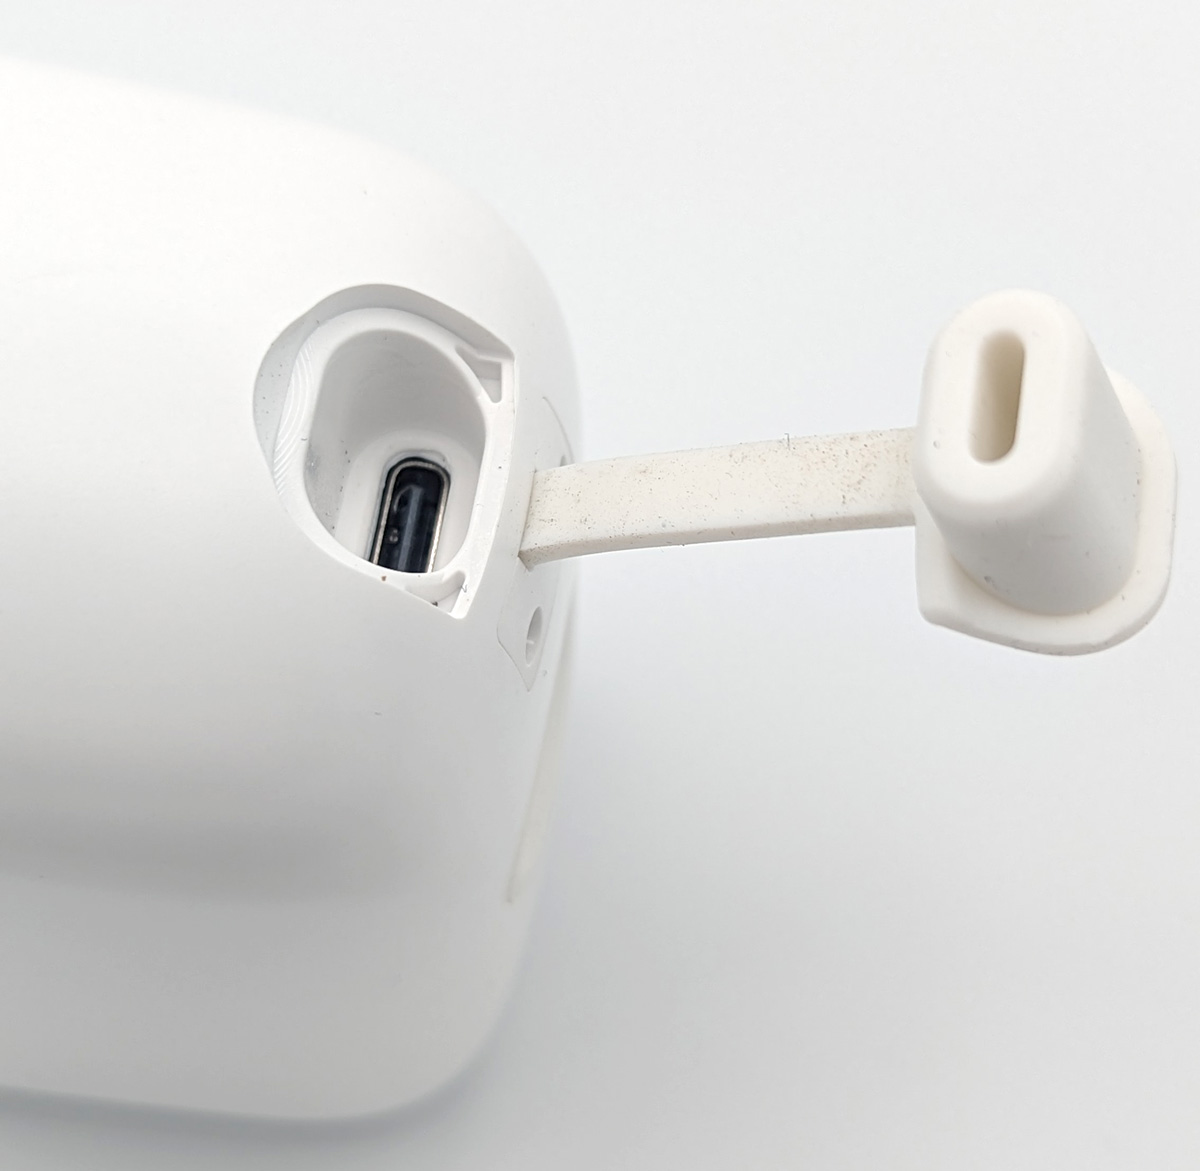
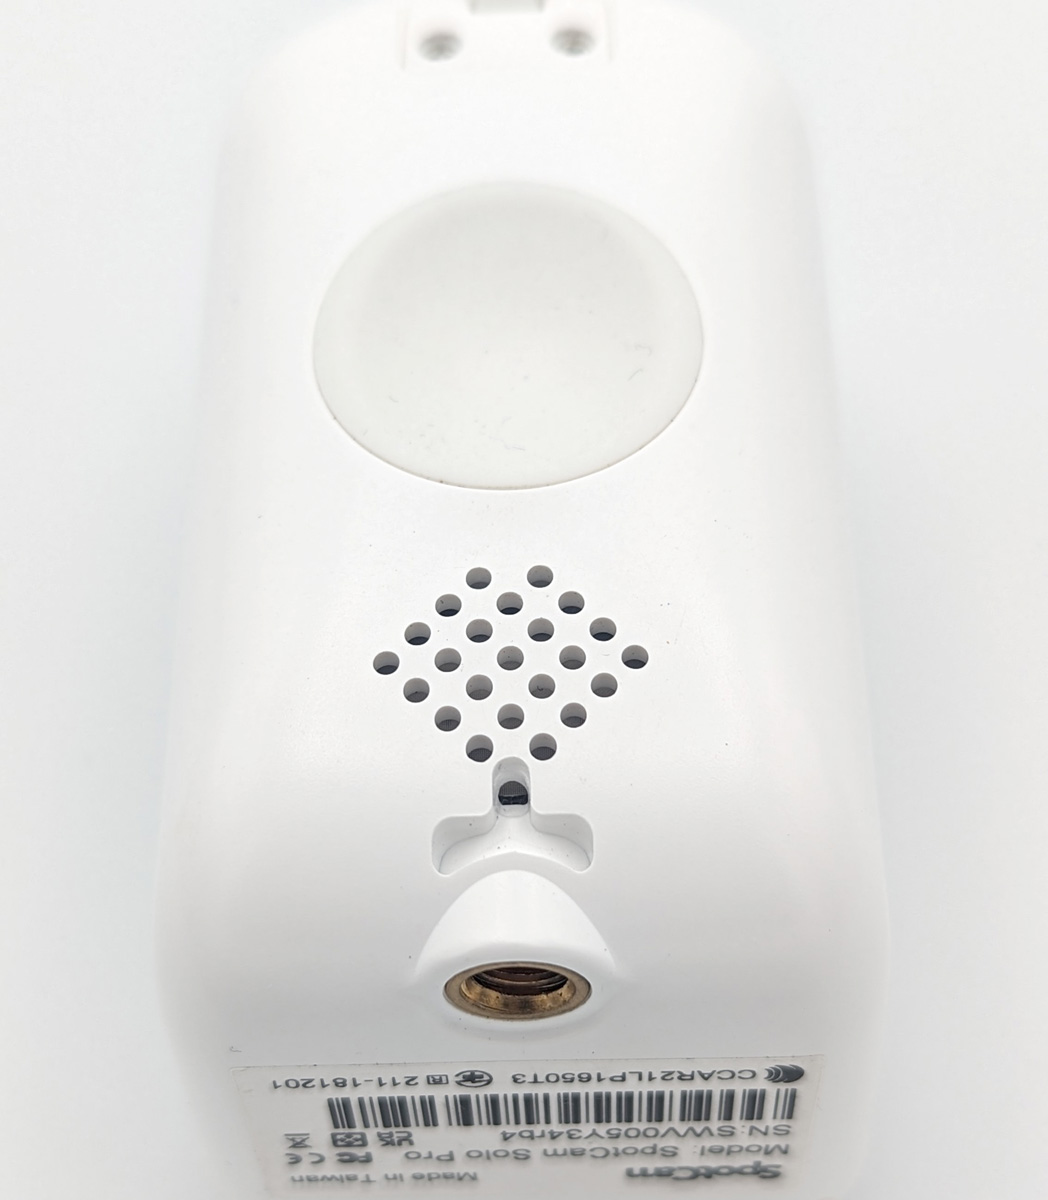
The Solo Pro is a little smaller in size than a regular soup can, so it isn’t that big. It has a rounded indentation on the back where the magnetic mount attaches, and you can adjust the camera every which way on that magnetic mount to get just the desired angle of view. On the front of the cameras, you see the power button and Sync buttons you’ll use for installation. You’ll also find the camera lens, LED light, and sensor to detect movement. On the bottom is a rubber cap that reveals the reset button underneath. On the top, you’ll find the rubber button that reveals the USB-C port used for charging.
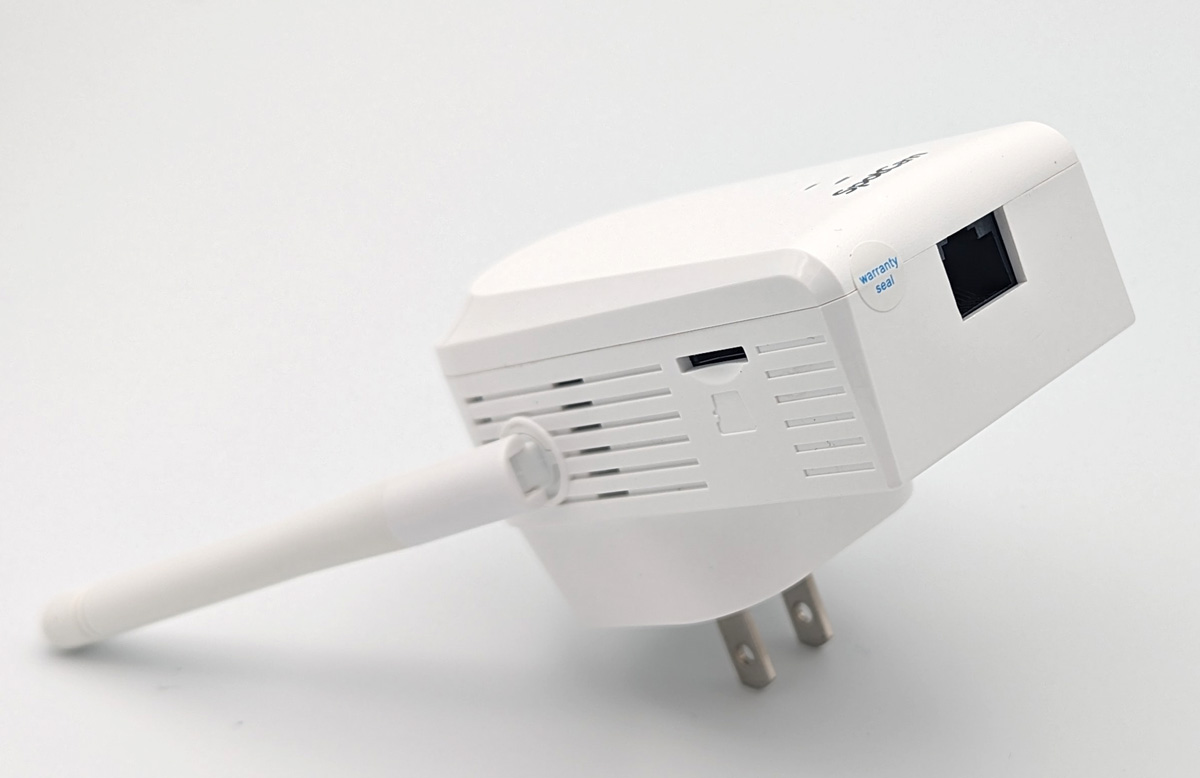
The base station has a microSD card slot on the left side, a reset button on the right side, and an Ethernet port on the bottom. And poking out of the sides are the 2 antennae that can be moved around to provide you just the angle that you need.
Assembly, Installation, Setup
One of the things that Spotcam has improved upon over the years is the ease of adding a new camera to the Spotcam app. The instructions are easy to follow in the app, and although there are hiccups from time to time, in general, I have been pleased with the increased ease of adding new cameras. This particular setup included making sure that you connect the base station to your router first and then pair the cameras with the base station, so this was something I never had to do before. I messed up somehow the first time I tried to pair the cameras with the base station. There were two cameras in my setup, and I must have pressed the wrong button or something the first time around. But I started over from step 1, and it worked just fine.
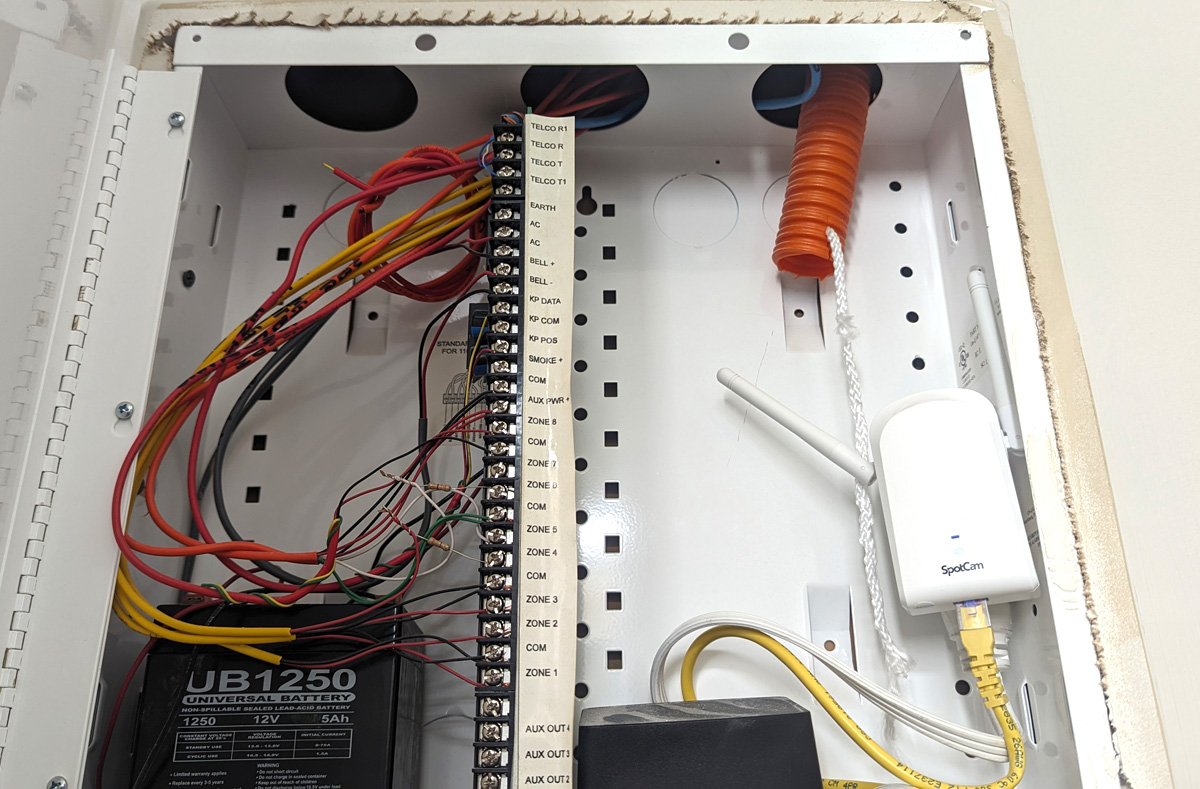
The base station of the Solo Pro must be directly wired to your internet router. So that might limit some users and make the Solo Pro not a good solution for them. My router is installed in the laundry room of my house, inside a metal junction box in the wall. My house does have a handful of Ethernet connections around some of the rooms that I could have used with the base station. Still, based on where I was going to put the cameras (explained below), the Ethernet ports in my house were in places that wouldn’t have worked because of the distance, so I plugged the base station directly into the router in my junction box. Here is a picture of that…
One quick word about my house. I have what they would call a ‘shotgun’ house in a neighborhood where the houses are really close together, so it’s much longer than it is wide. So I have had issues for years with wireless internet in parts of the house that are far away from the back part of the house where the router is. Spotcam says that the base station can broadcast a signal up to 150 ft with a direct line of sight. I had issues with connectivity for one camera that was only 50 ft away from the base station. I’ll explain below.
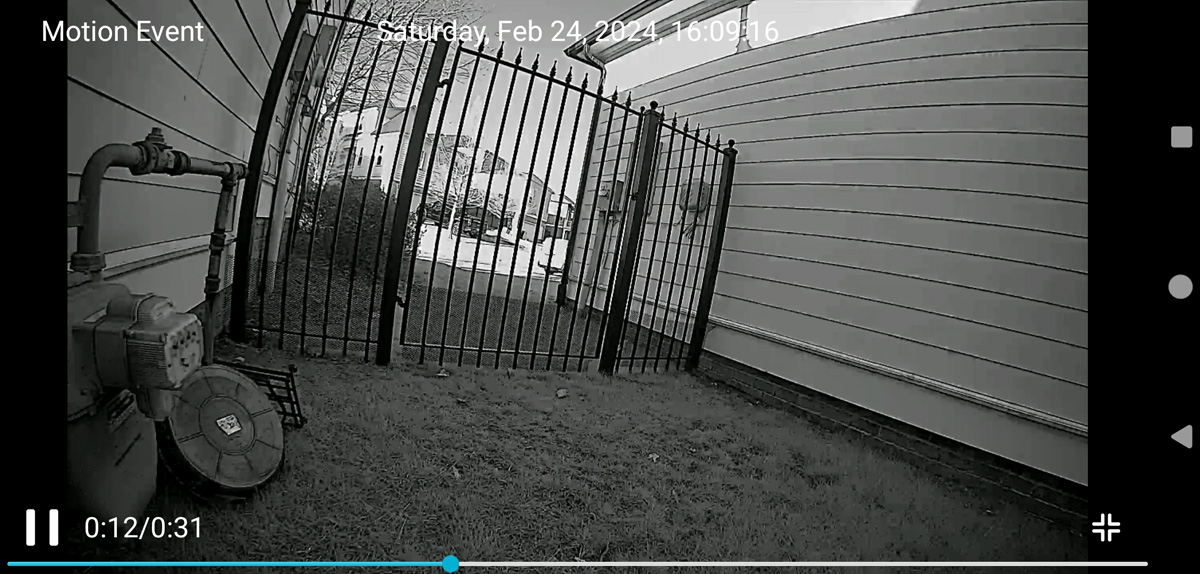
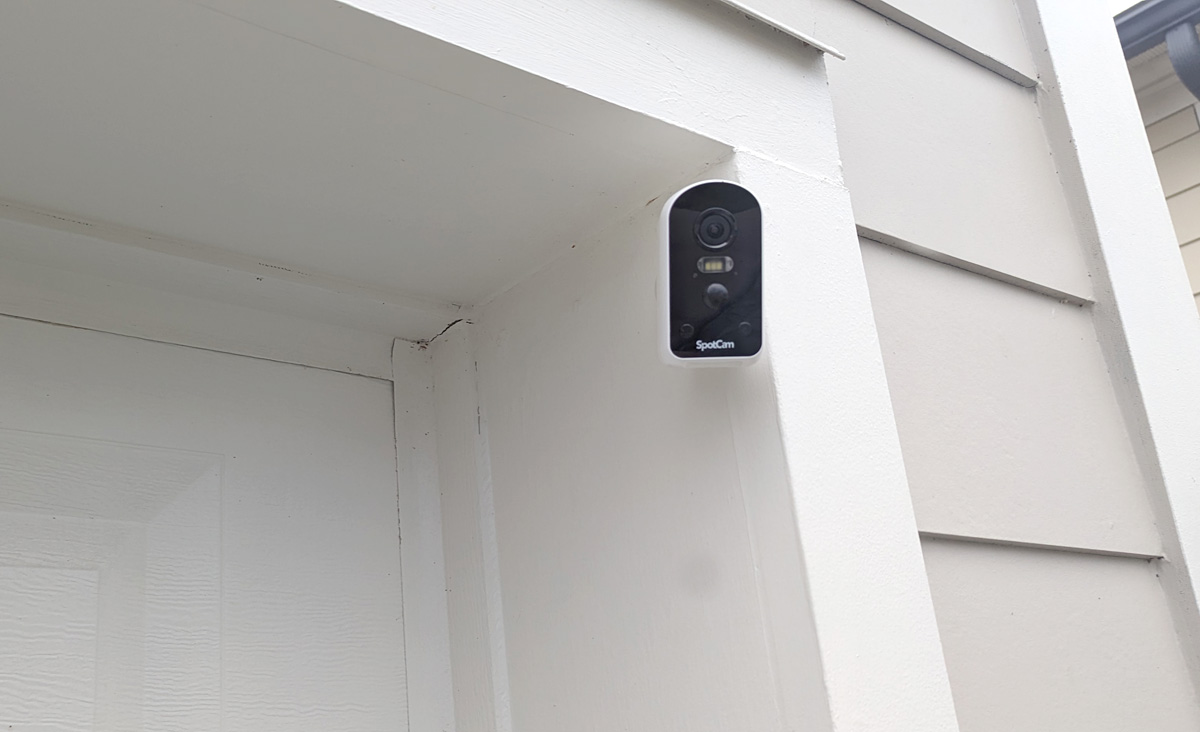
When you are ready to install a camera you simply find a place you want to monitor and use the included kit to attach it on whatever surface you want. There is an indentation on the back of the camera that is magnetic and attaches to the round magnetic base, which you attach to whatever surface you want. In my case, I used 1 camera on the back of the house above the garage door and attached the magnetic base to the frame of the house with the included screws. We attached The other camera to a metal pole in the side yard, so I didn’t need to use any mounting hardware. It just stuck to the pole! We have been trying to catch some rabbits on camera that have been sneaking in the side hard and eating the flowers, so the Solo Pro helped us figure that out.
The camera in the side yard was only about 30 feet away from the base station and worked great despite having to broadcast a signal through several walls. We set the camera to be alerted when it saw movement and got a couple of hits of the little varmints, which helped us figure out where to put some additional barriers to keep them out. The camera on the back of the garage caused us some problems. The distance is only about 50 ft to where the camera was mounted, but I had to move the camera around to numerous places around the garage door to find just the right spot that would communicate with the base station. I finally determined that the metal junction box was hurting the signal, and the metal garage door was also dampening the signal. So it took a while to figure out the sweet spot to put the camera.
And therein lies one of the biggest challenges with the Solo Pro. It’s great that it avoids your wireless network, and therefore any problems that might add. But you have to directly wire it to your router, and the obstacles in between the base station and cameras will be an issue. So keep this in mind as you evaluate your specific situation.
Performance
The Spotcam App is very easy to use and honestly doesn’t require me to spend any time on it. It’s intuitive and has a ton of features. You can do things like adjust all the settings for video quality, set up notification settings, use the two-way audio to speak to people, set up night vision quality, set up siren alarms, create schedules for when you get notifications, create motion maps to only get notifications for movements within part of the image, and so much more. You even get free 7-day 24-hr video recordings stored in the cloud. For the price you pay for the Spotcams, you get a lot of features in the app. And you can also pay for many more features for monthly subscription prices.
The base station has a slot to insert a microSD card up to 256GB, if you wanted to have a local back up of all video. The cameras don’t have a microSD slot. I found the night vision of the Solo Pro cameras to be great, and the notification features of the camera are very accurate. In fact, I had to turn down the sensitivity of the cameras because they really do detect just about everything, including the wind moving the grass around in the side yard. The image quality of the Solo Pro is the best resolution and quality of any of the Spotcams that I have tested before. So they are incrementally improving the camera quality with every generation of camera, so I am very pleased with that.
I will end the review by talking about the one feature that I was eager to test with the Solo Pro cameras. I have used several of Spotcam cameras over the past eight years, and I have found that the claims of battery life tend to be greatly overstated. I mean, every gadget maker does that, right? So I have ended up taking much of those claims with a grain of salt. Spotcam says that the battery should last about 6 months, with 10-20 trigger events per day. So I did a test with the 2 cameras to see how much battery life I could get from each one, using different image quality settings.
For the camera in the side yard, I used HD video, with ‘normal’ image quality. For the camera on the back of the garage, I used HD video, with ‘high’ image quality. Right at 30 days, the camera on the garage died. And the camera in the side yard still had literally 50% left. Leading me to believe that it would realistically last another month. Now, I did not turn on the ‘Active motion wake-up sensor’ on the garage camera because I didn’t want to get notified every time someone walked by or a car drove by, which happens dozens and dozens of times a day. I just wanted to pull up the camera on-demand when I wanted. So that camera lasted just 30 days, which when compared to what Spotcam says I should get is pretty disappointing. But the last Spotcam I had mounted back there had a battery that only gave me about a week’s worth of power, after having it back there for about 2 and a half years. So I am tickled that I have a month before I have to recharge it. In comparison, the side yard camera did indeed have the Active motion wake up sensor turned on, with maybe a half dozen activations per day. My conclusion is that the high quality video setting is much more of a battery drain than the trigger activations.
What I like about Spotcam’s Solo Pro
- Much improved battery over previous Spotcam products
- Completely avoids using your wireless router
- Very easy to mount via various methods (screws, adhesive, etc)
- Easy to add to the app and easy to use
What needs to be improved?
- Maybe a bigger antennae for improved connection distance to overcome more obstacles
- A better battery. (yes, I just said it was much improved, but I still want better 🙂 )
Final thoughts
If you are an existing Spotcam user, the Solo Pro could be a great addition to your setup, IF your house doesn’t have a bunch of obstacles that might cause connectivity issues. For me, I wouldn’t be able to use the Solo Pro cameras in the front of my house because the distance and obstacles would be too much to overcome. But I do use some other Spotcam cameras in the front part of my house, utilizing my home wireless network, and I don’t have any issues. So it really does depend on your situation and usage. But if your situation works with the Solo Pro, the quality of the images and ease of use, the greatly improved battery, and the multitude of features in the app make the Solo Pro a great product at a price that I think is fair. If the physical situation of your setup would cause problems, then Spotcam has other wireless solutions that might fit better.
Price: $299.00
Where to buy: Amazon
Source: The sample of this product was provided for free by Spotcam. Spotcam did not have a final say on the review and did not preview the review before it was published.

Now retrieving an image set.
Google Review Tap Cards (3-Pack) by TapFive - Tap for Instant Reviews - All Phones Compatible - Reusable Smart Tap NFC & QR - Boost Business Reviews - Powered by TapFive (3 Card Pack)
(as of July 13, 2026 18:55 GMT -05:00 - More infoProduct prices and availability are accurate as of the date/time indicated and are subject to change. Any price and availability information displayed on [relevant Amazon Site(s), as applicable] at the time of purchase will apply to the purchase of this product.)
Now retrieving an image set.