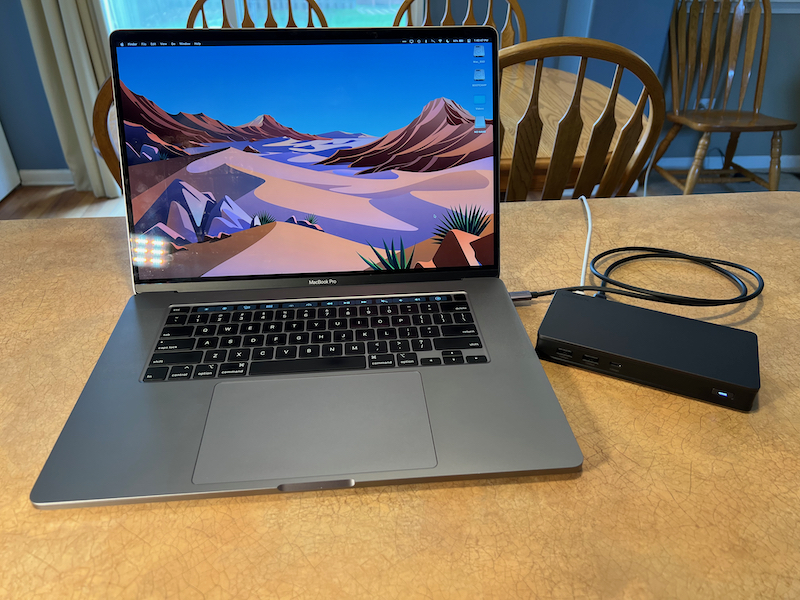
REVIEW – Using a computer today often requires plugging in a large number of external devices – monitors, keyboard, mouse, speakers, storage, and so many other devices to plug in and use. With laptops and smaller form-factor computers having a limited number of connections it’s important to find a quality hub or docking station to be able to connect everything so you don’t have to keep plugging and unplugging all your devices just to get your work done. UGREEN makes a number of these devices. They recently sent me their USB-C 9-in-1 Docking Station to review.
What is it?
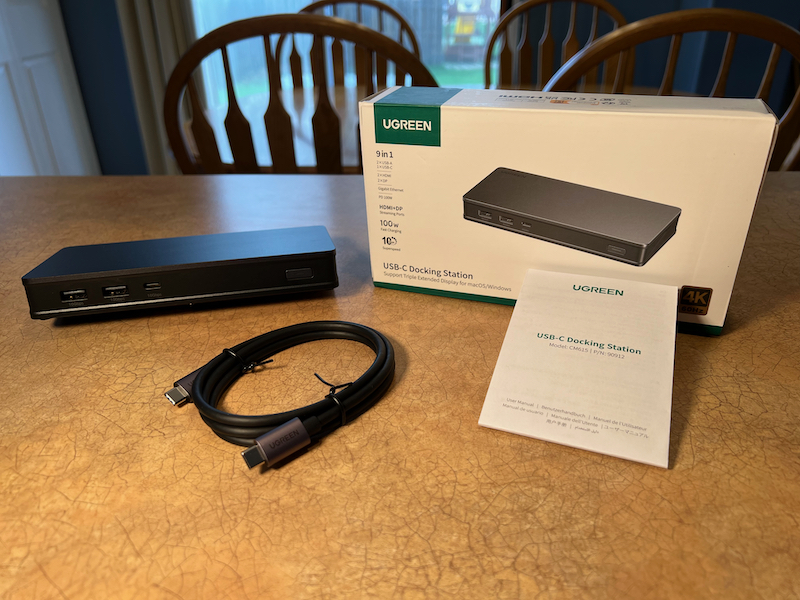
The UGREEN USB-C 9-in-1 Docking Station, also known as model #CM615, is a dock for a Mac or Windows computer, which adds USB-A, USB-C, HDMI, DisplayPort, and RJ45 ethernet connections to the host computer, as well as passing through up to 100W of power to a laptop.
What’s in the box?
- 9-in-1 USB C Docking Station
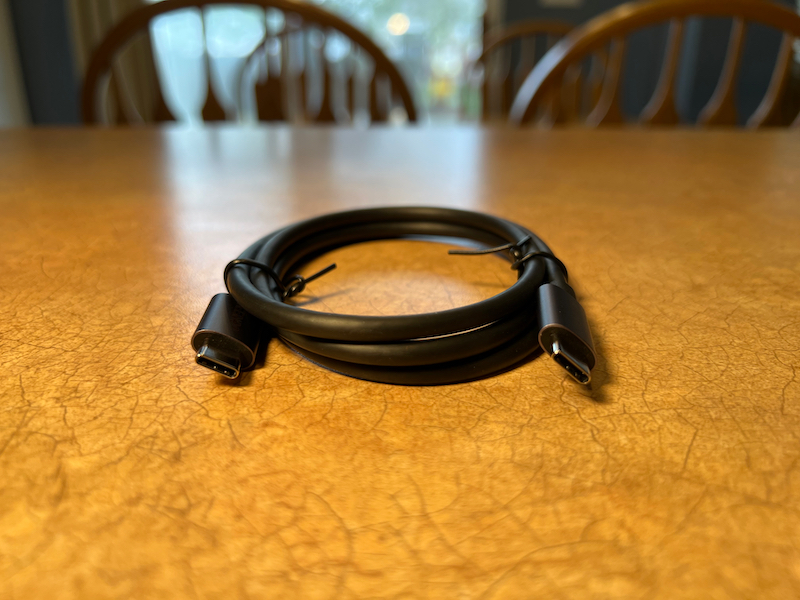
- USB-C to USB-C cable
- User Manual
Hardware specs
- Input: 1× USB-C
- Output: 2× USB-A, 1× USB-C, 2× DP, 2× HDMI, 1× RJ45
- Video: HDMI up to 4K@60Hz, DP up to 4K@60Hz
- USB: USB-A/USB-C, up to 10Gbps
- Power Supply: USB-C, supports PD 3.0, 100W Max (does not support data/video streaming)
- Ethernet: RJ45, 1000 Mbps
- Compatible Systems: Windows 11/10/8.1/8/7/XP, macOS
- Unsupported Operating Systems: Windows 2000 (SP1 to SP4) or earlier Windows OSes/Windows Server 2003
Design and features
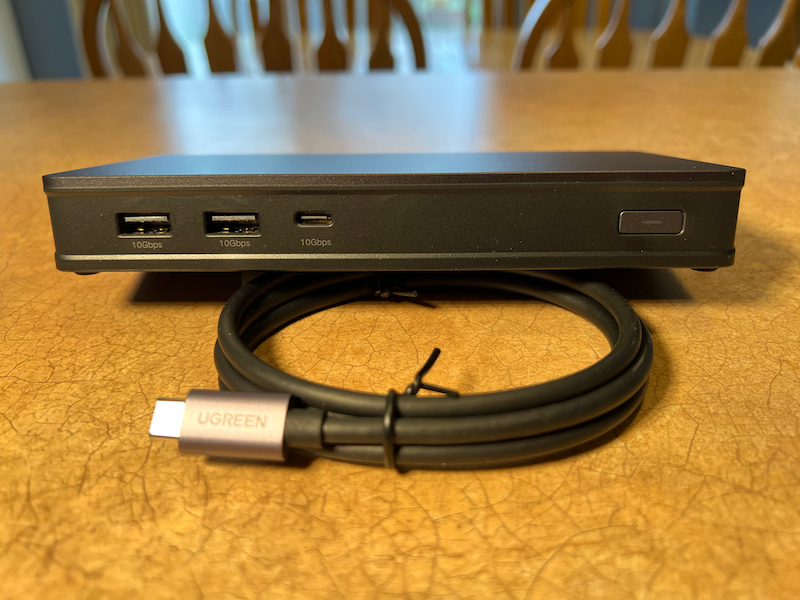
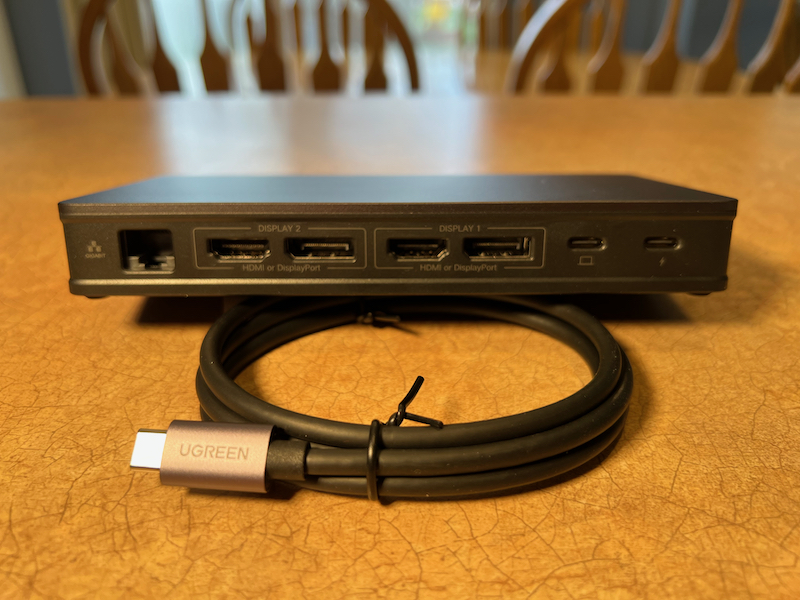
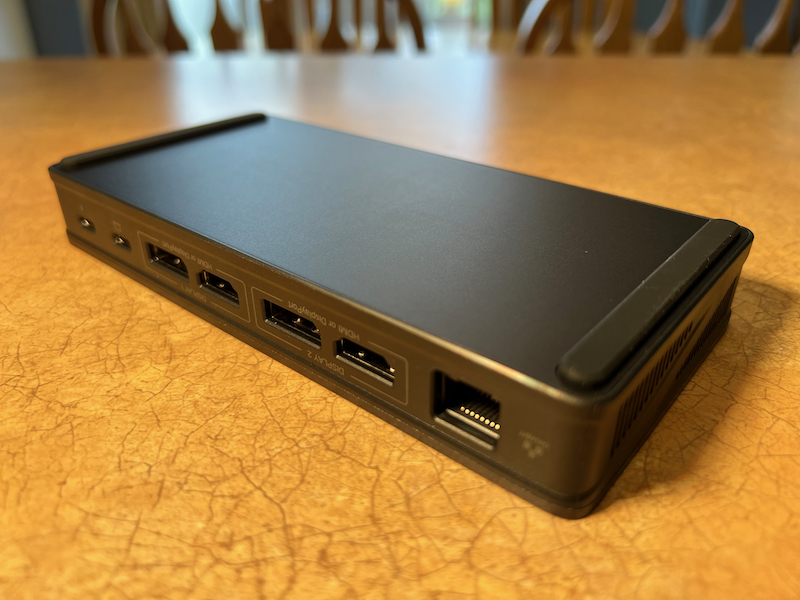
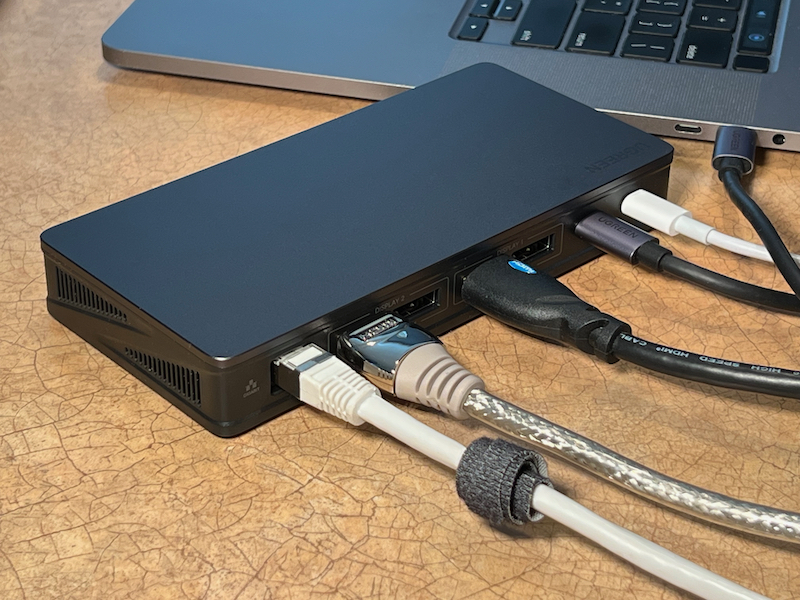
The UGREEN docking station is a black rectangular device, approximately 1” x 3.25” x 6.5”. It’s made from aluminum with openings on the ends for airflow and rubber feet on the bottom to help keep it from sliding around on your desk. All the connectors are on the front and the back. The front has two USB-A connectors, a USB-C connector (all rated at 10 Gbps), and a power button. The back features an RJ45 connector for gigabit ethernet, dual DisplayPort and HDMI ports, and two more USB-C connectors, one to connect to the host computer and one for USB-C PD power input. The power button on the front panel turns off all ports except the pass-through power to charge the host computer. It’s not necessary to power the dock with the USB-C input – it can be powered from the host computer – but if your computer has limited USB-C ports pass-through power is a nice feature to have.
The dock is well built and feels very solid. It’s not cheap plastic or thin aluminum. It has some heft to it and feels like it’s going to last a long time.
There is no power supply included with the dock so you need to supply your own. Most likely the charger that came with your laptop will suffice, but be aware that the dock itself draws some power. Using my 96W original charger that came with my MacBook Pro the Mac’s System Information showed that it was receiving 79W, meaning the dock took 17W from the power supply. There may be situations that result in the dock drawing more power than that so make sure your charger has enough capacity to power both the laptop and the dock and any connected drives or peripherals.
Installation and setup
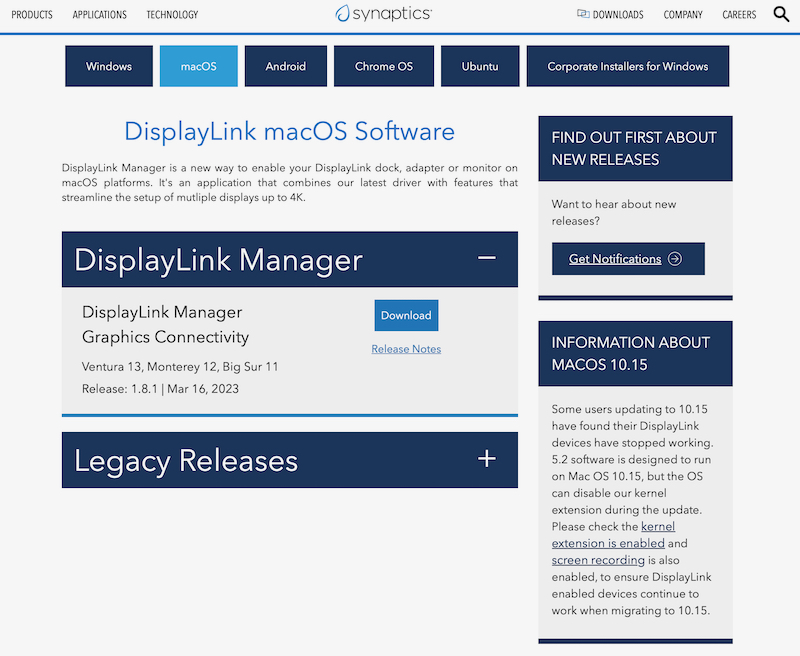
Because this dock uses DisplayLink it requires a driver installation before it can be used. When you first plug in the dock, before installing the DisplayLink drivers, an external drive shows up with links to both Windows and Mac versions of the drivers. It would be nice if it included the drivers themselves but they would quickly go out of date so it makes more sense just including a link to the most recent drivers to save time and frustration for the user.
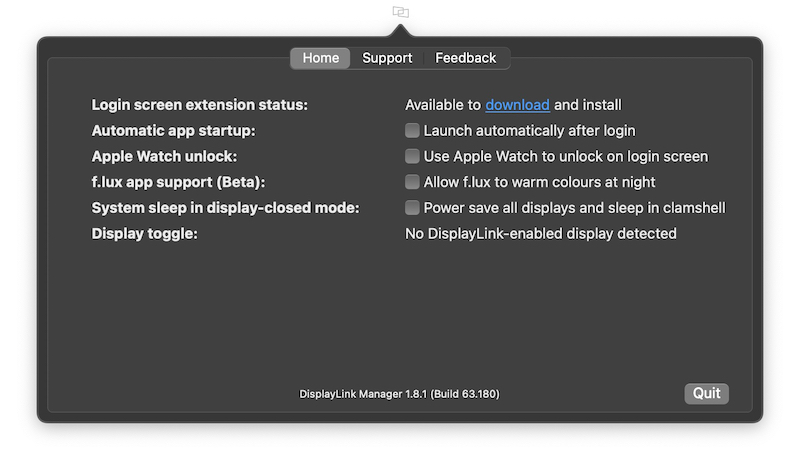
The DisplayLink drivers are an easy download (8.7 MB for the Mac version) and don’t take very long to install. Once installed there is a menu bar app on Mac (and presumably a system tray icon on Windows). There aren’t many options to set in the app but you can choose whether or not to have the app automatically start up when the computer boots, which is ideal to ensure it’s always running without extra work when you restart.
After the drivers are installed the only thing to do is plug the dock in to your computer with the included USB-C cable using the USB-C connector on the back with the computer icon below it. Once connected the white light inside the power button should come on and the dock should be ready to use. As mentioned earlier if you choose to charge your laptop with the pass-through power, plug its USB-C cable into the other USB-C connector on the back of the dock and you should be good to go.
One thing to understand about the video ports is that you can only use a total of two at any time. This can be both HDMI, an HDMI and DisplayPort, or both DisplayPort connectors, but not more than two at a time.
The ethernet port showed up right away in my Mac’s System Preferences and I was able to use it instantly. Nothing more to mention here – it just worked as expected.
In Use
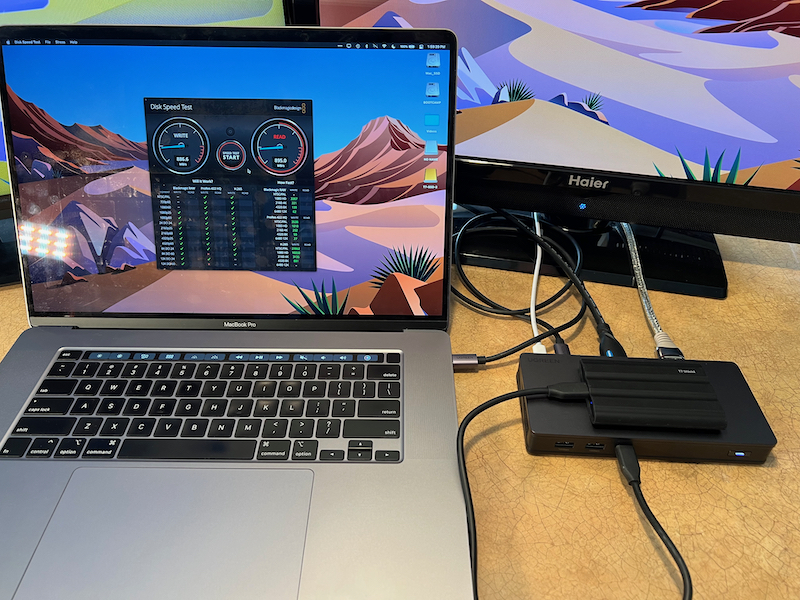
Once the drivers were installed everything worked as expected, except something I’ll mention later about the HDMI connections. I tested the USB-A and USB-C connections with several external SSDs and a thumb drive I carry around and was able to get the speeds I expected from each. The fastest SSD I had reached 887 MB/s write and 895 MB/s read speeds, which is pretty much as fast as it can practically go.
Once I made sure my WiFi was turned off I tested my internet speed through the ethernet connection and got the 200 Mbps for both upload and download that I pay for from my internet provider. I don’t currently have a way to test my home network speed between computers so I couldn’t confirm the 1 Gbps speed rating, but otherwise it worked as well as I could have expected.
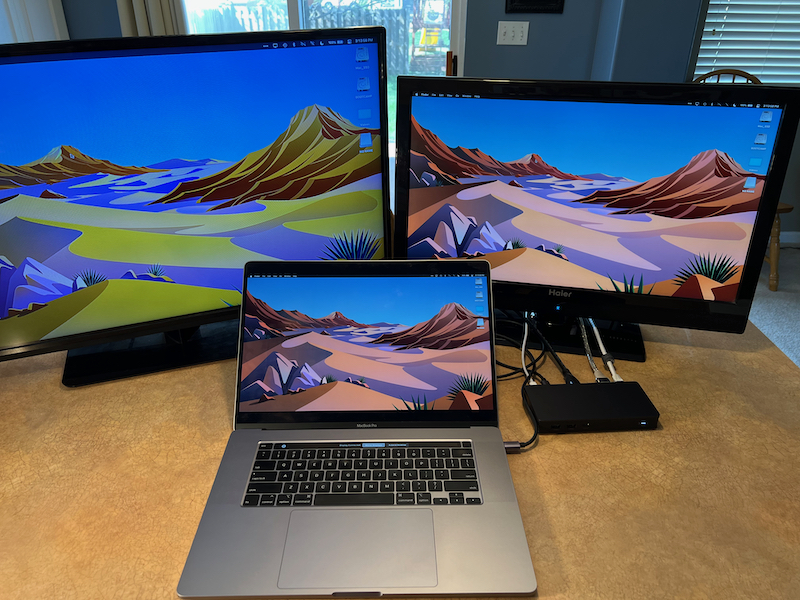
The HDMI connections worked well with two old TVs I had sitting around. One of them is 1920×1080 and the other is 1366×768. Both of them worked instantly when connected and showed smooth, high quality video at 60 fps. (One note: the color difference in the left TV in the photos is a problem with the TV, not the dock; I’ve seen it before with other sources and I only use it for testing devices like this so it’s not a real problem.)
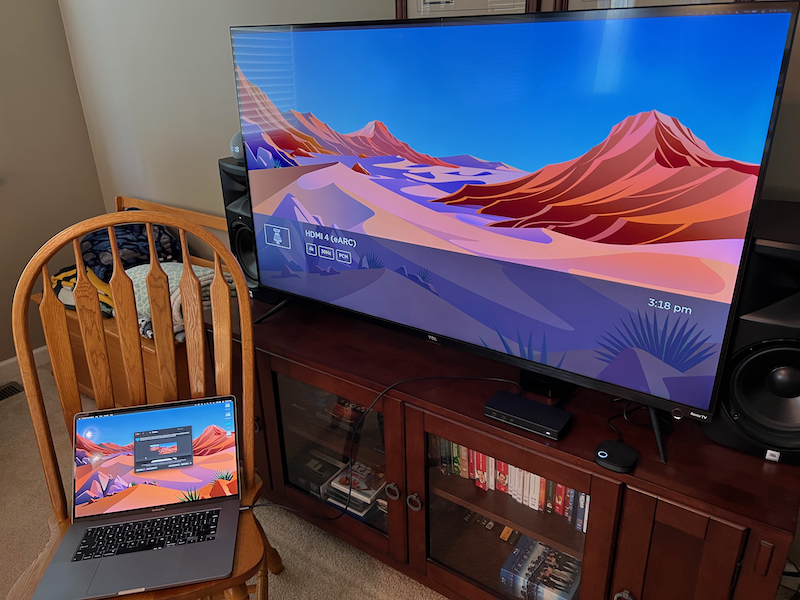
I then connected one of the HDMI ports to my living room TV, which is a 4K TCL. The dock was able to put out 3840×2160 resolution as expected for a 4K TV but I was unable to choose 60 fps for the frame rate. The only options I was given were 24 and 30 fps. I have been able to connect to this same TV with the same laptop and HDMI cable with other devices I’ve tested before so I know it’s not a problem with my setup. I tested both HDMI connectors and saw the same results. I don’t have any DisplayPort to HDMI adapters so I was unable to test those to see if they would put out 60 fps so I can’t rely on this for 60 fps 4K video at this point.
The included USB-C cable feels very sturdy and is plenty long for most desktop use. I like knowing this cable should last for a long time to come. A lot of USB-C cables are very cheaply built and don’t seem like they’ll last very long or won’t support the power or data transfer that a dock like this needs but this one feels like it was built to last.
One feature I wish this had was an audio output of some kind. A headphone jack on the front and/or an audio output on the back would have been nice. If I’m using this with a laptop, potentially plugging and unplugging it frequently and using it with desktop speakers it would be nice to be able to keep an audio cable connected to the dock to keep it to just one cable connected to the laptop.
One thing that was a little weird is that the external drive with the links to the driver downloads shows up every time you plug in the dock. This means every time you go to use it you have a drive labeled NO NAME mounted to your computer. If it was a larger size it would be convenient to use as an actual external drive but as it is it has no use after the initial installation unless you frequently use it with other computers and need a convenient way to get to the driver download.
What I like
- Solid and well built
- Good USB-C cable included
- Dual HDMI/DisplayPort outputs
- Good selection of ports
What I’d change
- Make 4K 60 fps work
- Add a headphone jack and/or audio jack
Final thoughts
I’ve tested several USB-C docks and a Thunderbolt 4 dock as well. This one is kind of on the high end of the price range for a USB-C dock but it’s significantly cheaper than most similar Thunderbolt docks and includes a lot of the functionality of those docks. This is well built, includes a high-quality USB-C cable, and passes through up to 100W of power. If you need a number of external devices plugged into your laptop this dock can do it all.
Price: $199.99
Where to buy: Amazon
Source: The sample for this review was provided by UGREEN. For more information visit their site.

Anker Laptop Docking Station Dual Monitor, 8-in-1 USB C Hub, 4K Dual Monitor with 2 HDMI, 1 Gbps Ethernet Hub, 85W Power Delivery, SD Card Reader, for XPS and More (Charger not Included)
(as of July 10, 2026 14:13 GMT -05:00 - More infoProduct prices and availability are accurate as of the date/time indicated and are subject to change. Any price and availability information displayed on [relevant Amazon Site(s), as applicable] at the time of purchase will apply to the purchase of this product.)
Gadgeteer Comment Policy - Please read before commenting
Once you’ve installed Displaylink driver on Mac is there a way to prevent the UGreen’s ‘Driver’ folder mounting?
Not that I’m aware of unfortunately. You could probably do something with an AppleScript or maybe in Disk Utility but I haven’t researched it myself.