REVIEW – Getting solid wifi speeds throughout my split-level house has been an ongoing struggle for years. I’ve tried multiple mesh routers (which all had ongoing connectivity issues) and powerline bridges (which also had issues due to our old wiring), before settling on a high-powered single router that I currently use. It’s stable, but speeds could be better, especially in our TV room where we spend most of our time streaming and gaming (and streaming games). When the Nexuslink Gaming Router Extender review came into my inbox, I jumped at the chance. I put this review unit through its paces with an Nvidia Shield Pro (2019) and tested both overall speed and longer-term reliability with constant use over several weeks – I’ve had many network devices that are fast at first but then require reboots or constantly drop connections over time.
What is it?
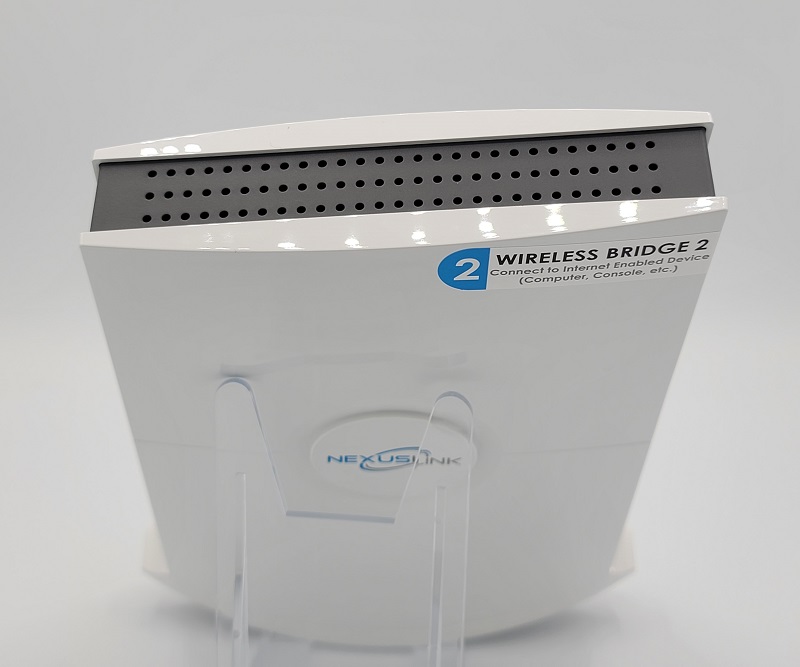
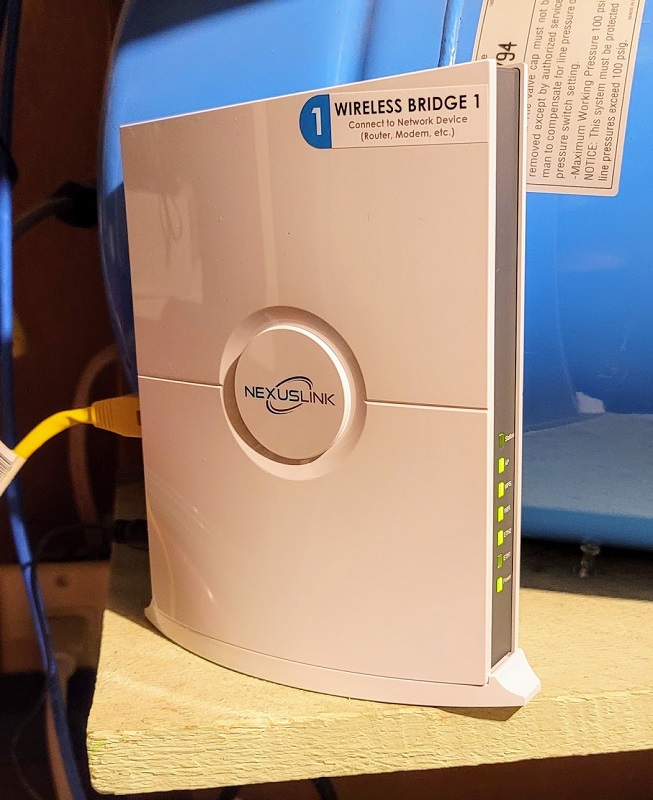
The NexusLink Gaming Router Extender is a wireless bridge. One unit is connected to your router or a switch, then the other placed at the location you need an ethernet port (like a gaming console or office). The advantage of using a wireless bridge system like this (at least theoretically) is that it creates a dedicated hidden wi-fi network just for this one connection, so you can get faster speeds than on a router shared by many devices.
What’s in the box?
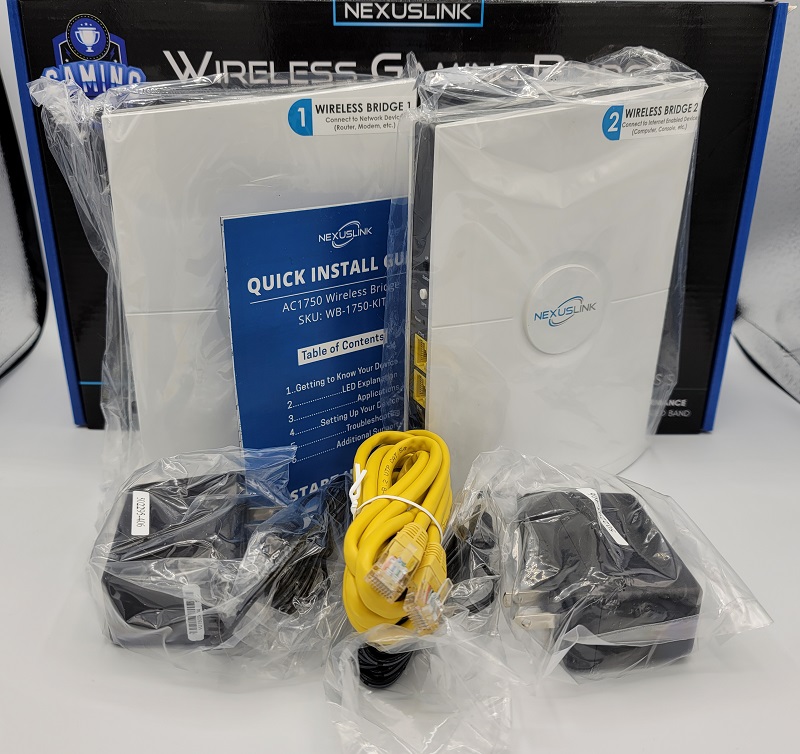
Included in the box is two Wireless Bridge units, 2 AC power adaptors, and 2 CAT-5 ethernet cables.
Hardware specs
- Ports: 2 x RJ-45 Gigabit Ethernet Ports (10/100/1000 Mbps)
- Antennas: 4x Internal MIMO Antennas
- Modes: AP/Station hardware switch
- Connection Button: WPS button
- Wireless Connectivity: 400 mW High Power AC1750 (Wireless-AC)
- Operating Temperature: 32~104°F
Design and features
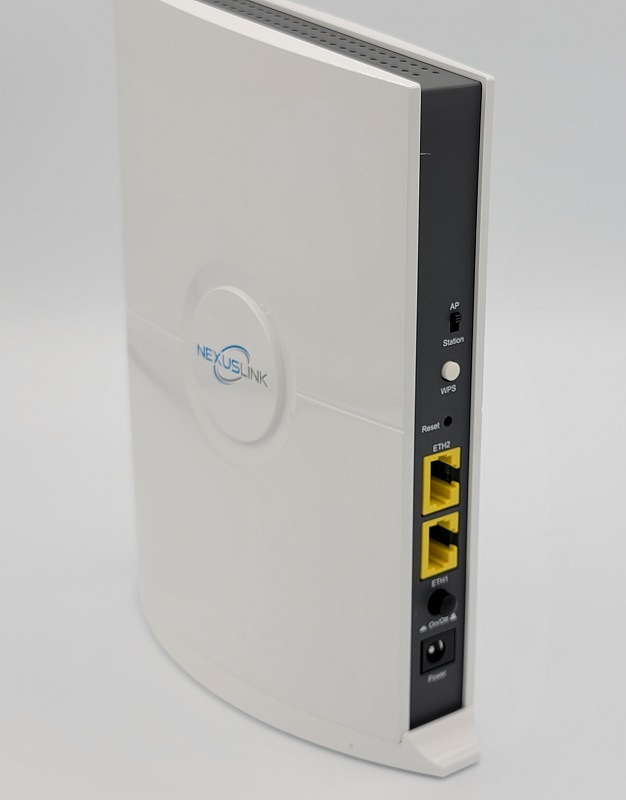
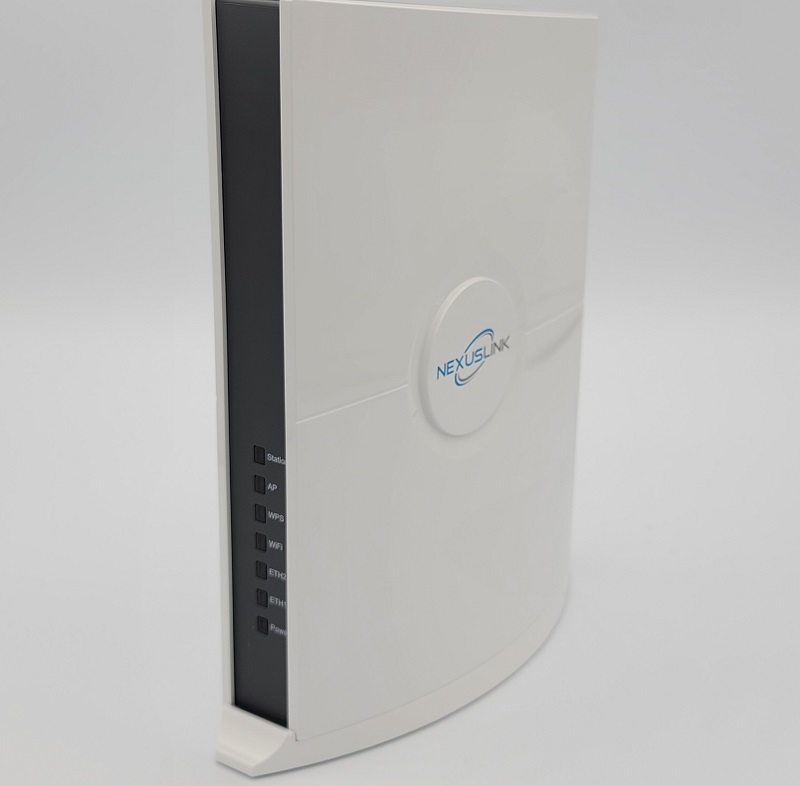
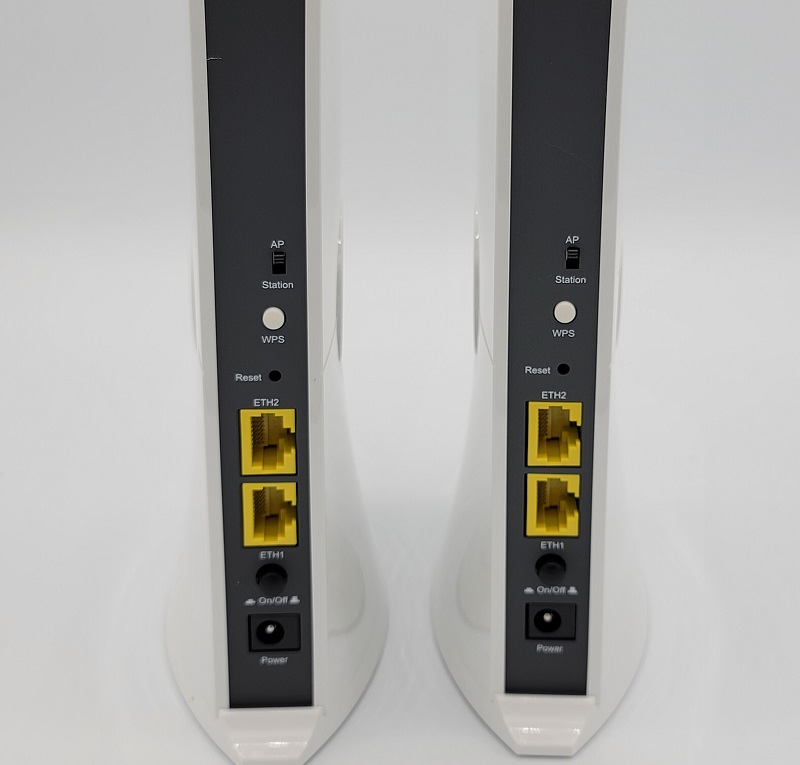
The design of the NexusLink Gaming Router Extender system is nice and clean, with a white-and-black scheme. The units didn’t stick out once installed, and are fairly small at ~7.5″ tall, 6.5″ deep, and just over 1″ thick. On the back, there’s the AP/Station switch (one unit should be set to each), a WPS button for setup, a pinhole Reset button, 2 x Ethernet ports, an On/Off switch, and the power supply input. The frontside has a series of indicator lights, more on those in the setup section.
Installation and setup
The included installation guide was easy to follow (and even I probably could have figured it out without it). One unit is installed near the router or switch providing internet, and the other is installed near the device that needs the ethernet connection. The Router/Switch unit should be set to Station, then the other to AP. An ethernet cable is connected to the device/router. Finally, you power both units on, and the WPS button is pressed on one unit and then the other within a minute to connect them to each other.
A wireless bridge like this is great for pretty much any device with an ethernet port, be it a computer, Xbox, Playstation, or even voice-over-IP phone.
A series of helpful indicator lights blink or stay solid for different statuses/modes, which can be referred to in the manual/guide.
I tested internet speeds in the exact same location over several days at different times (to account for possible neighborly wifi traffic). In the test location, the signal is partially blocked by the cement foundation of the house, as well as wood stairs and an interior wall – making for a tough wifi environment. On my high-end gaming router, I have seen speeds on my Nvidia Shield Pro go from ~150/150 Mbps up to about 250 Mbps. This would normally be plenty for 4k streaming and gaming, but there are intermittent dropouts that happen frequently enough to be annoying. In any given hour-long session there is almost always at least one brief period where a stream will downgrade to lowest quality. Mesh networks (I tried both Google’s and an Orbi mesh router system) didn’t fix this problem in the past.
With the NexusLink Gaming Router Extender, it was completely fixed. During the weeks of reviews, I never once saw a lost connection or downgraded stream. I’ll post statistics next, but for me the real-world behavior is far more important than any statistics, and this device seems to have completely solved whatever issues I was having previously.
Average network statistics for my original wireless-AC router at this location: 179 / 203 Mbps down/up , 20 ping, 4.8 jitter (this included both normal and under-load tests.)
Average network statistics for the NexusLink Gaming Router Extender: 551/459 Mbps down/up, 23 ping, 1.0 jitter.
These measured statistics reinforced the real-world experience I was seeing, performance was absolutely fantastic. On top of that, I didn’t have to reboot once during the review period (about 3 weeks).
The only nitpick I’d have for this system is the auto-channel select function. The NexusLink Gaming Router Extender is supposed to select an open wifi channel, but after reboots it was still selecting the same channel used by my main router. I was able to easily change that channel on my router, which increased speeds for both systems as they were no longer sharing the same channel.
What I like
- Rock-solid connection, both for speed and reliability
- Easy setup
What I’d change
- Auto-channel switch didn’t seem to work
Final thoughts
For a dead-simple high-speed connection for a single device, you can’t go wrong with the NexusLink Gaming Router Extender. This device is especially good in a busy wifi location, letting you prioritize a single device with a super fast connection.
Price: $149.99
Where to buy: Amazon
Source: The sample for this review was provided by NexusLink.

ESR for MagSafe Wallet, 5 Card Holder with RFID Blocking, MagSafe Sticker Included, Slim Magnetic Wallet for iPhone 17e/17/16/15/14/13/12 Series and Selected Samsung Devices, Not for 13/12 Mini, Black
(as of July 4, 2026 18:49 GMT -05:00 - More infoProduct prices and availability are accurate as of the date/time indicated and are subject to change. Any price and availability information displayed on [relevant Amazon Site(s), as applicable] at the time of purchase will apply to the purchase of this product.)