 REVIEW – The Anet A8 3D printer was introduced in 2017 and quickly gained a following because of its affordability, capability, and adaptability to modification. On the downside, however, the printer had poor documentation, a relatively steep learning curve, a shaky frame, and a potential safety issue. The Anet A8 Plus is the successor to this product. Read on to see what I think!
What is it?
The Anet A8 Plus is a fused deposition modeling (FDM) 3d printer. The printer creates a flat pattern of a material which can be fused to the next layer. The printer then raises the print head the thickness of the material and creates the next layer of the model, fusing it to the previous layer. The material is also cooled as it is extruded so that bridging and overhangs of the material on the previous layer is possible. The printer has a large 300 x 300 x 350mm build area supported by a channel aluminum frame and steel guide rods. This is an improvement over the acrylic frame used on the A8. The bed is a heated glass panel for anchoring the model to the bed while printing. This is an improvement over the bed used on the A8. Most importantly, the motherboard has been redesigned to improve the safety of the circuitry. The components used on the motherboard are now more substantial than on the A8 and are now protected by a glass fuse. The extruder feed design and belt tensioning have also been improved over the previous model. One final feature is that the user interface is now anchored to the unit with magnets, which means that it can be removed or repositioned on the extruded aluminum more easily.
What’s in the box?
Each of the following items is shipped disassembled in the box.
- Chassis kit
- Vertical frame kit
- T nuts, M4 8 screws, M5*20 cylindrical head screw
- Limit switches
- Power supply
- Mainboard
- Display screen
- Display screen holder
- 3D printed Filament holder
- Line bag (Heating bed line \ X, Y Z1, Z2 motor line X, Y, Z limit switch line)
- Black winding pipe
- Extra fuses
- Rubber finger cot (I guess so that the machine oil doesn’t get on your fingers?)
- Wind mouth Tool
- Hexagon wrench bag, transparent ruler, plier, screwdriver
- A8 Plus application and manual on TF card, USB adapter
- 10 meters of white PLA filament
- Power line
- Instruction manual
- Warranty Card
Hardware specs
- Model:A8 PLUS
- Filament Diameter: 175mm
- Printing Size: 300x300x350mm
- Recommended Filament: PLA Extruder
- Operating software language: English
- Printing Precision: +/-0.1mm
- Data Input Format: STL, OBJ, JPG
- Layer Thickness Precision: adjustable from 0.1 to 0.4mm
- Data Output Format: Gco, Gcode
- Printing Method: Online Printing/Offline Printing
- Machine Net Weight: 10KG
- Printing Speed: up to 120 mm/s
- Recommended Printing Speed: 30-60mm/s
- Power Supply/ Max. Power-consumption: 110 to 220V, 360W
- Operating System: Windows MAC
- Nozzle Diameter: Standard 0.4mm
- Supported Printing Materials ABS, PLA, HIPS WOOD TPU, etc
Design and features
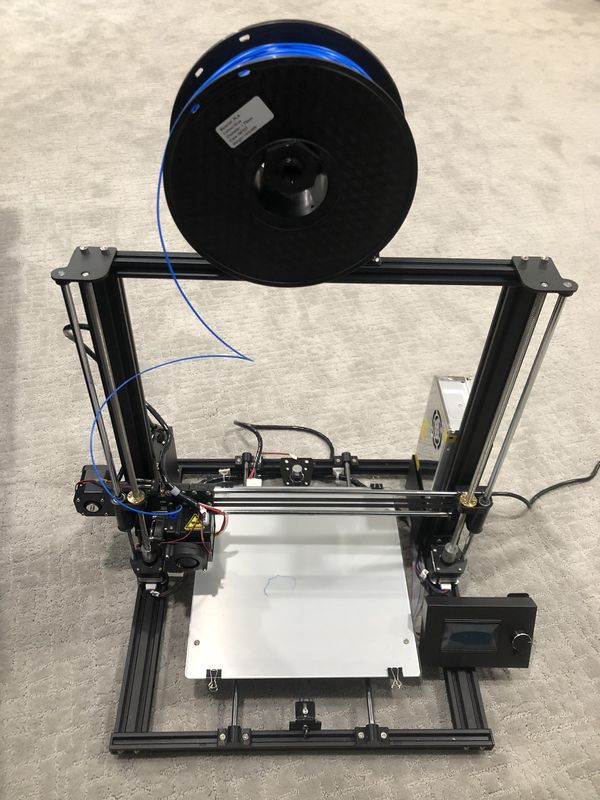
As indicated above, the design of the Anet A8 Plus is significantly advanced over the Anet A8. The design is still consistent with a “maker” aesthetic – the finished product still has exposed electronics, wiring, and mechanical components. Compare this with the Monoprice MP Select Mini 3D Printer V2 and you can see that the Anet looks much more functional. For what its worth, even though the Monoprice unit is more refined looking, I prefer the gantry extruder of the Anet over the cantilevered design of the Monoprice.
From the ground up this is a well-built printer. There are four large rubber feet to absorb momentum and vibration while printing. The aluminum frame is a quality design and much more resilient than an acrylic substitute. The printing platform is glass for smooth results that are designed to stay put while hot but are easy to separate later and is easy to clean. The platform rides on two guideposts and the belts for the Y-axis motor, which moves the platform can be tensioned with a wingnut. I wish that the platform could be leveled by adjusting a screw on top of the platform and not a thumb screw below. I did have a bit of a challenge getting this true to the print head, and I suggest that you do this and recheck it while it is warm to hot. The thumb screws are likely to move as time goes on I may try to set it up again with some Loctite purple threadlocker.
The vertical frame is secured with corner braces to ensure that it stays true and upright. the X-axis chassis is securely mounted to the threaded rod. There is not observable play in the mechanism which helps to provide the 0.1 mm layer thickness precision. I did have to readjust the location of the Z-axis limit switch and it would be helpful if this could be screw adjustable from the factory. 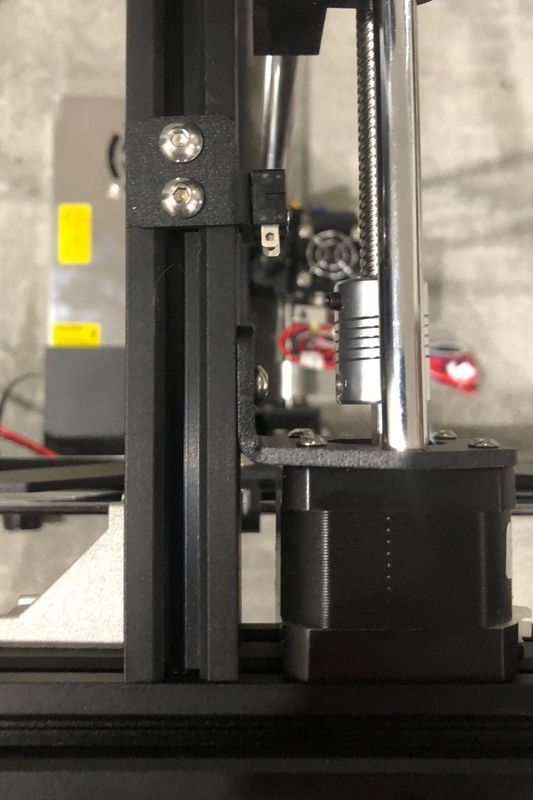 There is a modification to create this on Thingiverse however and I suppose that the most enduring quality of this system is the modifications that may be made to it and the community that supports them.
Getting the extruder loaded was also a bit challenging. The PLA they provided tends to feed entirely around the capstan and shoot out to the rear of the extruder head. Removing the spring arm and pivot screw that tensions the PLA in the head is easy enough, and once this is out it is simple enough to manually feed the PLA, but it is not a perfect scenario. I didn’t notice any operational problems with the feed system once the printer was operational. That is, the feeding and retracting of the printing material worked without a hitch.
Setup
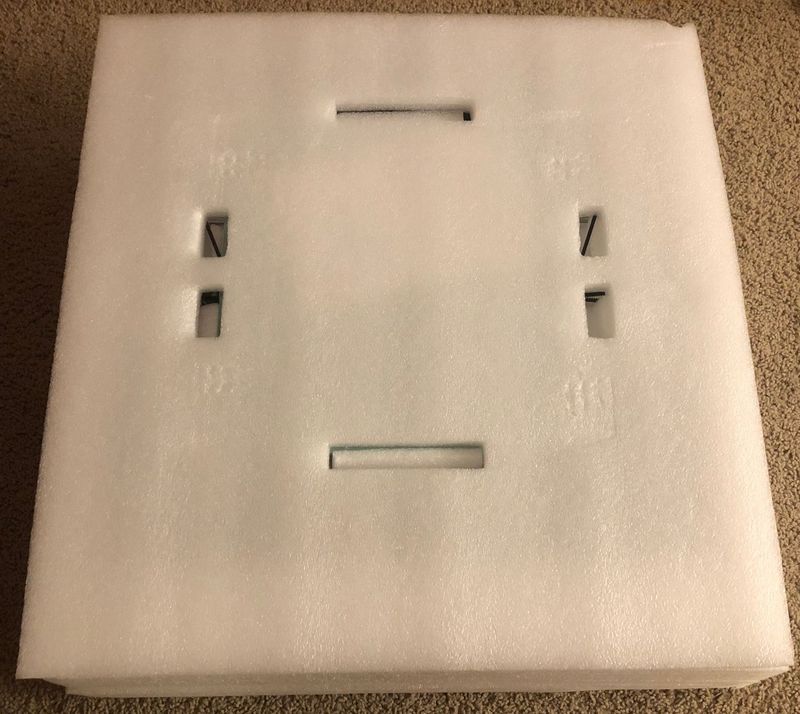
One of the first things you will notice is that this unit comes in a big box.
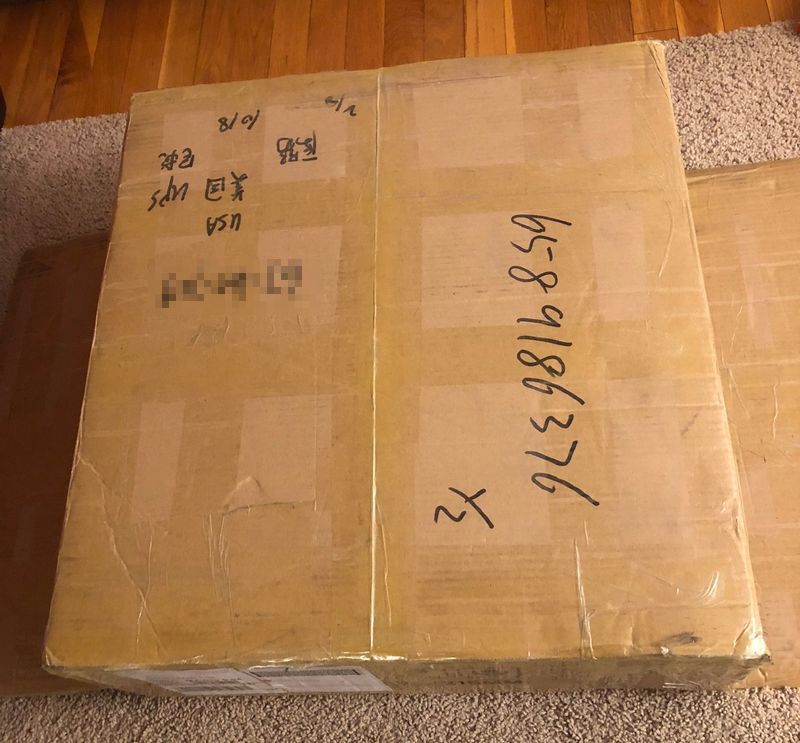 It is nicely packed with styrofoam to ensure that after the journey from China the items arrive safely.
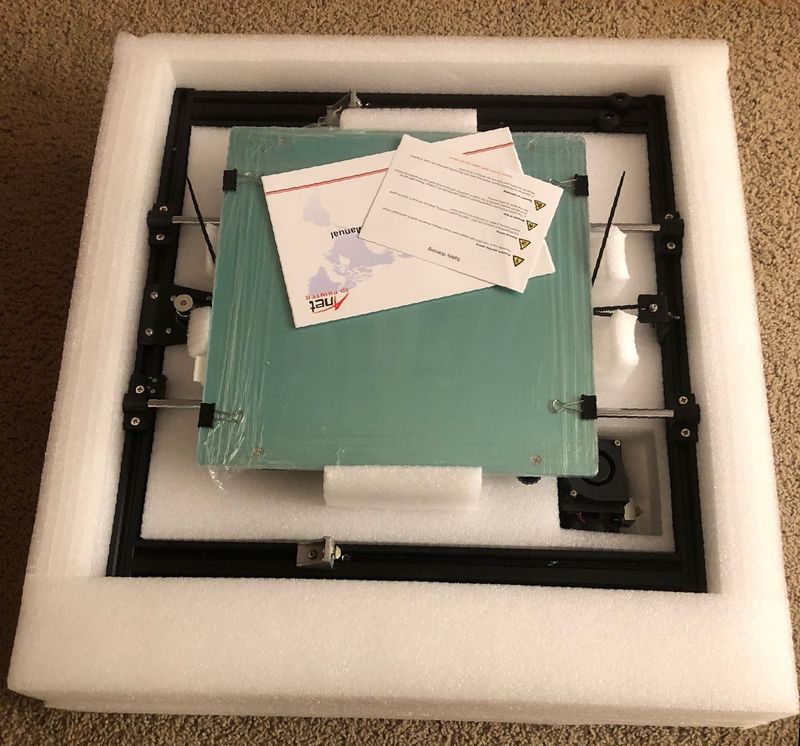
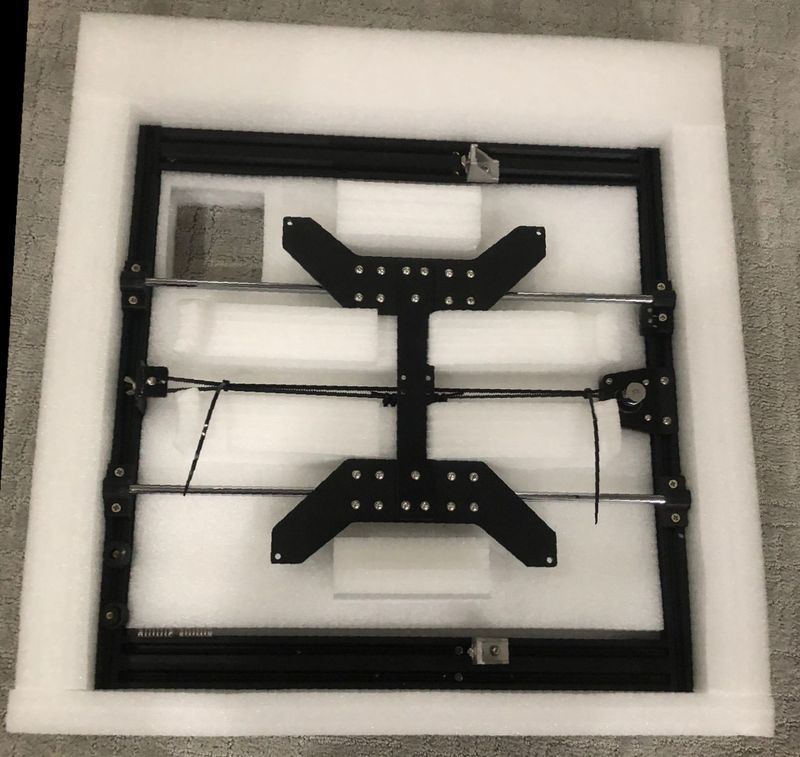 The box contains a long list of parts that must be assembled before an operation begins. Fortunately, Anet has preassembled some of the most complicated parts. The chassis and vertical frame already have the motors, polished rods, threaded rods, and belts assembled. The extruder is pre-mounted on the vertical frame X axis. The Anet website claims that assembly is easy and only requires 10 minutes, but even their own how to video is 20 minutes long and uses camera cuts and time-lapse recording. Overall, the assembly took a bit over 2 hours. The breakdown of the assembly process is illustrated below:
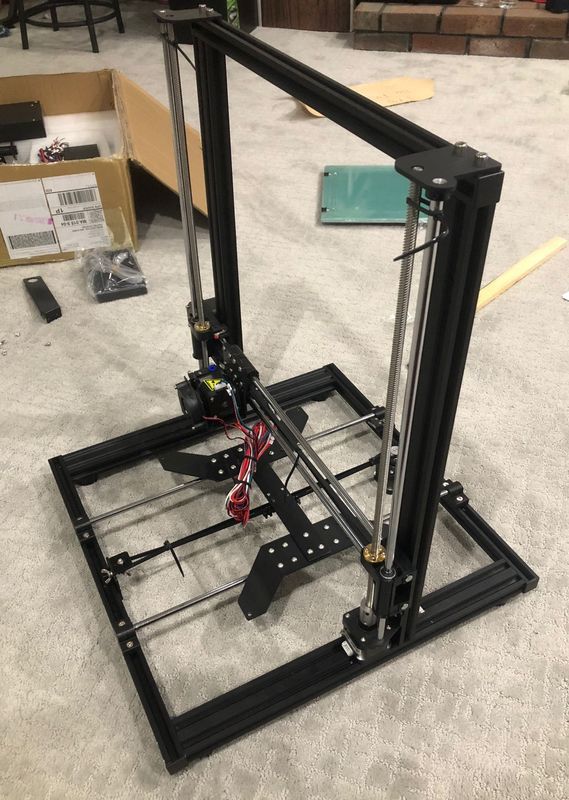
- Assembly of the vertical frame on the chassis is straightforward. The mounting is pre-drilled which means alignment is easy. After assembly, it is important to verify the trueness of the vertical frame to make sure it is not leaning one direction or another, otherwise, the output will look like a bell tower in Pisa, but the directions did not explicitly require this.
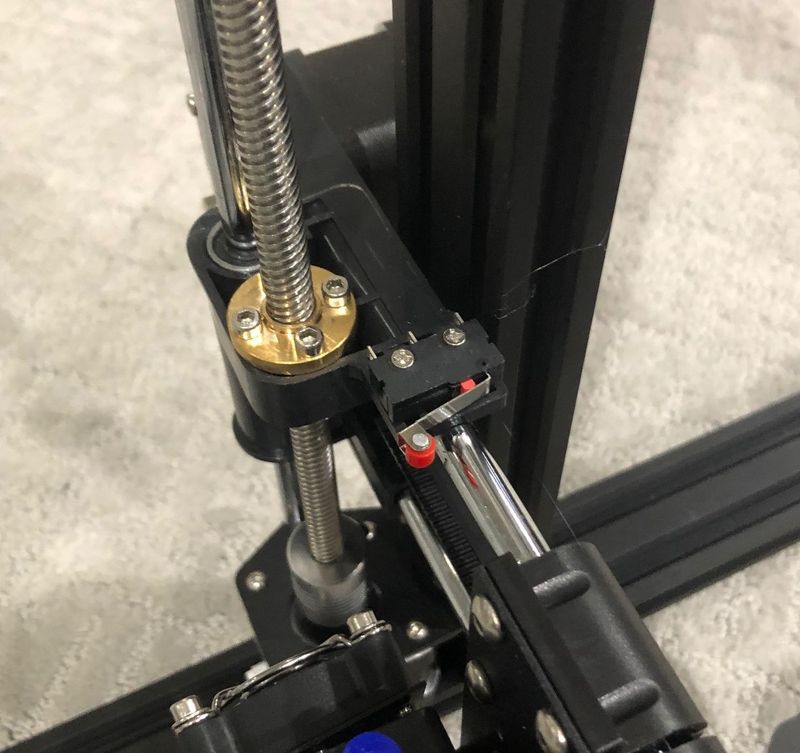
- Installing limit switch on the X-axis (which moves the extruder on the vertical frame) was easy but seemed like this could have also been completed at the factory.
- Securing the threaded rod only requires tightening the shaft coupling according to the assembly directions, but considering that X-axis (which is moved by the Z-axis) is only positioned by cable ties, I used a cut length of MDF and advanced the Z-axis against it until the Z-axis was completely parallel to the top of the frame. Then the couplings were tightened.
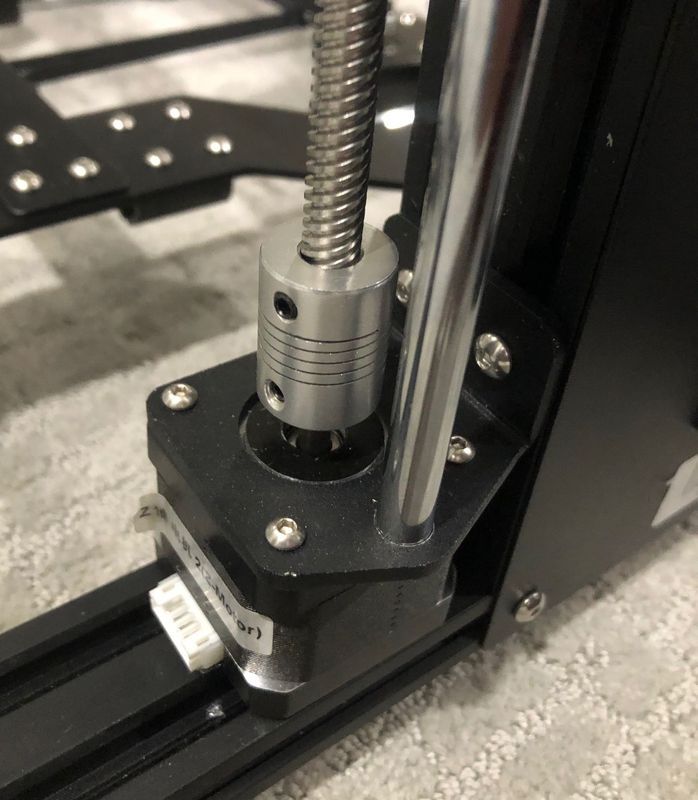 This step ensured that both ends of the X-axis were at the same level.
 - Installing the windpipe is straightforward. it is a 3D printed component itself. Many sites online recommend printing a 360-degree diffuser but I haven’t done this yet.
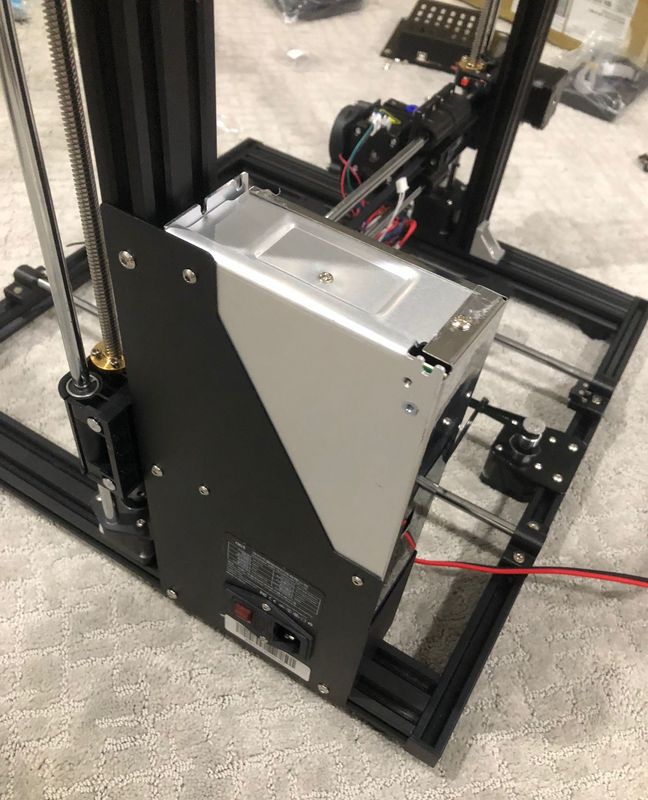
- The motherboard is shipped in an enclosure. The enclosure must be opened to install all of the wiring. Installing the wiring is the most time-consuming part of the build. The amount of time that is spent on this step can vary considerably based on how neat you want the final product to look. There is also improvement in the robustness of the printer if the neatly organized wiring is less likely to be disconnected or snagged on the moving parts. There are 18 connections to make. the wiring was all well labeled and the connector design took all the guesswork out of the correct wiring. The only item I needed to figure out on my own was that the X-axis limit switch is a normally open/normally closed design and the wiring needs to go to the correct pin.
- A guide of the optimal wiring layout would be immensely helpful. The manual also failed to emphasize that some wiring needs some slack so that the components can move. One modification I made to the recommended setup was to wire the items on the extruded to the guide rod bushing screw.
- When testing the motors the extruder needs to be hot before the feed motor will activate. I didn’t get a positive response that the motor is wired correctly until after I tried heating the extruder block.
- The display screen is prewired and enclosed in a metal case. It is mounted on a magnetic frame. I don’t really see the benefit of the removable screen. I have not really moved it at all in my interactions with the printer.
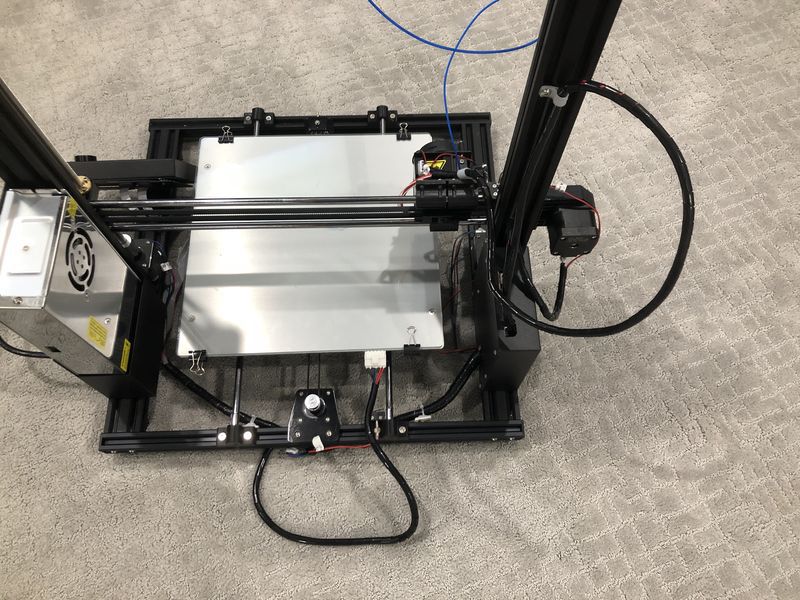
- Mounting the spool holder is the last step. I mounted it on top of the frame because that way the printer is not as wide. The spool may also be mounted on the side of the chassis, opposite the control panel.
Operation
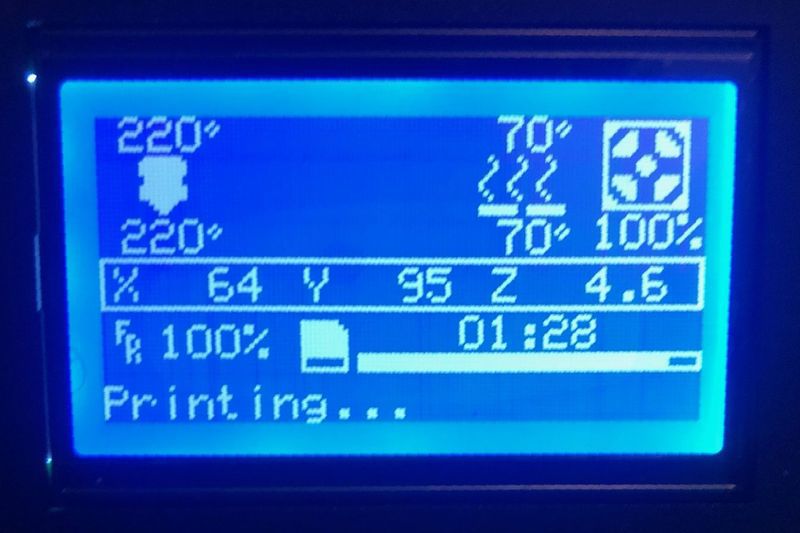
The controls of the machine show the extruder set point and present value, the bed set point and present value, the percent of full speed of the cooling fan, the location of the extruder in x,y,z space, the speed adjustment as a function of percent, the elapsed time and a status bar showing the percent of the model complete (in length of filament, not percent of layers). The control is menu based and is navigated by the control wheel to select menu position or value and pressing the wheel, which indicates selection. The menus are well organized and the operation is straightforward. One issue I found is that there is a buffer on the knob movement, so caution should be taken when using this to move the extruder to the bed so as not to crash it. The screen also has a reset button mounted on the front. I would prefer that this was located on the motherboard so it is not pressed accidentally.
The unit ships with the Cura version 14.07 slicer, Cura user manual, The user manual for the Anet printer, Repetier Host and the CH340G USB to UART driver. I have done all my printing with the microSD and have not used the USB cable. The card also comes with a bunch of test prints: a giant Baymax figure, a change box, a brush barrel with a bear on the front, a Chinese Chess piece, a figure (a statue of Shia LaBeouf), a decoration of FU (Good Luck Character) and the English word love, and a Mayan Temple.
Cura has a lot of variables that can be adjusted to obtain the model or printer’s best output. I have not investigated all of the parameters or come up with any guidance on what settings are best. This is another area where having a strong user base is very useful for debugging and incremental improvement.
Performance
I did not run any popular benchmarks of this printer because as a project 3D printer, the results that I achieve may not be representative of other people’s build, but I did run a couple of models to test the operation. The first model I attempted, one of the bed nuts fell off and tilted the model. The extruder hit the model and I ended up with a bird’s nest.
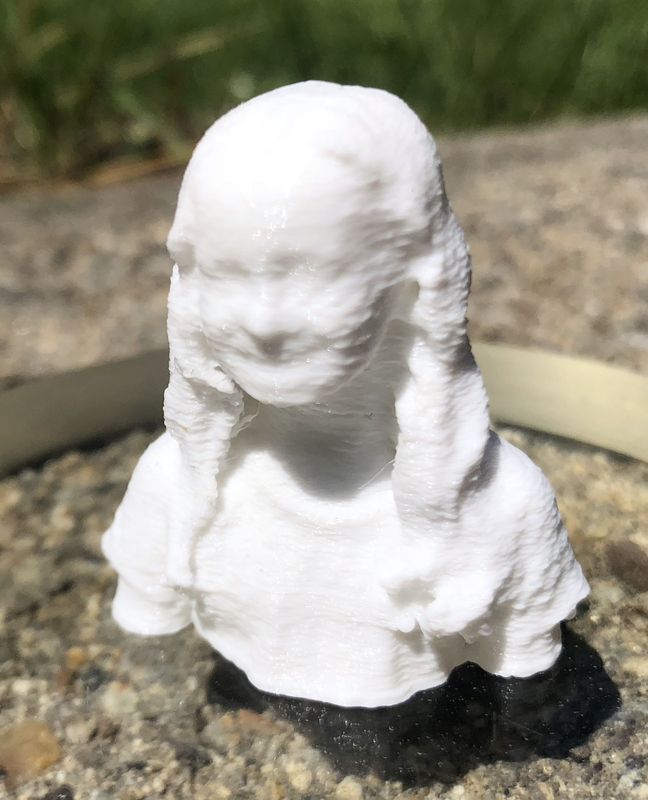
I wanted to see if I could print the images I captured with the Structure Scanner a couple of years ago. I dropped the OBJ into Cura and a full-scale model was displayed. I scaled it to 10% and it generated a gcode model. About 90 minutes later I had a scale model of my daughter. The test turned out to be a good demonstration of the intricacy that the printer is capable of.
I printed a stylized ‘S’ on the x,y axis to see what the 45-degree sides would look like. I did have an issue on the bed leveling heigh and ended up with a bit of an elephant’s foot on the model, but the sides look ok. There is some waviness to the side of the ‘S’ and that is when the x and y motors are each operating at the same speed. Maybe some print speed modification is needed but overall there is not that much noise for a prototype build.

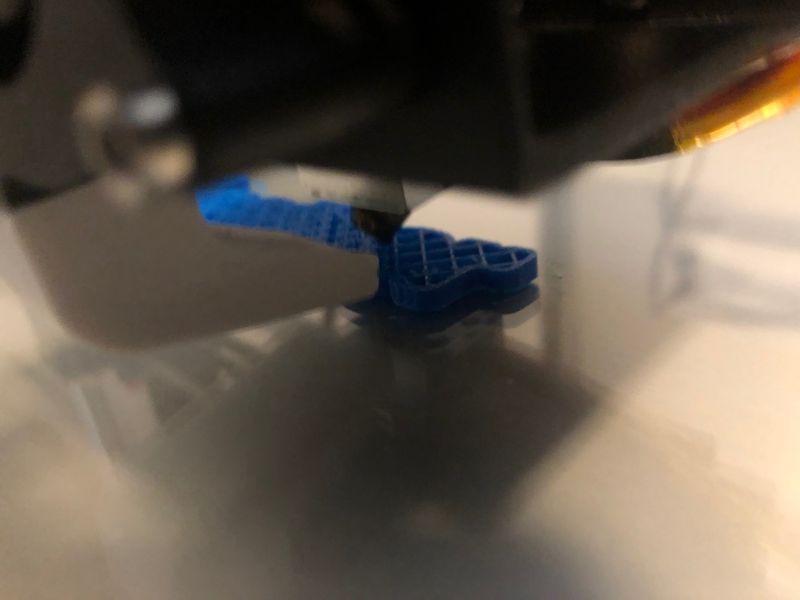
I also wanted to see how easy it is to print my own design. I printed a 3D version of the gadgeteer logo. I uploaded the logo into Tinkercad and created the Z-axis extrusion in the Tinkercad UI on the web.
It is very interesting to be able to design and print something without expensive custom 3D software. Of course, my first attempt didn’t go as planned.

But trying again
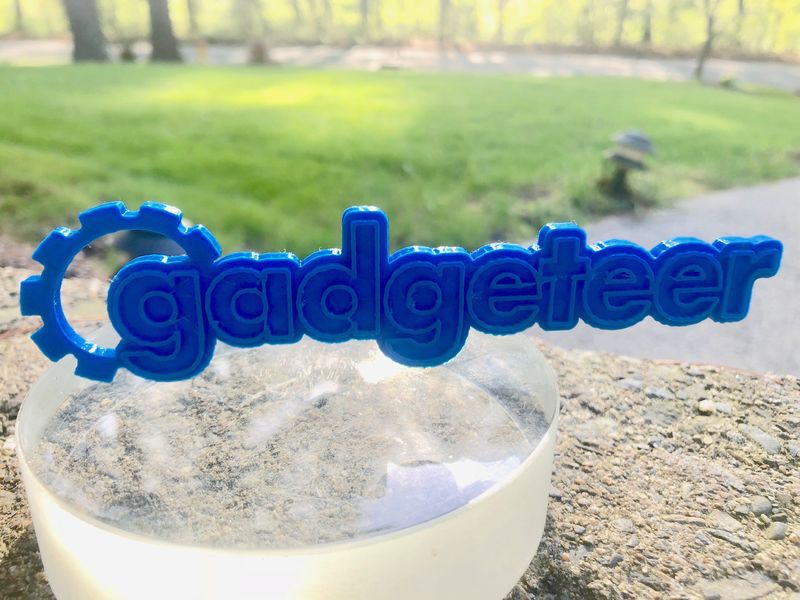
and a little patience during the 1:33 printing time –
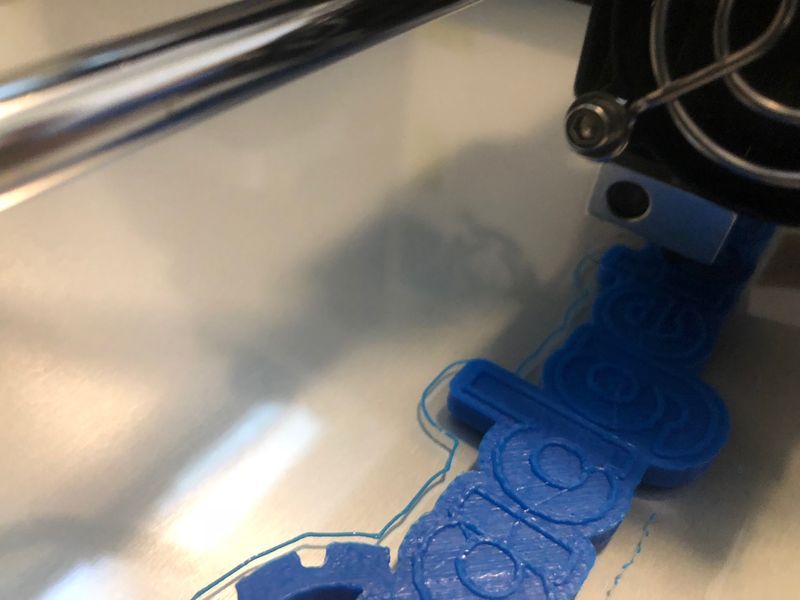
results in a great 3D model.
What I like
- Solid build
- Good quality model output
- a strong user support base
- modifiable
What needs to be improved
- wiring guide
- bed leveling nuts
Final thoughts
The Anet A8 Plus offers many enhancements over the Anet A8 but still maintains the low price point, do-it-yourself kit feel, and decent part output that made the Anet A8 so popular. If you’re a professional, novice, or completely inexperienced and you are looking for an affordable 3D printer kit, the Anet A8 Plus may be a great starting point for modification, experiment or learning about FDM 3D printing.
Price: $288.00
Where to buy: Anet, Amazon, or AliExpress
Source: The sample of this product was provided by Anet.

INIU Mini Portable Charger, Small 45W PD Power Bank, 10000mAh USB C in&Out Fast Charging Pocket Size Battery Pack, Travel Essentials Powerbank for iPhone 17 16 15 14 Pro Air, Xiaomi, Samsung S24 etc
(as of March 24, 2026 18:33 GMT -05:00 - More infoProduct prices and availability are accurate as of the date/time indicated and are subject to change. Any price and availability information displayed on [relevant Amazon Site(s), as applicable] at the time of purchase will apply to the purchase of this product.)
Gadgeteer Comment Policy - Please read before commenting
Did the Egyptians have a big 3D printer? Your white figurine looks like the Sphinx.
I have never seen a 3d printer in the flesh, nor have I seen anything made on one. I am a model engineer and I thought it would be a good addition to my little workshop. However, if the printed items shown in this review are typical examples of the output, I will not be buying one. I expected much better and to my eyes, not knowing what to expect, the items look just aweful.
Well, the results here are really not the best that can be archieved with 3d printing (far from it I would say).
For quality, get a better printer and learn and adjust settings to your needs. But for learning and getting things out (that can be also a lot better then this first things) this printer can be a nice start.
I’m going to get one as an extra for larger objects…
Dont be put off! The prints you see here are basically rubbish and gadget man should have tuned in the printer with a few more prints and ironed out the issues.
I slowed down the printing speed a bit and it made a substantial improvement in the way that the printer handles curves and the sharpness of the print result. As an example look at this part here
The source is from this site: https://www.thingiverse.com/thing:44455/