I know nothing about 3D printing, except for little models my son has brought home from summer “tech” camps. This tiny desktop 3D printer caught my eye, and only required an SD card for printing. Pretty slick, right? Let’s take a look.
What is it?
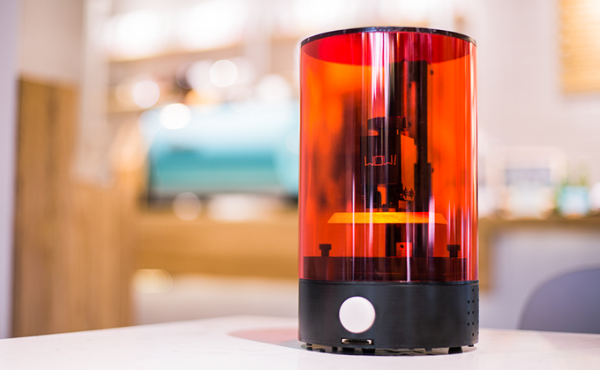
The SparkMaker is billed as a compact, user-friendly desktop 3D printer that doesn’t use the usual filament to “build” models. Instead, it uses a liquid resin to build “up”, and UV lights under the vat harden the model slice by slice. A motorized platform raises the model up from the goo, sort of like the T-1000 Terminator from the second movie.
Hardware specs
- Height: 10 inches
- Width: 6.7 inches diameter
- Print size: 4 x 2.2 x 5 inches
What’s in the box?
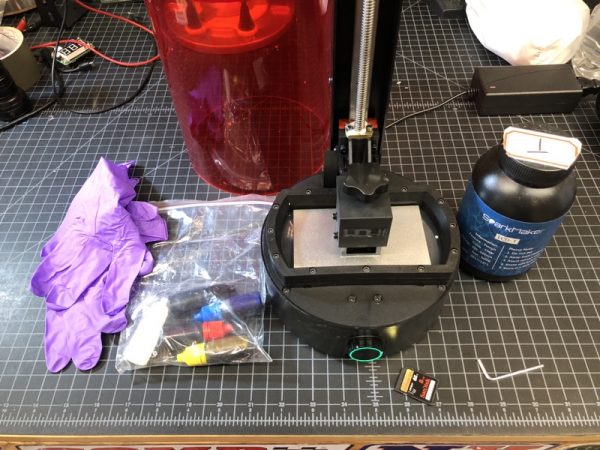
My sample came with just the power supply, hex wrench, and red cover. The resin (LCD-T) and some dyes were shipped separately.
Design and features
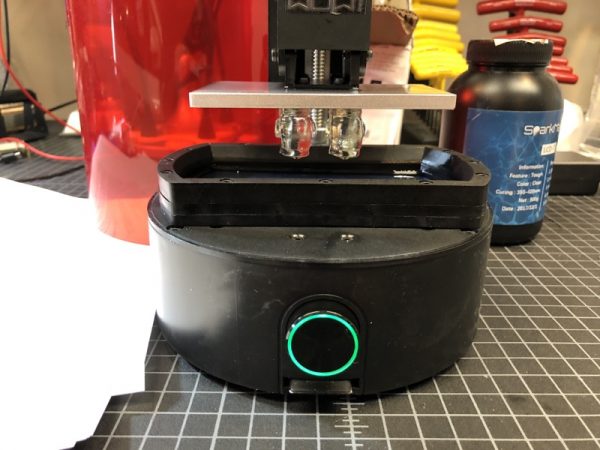
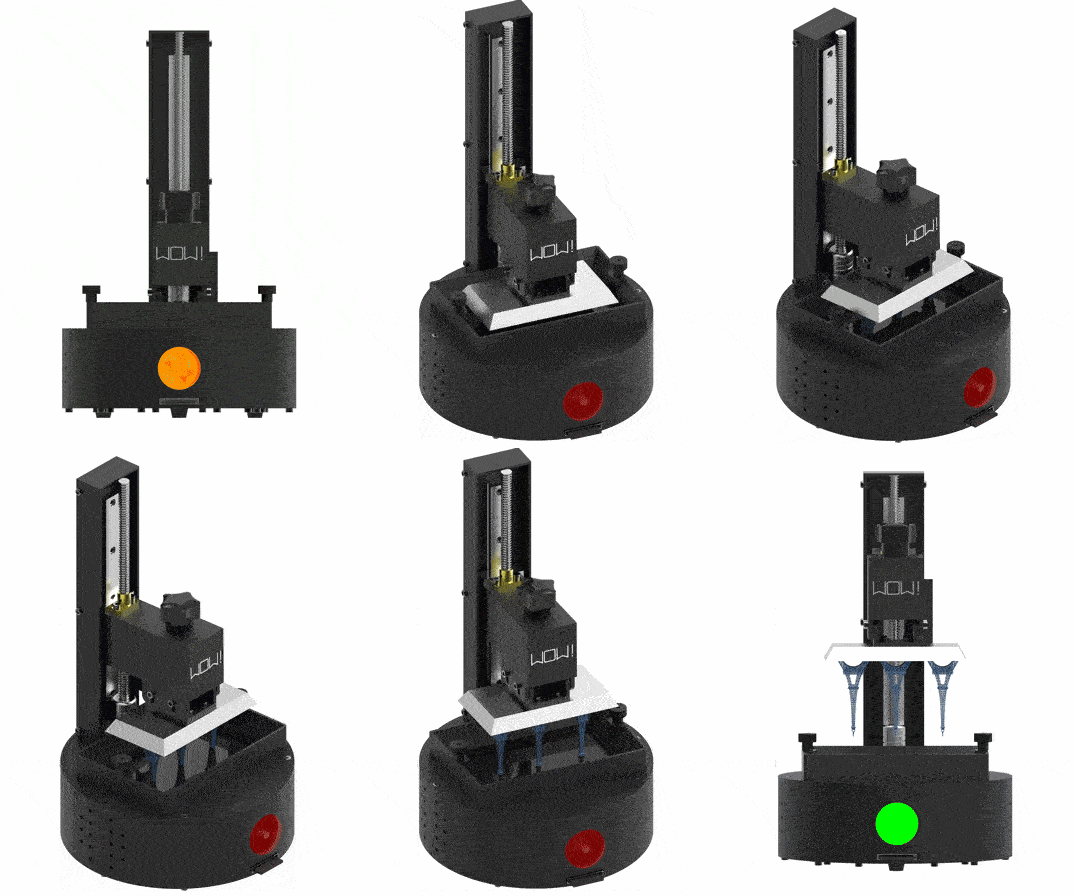 There is no screen on the printer. The only user interface is a single round knob on the front with an LED ring. There’s not even a power on/off switch.
A very long screw extends from the base of the printer. This moves the silver metal platform up and down. The metal platform has no “smarts”. Its only holds the model upside down.
Setup
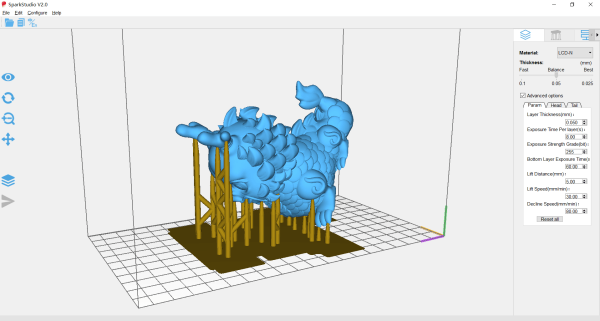
There is a Windows program called SparkStudio where your’e supposedly able to edit files, but I was unable to get it to work. Fortunately, there were several sample 3D files to download. They’re all in “print.wow” file format, which you simply drag and drop to an SD card. The printer recognizes nothing else.
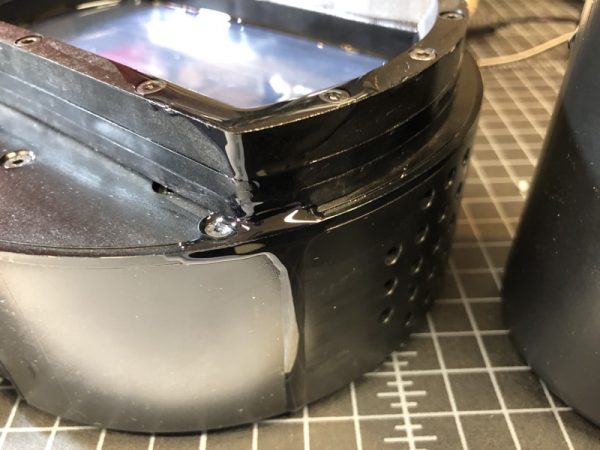
Next, you pour the resin into the vat. Don’t spill any. This is nasty, sticky stuff. I wasn’t exactly sure how much to pour in so I just guessed.
 For my print sample, I chose this stout little head. What could go wrong?
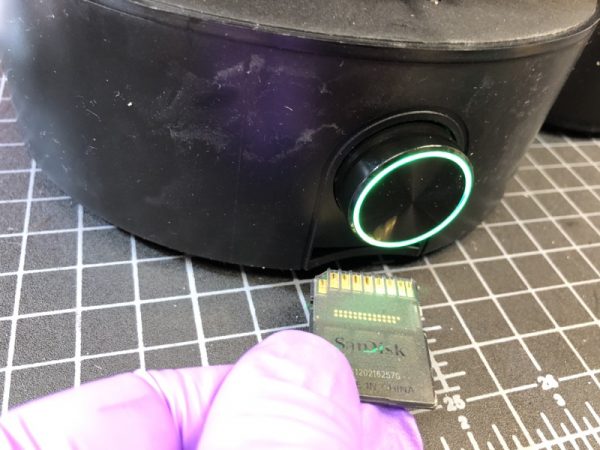
The SD card inserts under the button (upside down, mind you).
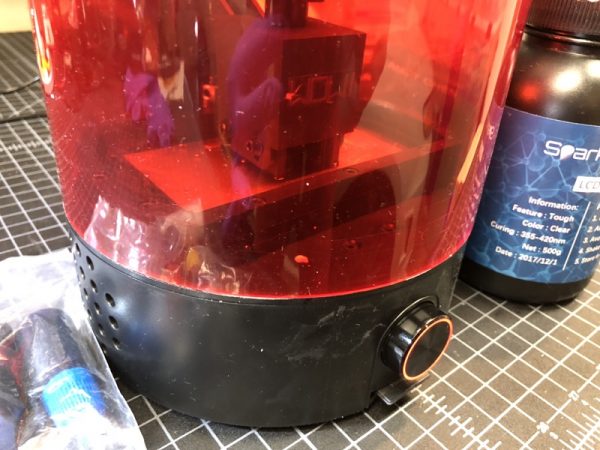
Is it working? The flashing red circle says it’s working. That’s it!
Performance
If you’re looking for Star Trek replicator speed, forget it. At first, I thought the printer was dead, as the light blinked red. However, the platform did move ever so slowly, as the cooling fan hummed away at the base of the printer.
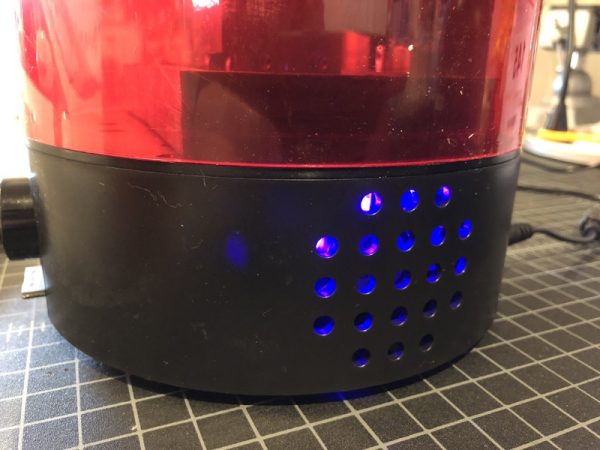
The fan noise isn’t too unpleasant. It’s similar to a noisy laptop at full load. Here you’ll see the UV lights blasting away through the ventilation holes.
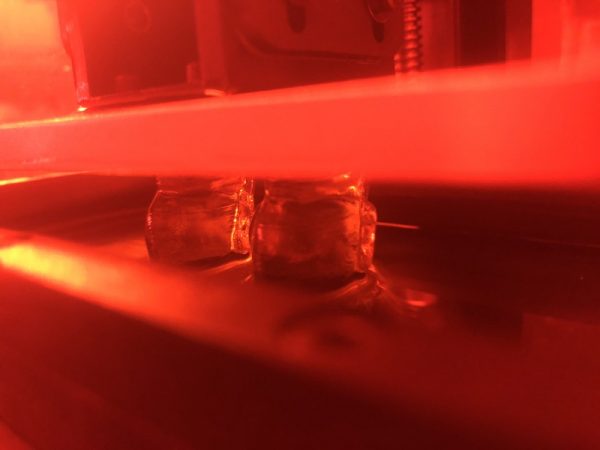
A few hours later, I could see the printed objects “rising” from the primordial goo.
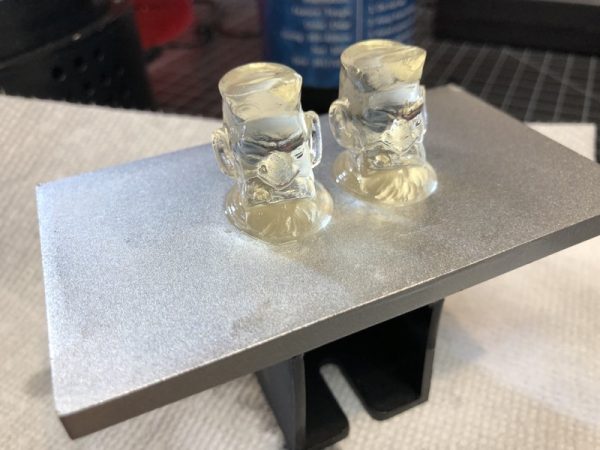
About 4-5 hours later I had two tiny little heads. Two? Apparently, the file was set for two, and I had no way to change that as far as I could figure out.
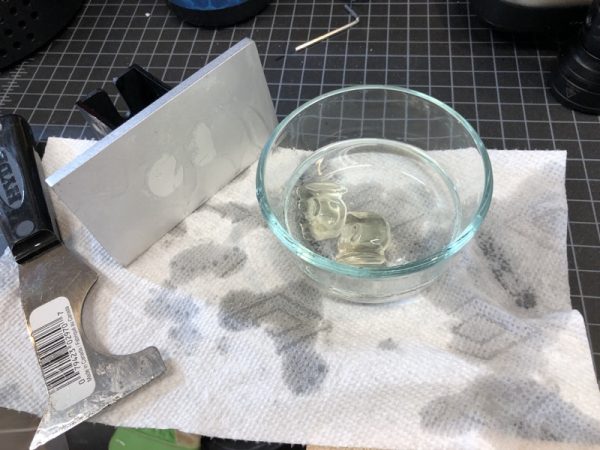
Next, I scraped off the heads from the metal platform and gave them an alcohol bath…
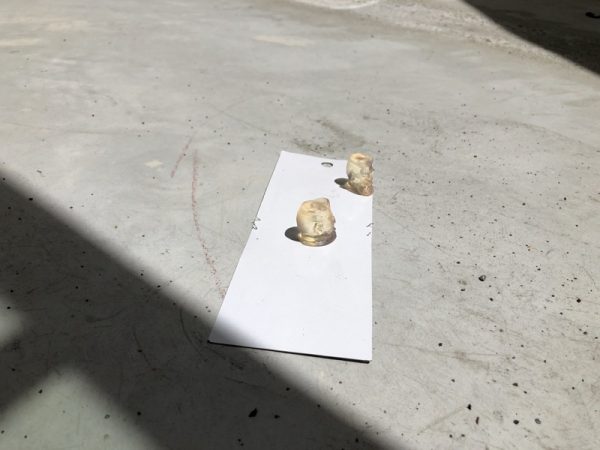
…And let the bask in the California sun to cure under some UV light.
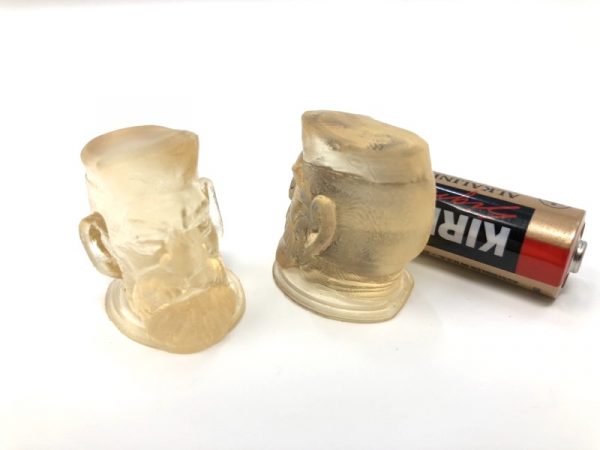
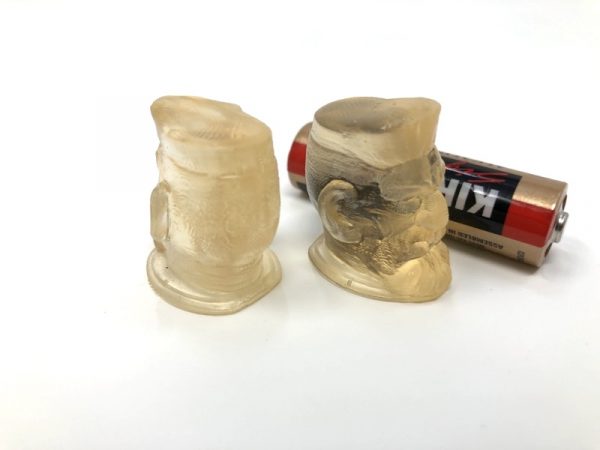
And here are my two heads. Two heads are better than one, right? They sure turned out smaller than I expected. That’s an AA battery for size comparison. They remind me of novelty guitar knobs.
What I like
Very small and compact. Zero computer skills necessary with the SD card interface.
What needs to be improved
This product is not for first timers. I could not figure out how to edit, find, or upload any other 3D models. This is probably due to my lack of experience in 3D modeling, but the printed documentation is poor which does not impart confidence. Also, liquid resin is just nasty to handle.
Final thoughts
From what I understand, this type of 3D printing provides a higher degree of precision and the SparkMaker is quite a price breakthrough for this medium. Some of the filament-printed things I’ve seen look completely rough-hewn compared to the twin heads I printed for the first time. If you’re a hobbyist in this field and you’re not afraid to dig deeper, the SparkMaker SLA 3D Printer might just whip something up good for you.
Price: $289
Where to buy: OGadget
Source: The sample of this product was provided by Ogadget.

