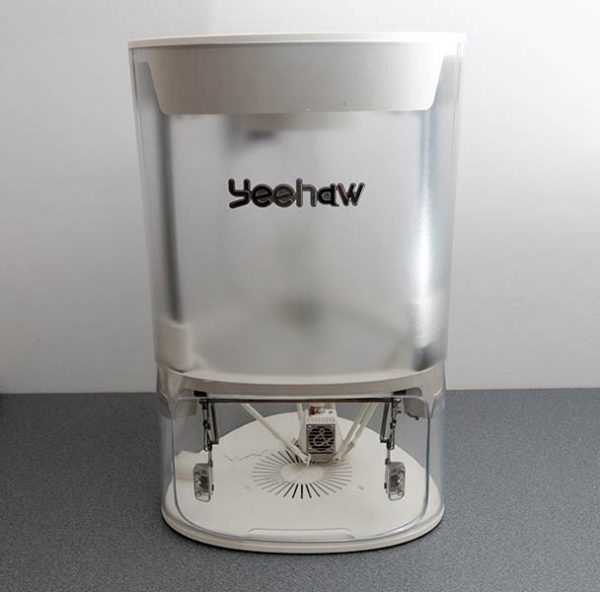
I’ve been interested in 3D printers for a long time but the price and complexity of creating models kept me from buying one. In the last couple of years, the price of 3D printers has come down to a level that ordinary people can afford, but I’m not sure the complexity issue has been changed much… at least until now. The Yeehaw 3D printer, which is currently seeking funding on Indiegogo, has been designed with kids in mind for safety and ease of use. Let’s take a closure look.
What is it?
The Yeehaw 3D printer is a 3D printer made especially for kids. It is controlled with a mobile app or web browser and has safety features take me this printer suitable for kids and adults like me who know nothing at all about 3D printers.
Setup
The Yeehaw 3D printer comes completely assembled as you see it above. It has no buttons or switches.
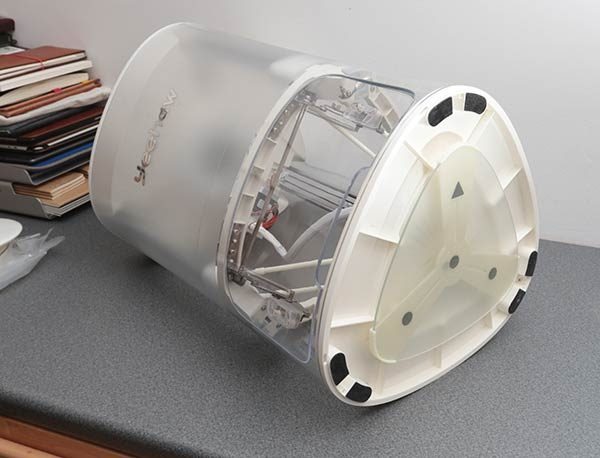
When I first took the 21.25 x 13.5 inch 3D printer out of the box and set it upright on a table, it wobbled. It took me a few seconds to realize that there was a magnetic base plate attached to the bottom.
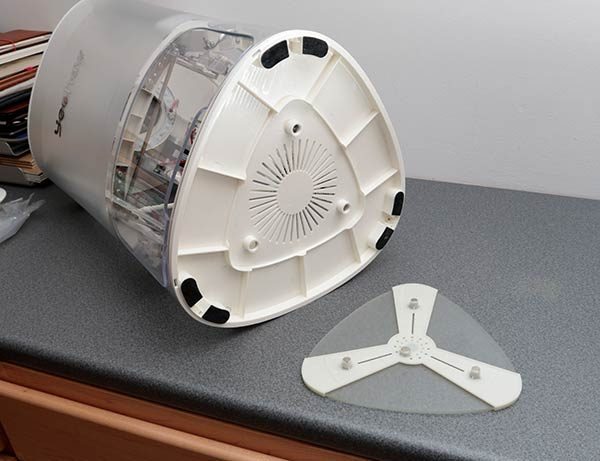
The plastic base plate actually goes inside the printer and is what the models are printed on.
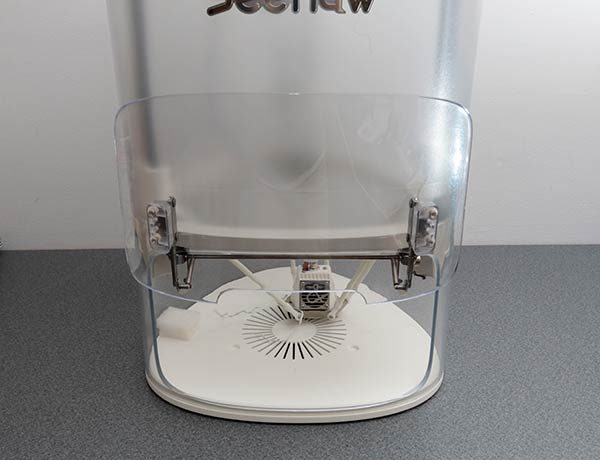
The door on the front of the printer opens easily so that the base plate can be positioned under the print head.
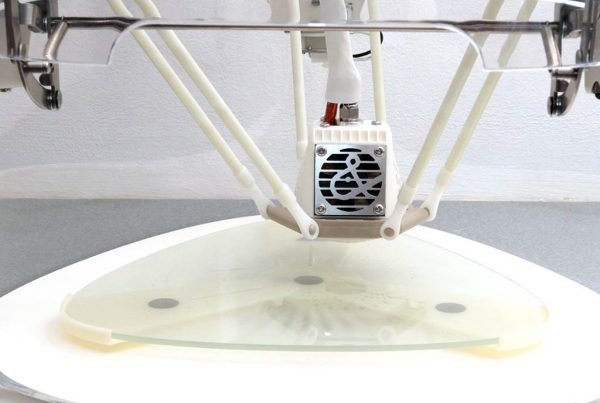
Once positioned, the next step is to install the Yeehaw app on an iOS or Android device and calibrate the print head. The app will provide step by step instructions on how to do this. Calibrating a 3D printer might sound a little scary, but it’s easy. All you really need is a sheet of typing paper and the ability to follow instructions. Calibrating the print head will make sure that it’s at the correct height above the base plate so that printed models will “stick” to the plate as the first layers are being printed. The calibration process has you place a sheet of paper on the base plate and then adjust the height of the print head so that the paper can just barely move when the head is touching the paper. You do this at four points on the base plate and then you’re done.
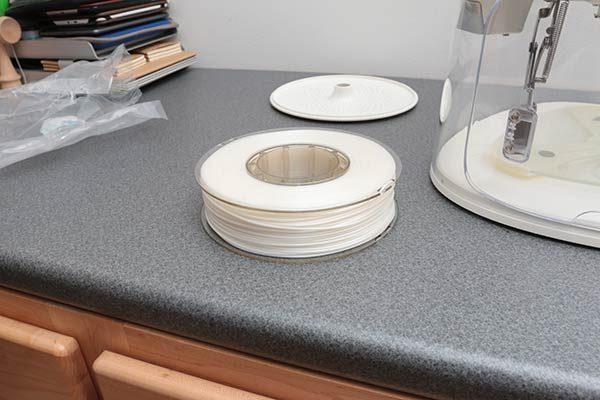
The next step is to load the spool of filament. I was sent a spool of white filament that reminded me of a huge spool of weed eater string.
The Yeehaw 3D printer uses PLA plastic filament which stands for polylactic acid. It’s made from renewable resources like corn starch, tapioca roots, or sugarcane. The Yeehaw printer uses 1.75mm PLA which is a standard size that is available in a variety of colors and is priced around $30 for a spool like you see above.
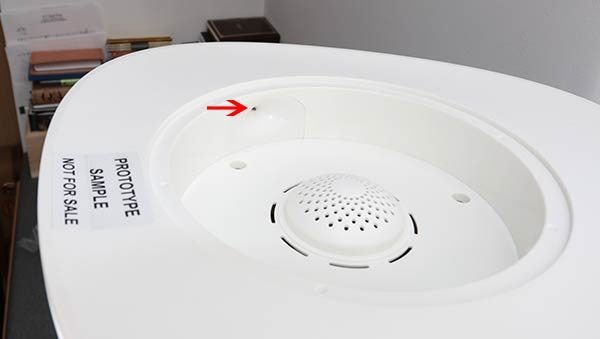
Loading the PLA in the Yeehaw printer is very easy. It loads from the top of the printer and just requires that you first power on the printer using the included AC adapter. After the printer boots up, you can remove the top cover, and feed the end of the PLA into the small hole until the printer grabs the end of the filament and pulls it in the rest of the way toward the nozzle.
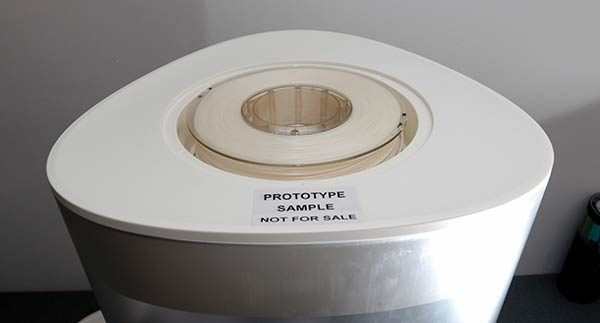
Then you just set the PLA spool in the tray…
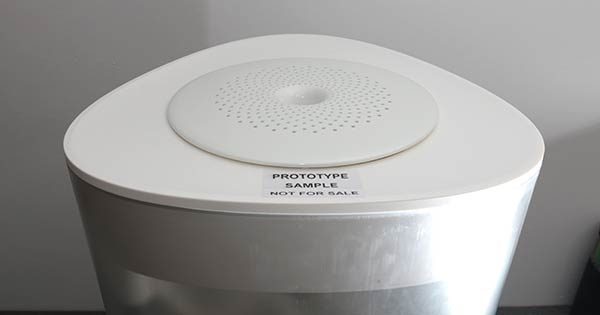
And place the lid back on top of the printer. The whole process is quick and easy which is perfect for kids and tech challenged adults.
We’re now ready to print our first 3D model!
Printing models
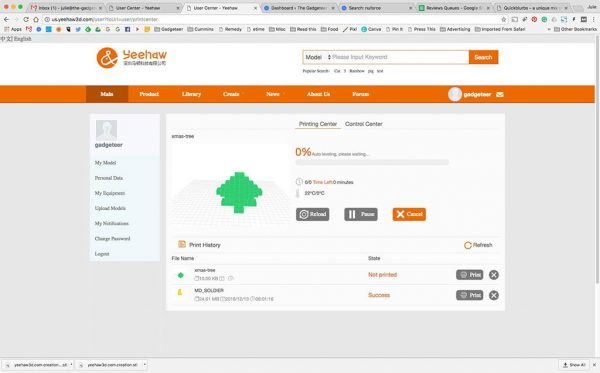
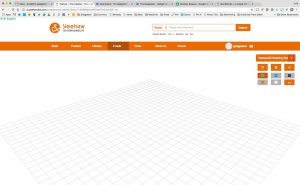
Printing a 3D model is done through the Yeehaw mobile app or the web browser. Both methods look almost identical so I’ve just attached images from the web app.
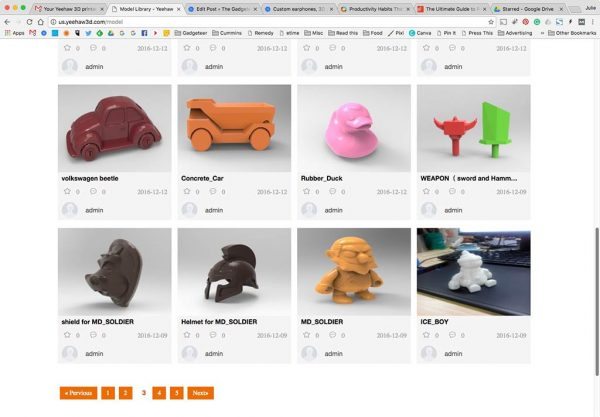
The app has a library of models that are ready to print. I chose the MD Soldier model.
Once the app transfers the model to the printer wirelessly using WiFi, printing begins.
See it in action
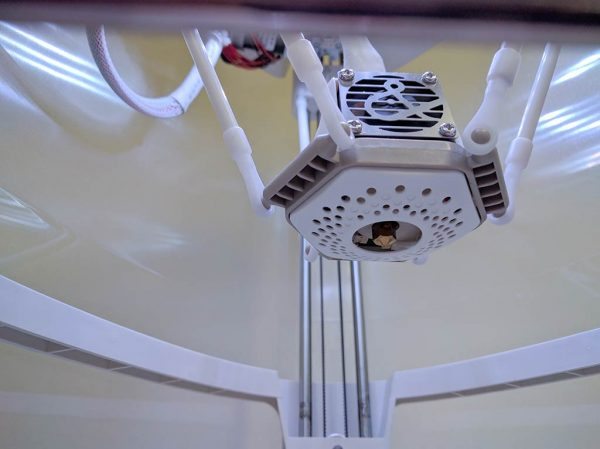
The Yeehaw printer makes noise as it prints, so you would probably not want to place it in the same room where you watch TV or sleep. The top of the printer also has LEDs that light up in different colors as a status indicator.
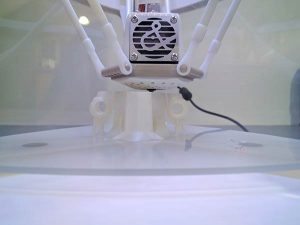
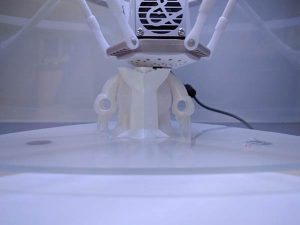
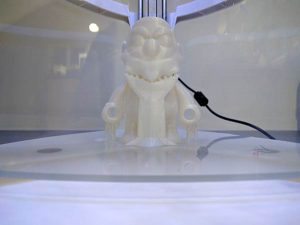
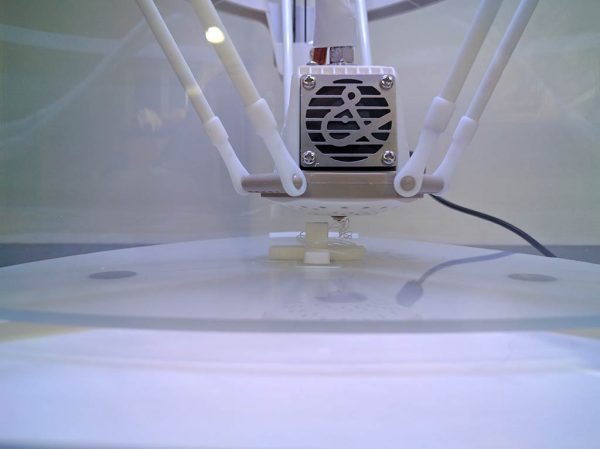
Depending on the model, it can take quite a while for a print to complete. The MD Soldier that I printed took several hours. I started printing it around 4pm one afternoon and it was still printing when I went to bed at 9:30pm. The Yeehaw printer prints 60-90mm per second.
But when I checked the next morning it was done! I removed the base tray from the printer and found that the model was really stuck to the plate. After some flexing, it popped off.
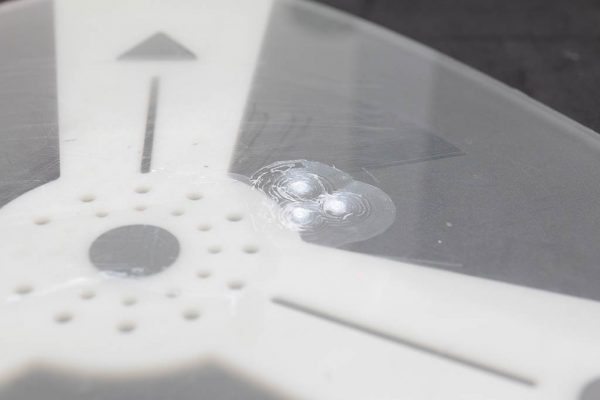
But some residue of the print remained on the base plate. I was not able to scrape all the PLA material off the base plate even when I tried using an Xacto knife. I really think the base plate should be made of glass instead of plastic to keep this from happening.
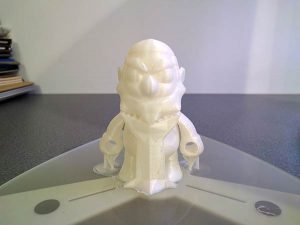
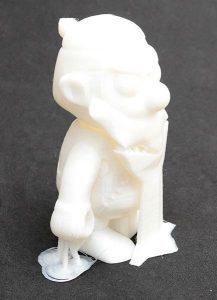
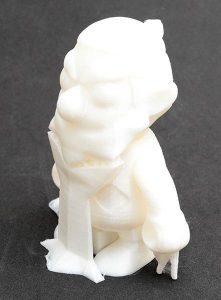
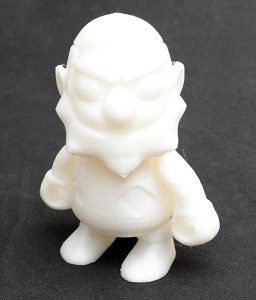
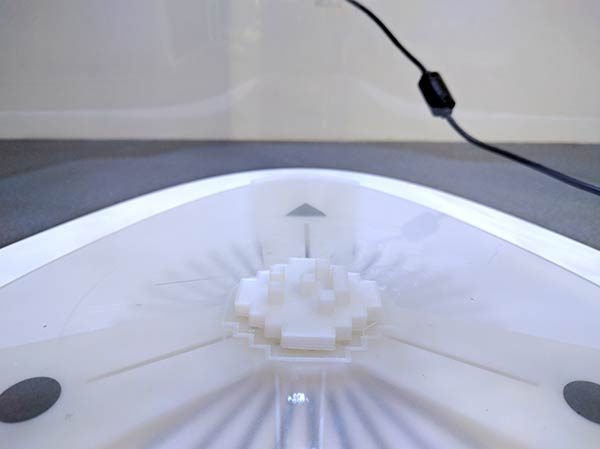
Here’s the finished model. You will notice the extra material under the hands and beard and between the legs. This material is needed in order to provide a base to print from because you can’t just print the bottom of the hand if it’s hanging out in space.
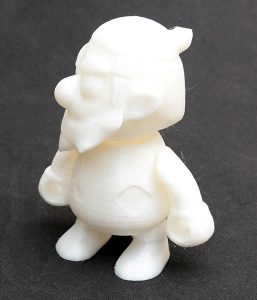
The extra material snaps off pretty easily, revealing the finished model. Too bad the Yeehaw doesn’t have the ability to print from multiple spools of PLA so that different colors could be used in one model. But it’s still really cool and the resolution is very nice at 0.1mm. The head even rotates!
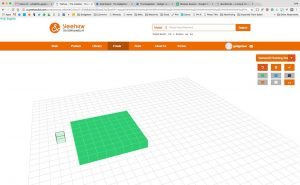
The Yeehaw library has a growing selection of models that are ready to print, but you can also create your own simple models using the 3D builder feature in the app. I say simple models because you use blocks to build the model on a grid. Remember that the Yeehaw has been designed for kids, so that’s why the building feature is so basic and simple.
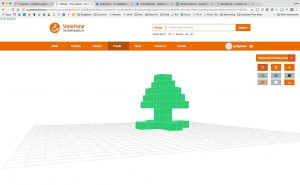
My first try at making my own model didn’t work out too well. I thought it would be fun to make a Christmas tree. Festive right?
But I wasn’t thinking correctly when I created it. Remember that extra material under the soldier’s hands and beard? I didn’t take that into consideration when I created the tree. So when it came time to start printing the first layer of the tree, the filament had nothing to stick to and just started dribbling around the tree’s base. Oops!
My second try creating a model was a flat smiley face and it was more successful.
The app also allows you to import existing STL files. I tried this with an STL file that I found on Thingverse. The STL file appeared to import successfully, but the app’s web interface popped up a message in Chinese that I couldn’t translate. No matter what I tried, I wasn’t able to print an imported STL file. I think this feature is still in beta so I hope that the kinks will be ironed out soon.
Final thoughts
The Yeehaw 3D printer was my first experience using a 3D printer and now I’m hooked. This printer is great for kids because it’s easy to use and is safe. Printing will immediately stop when you open the door while it’s printing and the nozzle lift out of the way so you won’t get burnt.
Although the application’s current library of ready to print models is small, the ability to import existing STL model files (when that feature actually works) will make this printer useful for adults as well as kids.
I did ask the Yeehaw team about using this printer with other applications in case Yeehaw goes out of business. They told me that you can connect to printer Wi-Fi and use the URL: http://192.168.100.1. I didn’t get a chance to test this because I don’t know what other applications are available. I do plan to test this at some point and will do an update when I do.
For $249, the Yeehaw printer is a fun an inexpensive way to take a first step into 3D printing for kids and those of us who are still kids in our minds.
The Yeehaw Indiegogo project has already met their funding goal and ends in 4 days. Orders are shipping now.
Update 02/09/17
It’s great when a company is responsibile and works hard to make things right when there’s an issue. I received the following email on 1/23:
Good morning Julie,
I hope you had a great weekend. I would like to discuss a common issue that many first time crowdfunding campaigns encounter: production mistakes and their aftermath.
Yeehaw 3D Printer for Kids ran a successful Indiegogo campaign between Nov.-Dec. 2016 They shipped the product to their backers on time for the holidays. Unfortunately, after shipping they found out their manufacturer made some production erros on some of the printers.
Yeehaw, a new and small company, took responsibility for their production mistake, and even though they have limited resources they will be sending all their backers an additional brand new 3D printers for free, even to the ones that did not report any problems.
Many crowdfunding campaigns make production mistakes in their first batch and don’t take action to correct them. We truly believe that your TECH SAVVY audience would like to hear more about how Yeehaw took responsibility for a production error. Yeehaw is an example for crowdfunding campaigners to take responsibility for their errors and help restore confidence in crowdfunding platforms.
If you are interested in writing about Yeehaw taking responsibility, or you have any questions at all, please feel free to contact me or check out the information on the Yeehaw campaign page.
Thanks for taking the time to listen. I look forward to hearing from you soon.
Paul Wang
CEO Yeehaw 3D Printer
Press Release, January 23, 2017
Indiegogo campaign page
Contact: [email protected]
Source: The sample for this review was provided by Yeehaw. Please visit their site for more info and order one through Indiegogo.
Gerber Gear 22-47162N Fast Draw Folding Assisted Opening Pocket Knife, Fine Edge, Black
$40.97 (as of January 15, 2026 17:19 GMT -06:00 - More infoProduct prices and availability are accurate as of the date/time indicated and are subject to change. Any price and availability information displayed on [relevant Amazon Site(s), as applicable] at the time of purchase will apply to the purchase of this product.)Gerber Gear EVO Jr. Folding Knife - Serrated Edge [22-41493]
18% OffProduct Information
| Price: | $249 |
| Manufacturer: | Yeehaw |
| Retailer: | Indiegogo |
| Pros: |
|
| Cons: |
|



Gadgeteer Comment Policy - Please read before commenting
Wonder if you were to spray the base with “Pam” non stick stuff for your
pans, if that would help it not stick? Would be an easy fix.
That seems like it might be a good idea but if you think about it, it might keep the base layer from sticking which could compromise the whole model if it shifts on the base. I’ll be curious to hear some advice from some people who know their stuff when it comes to 3D printing.
True. Has to be some way of preventing it from sticking to the base. Wonder if a cheap cell phone glass screen protector would work? Drop of water on the base, lay the glass screen protector (or thin sheet of glass?) over it.
I think I could take the base plate to a glass shop and they could cut one the same size. I’m pretty sure the plastic part of the base can come off without breaking it and transfer over to a glass base.
Not a bad idea, or stainless steel. Glass must be strong, and on the thicker side. You don’t want to shatter it removing the model. They sometimes require a bit of work to remove. I would stick to Tape and glue first before swapping plate tho. My primary printer uses a non-glass/metal plate. I’m not sure what it is exactly It seams plastic’ish but it’s heated and has no problems. So I’m going to call it Magic Plastic.
NO NO NO NO
Actually use Blue Painters tape for PLA. Create a single layer on printing base. If using ABS use Kapton Tape.
I knew you’d have the answer! 🙂
I’ll elaborate on my previous comment. You would not want to use any kind of oil to keep your print from sticking. Generally the problem with 3D printing is the opposite. Builds stop sticking mid print and you ends up with an art-deco AFRO or spaghetti center piece. Most build platforms are Metal or Glass to allow for a heated print bed. But a heated bed is not needed for PLA. This is also much safer for kids so the decision to go PLA only makes sense on this product. I would assume they went with plastic to either keep cost down or for safety in a product aimed at younger hands that may break or crack the glass removing prints.
I suspect Julie got a little Over zealous with the calibration and bed leveling. It’s probably a bit TOO close. Maybe re-run the leveling wizard and make it a bit looser. You can also use BLUE painters tape (you will need to re calibrate as this will add mm to the height), the PLA will come off the tape easier than the plastic. If you still have problems you can remove the tape. Blue painters tape is usually only good for a couple prints before you need to re-apply. But it’s easy and cheap. If you are using ABS you would use KAPTON tape, Kapton tape is much more expensive, but good for many many many prints. But Blue tape works better for PLA/PLV. Another option is to loosen up your leveling and use Elmers glue sticks on bed before printing. This works very well but tends to get a little messier.
You may also want to invest in a “3d spatula”
https://www.amazon.com/Gizmo-Dorks-Print-Removal-5-inch/dp/B01DTLWVSU/ref=sr_1_2?ie=UTF8&qid=1482245577&sr=8-2&keywords=3d+printer+spatula
or
https://www.amazon.com/Foreasy-Printer-Accessories-Removal-Shovel/dp/B01BUZUXXC/ref=sr_1_8?ie=UTF8&qid=1482245577&sr=8-8&keywords=3d+printer+spatula
They probably look familiar if you are used to clay/sculpting. Go as thin and strong as you can find.
IT MUST STICK! If you print any 3D object, the PLI or other filament like ABS, must stick for the printer to work correctly. In most cases, after the print-job is done and the part cools down, it can pop off without much work.
There are surfaces you can stick to the printing glass/surface, that help to release the product, when you need to remove it. This printer is a small inexpensive printer without options like heated surface … ect so I do not see a way to improve the printing surface for now. For all of you, who would like to print and or own a 3D printer, please take a great care and research all the options the printer has or can have, like add on’s – heated bed, multi-color “hot end” … etc!
The less expensive printer the more limitations it will have and also the slower the print jobs … including the maximum size one can print! I own a printer from CeeMeCNC, it is a ROSTOCK-MAX printer that is a great printer to own!
Julie has just entered a slippery slope territory.
🙂
I’m anxious to see this take off. The keys, however, will be a combination of (at least) 3 successful items to execute. 1. Generate enough interest in the resulting models to keep kids interested in experimenting (it’ll otherwise just end up in the pile of disinterested toys). 2. Make it reliable (‘nuf said), and 3. significantly reduce the cost of materials (i.e. the ‘PLA’). FWIW, we use 3D printing in our shop and reliability and material costs are not to be underestimated!
At the end of the day, I think this is a great idea and one to spark the interest of our next generation of ‘thinkers and doers’ (much like chemistry sets did).
Reducing the cost of prints. Filament has gotten much more reasonable with the scores of competing companies now. If you shop around you can get good quality filament for about $20/Kg (this is many many optimized models)
The amount of filament used can greatly be reduced in models by using “infill patterns”/”infill percentages” Many simple printers/Slicers will print a solid model. This is a waste for items that do not need the strength, and it greatly increases the print time. The Statue Julie used in review is a perfect example. There is no reason it can’t be mostly hollow. Higher end “Slicers” which is the software that converts the 3D model (Cad, STL, etc) into the code necessary to print can intelligently fill the interior with cross hatching, triangles, or hexagon patterns of various sizes to both greatly reduce the material used, AND the time it takes to print an object. 30% less material = ~30% less print time.
There are lots of options and reasons to pick different infill designs. Some are aimed at lateral or longitudinal strength, others for speed, and others for minimal material. I usually find Hexagon or Triangles to be a good choice for almost all situations. Almost any NON-STRUCTURAL print can be print with 20-30% infill. This means you are REMOVING 70-80% of the material from the inside of the model. Think about the savings in Filament and time.
Some slicers can even include “re-enforcement” layers to improve strength. This would be done by infilling a pattern for 20-40 layers then placing 1-2 full (non-hollow) layers and then repeating infill pattern. I will often use a 20-1 ratio (20 infill layers to 1 solid) for items that require minimal structural strength. A Cell phone stand or gameboy stand would be a good example for needing a bit more stability but not requiring a solid object.
Support structures. You mentioned the problem you had with the tree. Higher end slicers will take care of this for you. They will analyze your print and automatically add in the needed structure to properly print.
PLUG PLUG PLUG: As you probably noticed I can get very long winded when it comes to 3D printing. I apologize if I get too detailed but I really enjoy the hobby and have gotten quite good at it. So forgive any novels I may write. I will also often plug a product called “Simplicity3D” I have no association with them, nor am paid to promote them. I just feel passionately about the quality of their product and feel it is 100% worth the cost.
If your printer (yeehaw) has the ability to use another program to slice/print you should look into both Cura and Simplicity3D. Both are solid programs, and will produce far superior prints than most of the other Slicers available. Cura is free, it will support infill, supports and optimizations. Cura’s learning curve is moderate and can be learned in a few days. Simplicity3d has two curves basic and advanced. The Basic settings (set everything to auto) can be mastered in a few hours, the advance settings (you can fine tune thousands of optimizations) can take weeks or months to master. Simplicity3d can be tuned to print far Superior and optimized prints, profiles can be configured for every print type saving you tons and tons of filament and time. The down side is Simplicity3d costs $150. However it’s a purchase I haven’t regretted for a single minute. I recently did a test for a friend and other site on a model I made.
Stock Slicer for my printer. (replica-G)
Slicing Time (time it took to convert Model to printer code): 44minutes
Printing Time (time it took to print): 29 Hours 20 minutes
Material used: .8Kg
Cura
Slicing Time (time it took to convert Model to printer code): 13 Minutes
Printing Time (time it took to print): 24 Hours 37 minutes
Material used: .6Kg
Simplicity3d
Slicing Time (time it took to convert Model to printer code): 6 minutes
Printing Time (time it took to print): 21 Hours 04 minute
Material used: .5Kg
Looks like the Yeehaw can save some filament. It doesn’t print completely solid models. Here’s a picture of the base of the tree I tried to build using the 3D Block feature. You can see that the center has a honeycomb structure.
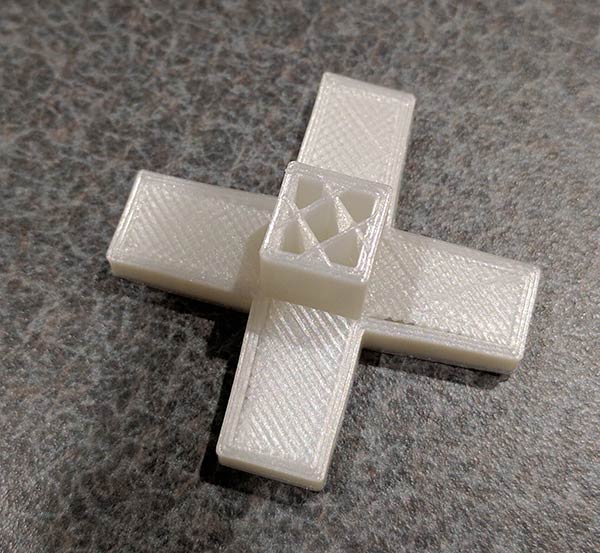
That isn’t honeycomb. That is a Grid Infill. Just for reference 🙂
Honeycomb would be a Hexagon look
https://i.ytimg.com/vi/BMWTK2ZgJCM/maxresdefault.jpg
I have some Models, that take forever in Simplify3D to slice but only some minutes in Cura. I had to Activate the Good Grafik Card for both programs on my notebooks, or it would only use the Intel Card.
For Structural Parts some extra outer Layer are good, too
Normally for non Structural Parts 10-15% should be more than enough. Good Models can even be printed at 0% (Vase Mode) like the Marvin. That is really cool for Flex materials 🙂
If they should be a bit more sturdy 15-20% with an extra outer Layer should be good enough.
If you need it extremely sturdy ( Toys for my 2 year old nephew) i usually use around 50% with the full Layer every 30 Layer and 3-5 outer Layers.
Some of the stuff he literally threw against the wall several times (Ocarina, calicat, Benchy, Cat Coin Bank) and nothing ever broke.
Probably everything over 70% is overkill, and all over 85% makes it break faster, as it can’t bend.
The difference in filament used sounds interesting. I would say it has something to do with supports or bad calculation, but i have to check that some time in the future 🙂
I agree with the extra outer layers. As for 85% + infill. A Perfectly aligned and calibrated printer will print just find over 85% without risking the object becoming easier to break. Since any mini issue will snowball as the layers build, but I do agree there are rare RARE times that anything over ever 50% would be necessary.
Depending on models you will learn when you can increase your outer walls. If aiming for strength extremely “organic” (curvy with lots of fluid angles) prints tend to do better with medium walls and a slightly higher infill. Geometric prints with sharp angles, boxes, angled over hangs will be find with thicker walls and less infill. You will learn as you go, soon it will become second nature just looking at a model how you can tweak the print for different uses.
As for models slicing longer in simplicity than cura, I would really be curious to see these models. I’ve never found a model that took longer in simplicity and am curious what aspects of that model confuse or slow down simplicity. Simplicity might also be interested in looking at them since they like holding the speed record maybe they can analyze it and improve their product.
Use the tools that work best for you. Learn from your mistakes, and experiments. Half the stuff I read about 3d printing while learning helped me greatly. The other half didn’t help and or hindered my quality. Take all advice (including mine) try it for yourself. If you find it works for you let other people know, if you find it didn’t also let people know. 3d Printing is still a hobby/art form, there is no true right or wrong way. The technology is rapidly changing. What works best for me and my 2-3 year old printers may be terrible for today’s newest iterations. Mostly have fun.
These comments are one of the reasons this is one of my REQUIRED daily stop sites!
I couldn’t find any detail spec on the printer anywhere, what is the resolution (layer thickness) and the speed?? anyone?
I’ll find out ASAP.
The resolution is 0.1mm, and the speed is 60-90mm/s
Check your slicing software, see if it lets you choose the speed. You might try cranking it up in 5mm/s increments to see how fast you can push the printer before sacrificing quality. If you are also prototyping a print you can decrease (make larger 0.2mm or 0.3/0.4mm) the resolution so your layers are thicker (and therefor less of them to print). Thicker layers usually will allow you to print faster as well maybe going from 60mm/s to 100mm/s with a 0.4mm layer. Test it out, play.
Anybody know what “flavor” of G-code the Yeehaw printer uses?
Anybody with any experience using Slic3r software?
Thanks in advance!
I got one of the first bunch… but I can’t connect to it. I tried with 3 different android phones nothing… I don’t know what the problem is and I haven’t heard back from support. I’m very very frustrated…
You installed the Yeehaw app on your device right? I’ll make sure the know you’re having a problem.
Of course!!! 😉
I tried with an android 4.4, un android 5.1 and I couldn’t even download the app with android 5 (message that it was not compatible…)
I entered my home wifi info and pressed next, then connected to printer wifi and pressed next… got message “connect failed”.
Did you do it via an iphone or ipad?
I wish I could connect via windows. Is there any way?
I did my testing with a Samsung Galaxy Tab that has Android 6.0.
According to the YeeHaw people, you can use the URL: http://192.168.100.1 to connect to the printer. I have not tried this though. Let me know if you do and are successful.
Yeah I already saw that but I don’t know how to do it…
Could you add me in skype [email protected]? I will help you for your issue. Thanks.
Thank you very much for your suggestion but we’ll have to find another way… I don’t have skype and never use it 🙁
New update from yeehaw: everybody of the first bunch is getting another printer!!!
This is incredible, I’m very happy about this solution (even if I’m quite frustrated to have it and not being able to use it!!)
So I just have to be patient…
Wow, that’s great service.
Trying to figure out how to upload custom/other files not in the Yeehaw catalog. Also curious as how certain files get added to the catalog…?
I was able to connect to the printer directly with Chrome via the IP address and upload files. .STL files will upload, but they don’t see to give me an option to print. So I got Slic3r and exported to gcode. That file was accepted but the machine wigged out on me as soon as it tried to start printing.
First it dropped to the bottom to do a warm up, which is opposite from standard print. then when it went to actually print, it moved high up and to an extreme angle. It looked like it was beyond normal operating limits and started putting out the filament. So I unplugged to avoid any damage, as stop commands didn’t seem to work.
So I’m afraid to just drop any old .STL file into convert. I believe it has more to do with the “printer settings” in Slic3r – but I don’t know the specifics of this yeehaw printer to be able to correctly input those – (default clearly didn’t work).
After tinkering around a bit – and discovering the english version of their website (which for some reason I wasn’t able to find before), I tried uploading a few of the .STL files that I had previously attempted to convert. The website seemed to take them and possibly converted them correctly. I’ll report back, but I’m about to start printing one of them soon after my current project finishes.
Hello again!
Finally got my replacement printer that actually works this time! I already printed several small figures with success and I’m hooked!!!
One question though: does anybody know the maximum dimensions of a printed object this printer can make?
Anyone still using the Yeehaw3d? Trying to figure out settings for Slic3r or Cura? Everytime I upload a print file to the Yeehaw it wigs out when trying to print.