I loved watching that footage of the giant meteor that broke up over Chelyabinsk, Russia. It was caught by dozens of people, from every conceivable angle. Were they waiting for it to show up? Heck, no, no one knew it was on its way. The Russians are big fans of car dash cams to protect themselves from car insurance fraud. What a great idea! The dashcam craze is coming to American shores and we were sent one of the devices on the forefront of this new cadre of car security devices. Meet the Papago GoSafe 200!
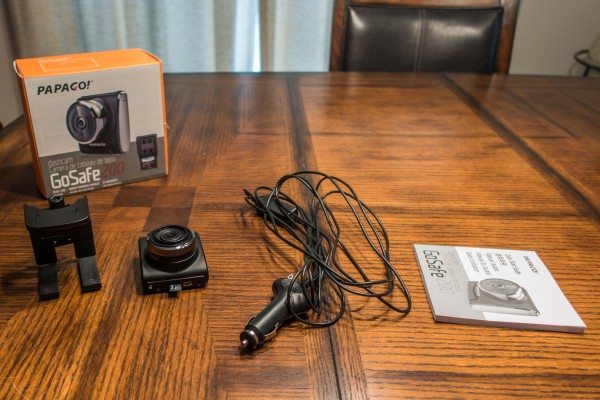
I wasn’t overly impressed when I first started to play with this device but the further I got into it, the more I liked it! The package comes with the camera unit, an adjustable grip mount that attaches to your rear-view mirror and a power cable that’s about 14 feet long so you can snake it along the crevices on the inside edges of your vehicle to keep it out of sight. You could also conceivably figure out a way to attach this to the rear window of your car and snake the power cable back to your 12 VDC outlet.
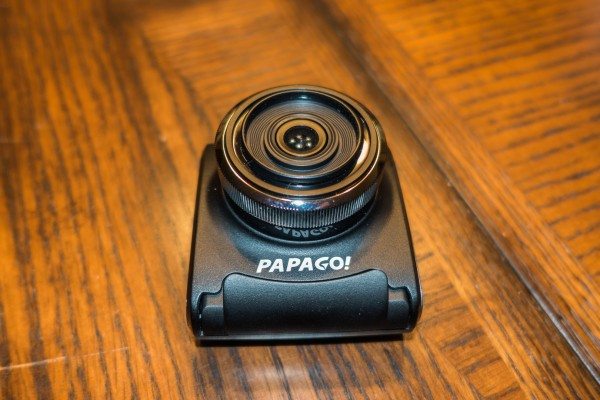
The front of the camera is simple, with a completely decorative chromed plastic ring around the lens. Underneath the PAPAGO! logo is a lip for pulling out the display that pops out from the body of the camera. The camera measures 2 1/2″ X 2 3/4″ with a thickness of 1 3/4″ including the lens.
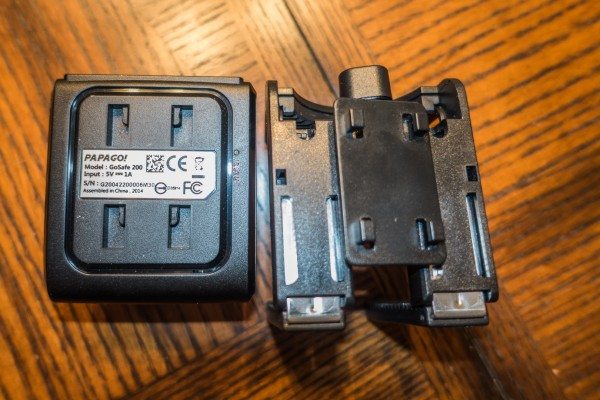
The back of the camera has snap-in grooves that are used to attach the mirror clamp onto the camera.
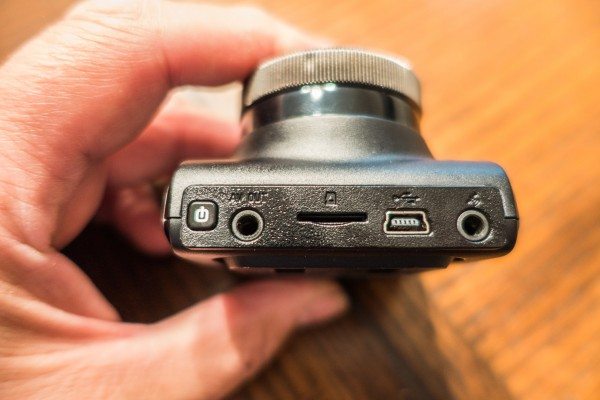
The top of the camera has the inputs and controls. On the left side is the power button (the unit powers up automatically when plugged into any power source). Next to that is an AV Out port. The manual doesn’t say but it seems likely that this is to be used with an AV cable with the 3-conductor 1/8″ plug on the camera end and a L/R/Composite RCA on the other end of the cable. Regardless, it’s not included. Next is a microSD card slot. The specs don’t specify the maximum allowable size of microSD card you can use but I did use a 64GB card just fine. Next to that is the miniUSB charging port. Plugging it into my computer brought up the files on the MiniSD card, so it can be used for transferring your videos off of the camera. At the end is a 1/8″ port for plugging in an external GPS unit, which is not included.
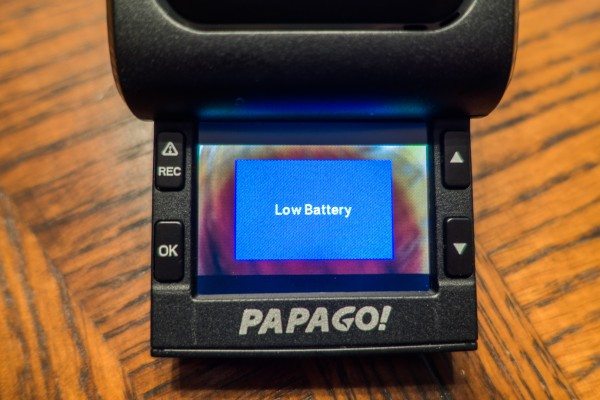
Pull out the screen from the bottom of the camera. Go ahead, just a little pressure…there! Oh, dear, your battery is low! Yes, there is a built-in battery but it doesn’t hold a charge for more than a few minutes.
When the device is first turned on or plugged in, it immediately begins recording. The buttons are, clockwise, from top left to bottom left:
(!)REC: Starts Emergency Record. This creates a file that will not be overwritten. This button is used as a BACK button when perusing the menu system.
UP arrow: Enters the Playlist so you can play back your video clips or acts as an UP button while in the menu system. You can play back videos or snapshots from this Playlist system.
DOWN arrow: Enters the Menu mode. This button is used as a DOWN button when used in the menu system. Pressing and holding for 3 seconds takes a snapshot of the current camera view.
OK: Turns the screen on or off, acts as an ENTER key in the menu system and if pressed and held will turn voice recording on or off.
The menu system gives you a tremendous number of options.
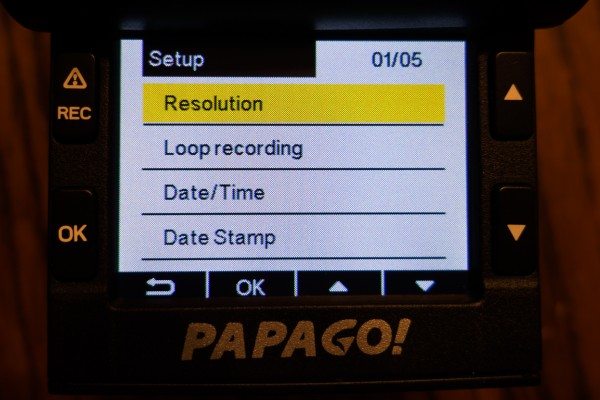
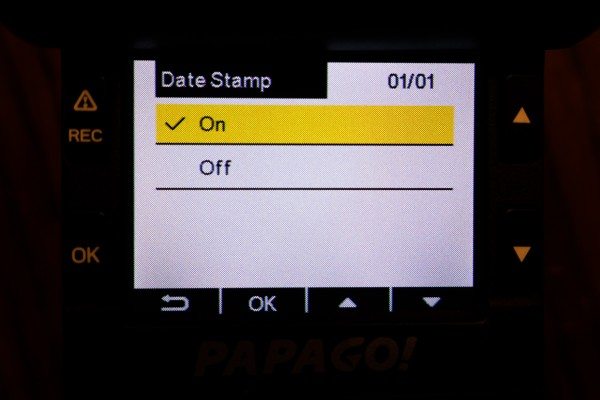
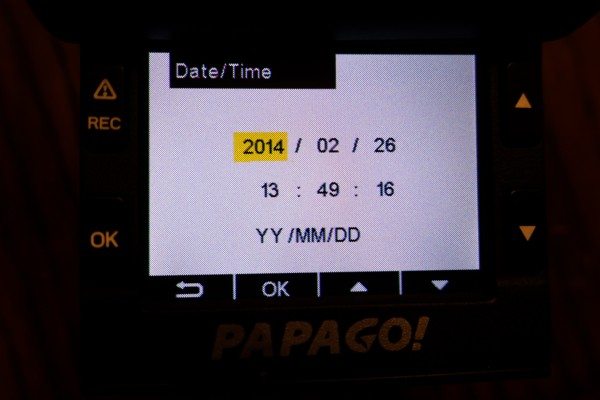
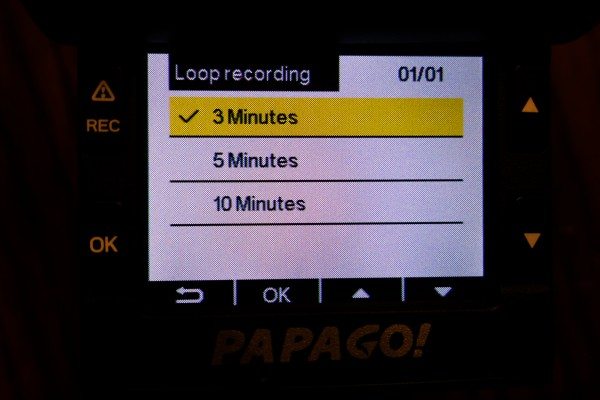
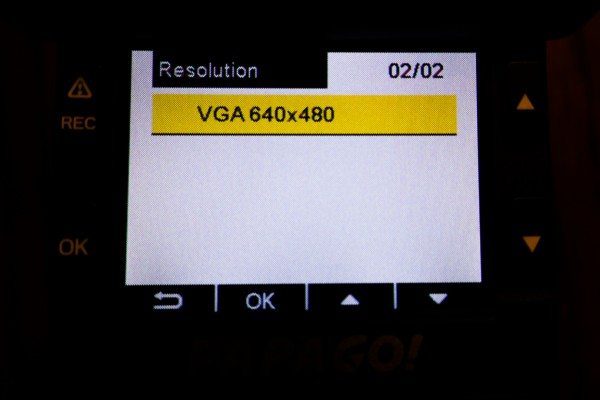
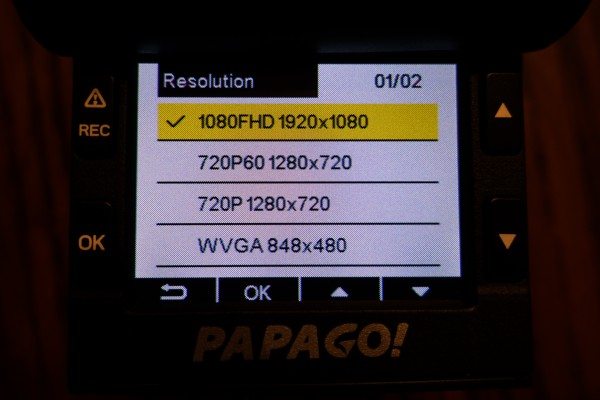
The first setup page gives you options for resolution, loop recording (how long to record before starting a new file), setting the date and time and whether or not the video will have a time and date stamp:
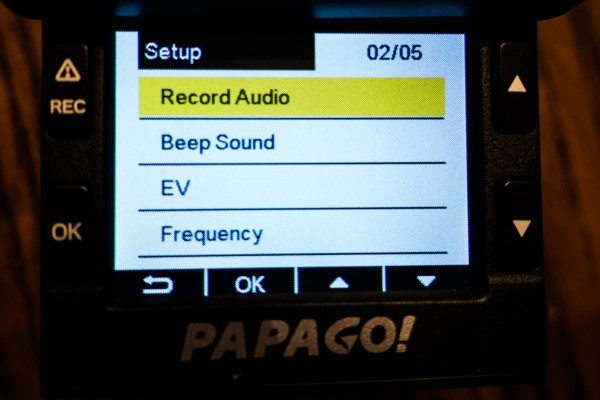
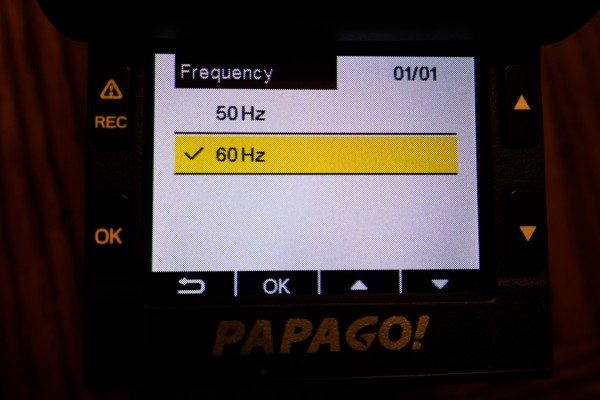
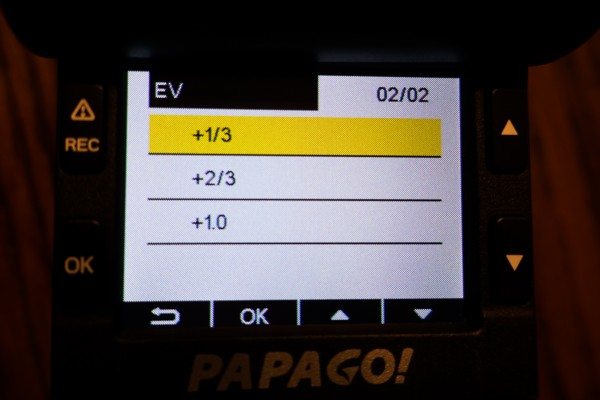
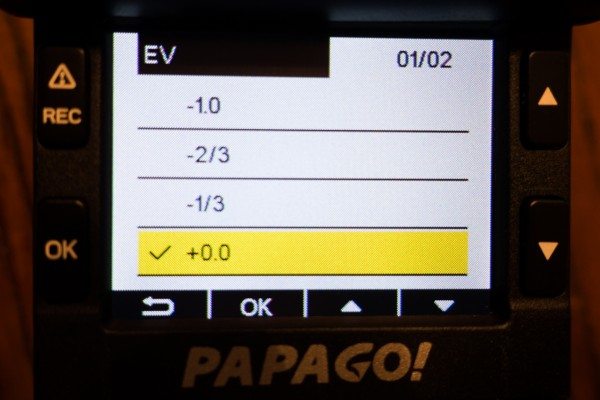
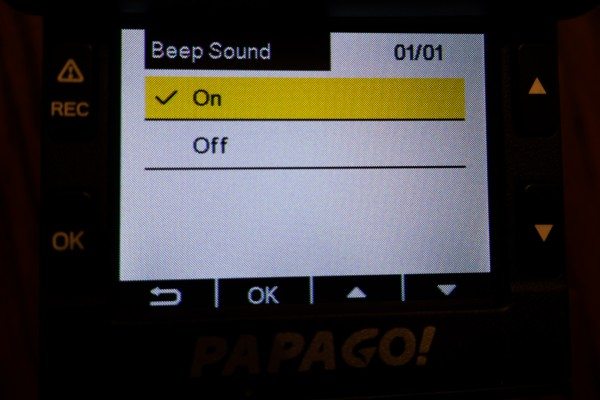
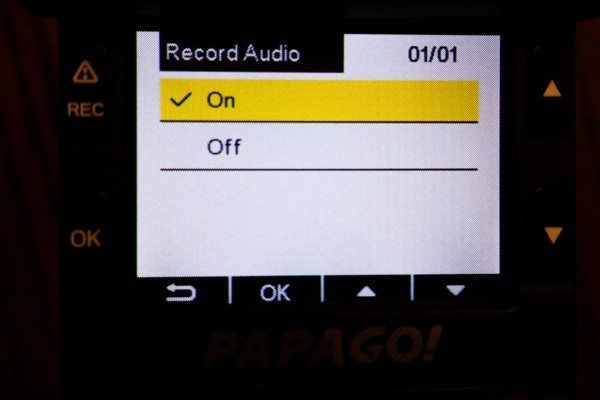
The second setup page gives you options for whether or not you want to record audio, whether or not you want an audible beep when you carry out operations, adjustments for exposure compensation and, if using indoors, what the frequency of your light source is. For example, in the US, fluorescent lights flicker on and off 60 times per second because of the 60Hz power generation, while this is 50 Hz in Europe. This helps to avoid flicker problems in the video.
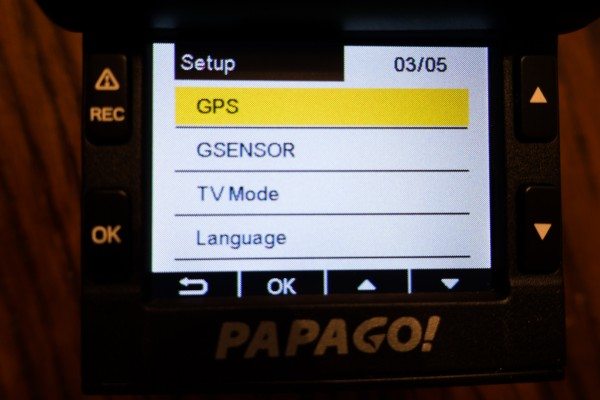
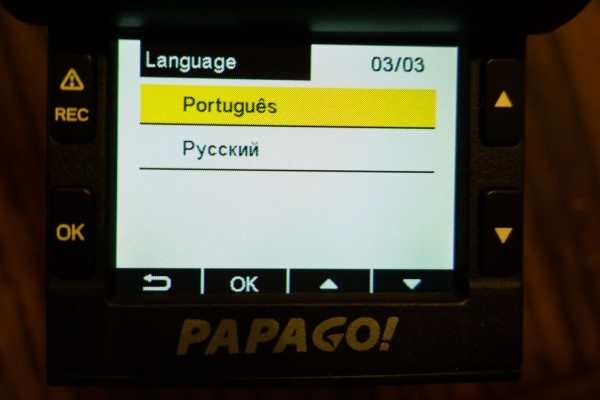
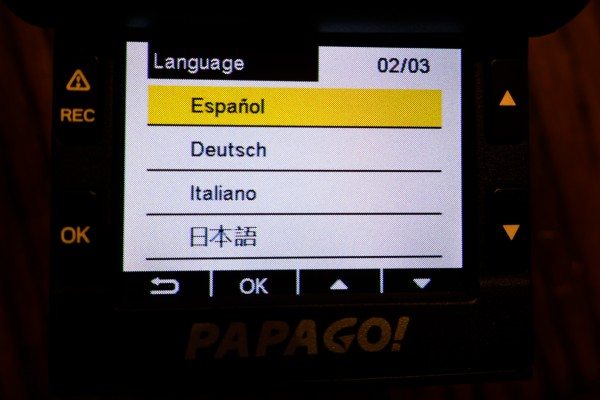
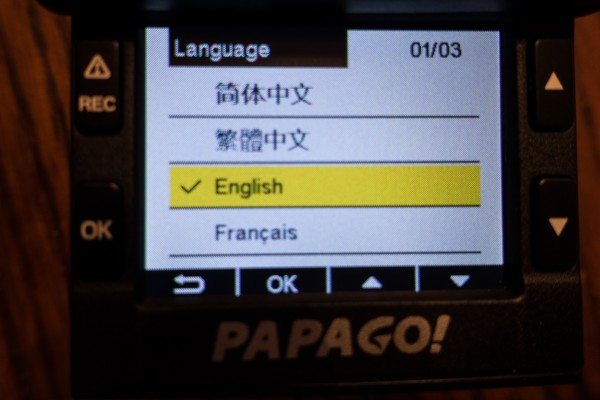
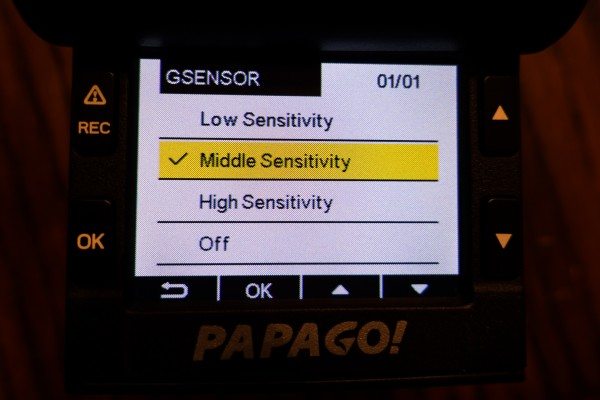
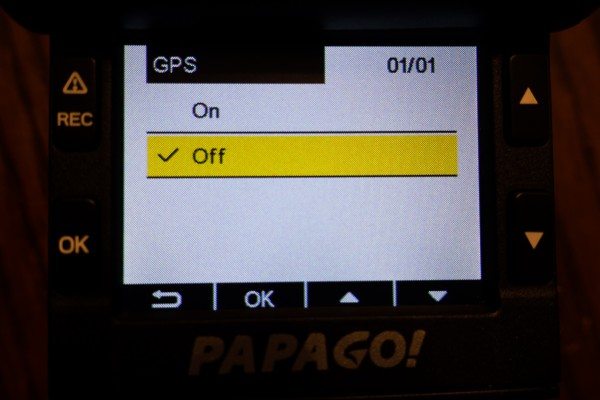
The third system page gives options for using the optional external GPS, the GSensor is an impact detection system which gives you file protection in the event of an accident. You can also adjust for NTSC or PAL recording modes and you can choose from several different language options.
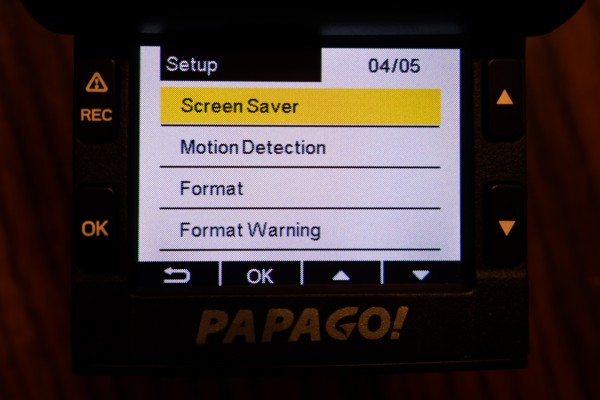
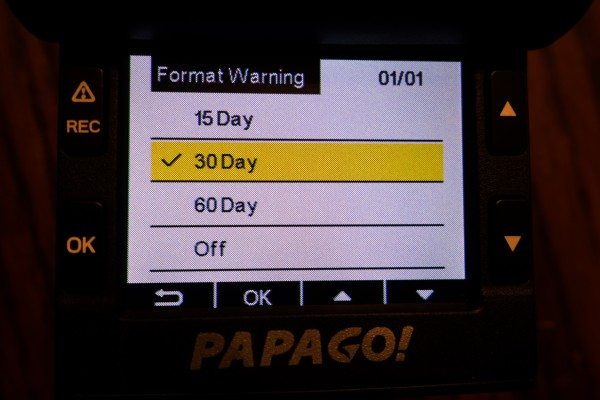
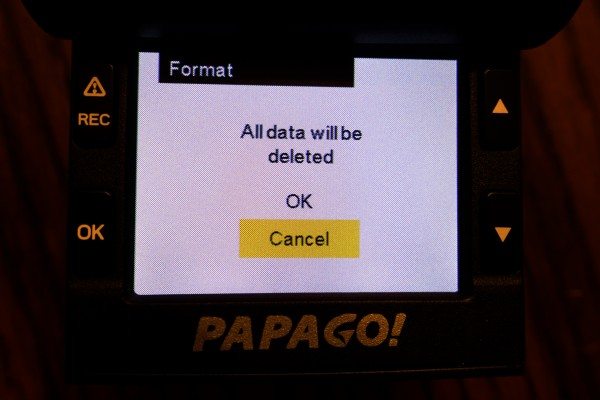
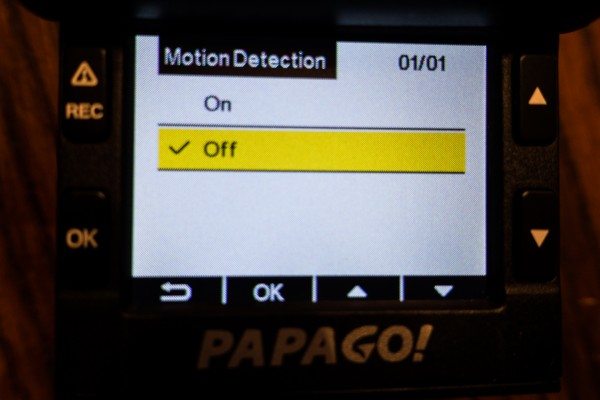
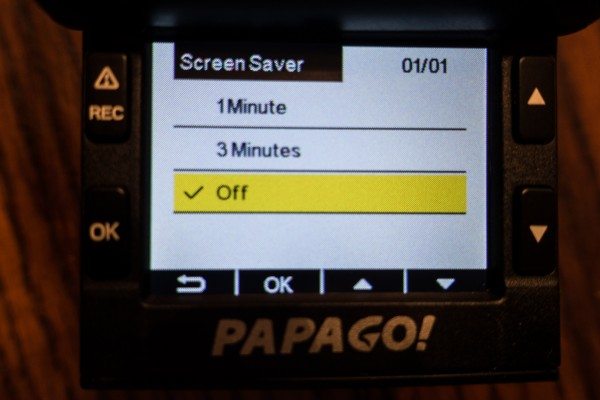
The fourth system page provides options for blanking the screen after a time interval, setting motion detection to keep your car secure while parked, formatting your microSD card and a format warning for reminding you to format the card after a period of time. Not sure why and the manual doesn’t explain.
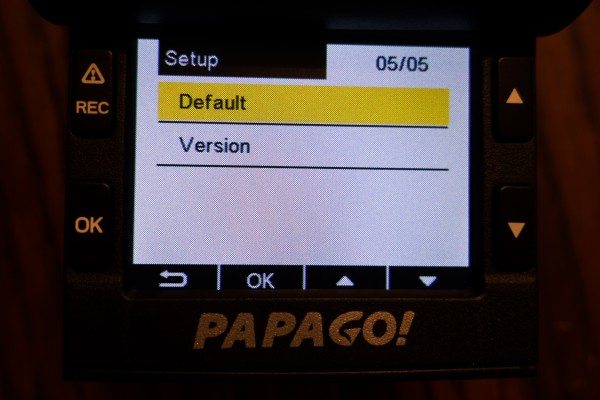
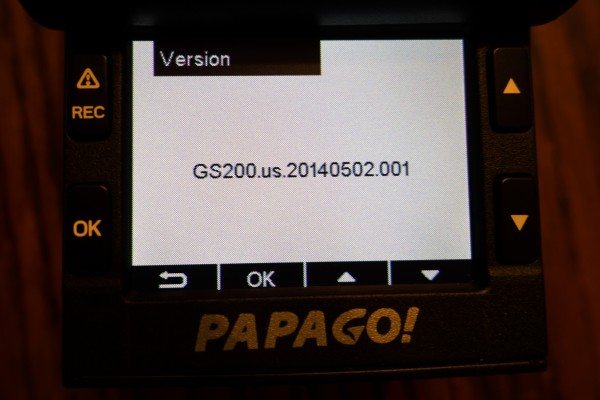
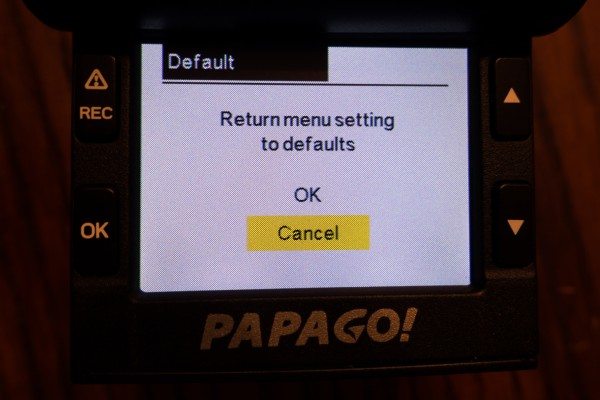
The final page of the setup menu only has two options. The first is to reset all options to factory settings and the second identifies the firmware version.
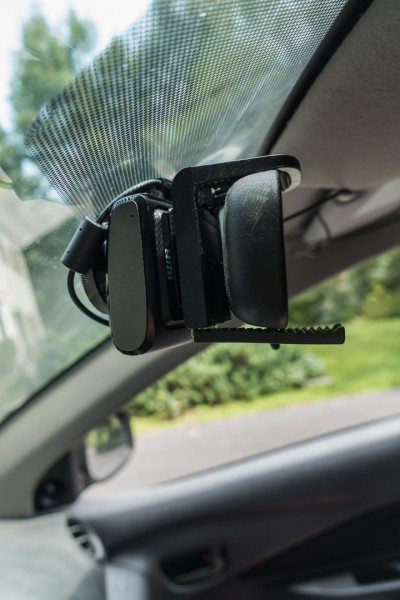
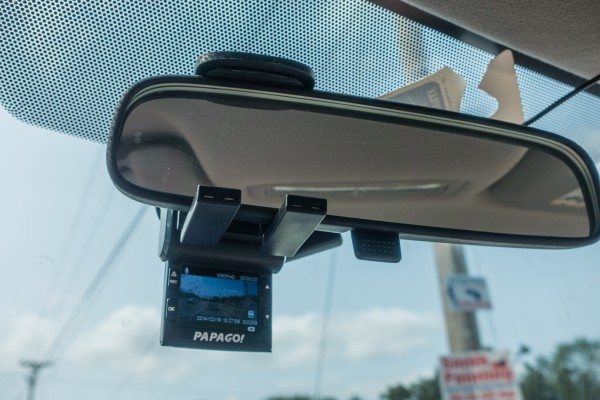
So, how does this camera work? Quite well, actually. I took it for a spin when taking my mom down to New Jersey for a day of shopping. I attached it to my rear view mirror and took off.
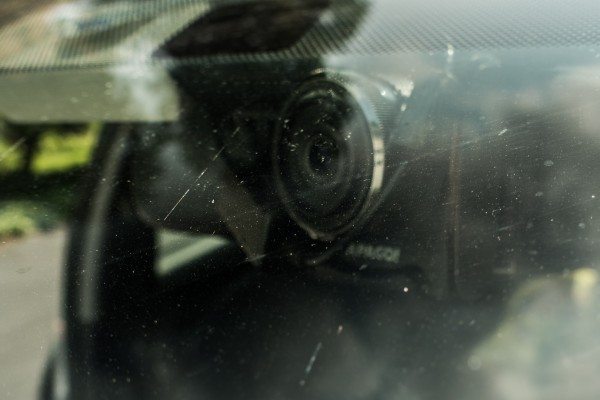
This is what it looks like when viewing it from outside the car.
Here is an amalgamation of different clips I took from the trip:
The video covers 140 degrees from left to right, which gives more or less complete coverage of both lanes from close to the front of the car on out. There is no distinguishable stuttering or shaking. The video quality is rock-solid and smooth, the sound quality is perfectly usable and distortion-free. During the drive, I recorded in HD quality (1080p). I recorded 2 hours and 33 minutes of video and it took up only 14 GB of storage on the card I was using. With 64GB, that should give you ten solid hours of recording! In the event that you exceed the capacity of the card, the camera will overwrite the oldest video files first, except for those you set to be protected.
Now I did not take this out to try at night because I don’t drive at night if I can at all help it, but with the addition of the exposure compensation there should be no problems at all. The camera stayed secure on the mirror the entire time. I have to say, with actual use this thing is quite impressive!
Don’t think of this as being just a security dashcam! I could see using this as a storm chasing dashcam! I could also see using it for recording HD video of national parks or other scenic areas as you drive through them. I wish I had this when I was white-knuckle driving up the Moki Dugway north of Mexican Hat, Utah two years ago. I’d put the video quality of this up against the Sony Action Cam, though the Sony does time lapse but this thing doesn’t. If a giant meteor ever breaks up in the atmosphere near where I’m driving, I’ll be ready.
This is available right now as a new release from B&H Photo and Video for $150. For what this does, that’s a bargain. Great quality video, a lot of options and uses…I highly recommend this camera.
Source: The sample for this review was provided by Papago. Visit their site for more info.
Apple Carplay Screen for Car, 7" HD Portable Car Stereo Touch Screen with Wireless Android Auto, Backup Camera, Car Audio Receivers with Voice Control, Mirror Link, Bluetooth, GPS Navigation
30% Off【Upgraded】 SUPERONE Retractable Car Charger 4 in 1, Fast Car Phone Charger with Cord 2.6ft, USB C and Apple Car Charger Adapter, Compatible with iPhone 16 15/15 Pro Max/14/13/12/11, Galaxy, Pixel
21% OffLISEN for iPad Holder for Car Accessories for Women Car Tv Headrest Tablet Holder, iPad Car Mount Backseat Car Organizer Essentials [3 in 1] Road Trip Essentials for 4.7-11 iPad Tab Fire HD Black
33% OffProduct Information
| Price: | $150 |
| Manufacturer: | Papago |
| Retailer: | B&H Photo and Video |
| Requirements: |
|
| Pros: |
|
| Cons: |
|



Gadgeteer Comment Policy - Please read before commenting
I would imagine that if you were to get side swiped or clipped by a car, depending on the angle, the high-def feed should be able to help you see the plate #.
Meanwhile your mother sounds cool. Not too many oldsters would immediately ask if it was recording in high-def.
@Sandee I agree. I thought it so cool that Mark’s mom was interested in the tech behind the camera.
My mom IS cool. She shocked the Best Buy sales rep yesterday by asking if Grand Theft Auto 5 was ever going to come out for the PC. My mother fixes my father’s computer. She is a camera and video enthusiast and is very adept at video editing. She LOVES gadgets every bit as much as I do.
I wish there was a more attractive way to attach it.
This IS the best and aesthetically pleasing way of putting on a drive cam. There are two other ways, but those look dorky as heck. The only problem is that this method puts a strain on your rare view mirror and in hot climates could cause it to fall off. From experience, so it’s true
Most cameras provide good video on daytime, it`s more interesting to know how the quality is when you only have the streets lights.
It would also be intersting to see a test of the sharpness, would we be able to read the licence plate? 😉
The nighttime vision is true way of telling a cheap $50 cam from a $200 cam. The resolution and the aperture is like a camera’s, the price for a good one escalates. I found this to be medium to high end. There are better ones (Garmin and a few others that cost $250 or more (but they also include a GPS system), but for this price of $110 to $160, it’s a decent night cam. The HD, the SD card, etc. do not make a difference at all. Those are insignificant. Night-ability is the true indicator whether you get the license plates (most likely will, unless the other person puts a coat on his plates, it’s simple) or get the facial features of someone who vandalizes your car.
Sandisk Ultra Class 10 64 GB Micro SDXC Card wont work on PAPAGO GOSAFE 200! Learnt it in a hard way!
hi i just got this as a gift, ive set it up into my car but nothing records to my sd. any idea why?
What type of a 64Gb micro SD did MARK ROSENGARTEN use, eg. SDXC , SDHC ? Since there’s no mention of any formatting of the SD either in the review. Papago in 2015 has stated the GoSafe 200 will not support anything above 32Gb.
I bought two GoSafe 200 for my cars, the box and the web site said that the Motion Detection function inclubed. However, I checked “on” still no function carry out whatever power from my car or from power bank. If the function not working on North America , please don’t miss leading the customer!
And the other issues is I can’t update my firmware from 1.2 to 1.21 ! I followed the steps to fomate and install a few times but the version is still not change !
Do anyone has this issues or someone have a solution to help me out !
Thanks