REVIEW – If you’ve ever found yourself thinking, I’d could put that slogan on a hat and sell a few hundred easy… then this might be the post you’ve been waiting for. HTVRONT is taking presale orders on their new Manual Hat Heat Press, and it’s easy enough to use that they should probably just drop “Manual” out of the name. Let’s take a look at what this press can do.
⬇︎ Jump to summary (pros/cons)
Price: $149.99 – Presale for $109.99 (through March 25th)
Where to buy: HTVRONT
What is it?
The HTVRONT Manual Hat Heat Press is an 18 lb steel appliance with a curved heated plate designed specifically for transferring artwork from printed transfer sheets onto hats of all kinds as well as anything else that fits on a ~7″ curved surface.
What’s included?
- HTVRONT Manual Hat Heat Press w/ tethered power cord
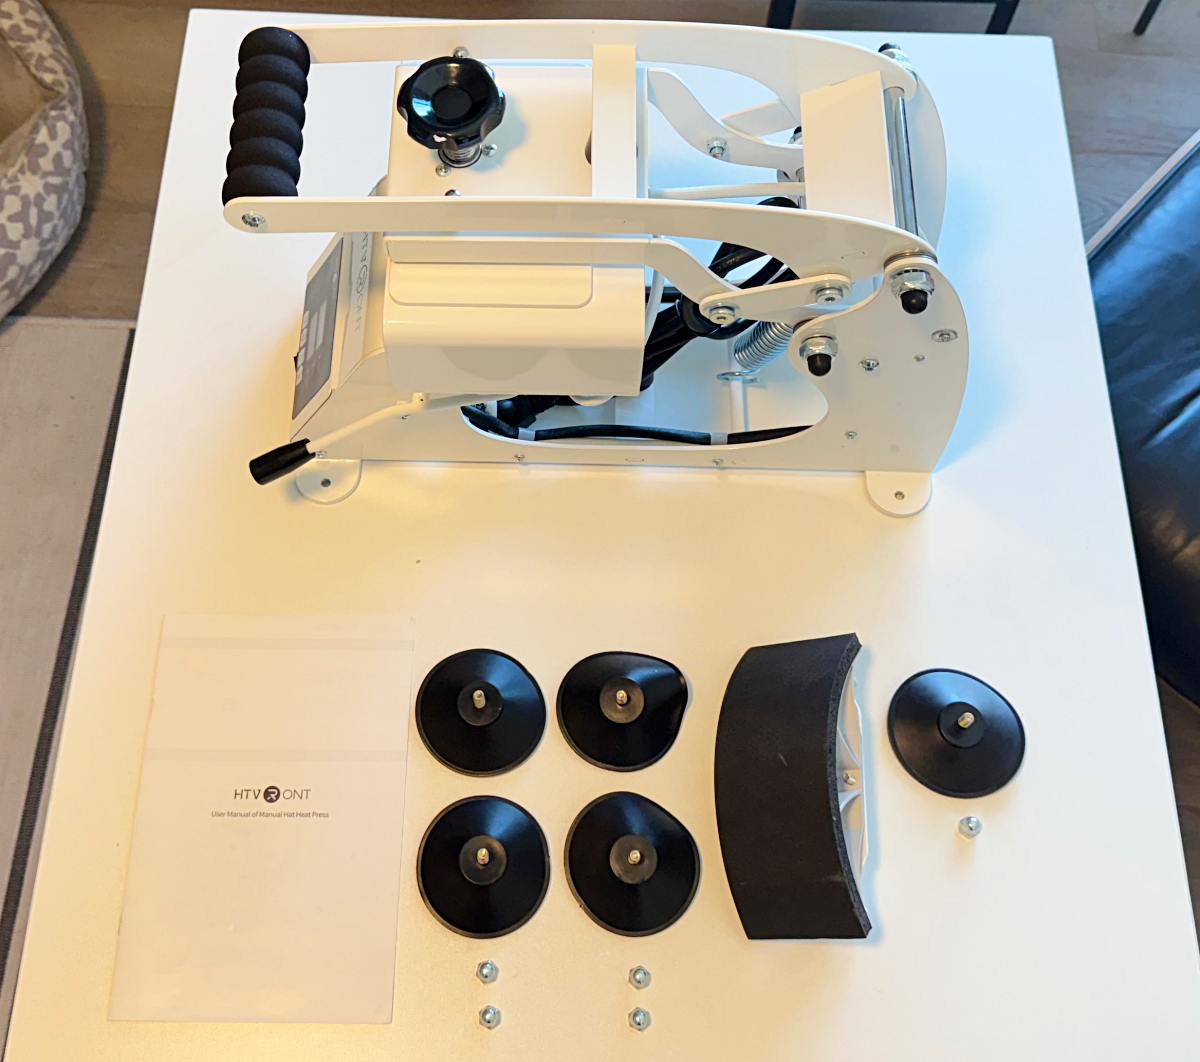
- (5) Suction Cup feet and machine Nuts (4 to install, 1 spare)
- Small hat platen (Large is pre-installed)
- User manual
Tech specs
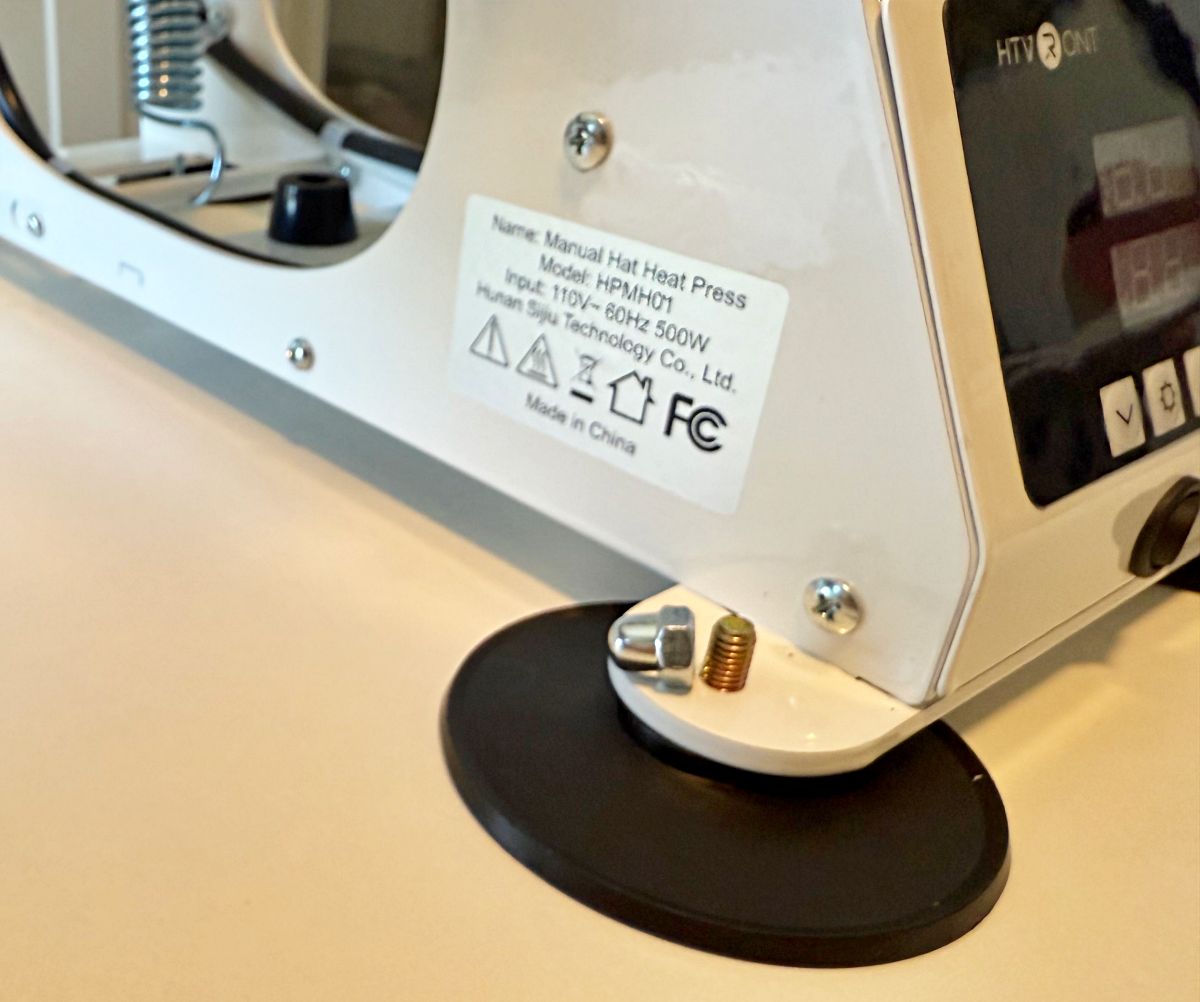
Model: HPMH01
Input Voltage: 110V ~60Hz
Power: 500W
Temp: 60-230ºC | 140-446ºF
Protection: Current overload and Over temperature (240ºC | 464ºF)
Small Platen: 2.55 x 6.9 in | 6.5 x 17.5 cm
Large Platen: 3.74 x 6.9 in | 9.5 x 17.5 cm
Machine Size: 6.9 x 11.6 x 14.8 in | 17.5 x 29.6 x 37.6 cm
Machine Weight: 16.3 lbs | 7.4 kg
Design and features
The Manual Hat Heat Press has a lever stretching mechanism to pull a hat tight against the platen to ensure a smooth surface for transferring prints.

A seven inch wide, curved and heated surface provides even pressure for consistent results. Above has a teflon sheet on it which is advised for use.
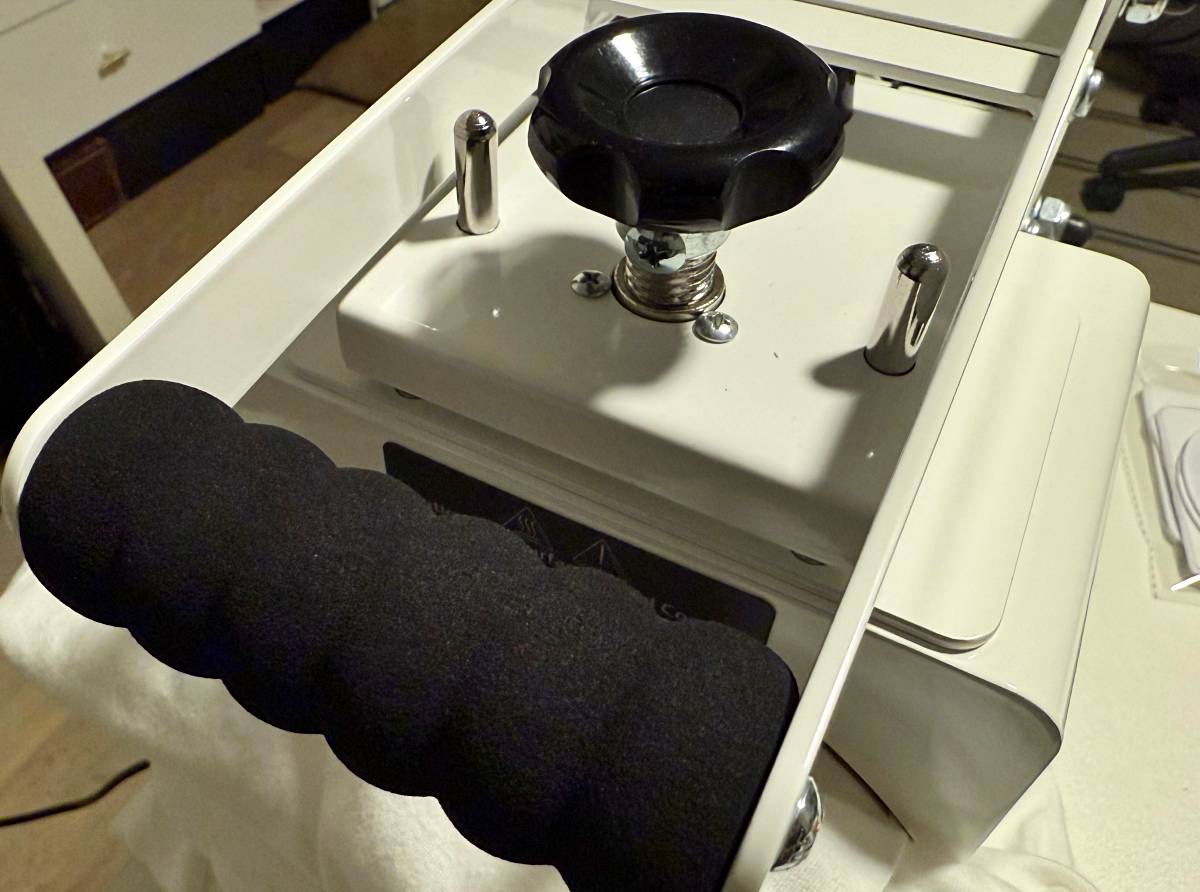
A spring-loaded knob lets you dial in tension to minimize or eliminate pressure damage while the foam handle makes it comfortable from your first hat to your hundredth.
Assembly, Installation, Setup
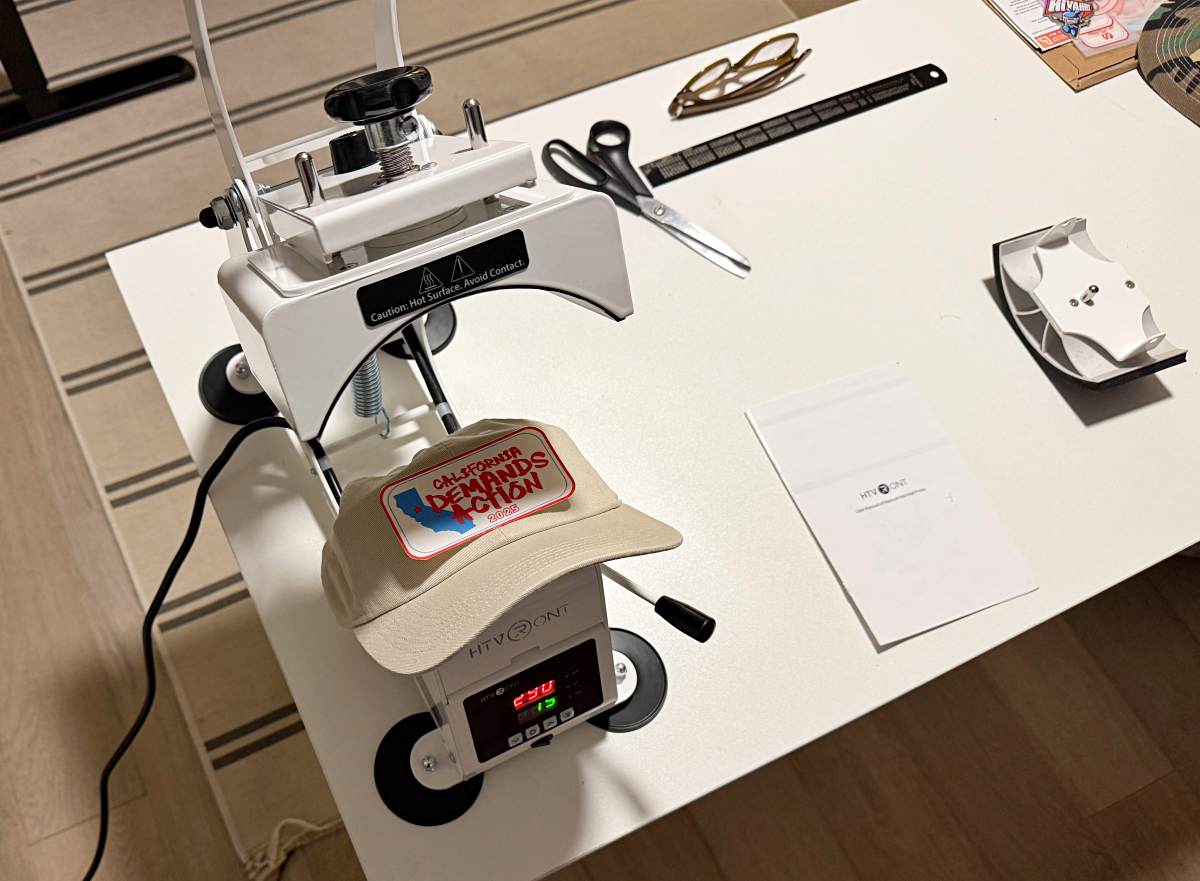
Ready to set up the HTVRONT Manual Hat Heat Press? Lift carefully the Hat Press from the box (as it’s heavy enough to do some damage if you drop it) and gently rest it on its top. Screw four of the suction cups fully into the four threaded holes on the flat plates.
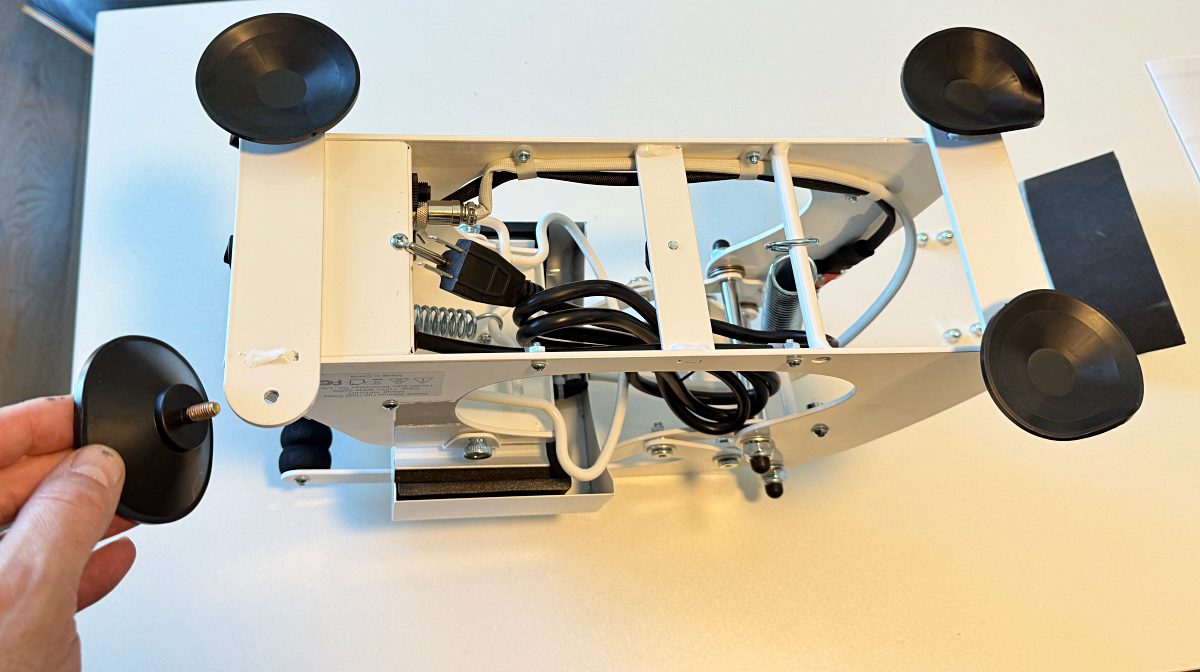
These will become the feet which you can now rest the machine on. Install the 4 nuts onto each the exposed threaded posts until tight.
All remaining steps are covered in the next section, but you’ll need a couple of other items first….
- Blank hats
- Teflon sheets to put between your artwork and the machine
- Artwork on transfers or on sublimation paper
Performance
We have an Epson printer we set up with sublimation ink for use with both a shirt press and mug press and have been getting great results.
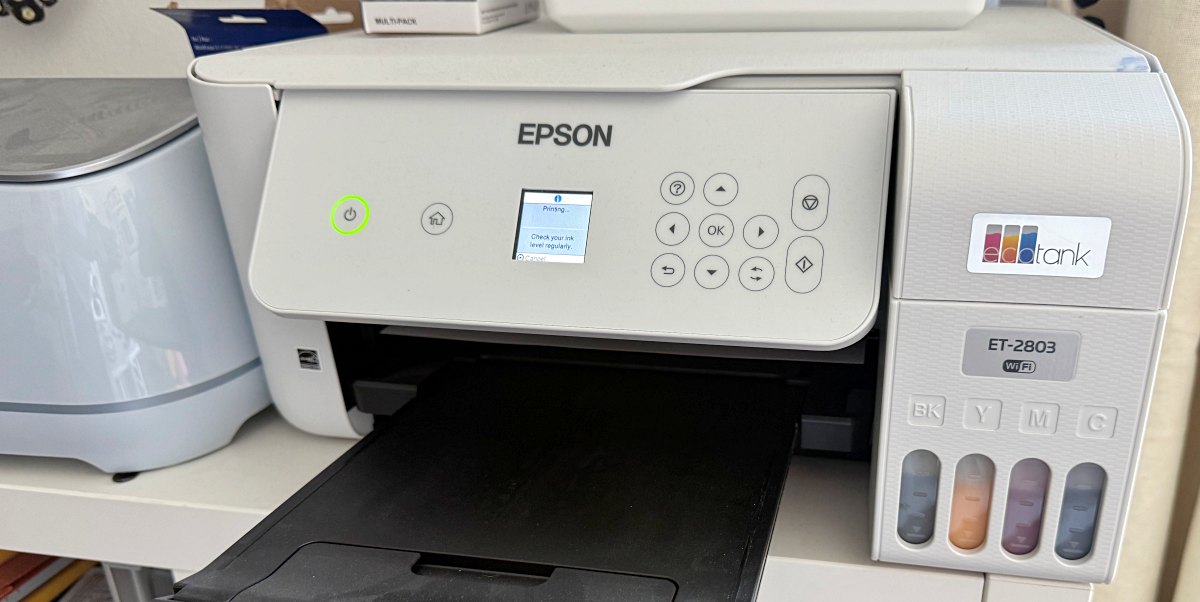
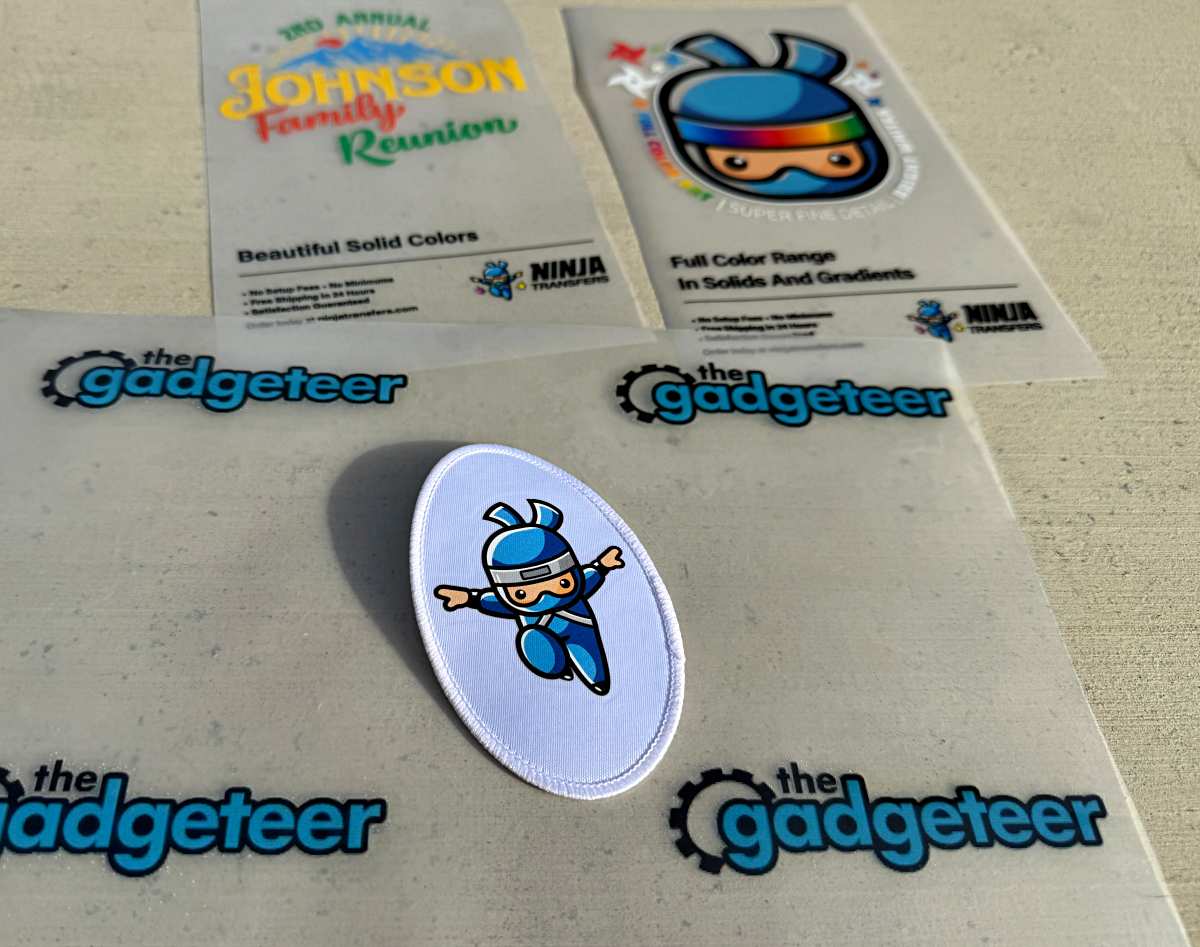
We figured it would also work on the hat press, and it does, but as I’ll show you in a bit, it wasn’t quite as straight forward. Luckily, HTVRONT also sent some Gadgeteer transfer logos and those worked out great.
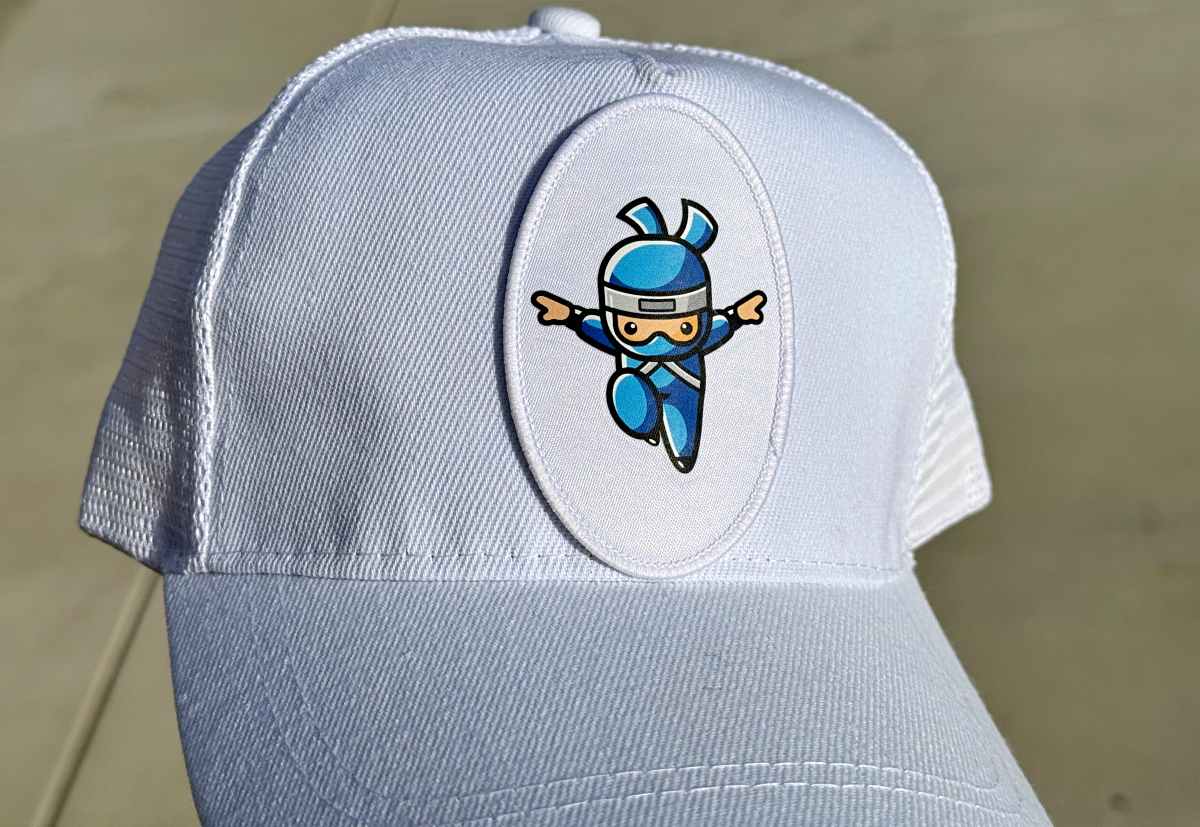
Additionally we found some samples from NinjaTransfers in a bin that hadn’t been opened in a loooong time. In this image I had used the press to put one of the Ninjas on a blank fabric patch I picked up from Michaels.
Here’s the info matrix that HTVRONT provides to help dial in temperatures and durations.
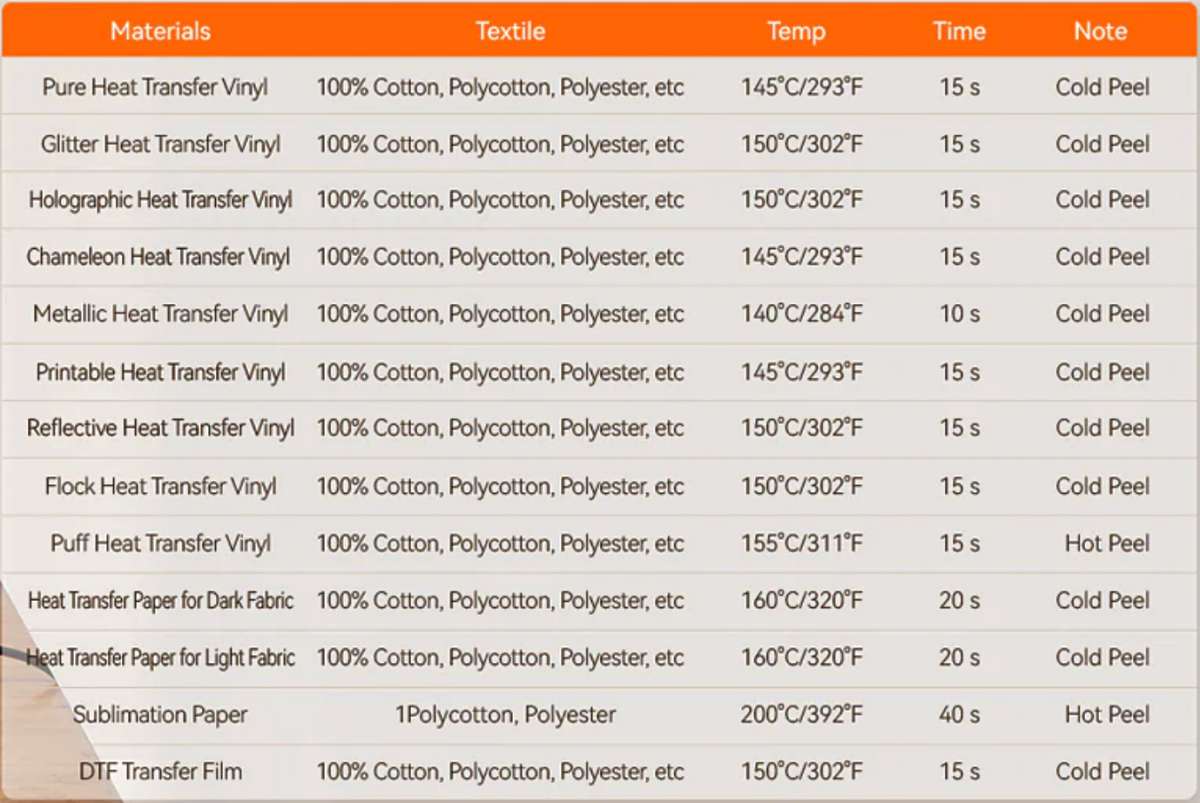
As you can see in the chart, the durations are usually 15 seconds (with a couple at 20), and temps of 284-320ºF. I got to trying out the Gadgeteer transfers and a few of the Ninja transfers with the machine at 300º for 20 seconds and it worked great.
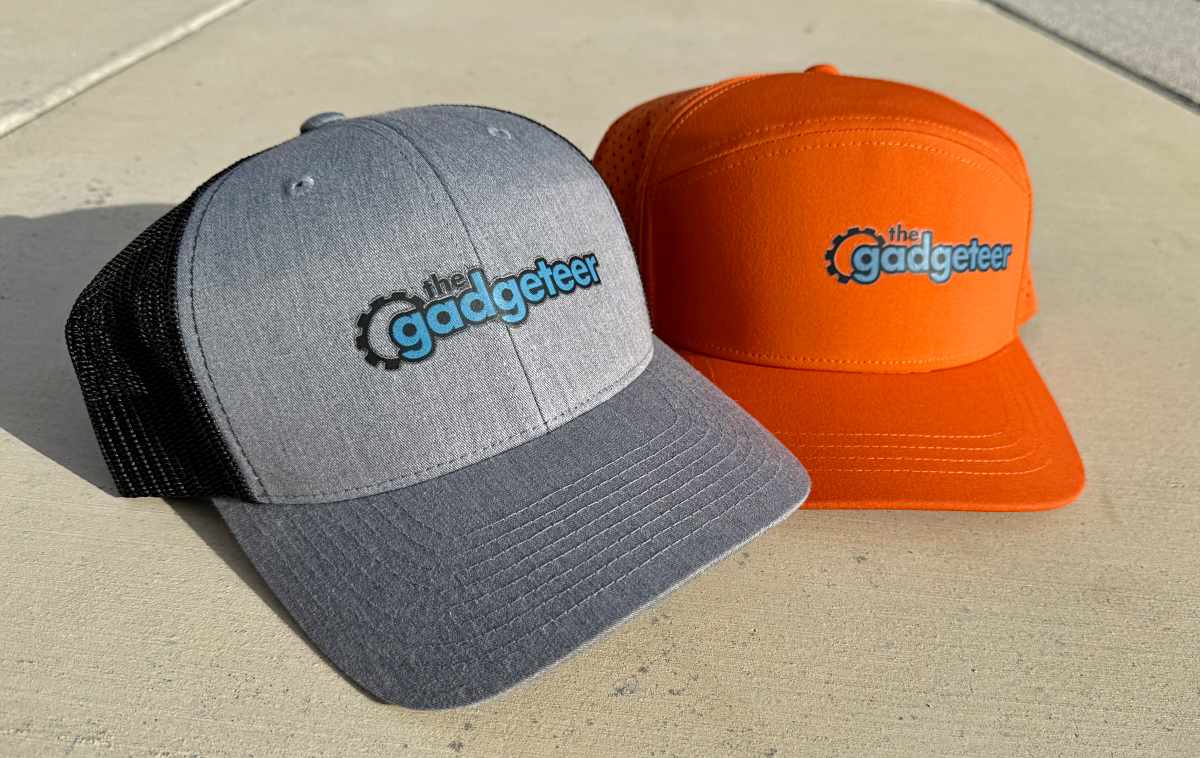
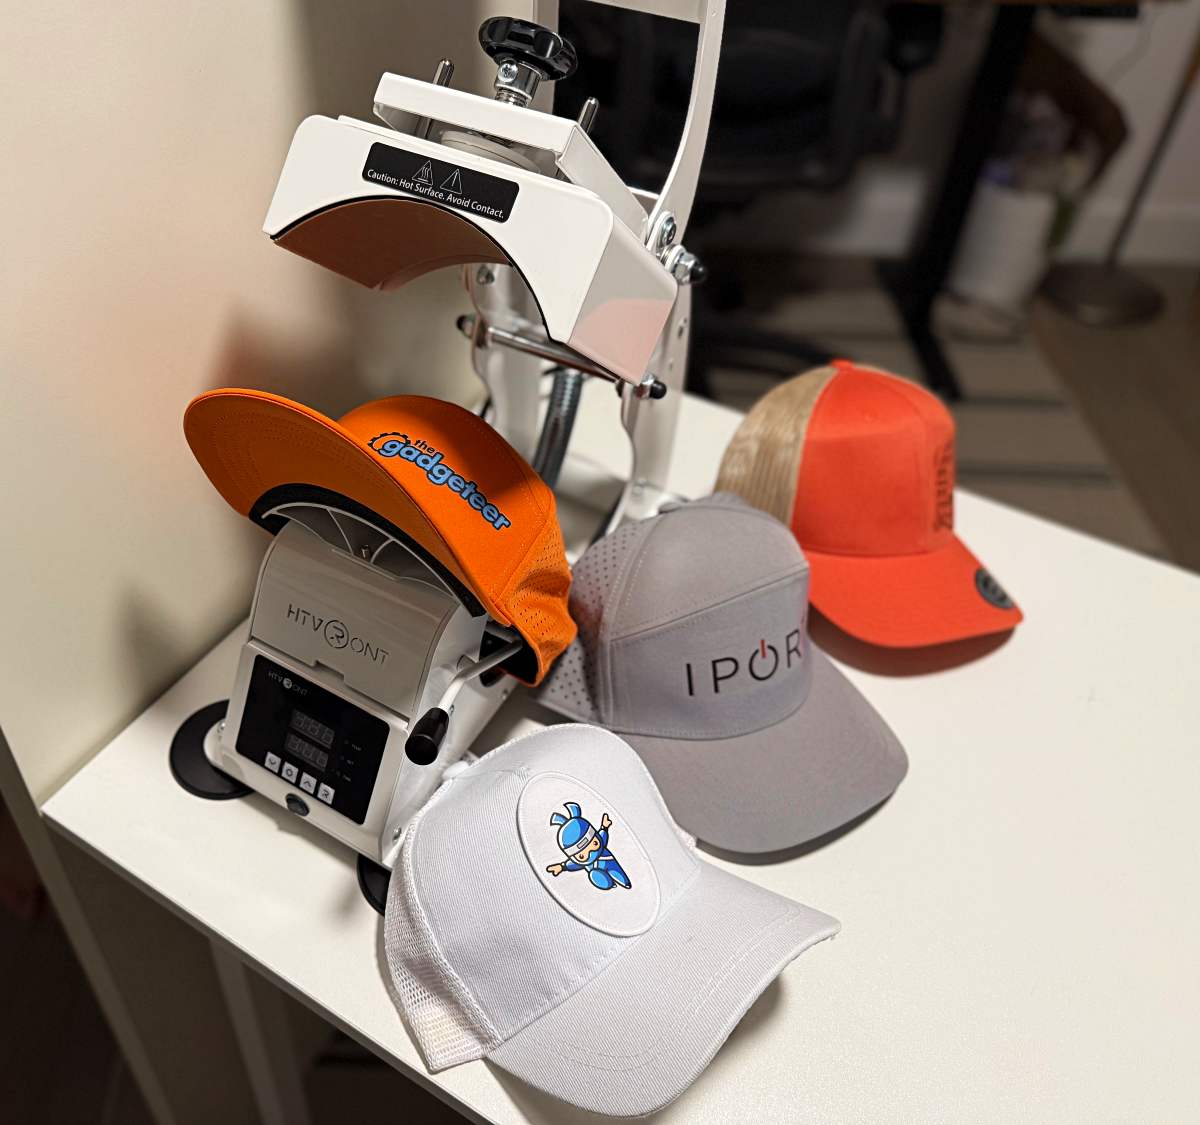
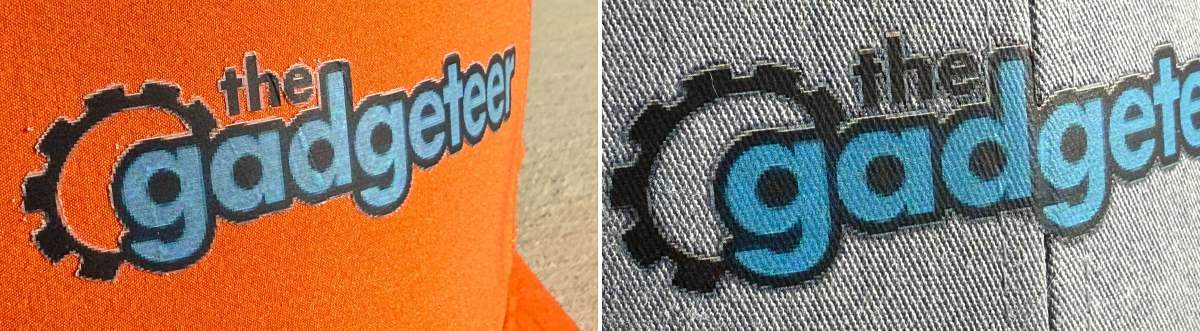
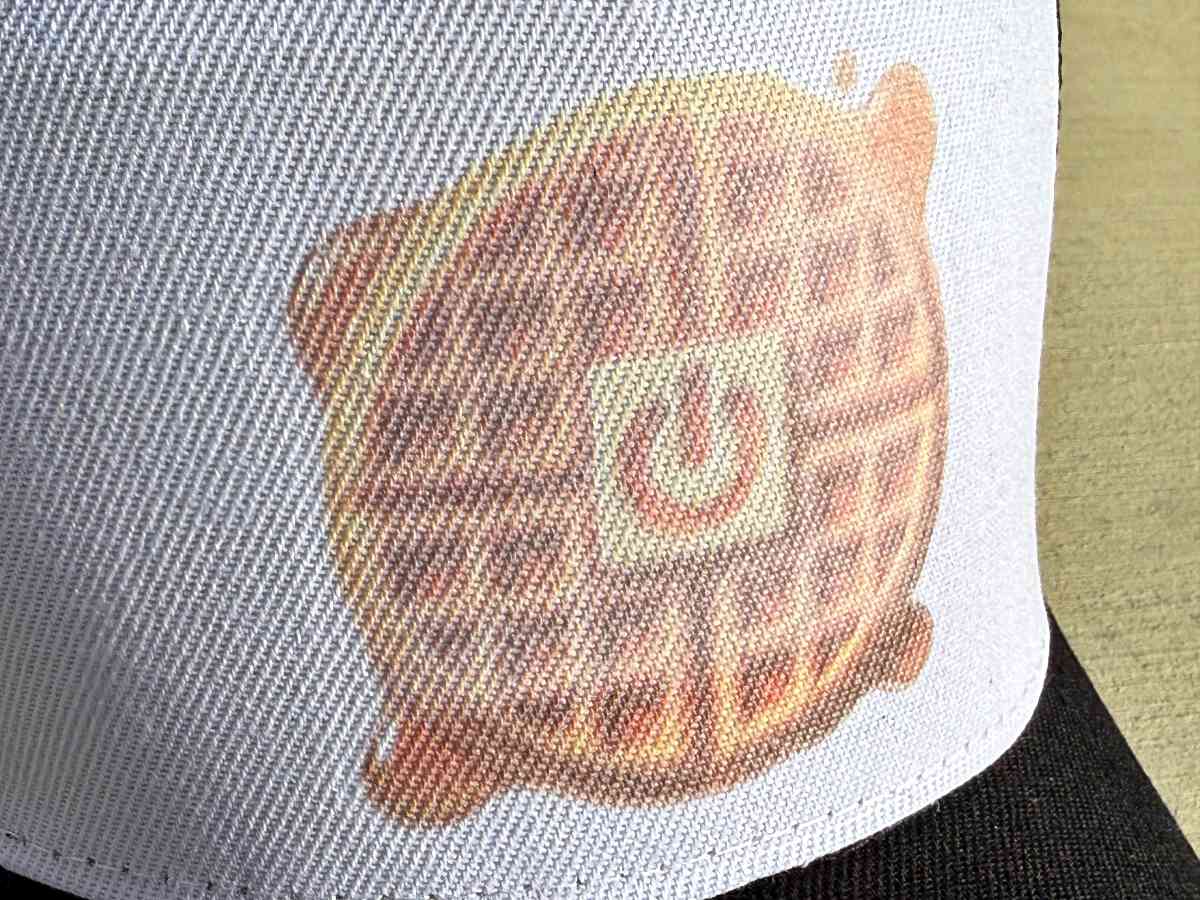
I think HTVRONT grabbed our logo from a web image, so it’s a tiny bit pixelated, but regardless, the transfer process was smooth. These hats were blanks ordered through Amazon, and the different surface materials reacted a little differently. The orange hat was listed as polyamide, and the transfer took a little longer to cool than on the grey hat. I like how the weave shows through the transfer. I chose carefully how to position the logo across the center seam.
To get started on a hat, check the inside tags for material content and then reference that chart for your settings. Decide which platen fits your hat best. If you need to swap, just undo the 2 thumb screws, and remove the one installed, drop the other in its place and reinstall the thumb screws. It’s best to do this with the machine off as that heated plate is hella hot and really close to your knuckles, but can definitely be done if you’re careful.
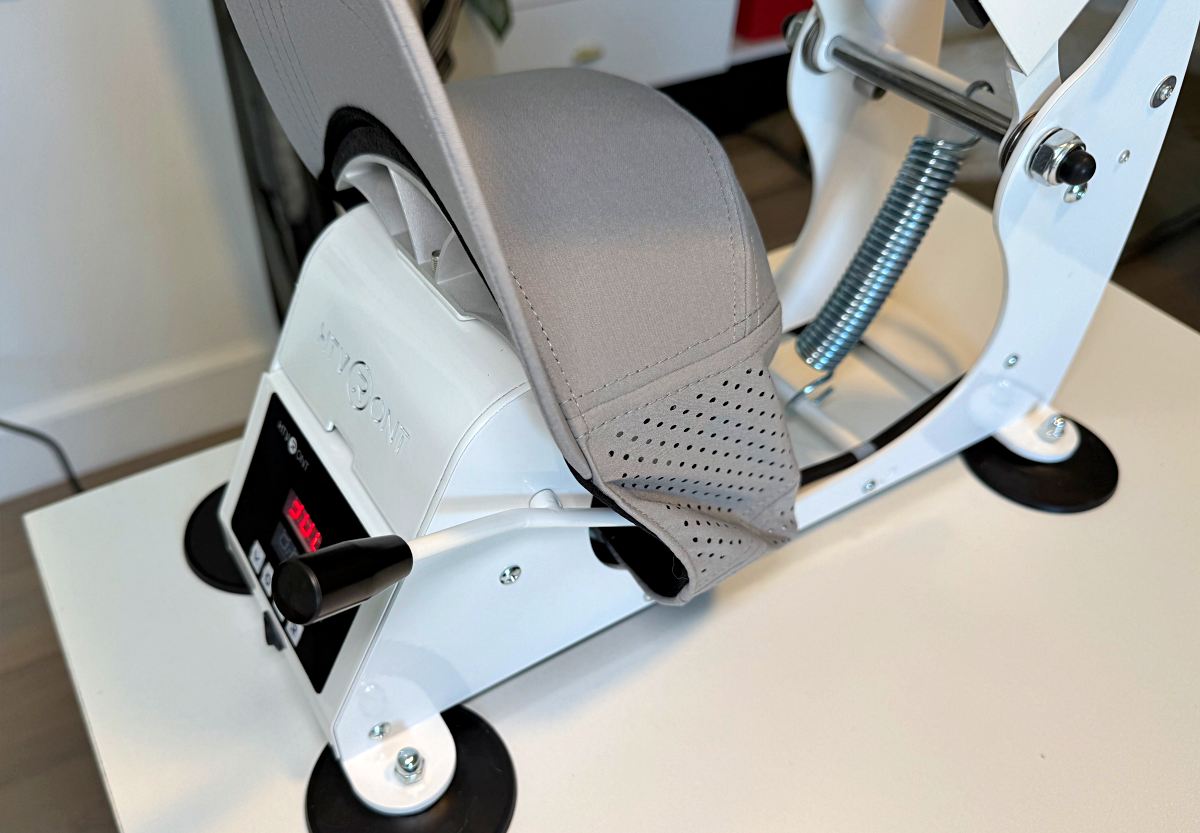
Place the inside of the hat brim on the leading edge of the platen and make sure to drop the rear of the hat over the curved bar. You then move the lever to pull the back of the hat away, stretching the front smoothly on the platen.
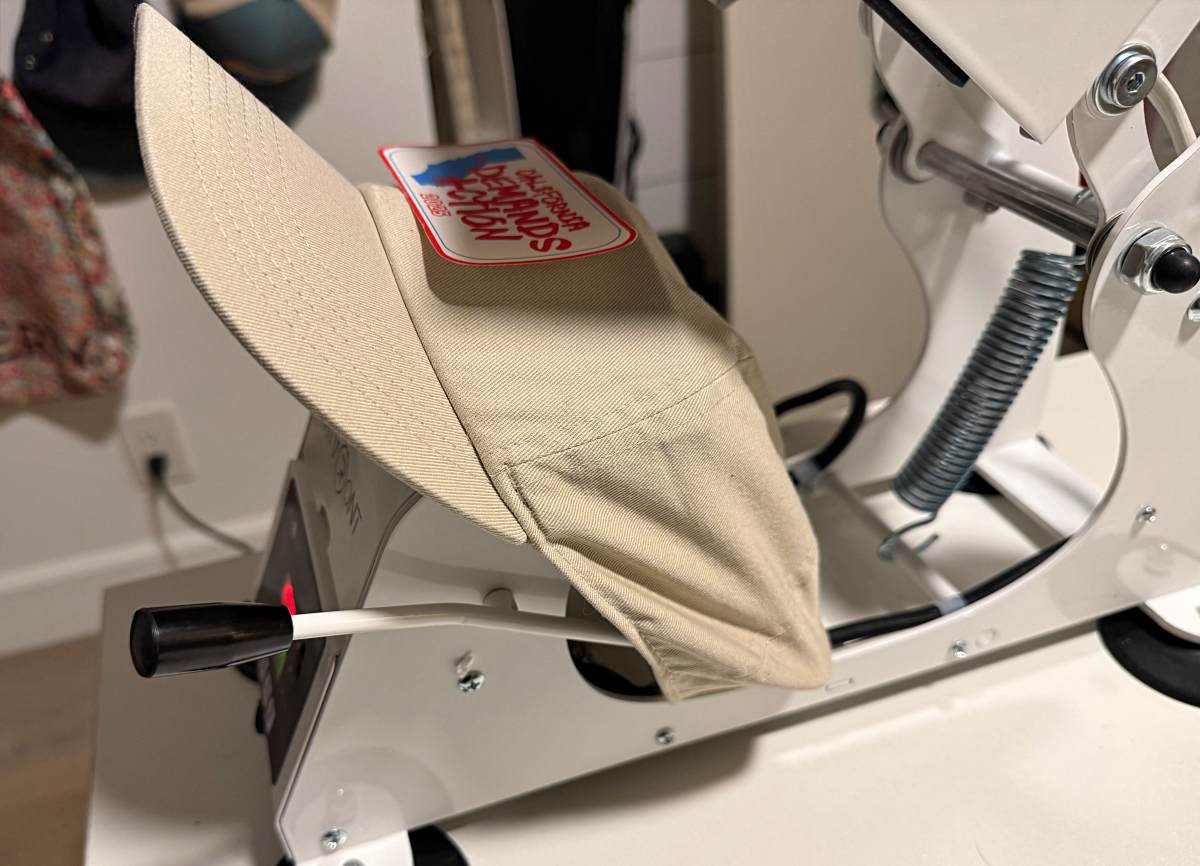
If it looks like the hat is not pulling tight enough, you may need to tighten the snap back or other hat adjustment one or two tighter and try again. Note how the curved heat plate hits or doesn’t hit the brim and adjust as necessary. When you close the machine, there’s a slight over-center “snap” into place that occurs. If it’s too slight or too firm you may need to adjust the rotary knob to adjust the amount of pressure. Too little and you might get an uneven transfer. Too much and you might get some additional wrinkles or compression of the hat material.
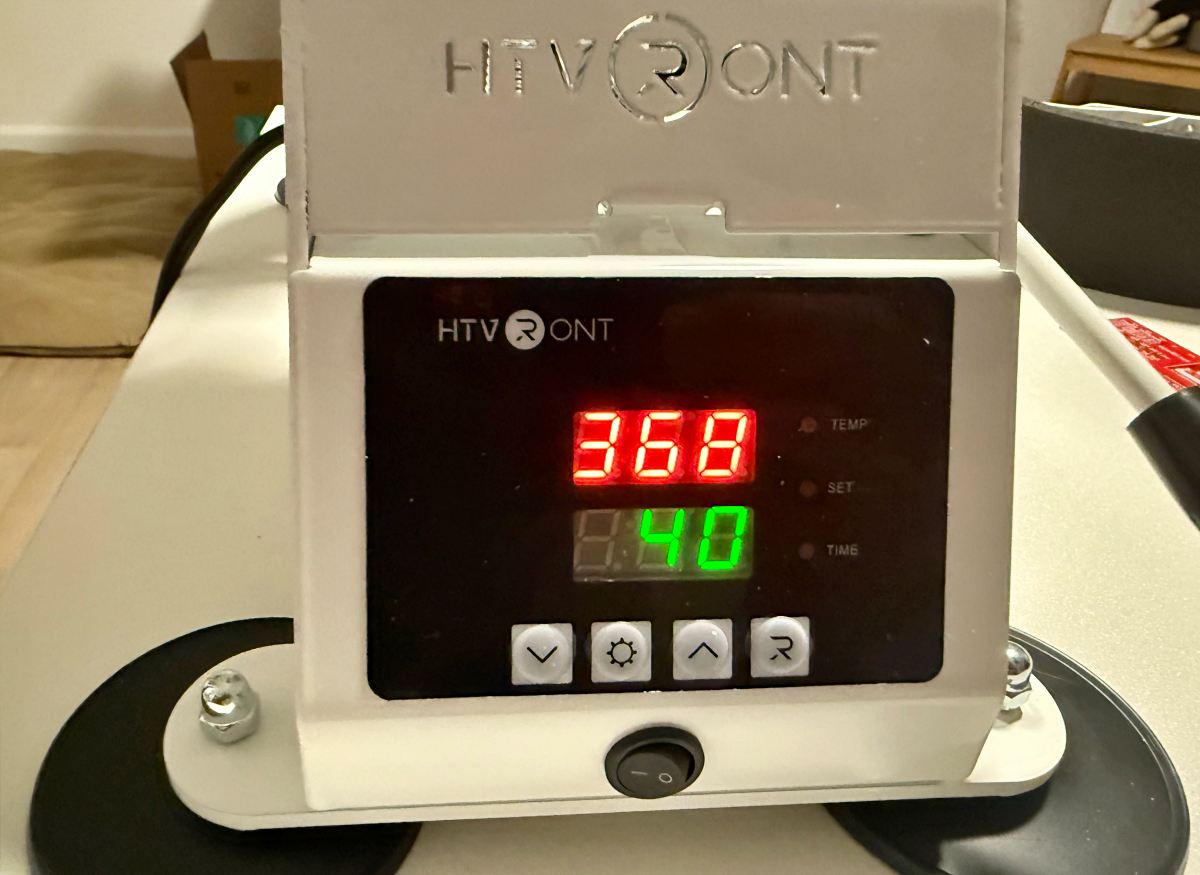
Turn the machine on, and then press the settings button. The display will blink and you can adjust up or down to the temp you need. Single press for fine tuning, or press and hold to rapidly move through. If you need to switch between units, press and hold + and – simultaneously for 2 seconds. When you are at the desired temp, press settings again. Now you will set the duration. Once entered, press select to exit out of settings. The machine will now adjust its temp to match what you entered. It will get to a higher temp faster than cooling to a lower temp, so just be patient as it will beep when it gets there.
Place your transfer image into the location you want on your hat. You’ll want to tack it down with some heat transfer tape to keep it from shifting and then a teflon sheet cut to size to prevent any sticking to the machine. When you’re ready to try your first transfer, note that as you close the machine it will automatically start counting down for the duration you’ve set and beep when it’s time for you to open back up. It’ll be hot, but give it a moment to cool, release the lever and extract the hat being careful to avoid the heated top plate. Give the hat a few to cool before removing the transfer sheet or film and your hat is good to go.
Take note of anything not quite right and make notes as you find your favorite hats, transfers and the “recipes” that work for you. For instance, I had not noticed the outlier on the temperature guide that using sublimation paper requires 392º for 40 seconds. As a result, my first attempt onto a hat with sublimation paper came out pretty disappointing.
After figuring it out, I did some additional tests on a 50/50 polyester/cotton t-shirt sleeve and was pretty happy with the result, so I’ll be trying some more soon. Just need to order some more blanks. It did help me realize that that curved platen would tackle T-shirt sleeves as well as patches and anything else that fits there.
Final thoughts
The hardest thing about using the Manual Hat Heat Press is trying to pronounce, say or spell HTVRONT. The machine is easy to use and you’ll have great results within the first couple tries. HTVRONT does sell both sublimation and heat transfer paper along with a lot of other accessories and machines.
Two pro tips… One is that sublimation cannot produce white, and neither will most home printers so you’ll need to order transfers from a company like Ninja Transfers for that. Two is that for sublimation you need to reflect the image mirror style when you print, which is not the case for transfers.
What I like about the HTVRONT Manual Hat Heat Press
- Almost fully assembled out of the box
- Easy to use controls and solid construction
- Professional results after a short learning curve
What needs to be improved?
- Would like to see a few Teflon sheets and sample transfers provided in the box
- Temperature/material reference guide could be simplified to combine more like materials
Price: $149.99 – Presale for $109.99 (through March 25th)
Where to buy: HTVRONT
Source: The sample of this product was provided for free by HTVRONT who did not have a final say on the review and did not preview the review before it was published.
Check out these other crafting reviews!
- VEVOR Heat Press Curved Element Hat Press review – This might make my hat collection larger
- If you thought quilting was just for grandmas, you need to check out these kits!

Google Review Tap Cards (3-Pack) by TapFive - Tap for Instant Reviews - All Phones Compatible - Reusable Smart Tap NFC & QR - Boost Business Reviews - Powered by TapFive (3 Card Pack)
(as of March 8, 2026 18:52 GMT -05:00 - More infoProduct prices and availability are accurate as of the date/time indicated and are subject to change. Any price and availability information displayed on [relevant Amazon Site(s), as applicable] at the time of purchase will apply to the purchase of this product.)