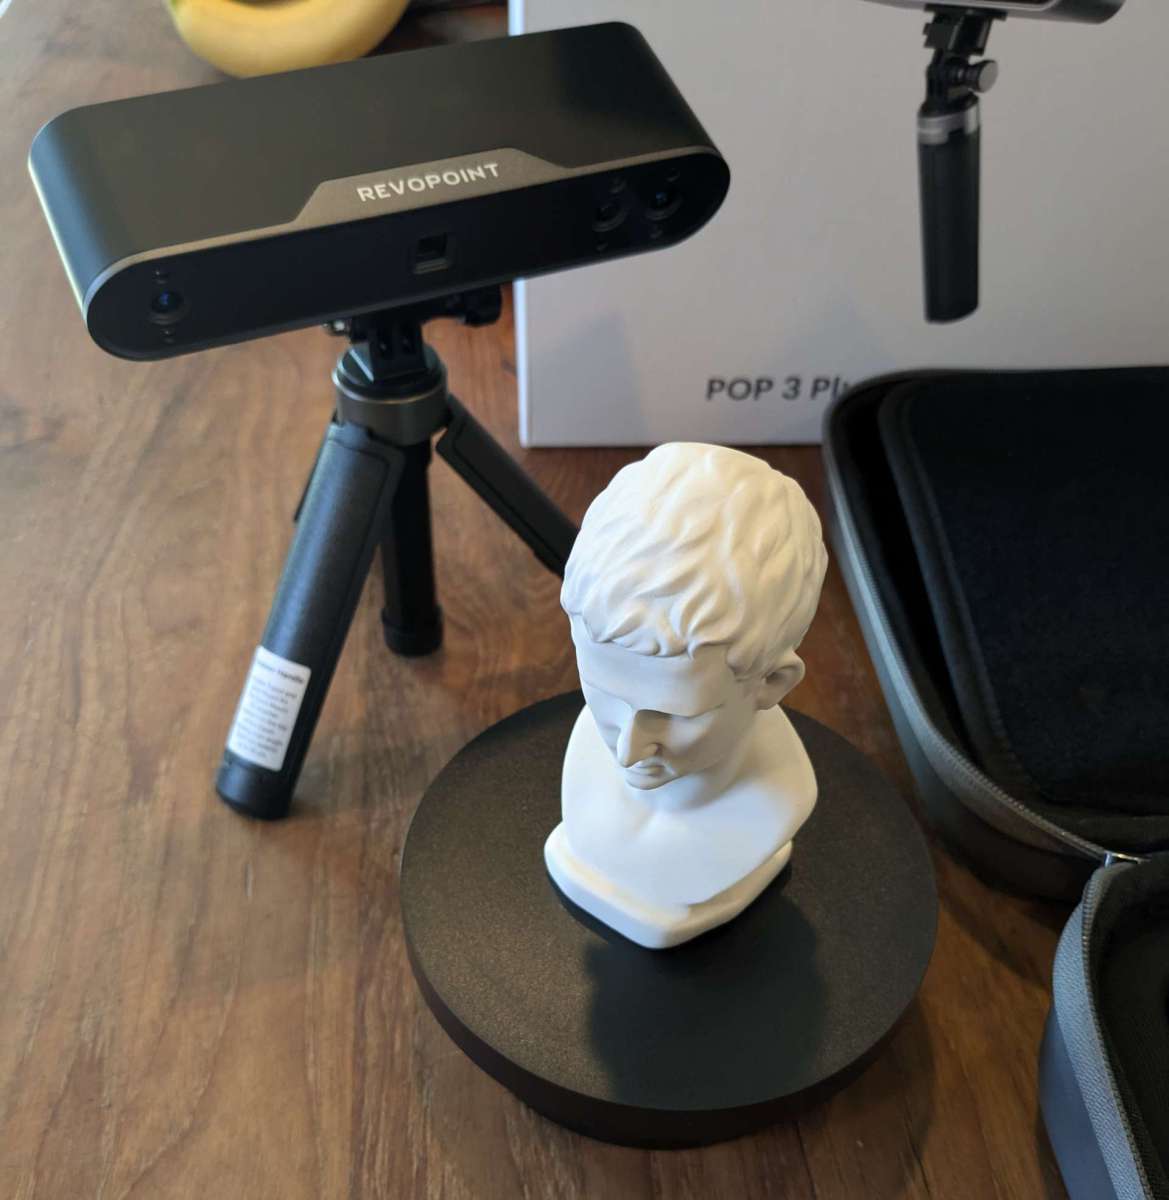
REVIEW – 3D printing continues to grow in popularity and utility in the world. I started getting into the hobby late last year and it amazes me what people can create and the files that are out there. What I didn’t have is the ability to quickly scan and recreate something from the real world and digitize it. The Revopoint POP3 Plus gives you that ability and I had to see if it was all it was cracked up to be. Read on!
What is it?
The Revopoint POP 3 Plus 3D Scanner is a portable 3D scanner that you can use in a fixed position or freehand. It allows you to scan physical objects and create a digital version that you can use in modeling or 3D printing.
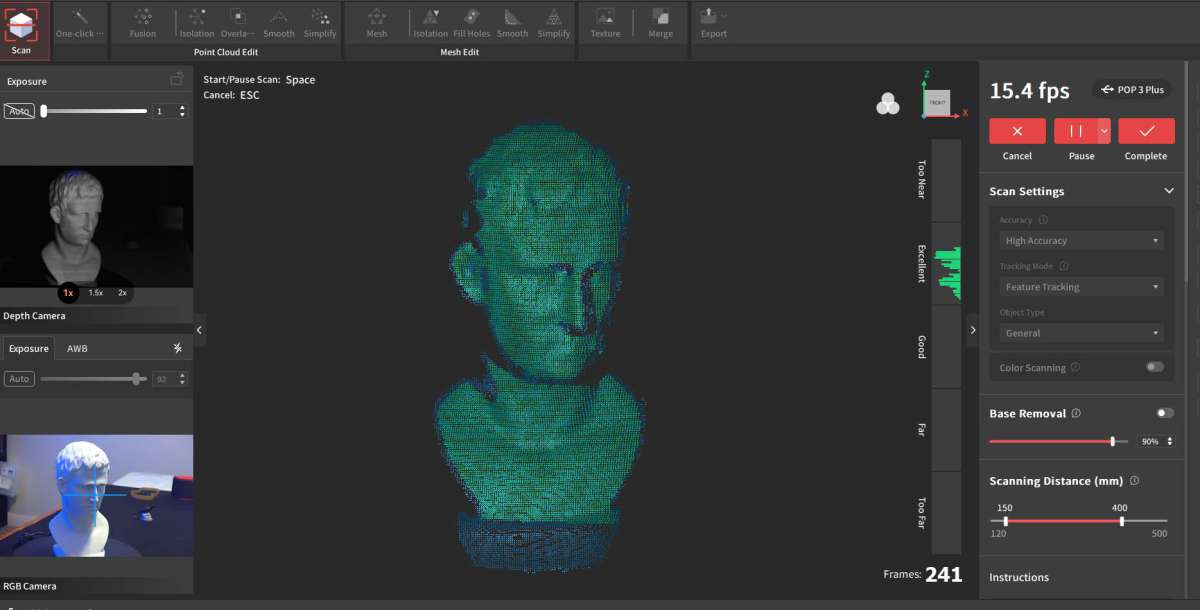
What’s included?
- POP 3 Plus 3D Scanner
- Tripod
- Phone Holder
- USB-A to USB-C Cable
- 2 in 1 Mobile Cable
- USB-C to USB-A Adapter
- Mini Turntable
- Turntable Topper
- Sample Bust
- Carrying Case
- Calibration Board
- Magic Mat
- Markers
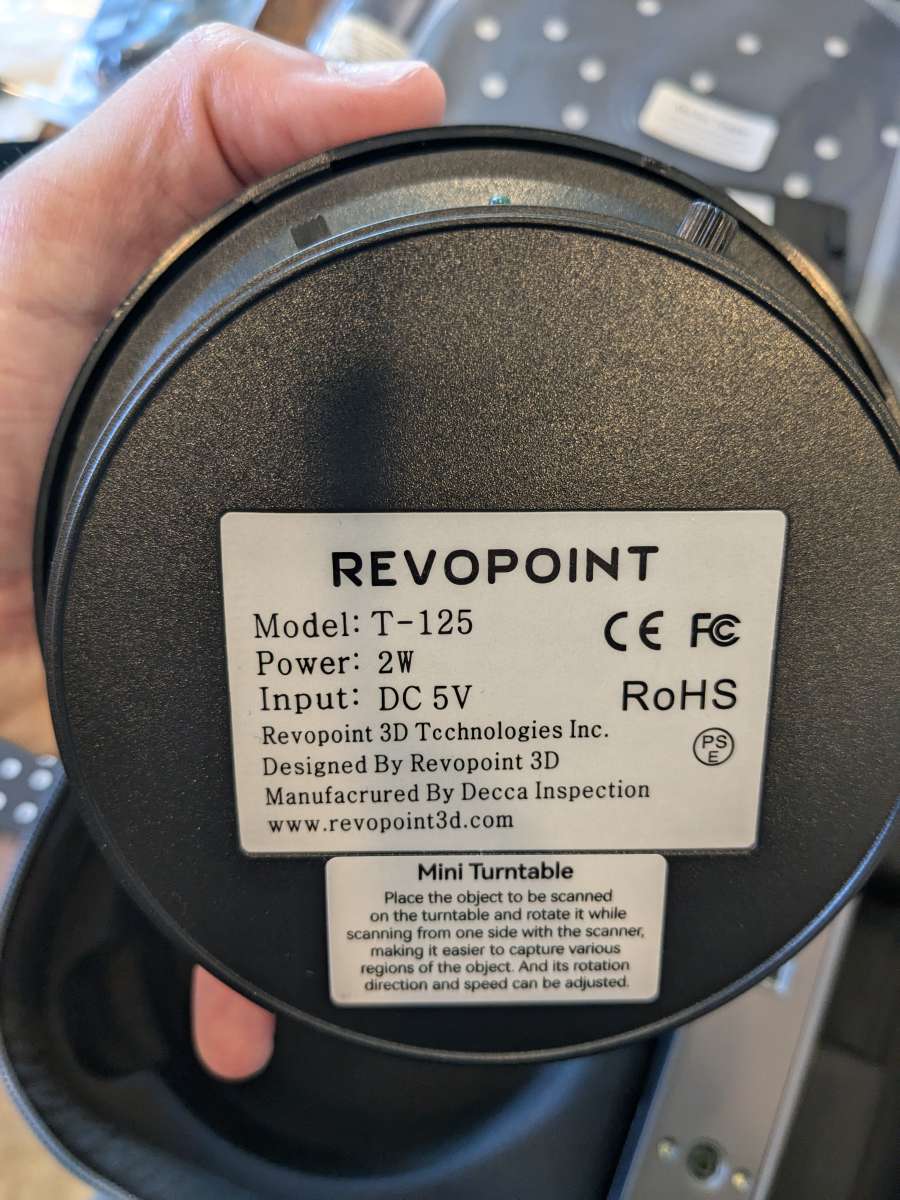
- Turntable Power Cable
- Quick Start Guide
Tech specs
Product Name: POP 3 Plus 3D Scanner
Technology: Dual-camera Infrared Structured Light
Single-frame Accuracy, up to: 0.08 mm
Single-frame Precision, up to: 0.04 mm
Scanning Speed,up to: 18 fps
Fused Point Distance, up to: 0.05 mm
Single Capture Area at Nearest Distance: 61 x 68 mm at 150 mm
Single Capture Area at Furthest Distance: 244 x 180 mm at 400 mm
Scanning Type: Handheld and Desktop
Working Distance: 150 ~ 400 mm
Minimum Scan Volume: 20 x 20 x 20 mm
Maximum Scan Volume: 2 x 2 x 2 m
Auxiliary Lighting: Infrared Fill Lights, White Flash LEDs
Angular Field of View, H x W: 40 x 25°
CPU: 2 core, 1.6GHz
Position Sensors: 9-axis IMU
Scanner Weight: 190 g
Dimensions (L x W x H): 153 x 45 x 29 mm
Tracking Methods: Feature , Marker
Buttons: 3
Connector Type: USB Type-C
Power Requirements: DC 5V, 1A
Wi-Fi: 6
Bluetooth: 4.1
Special Object Scanning: Use scanning spray for transparent, dark, or highly reflective objects
Scanning Environment: Indoors and Outdoors
Ready to Print 3D Models: Yes
Output File Formats: PLY, OBJ, STL, ASC, 3MF, GLTF, FBX
User Recalibration: Yes
Supported Accessories: Large Turntable, Dual-axis Turntable, Handheld Stabilizer, Power Bank, Mobile Kit
Compatible Systems: Windows 10/11(64-bit), Android, iOS, macOS
Light Type: Class 1 Infrared Light (Eye Safe)
macOS 11.0 or better:
Minimum Requirements
CPU M1 Pro or better
RAM ≥8GB
Connection: Thunderbolt 4 or better, or Wi-Fi
Recommended Requirements
CPU M1 Pro or better
RAM ≥16GB
Connection: Thunderbolt 4 or better, or Wi-Fi
Windows 10/11 (64 bit)
Minimum Requirements
CPU i5 12th gen or better
RAM ≥16GB
Connection: USB 3.0 port or better, or Wi-Fi
Recommended Requirements
CPU Intel Core i7 or better
RAM ≥16GB
Connection: USB 3.0 port or better, or Wi-Fi
Design and features
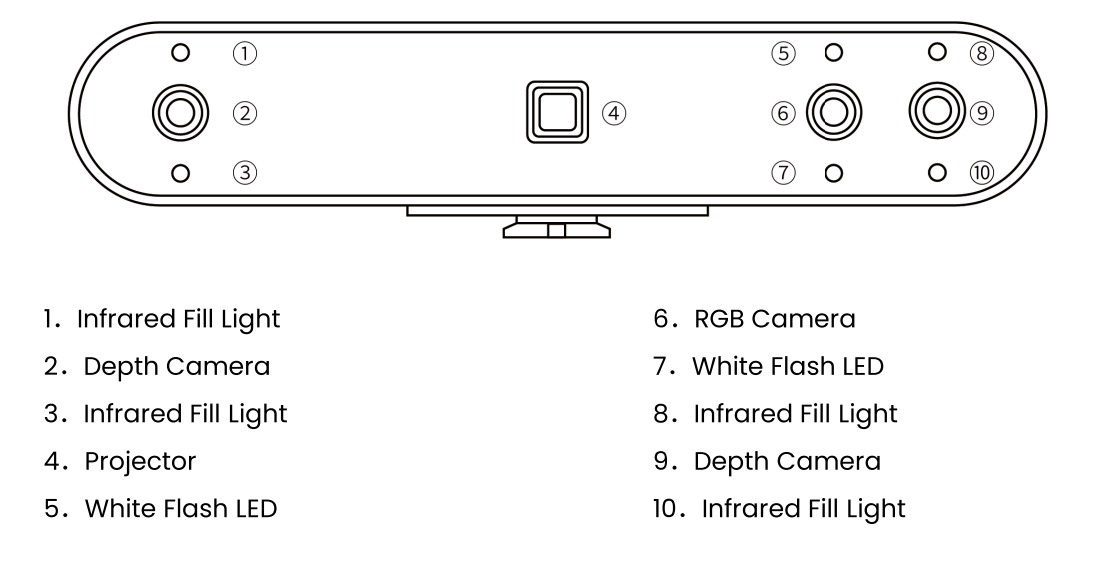
The POP 3 Plus 3D Scanner unit is about the size of a cell phone. It has a forward facing array of depth cameras, infrared lights, and white flash LEDs. It uses the binocular effect of the different cameras to create the 3D files.
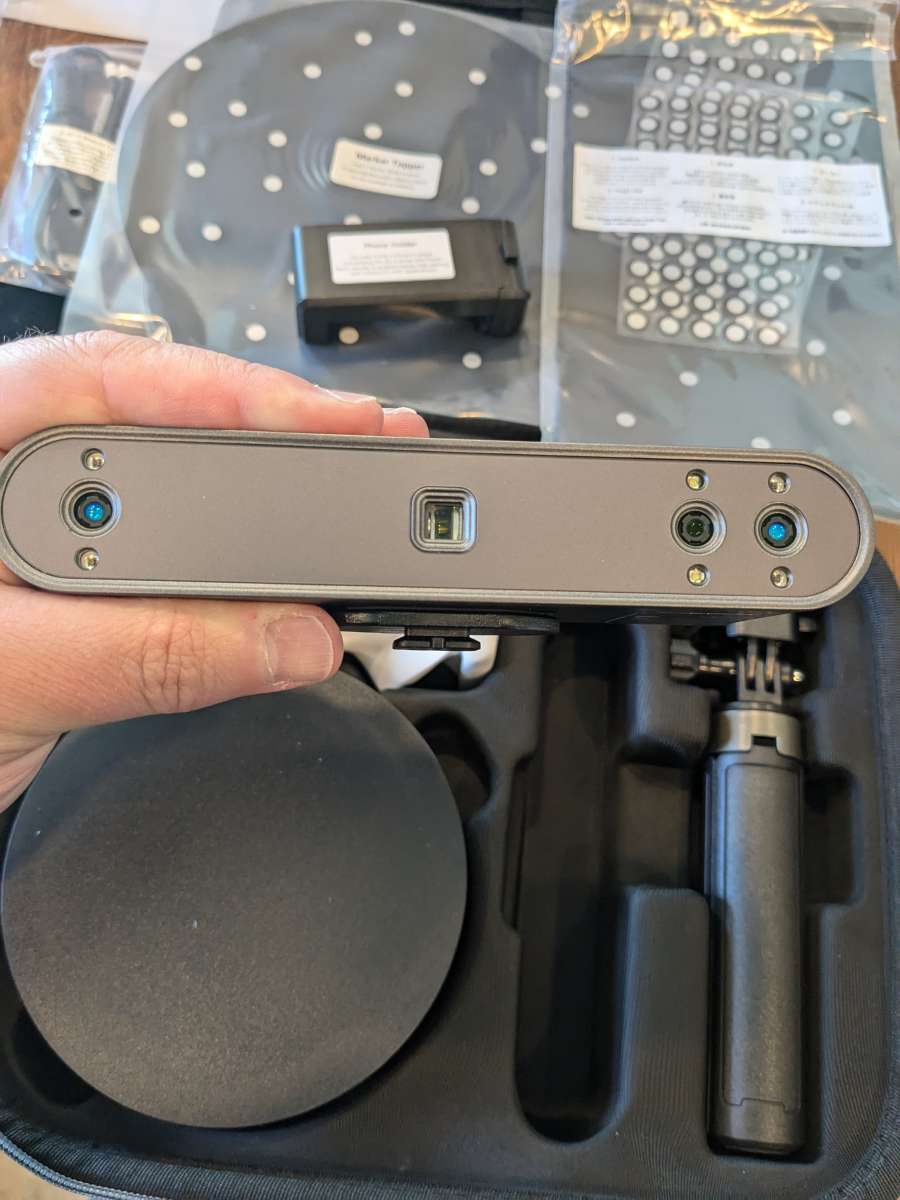
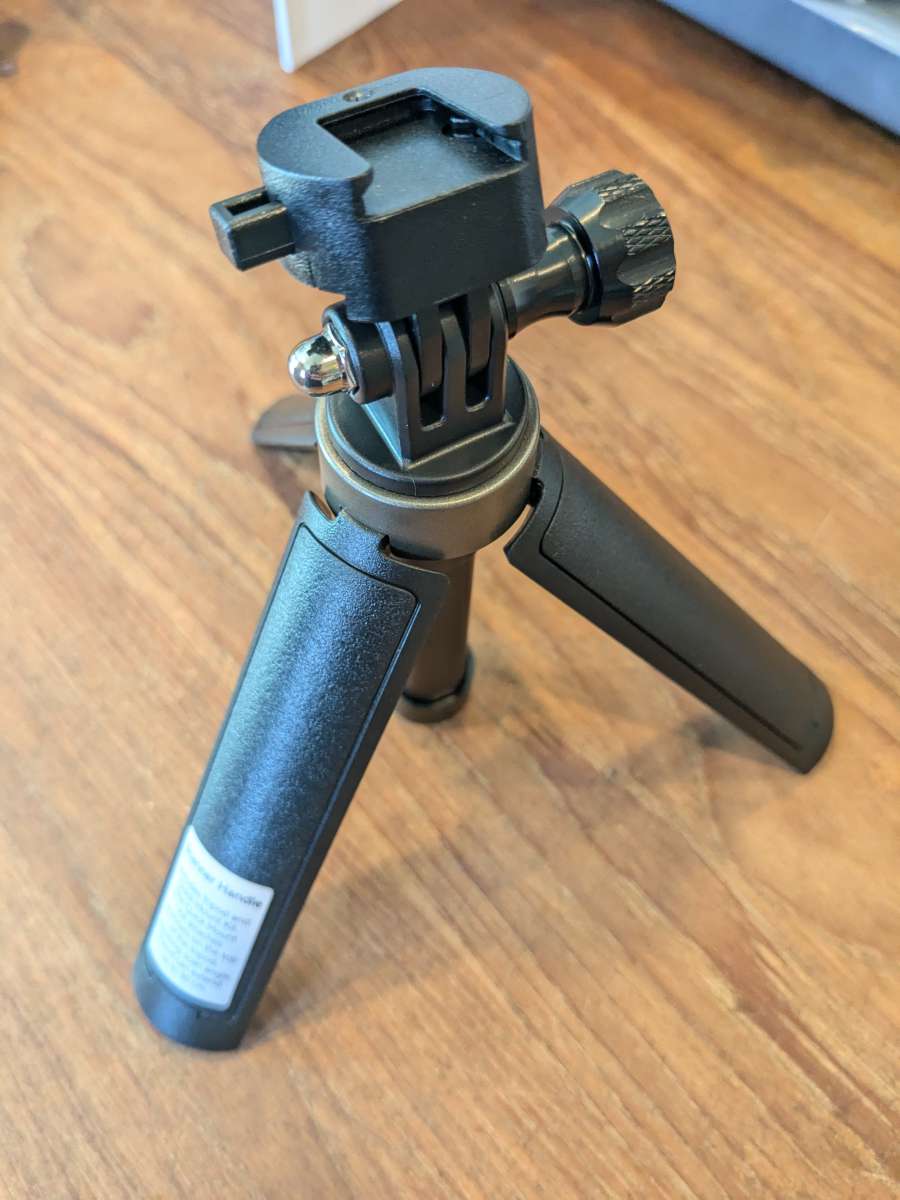
The scanner unit comes with a quick release attach point on the underside of the camera to attach the included tripod and cell phone holder. It’s easy to clip in and take off quickly whenever you need to.
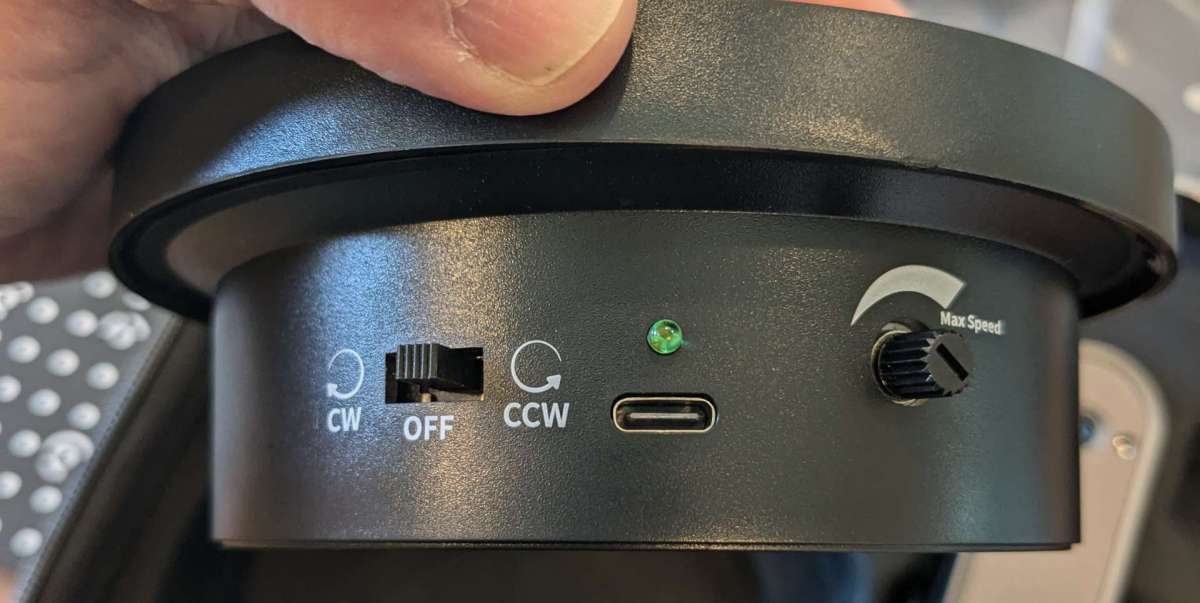
Included is a little turntable that you can use in desktop mode. It requires an additional power supply, which adds to the cables that you have to run to use this. Even an option to use a couple of AA or AAA batteries would have been better than requiring another separate power supply and cable.
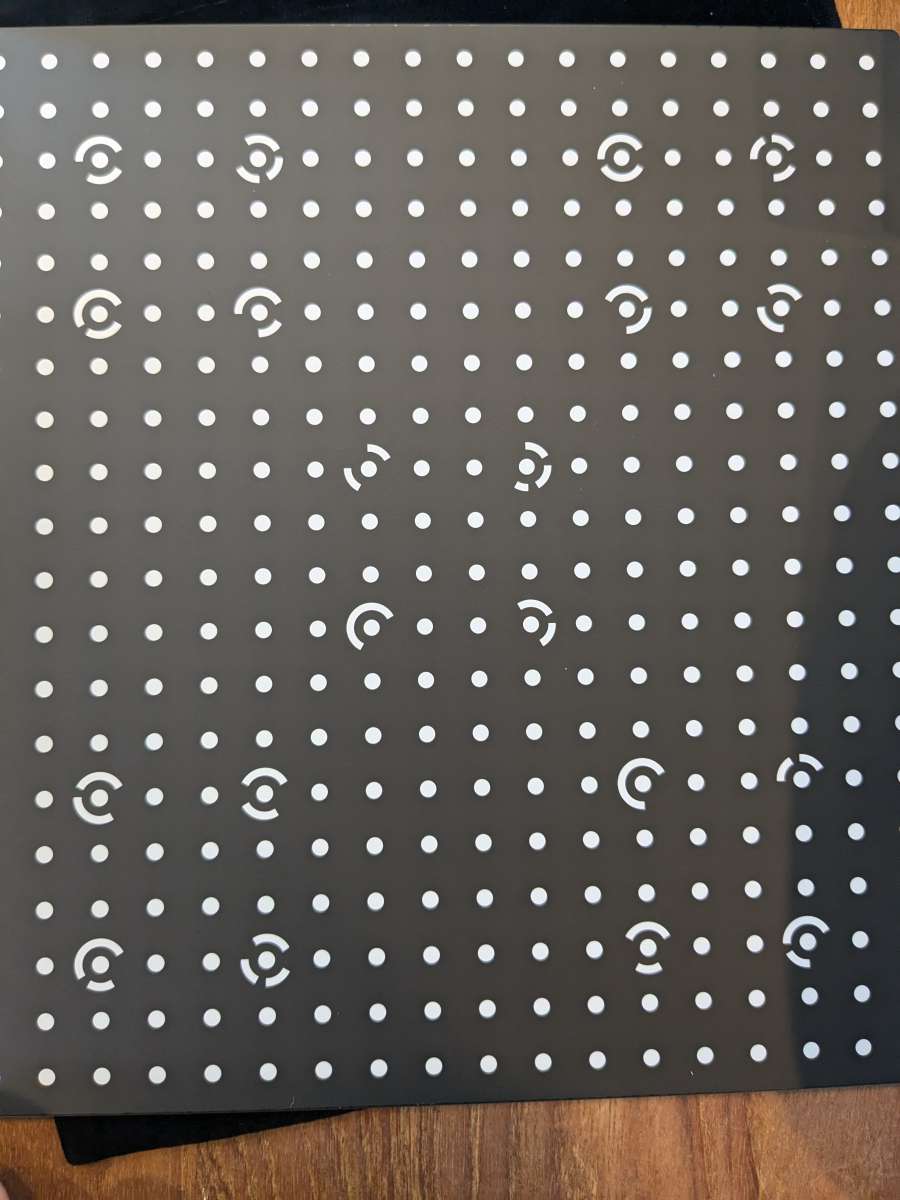
Also included in the package is a number of marker dots and different scanning surfaces that you can use to aid in the data capture.
Assembly, Installation, Setup
The most difficult part of setup was sorting out all of the different pieces and working through the instructions. The installation of the Revo Scan software was also fairly straightforward. Connecting the device took a bit more, though.
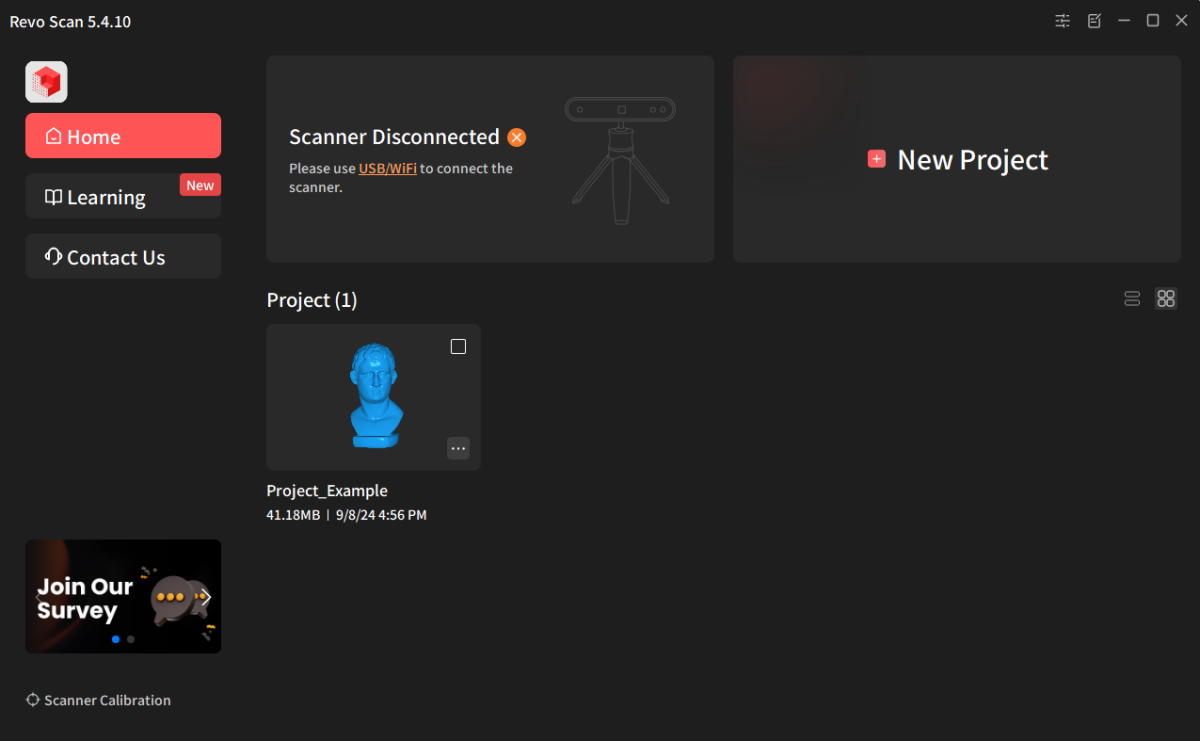
After installation, getting the computer to recognize the scanner took some work. I initially used the cell phone power and connectivity cable, which requires that both be connected to be used. The USB-A side powers the scanner and the USB-C side transfers data. There is a separate USB-A connector cable that does both of those and is intended for use with a computer. Use that one instead when you use your computer. (ie – Follow the instructions…)
Once you do get cables right it can take a little bit for the computer to recognize and connect.
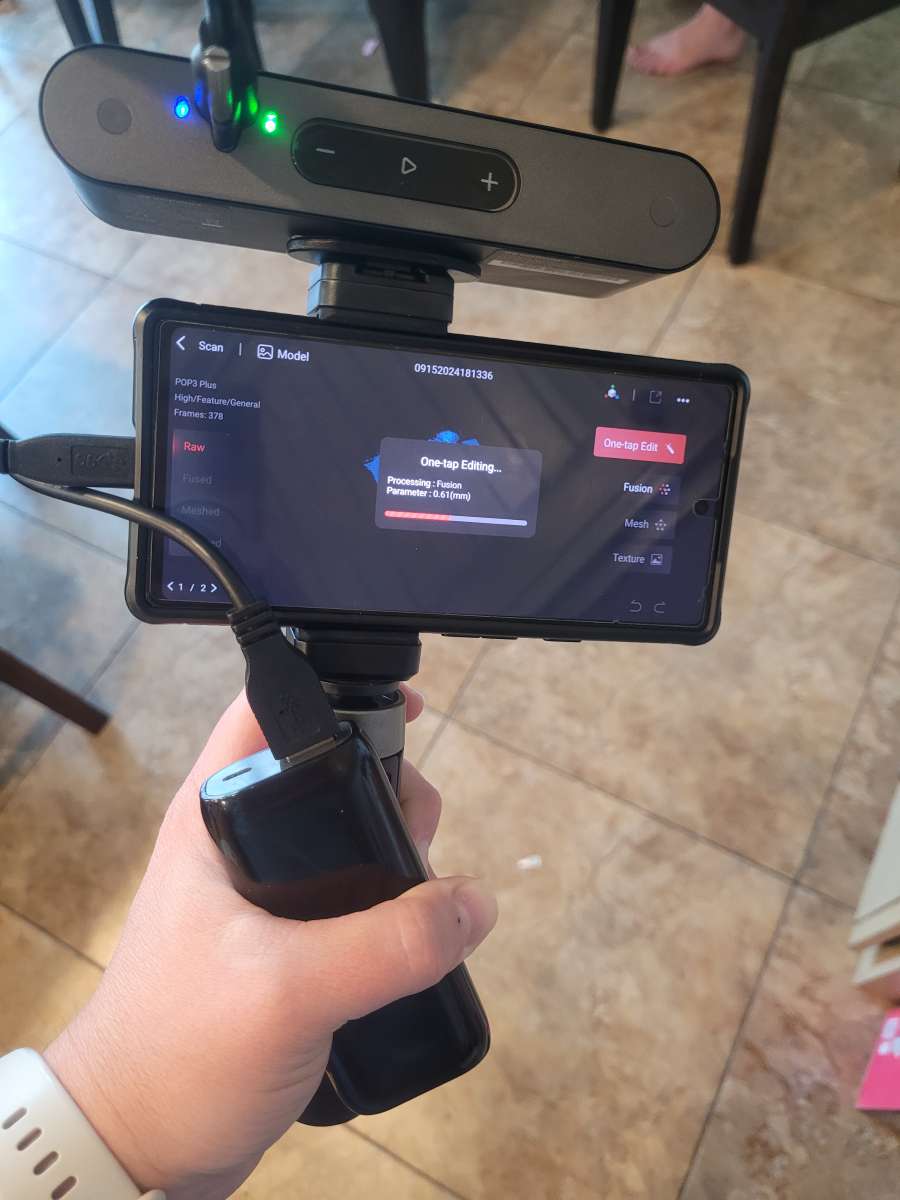
Setup on an Android was surprisingly easy, once I figured out that I needed to have an additional power source for the camera. The scanner has to be connected to the phone via the USB-C side of the pigtail and the USB-A side has to connect to some sort of power source. I had a small charger at hand that surprisingly still had a charge, so I used that and it worked pretty well.
Performance
Putting this scanner through its paces was very interesting. I think all of the Revopoint scanning products come with the same 3D bust, which is a good start to learning how to use the scanner. I’m not sure who he is, but kinda looks like King Charles to me.
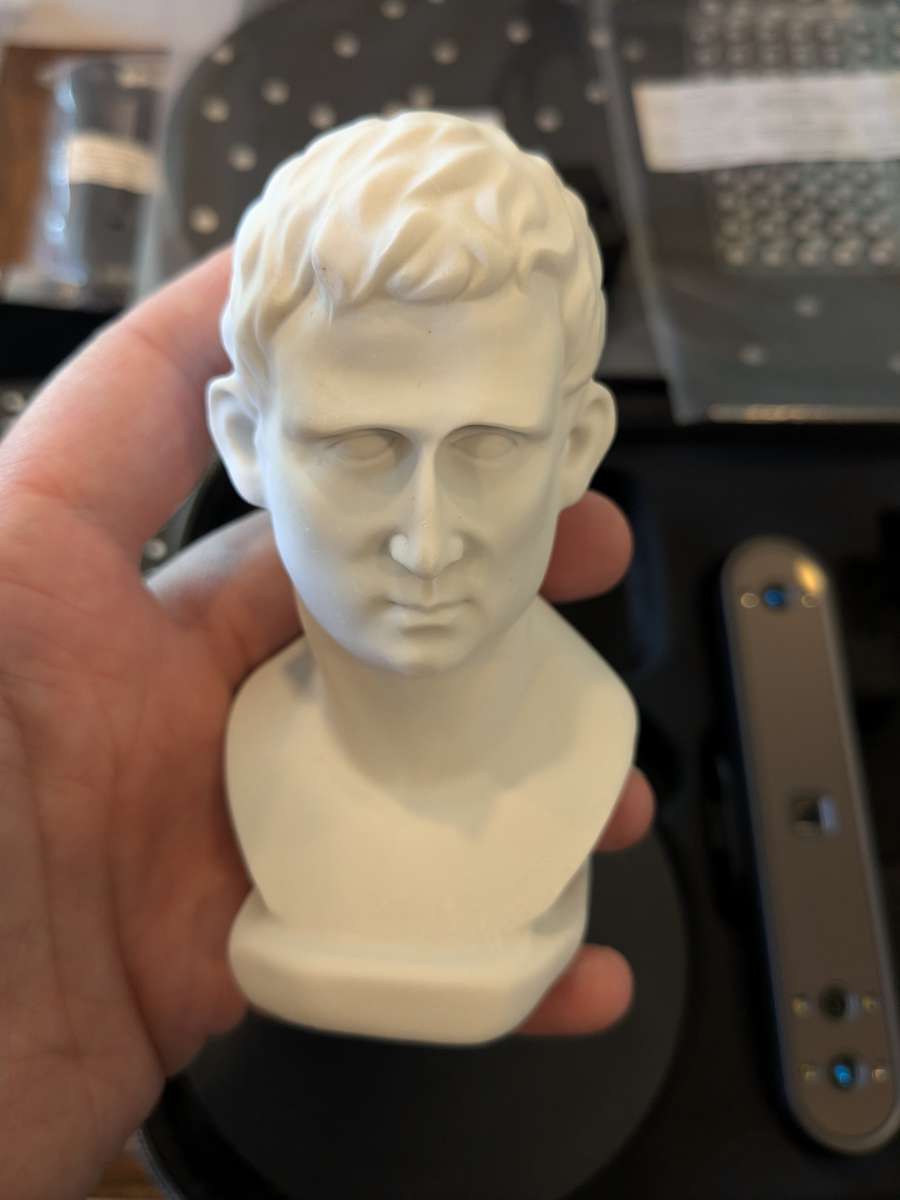
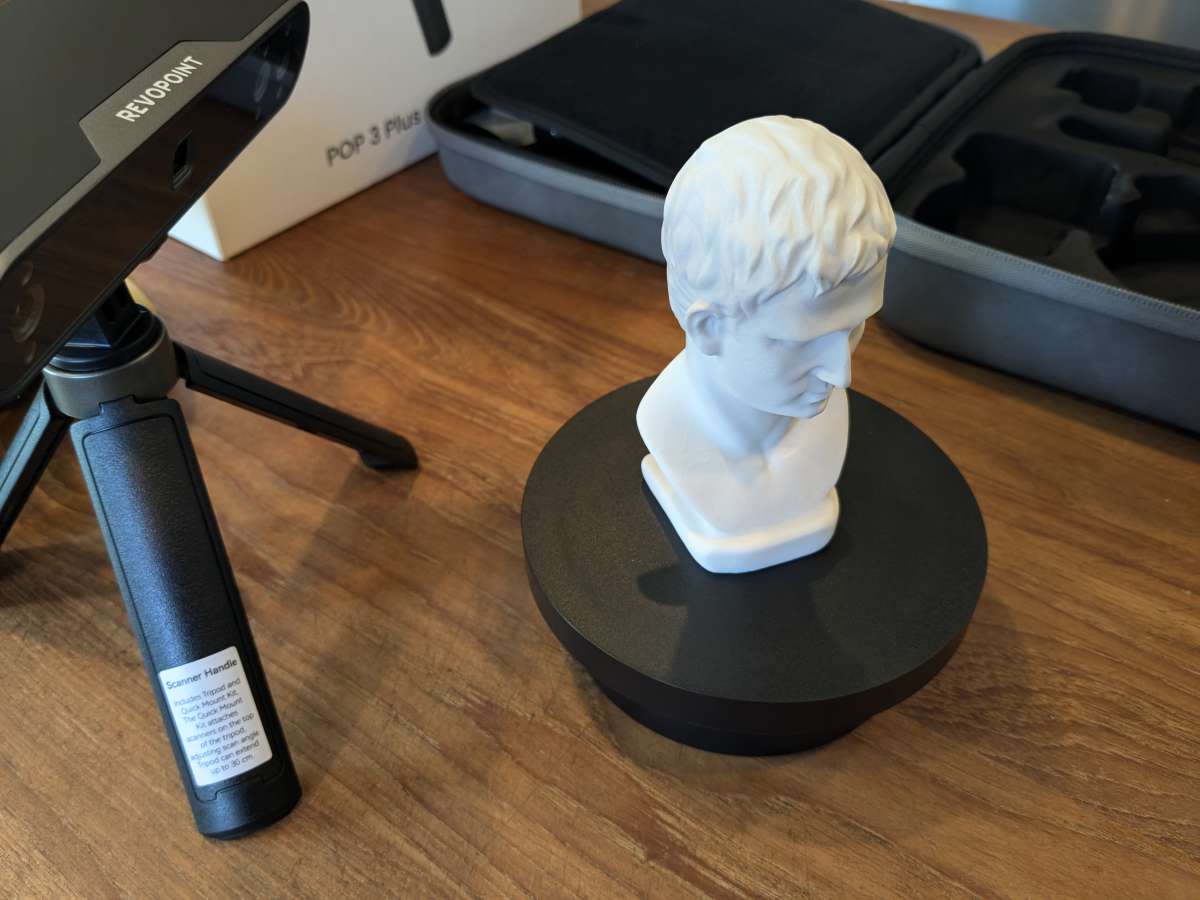
The below picture hasn’t been plugged in yet, but you get the idea. I place the bust on the mini turntable (which must be powered separately as well).
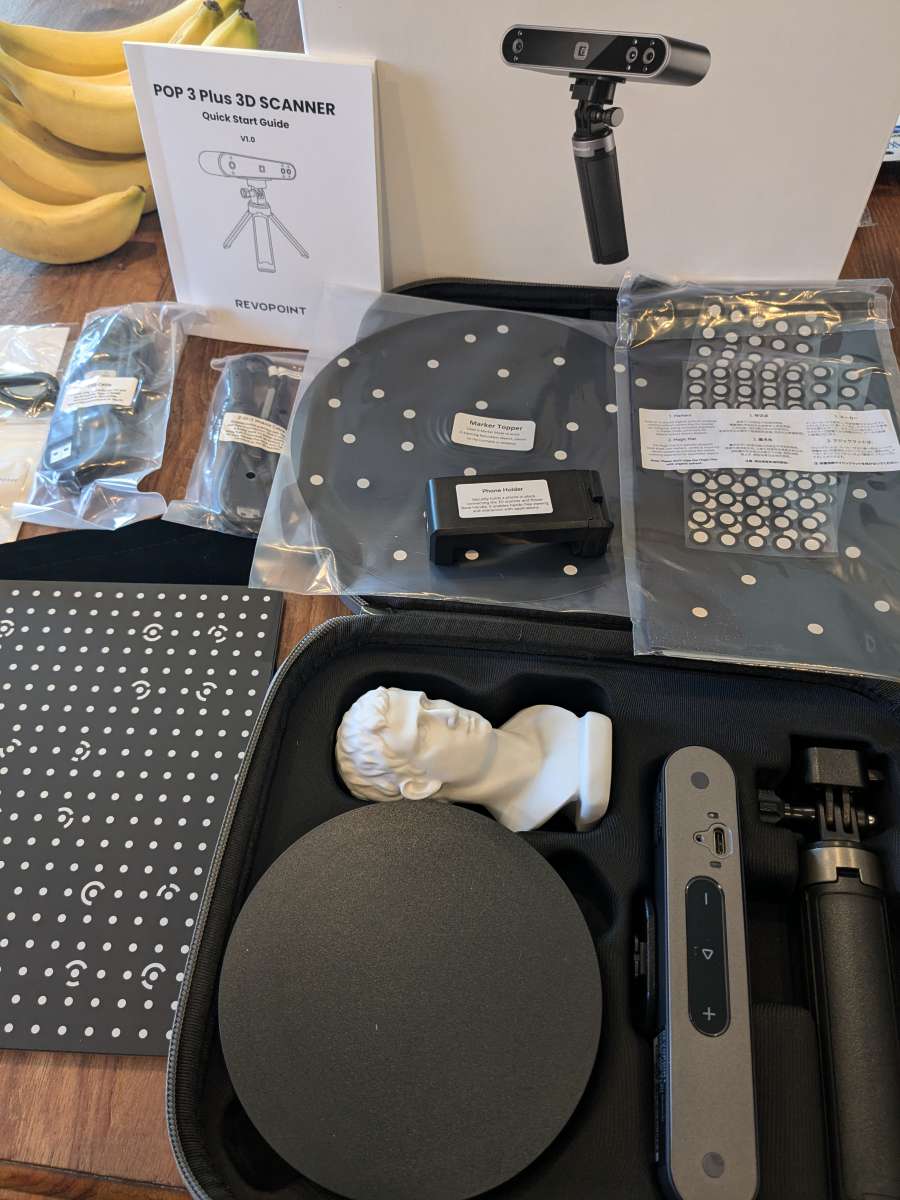
Starting the scan, the software starts to create a 3D image of the object. If you have other items around or your arm gets in the way, it will also get input into the file and make it messier. Depending on the angle of the camera, you’ll develop gaps and holes where the camera can’t see or the angle needs to be changed. For this, you can pause the camera and adjust the orientation of the object. This comes with varying degrees of success.
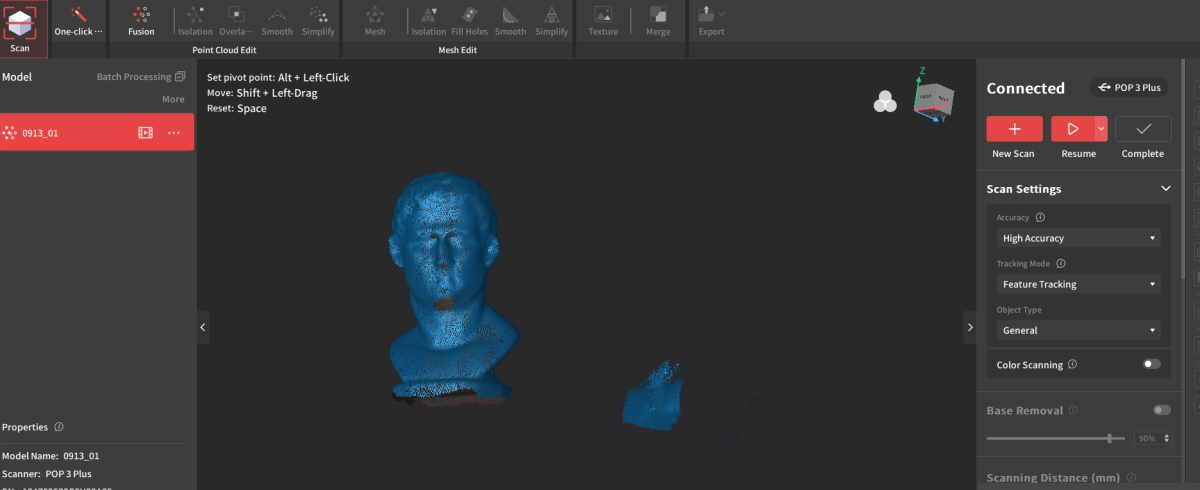
In the case of this bust, I restarted the scan capture and the software was able to recognize where on the object it was and restart the scan there.
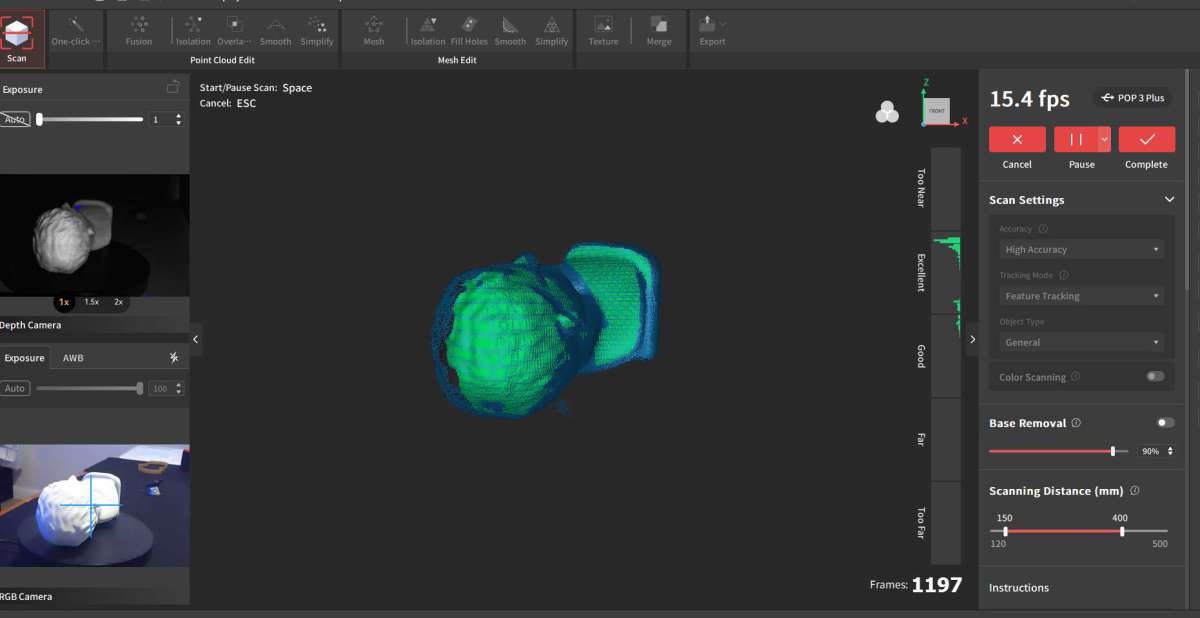
For this object it worked pretty well. I had to restart a few times as part of the learning curve and also because it doesn’t always pick up where you want it to and you get phantom objects messing your file up. A lot of this was trial and error because there was not a lot of info online or in the start guides.
After capture you move on to processing. Depending on the level of granularity you set, you may have disappointing results. I had the distance between points too far apart and got a degraded look.
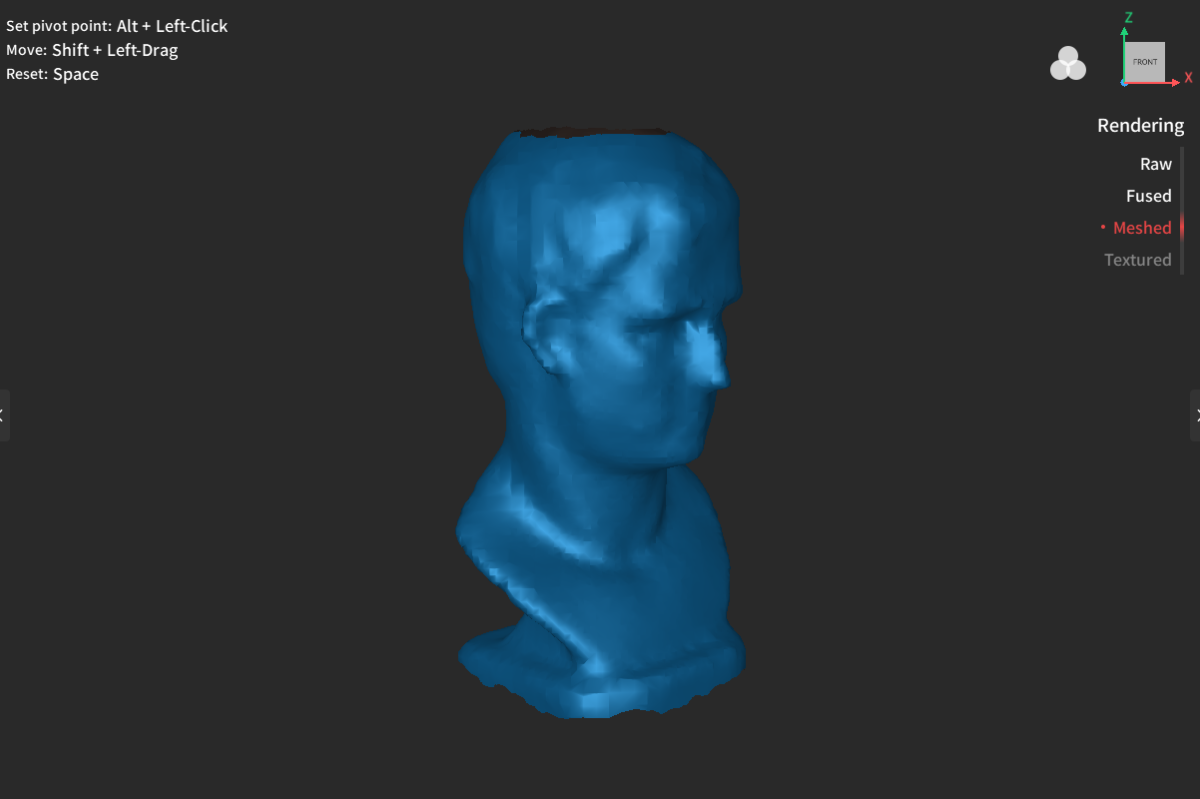
Decreasing the size between points made for a much better result. As you can see below, it starts to look much better.
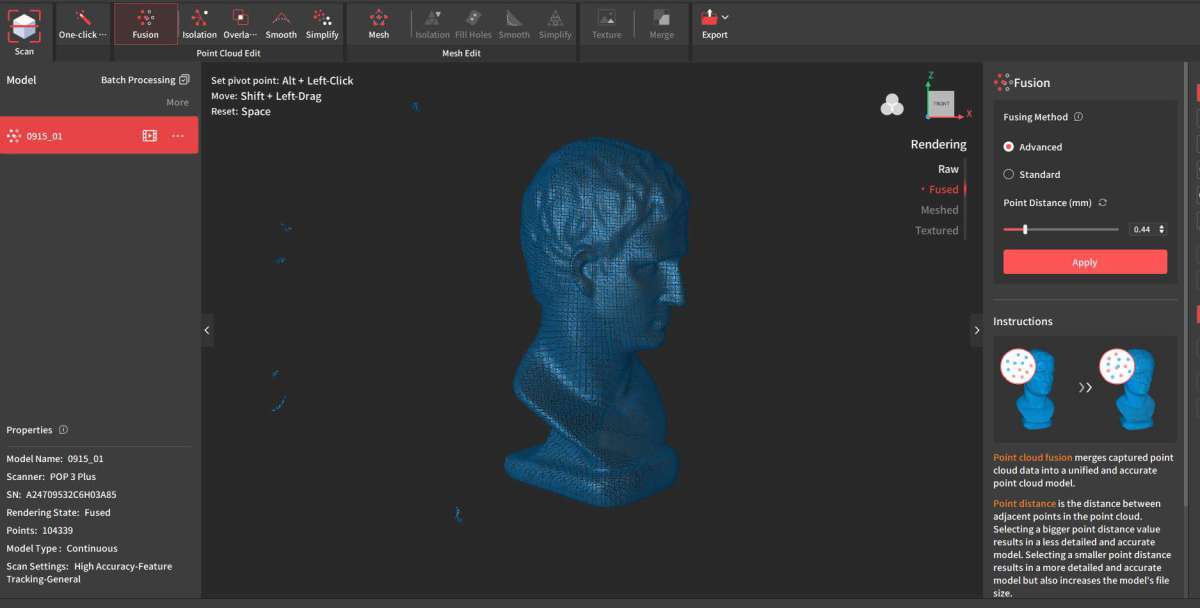
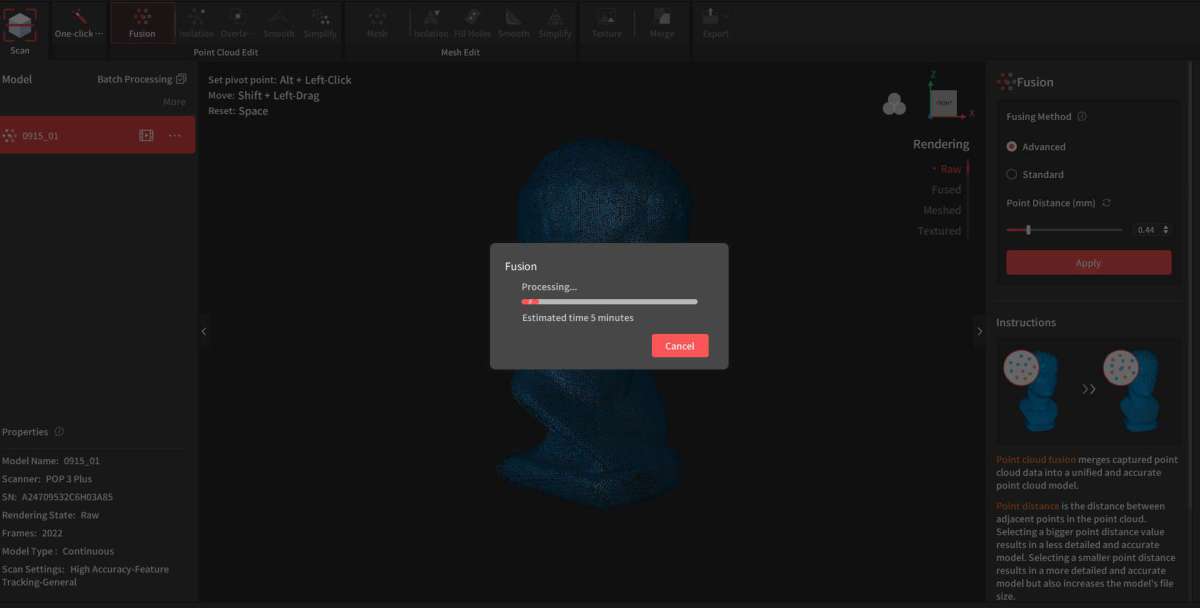
The more data you capture and the more granularity you put into the design, the longer the processing will take you. I have an older laptop, so a newer computer could probably crunch the data faster.
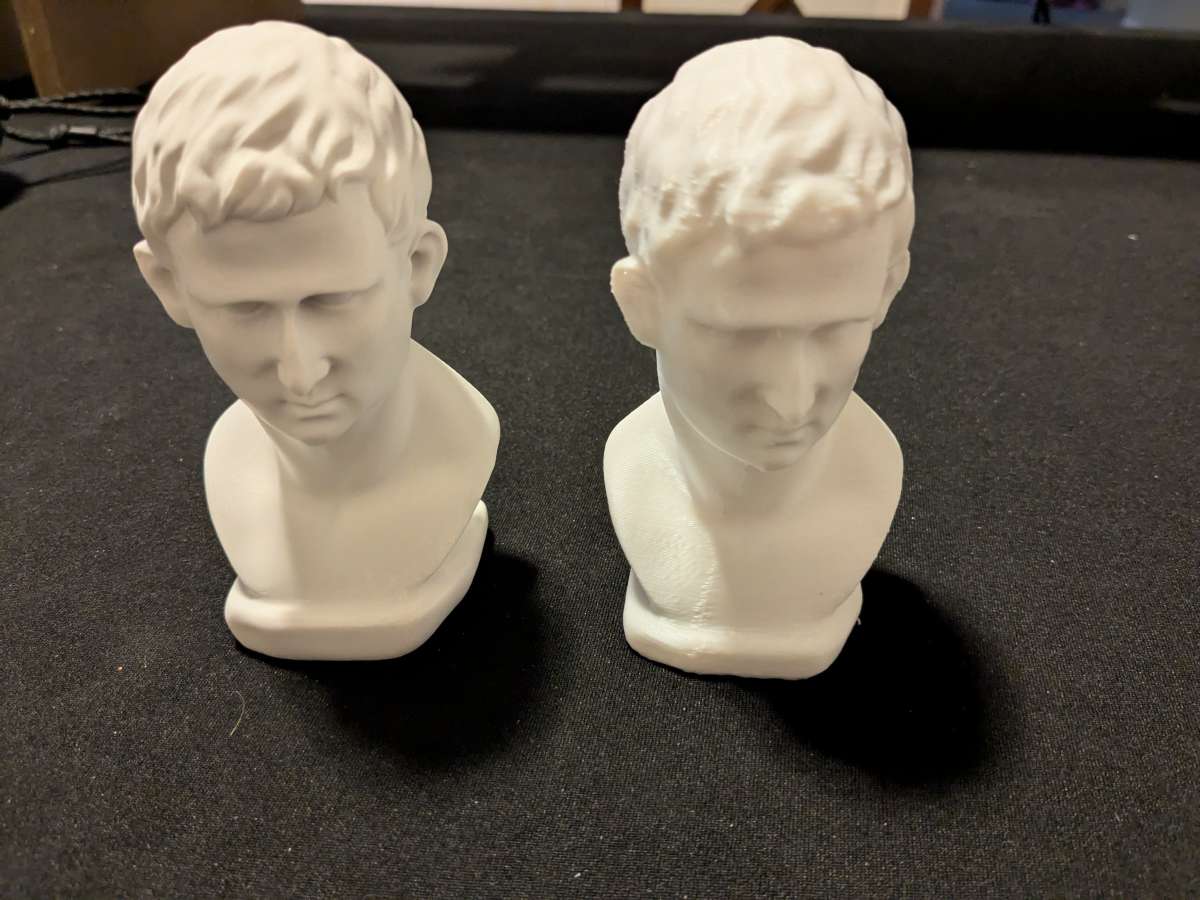
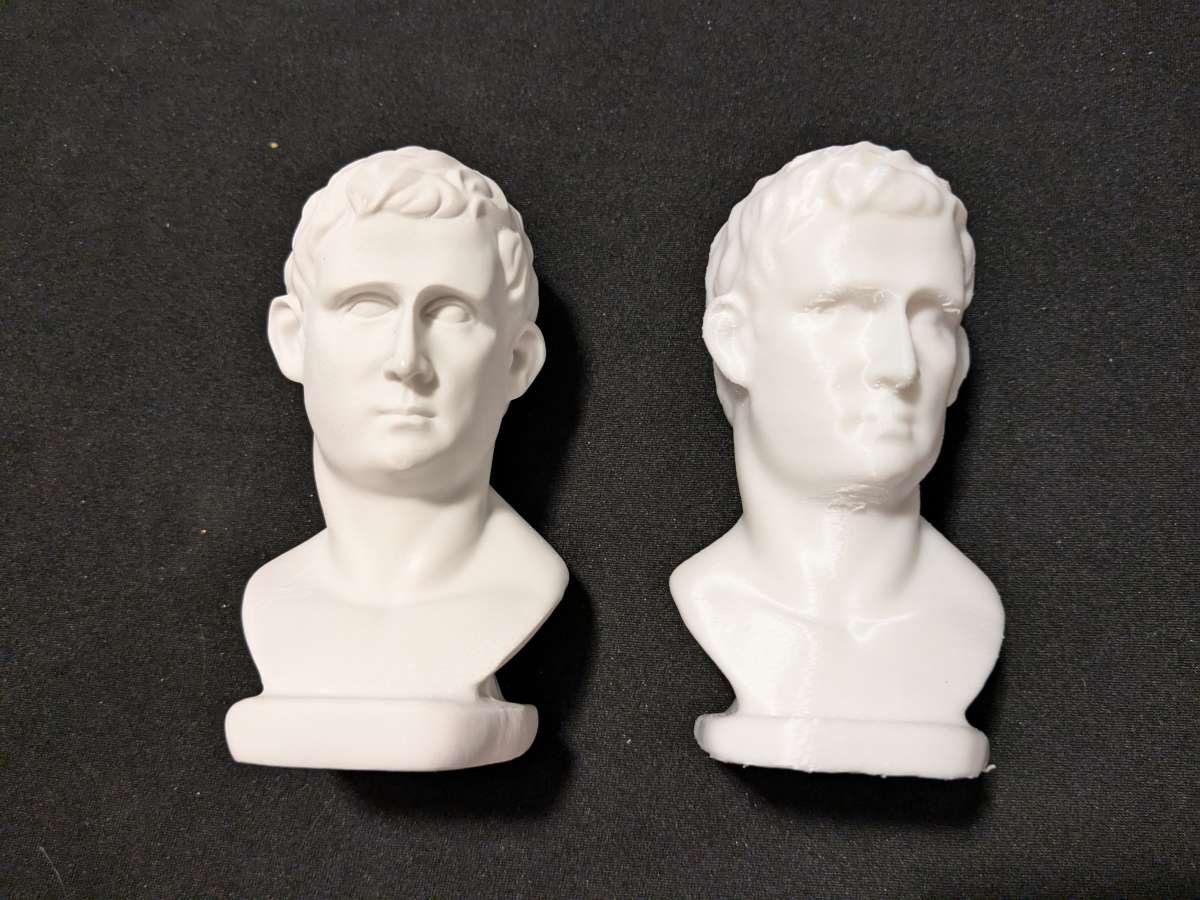
From this data I was able to create and export an .stl file on my filament 3D printer. I was pleasantly surprised with how well it turned out.
Moving on to other objects to test, my kids wanted me to try out a Croc. I didn’t quite know what I was getting into at the time. Crocs have lots of holes, crannies, and little decorations that make for a difficult scan, as you can see below. I went through a bunch of different scans and it was actually quite frustrating. Try something simpler at first, if you can.
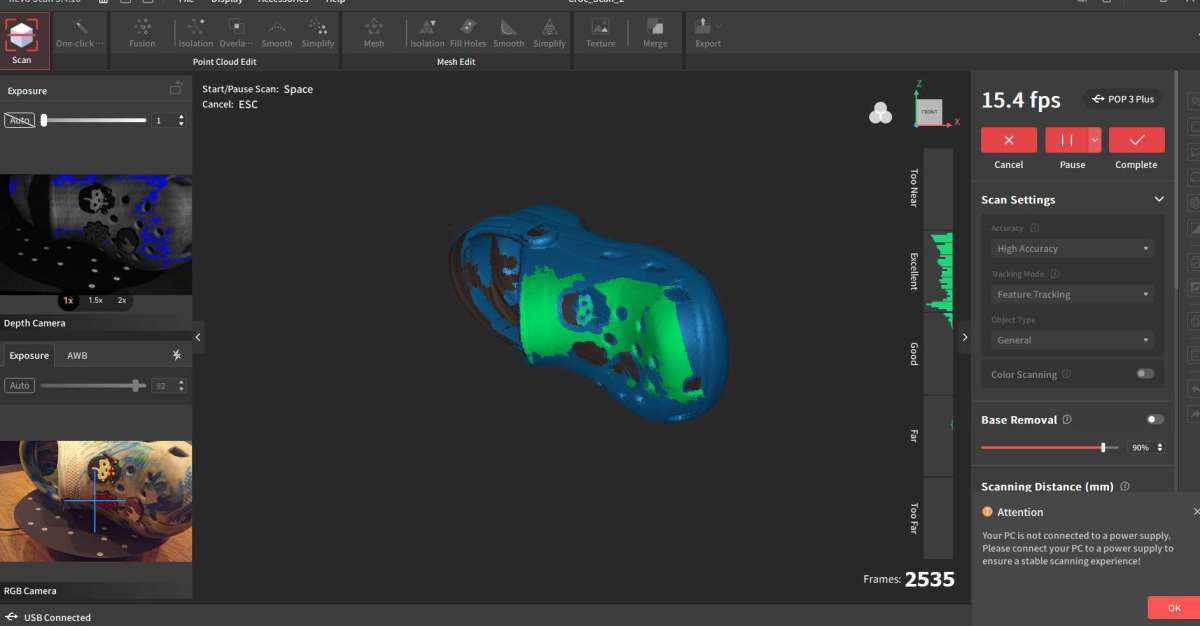
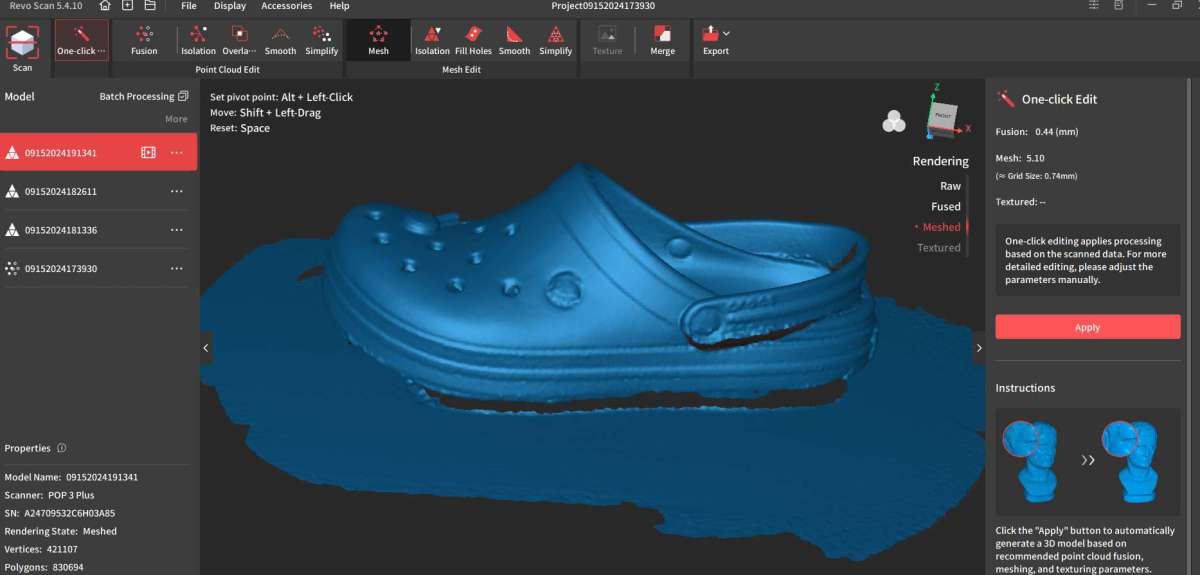
The final result I got looked pretty good, but still had a lot of errors. I wasn’t able to get a clean enough file to 3D print. This was the culmination of many, many repeated scans.
I also tried out the Android app and capturing an image by hand. It was a lot harder that I imagined. You have to have a steady have or good editing skills
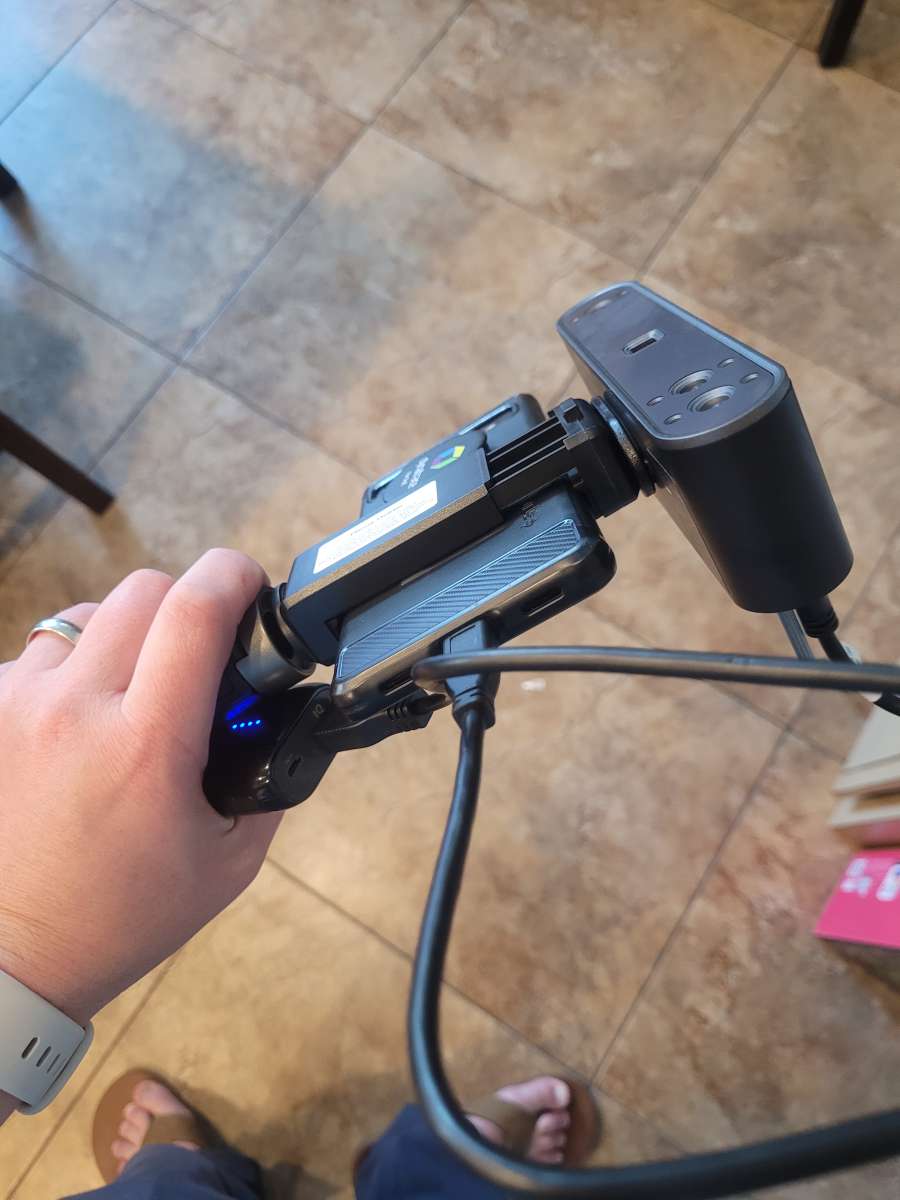
The app did pretty well at taking the data and putting it into the model, but the data was very messy. Definitely something I need to practice further.
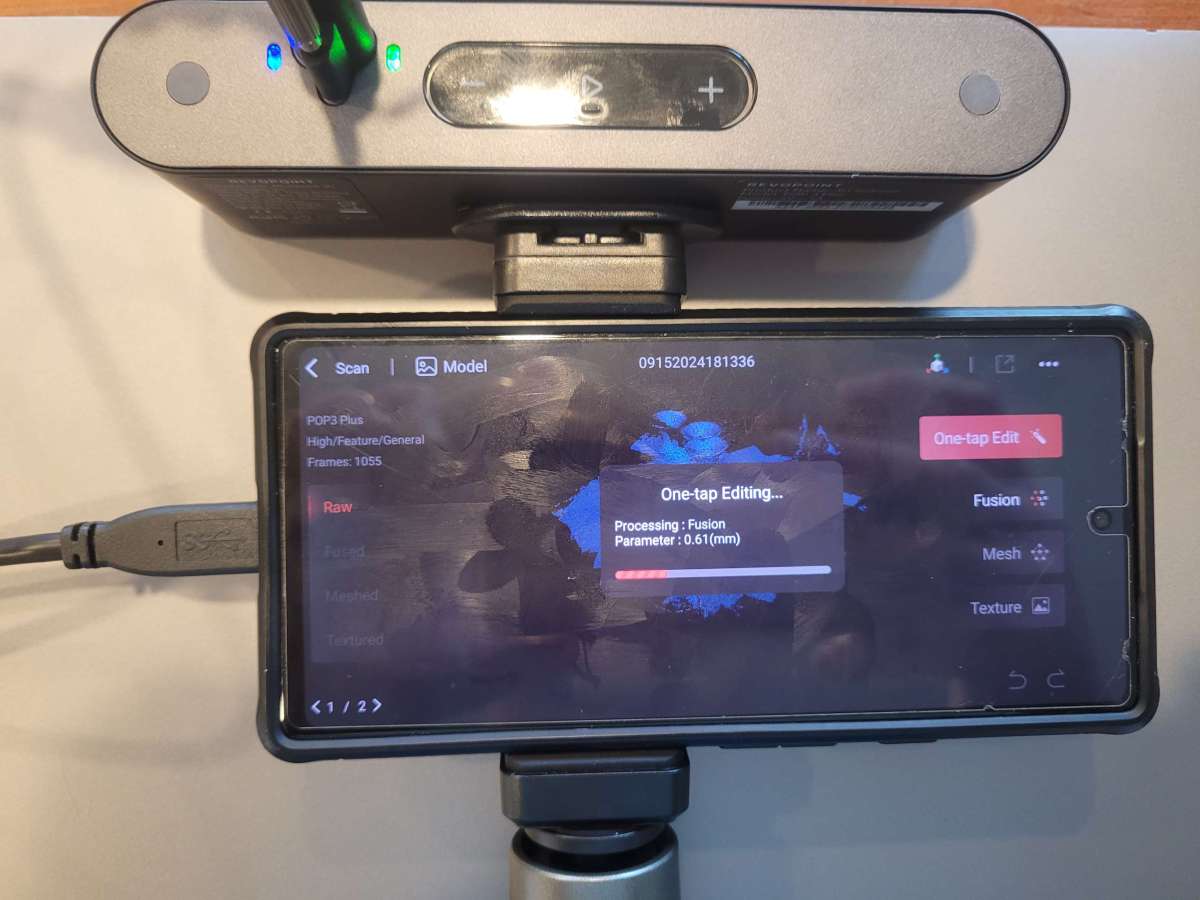
One cool feature of the app is that you can also transfer the file to your computer from app to app if you’re on the same wifi network. It took a bit to figure out, but it worked well.
What I like about the POP 3 Plus 3D Scanner
- The ability to create a digital file is incredibly useful.
- The kit comes with a lot of tools, cables, and materials to use. Everything fits together well and goes back into the carrying case.
- The apps work well and didn’t bog down at all, even on older computing equipment.
- The tripod is a little unsung hero here. It’s compact and extremely useful
What needs to be improved?
- Instructions need to be expanded. Basic setup is covered, but they really need to up their game on tutorials. Even basic tips and tricks would be great to have.
- Power to the camera and turn-table is inconvenient and adds to the cables running everywhere
Final thoughts
This is a tool that is going to take some practice and experience to truly appreciate, which is hard to do in a review period. The technology is fascinating. I am a bit concerned where the line gets drawn on intellectual property rights and using something like this. It’s not a quick and easy capture and takes some effort, but I could see that being a concern. Overall, I would recommend this product to someone who wants to learn how the technology works and doesn’t want to spend massive amounts of money to get into it. It’s not cheap, but it’s definitely better than the professional/production tools out there.
Price: $557.00
Where to buy: Revopoint and Amazon
Source: The sample of this product was provided for free by Revopoint. Revopoint did not have a final say on the review and did not preview the review before it was published.


