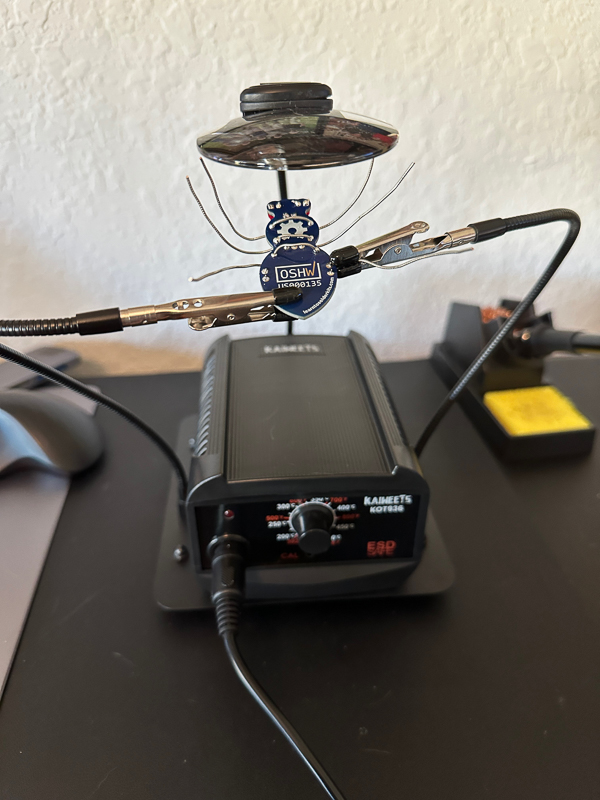
REVIEW – Growing up, I remember my Dad earning extra money by repairing TVs, stereos, and other electronic devices for extra money. I loved to watch him solder to repair the circuit boards. It never occurred to me back then that I could solder myself. It was just something Dad did. As an adult, I always had it in the back of my mind that I wished I had learned to solder, so when the KAIWEETS KOT936 Electric Soldering Station review came up for review, I asked if I could do the review. I promptly ordered a small kit from LearnToSolder.com and anxiously awaited the soldering station.
What is it?
The KAIWEETS KOT936 Electric Soldering Station review is what it says it is… a soldering station. It has a temperature control unit, a base in which the unit sits that has helping hands, and a magnifying glass. It also has a separate unit that holds the soldering iron and a sponge and copper brillo pad to clean it.
What’s in the box?
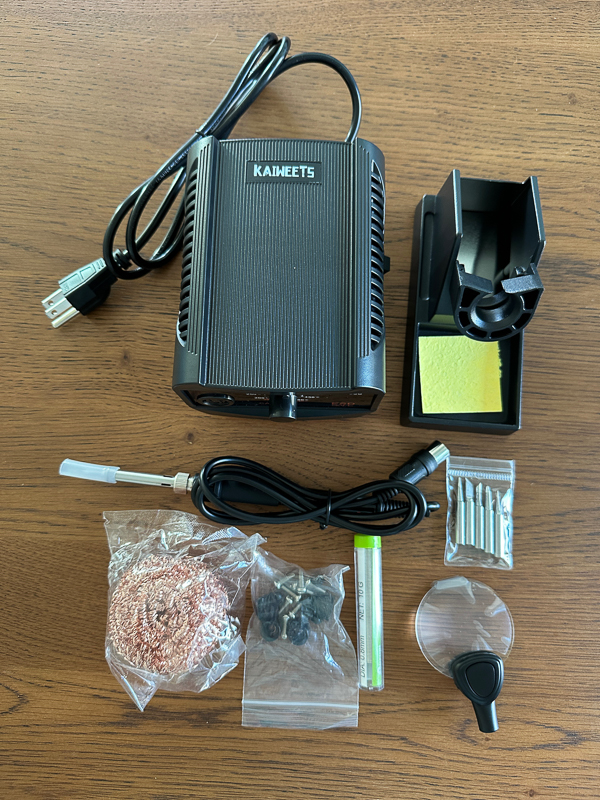
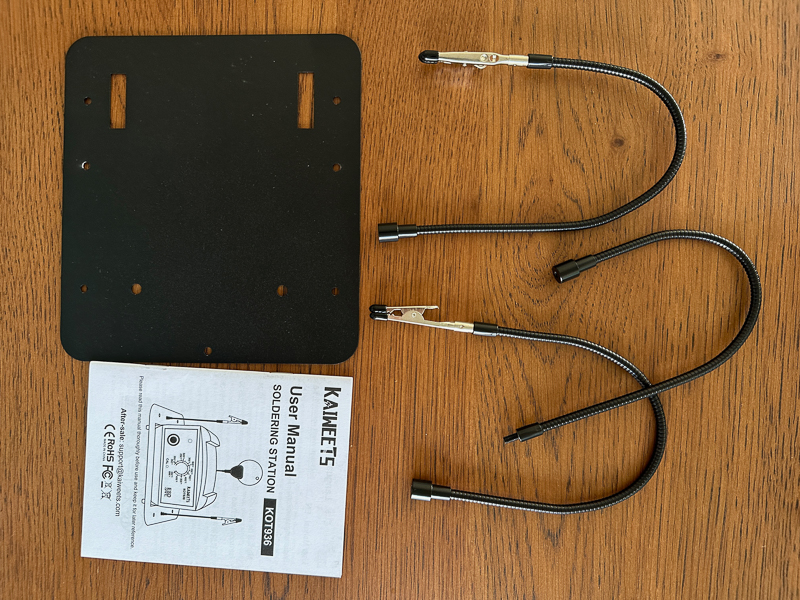
- temperature control unit
- soldering iron
- soldering iron stand
- sponge
- copper cleaning pad
- user manual
- two rods with clips
- one rod with a magnifying lens
- metal base plate
- package of screws and four rubber feet.
- Five additional soldering tips plus the one on the iron itself
- small pack of solder
Hardware specs
- 65W stable output power
- 200℃-480℃ adjustable work temperature
- upgraded ceramic heating core
- detachable workbench
- separate soldering iron stand
- helping hands clips and magnifying glass
Design and features
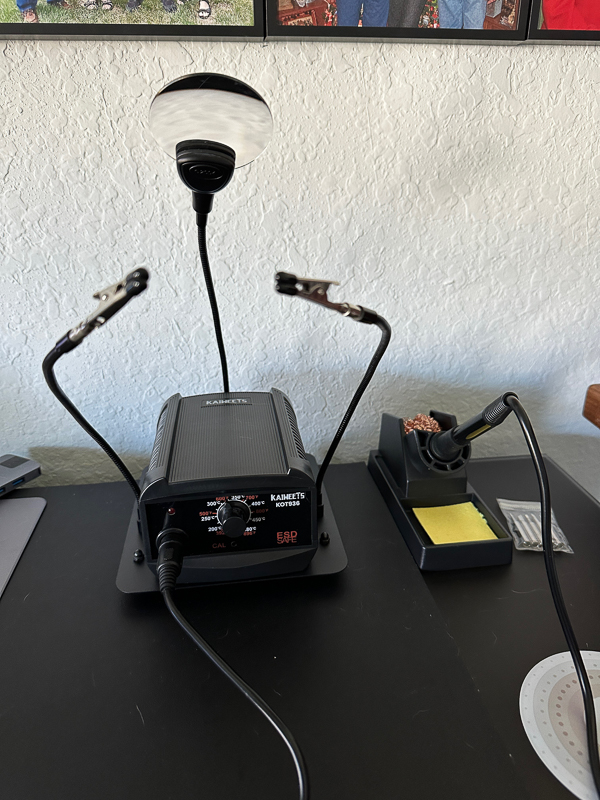
The KAIWEETS KOT936 Electric Soldering Station review is made up of four separate parts.
- a base with helping hands clips and magnifying glass
- temperature control unit
- soldering iron
- soldering iron holder with sponge and copper brillo pad.
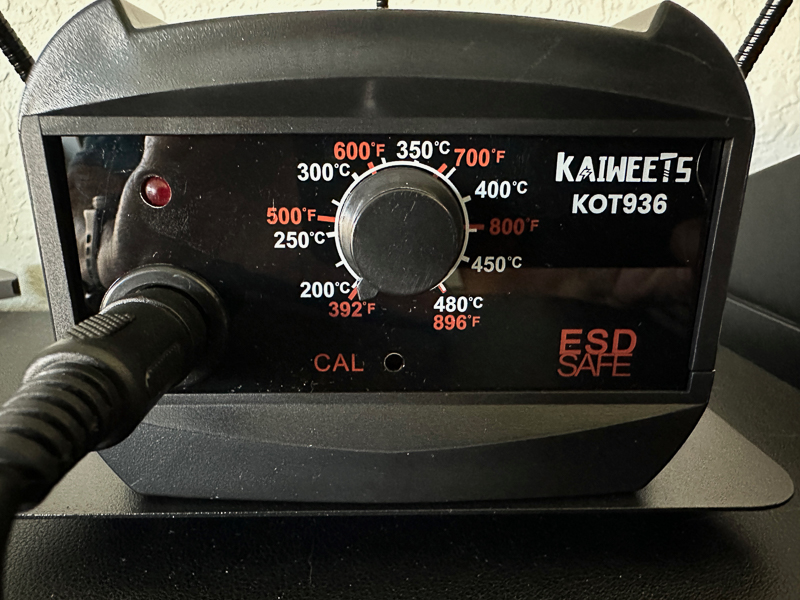
This is a close-up of the Kaiweets Soldering Station’s temperature control unit interface. It is pretty simple. There is a dial to control the temperature. The LED light on the top left corner lights up solid red when the unit is heating up and will flash periodically when fully heated. There is also a calibration screw inset into the hole under the dial.
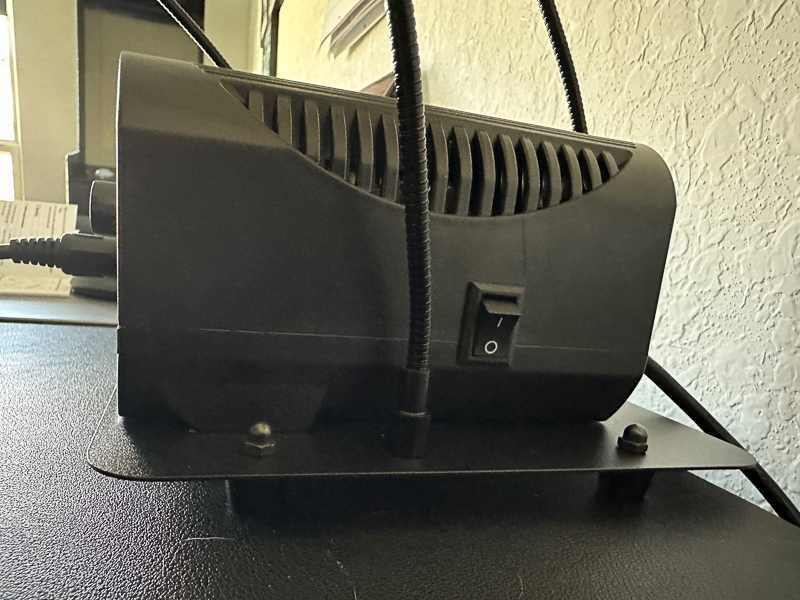
On the right side of the unit is the power switch.
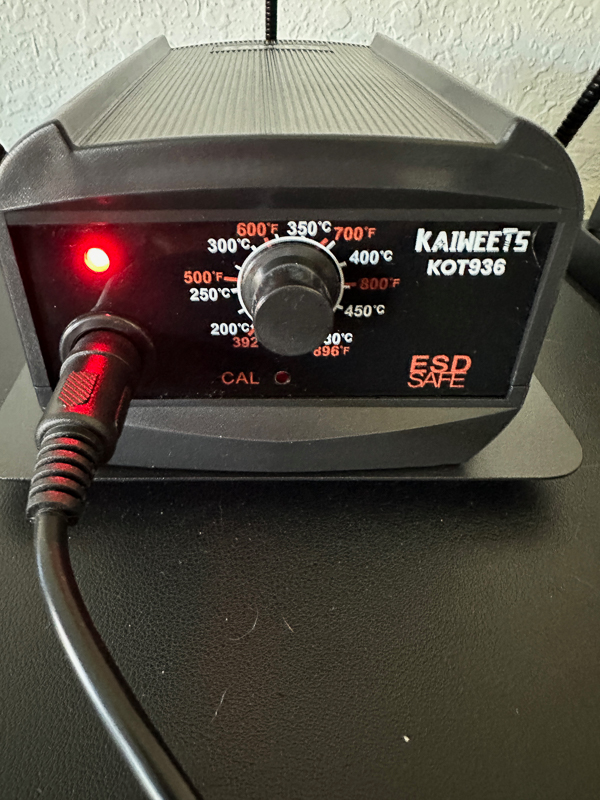
Here you can see the LED lit up when I turned the switch on and set the temp to the initial 200 degrees Celsius to preheat.
Setup
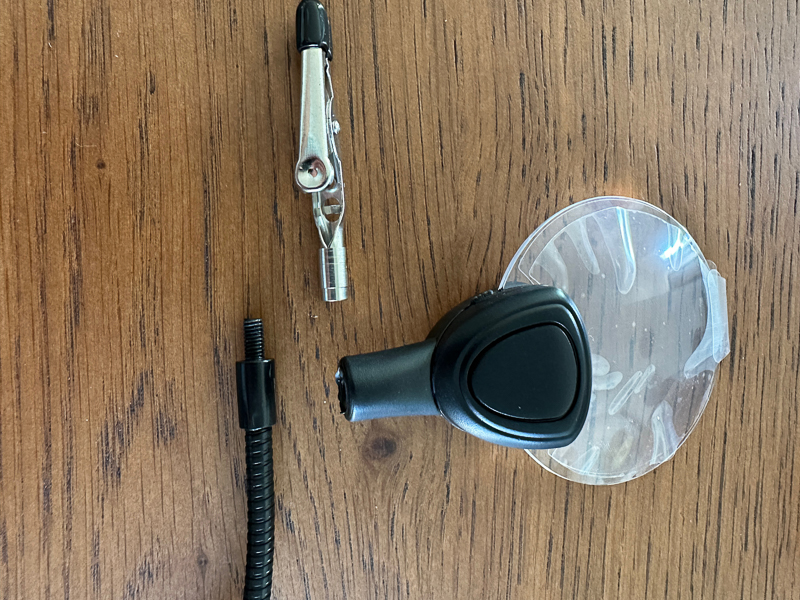
There were a few steps required to get the KAIWEETS KOT936 Electric Soldering Station review up and running. I took the picture below to show that the clips and magnifying glass can screw off the ends of the rod and are interchangeable.
The first thing I did was attach the four rubber feet to the bottom of the base. They are held in place with a screw and nut.
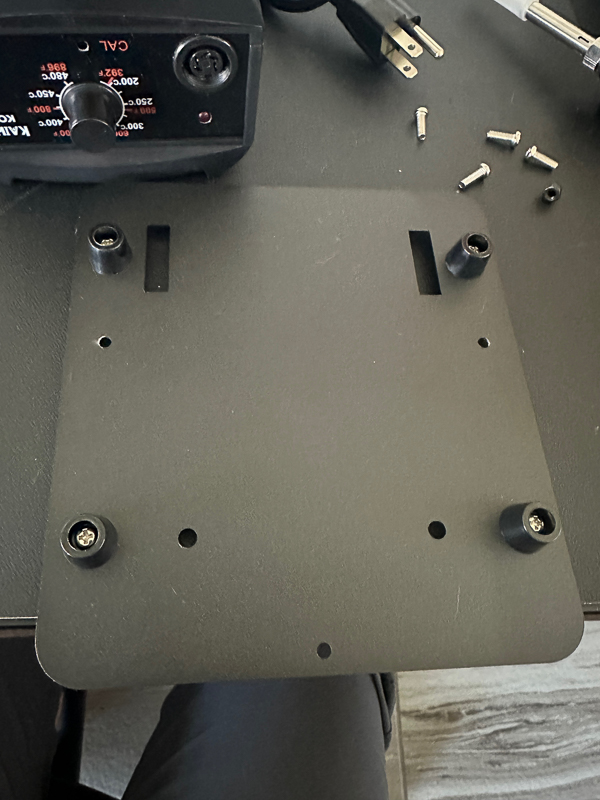
Next, I attached the three bendable rods to the base. Those are attached with a screw. I will note that no matter how tightly I screwed the screw in, the rod on the right-hand side seemed to come loose all the time and spin freely. I will eventually put some Loctite on the screw, hopefully keeping it in place.
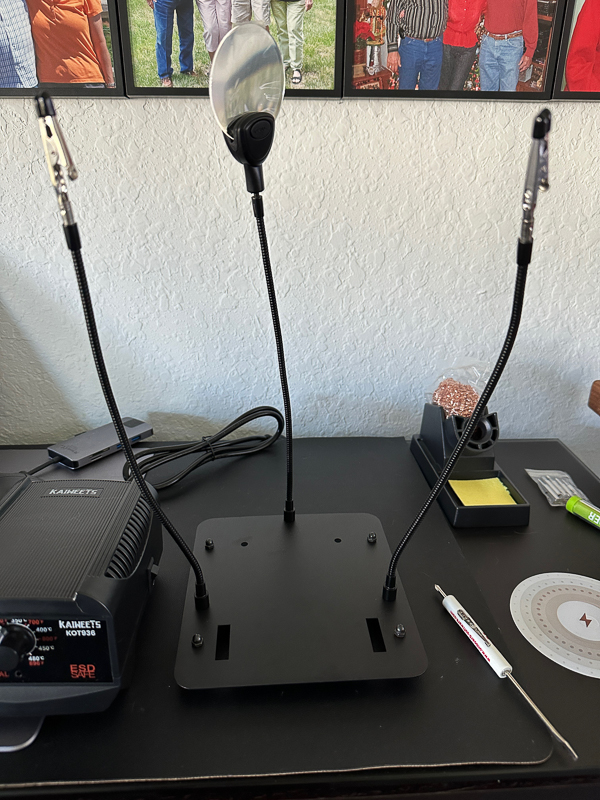
The base of the temperature control unit has two feet that slip into the notches of the base so it sits flat.
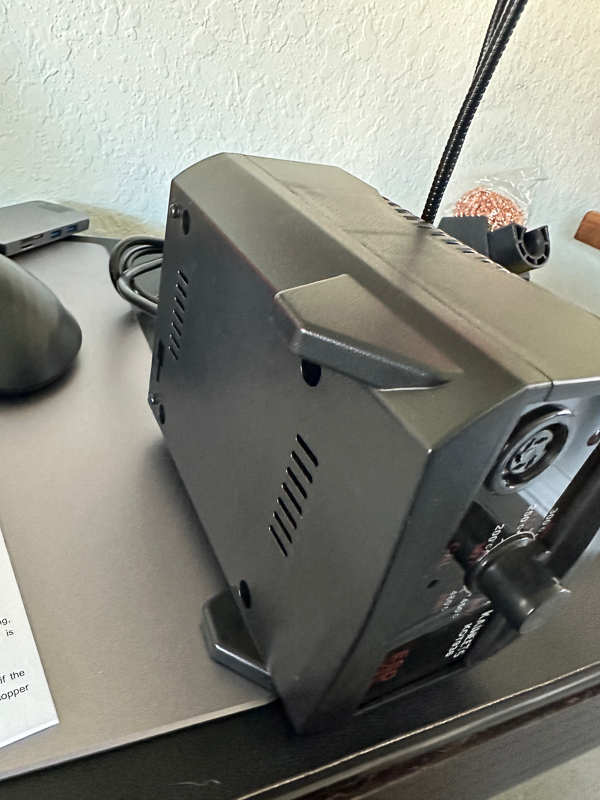
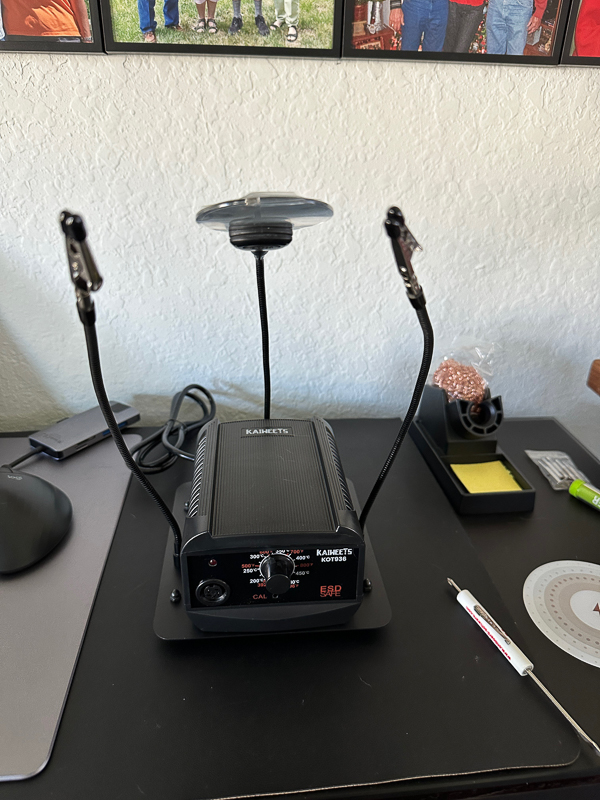
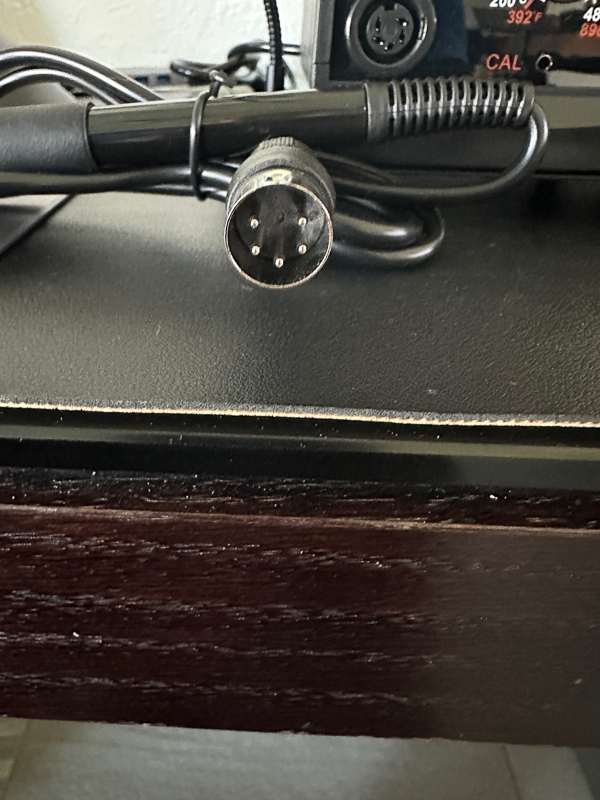
Finally, I attached the soldering iron to the temperature control unit by plugging it in. There are pins in the plug, so it only plugs in one way.

Performance
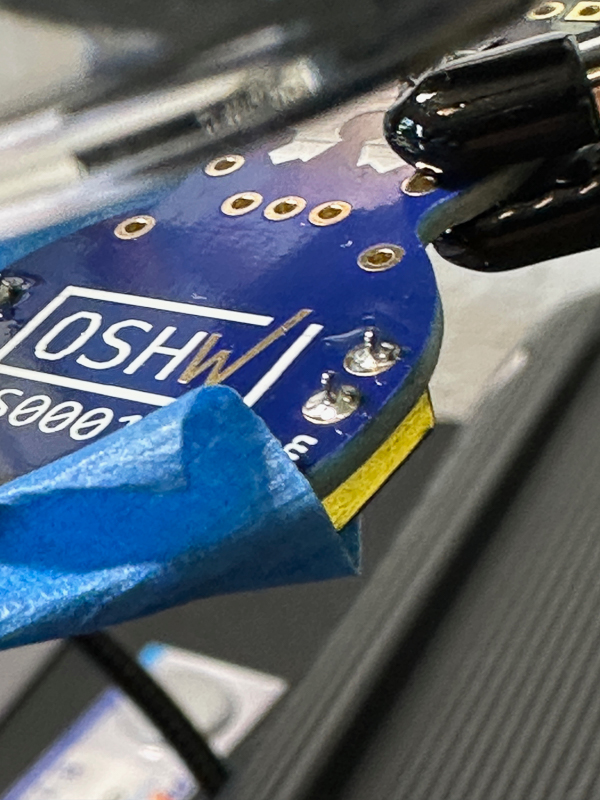
To test the station out, I bought a Jitterbug kit from LearnToSolder.com. The kit had everything needed to make the small toy except for the solder. To build it, I had to attach two LEDs for the eyes, a small vibration motor, a battery holder, an on/off switch, and three pairs of legs. The picture below is a close-up of the solders I did to attach one side of the battery holder. The tall stick-like things poking out of the solder were the pins from the battery holder.
This is a picture of the completed jitterbug. My solders were not perfect. I was initially frustrated with the soldering station because the right clip always wanted to move. Also, the soldering iron did not seem to keep a constant temperature. I could create a solder instantly, move quickly to the next one and sit there for many seconds before it would heat up enough to start melting solder again. I got a Phillips screwdriver and turned the calibration screw a bit more to the right to get the unit to heat up a bit more. That seemed to make the unit work a bit better.
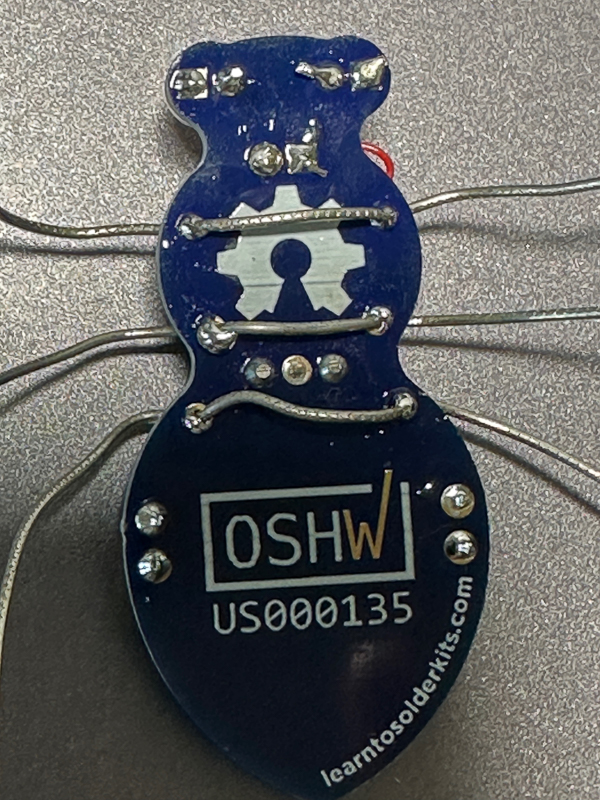
In the end, my jitterbug works exactly as it should. I have a small video below showing it in action. The motor is vibrating, but not very much, so I had to nudge it a bit to get it to move around. I have a couple more kits that I want to make for some Christmas stuff. I think I will invest in a larger magnifying glass. The small one does work, but it is small, and I wish the rod it was mounted on were longer so it could go up and over the item I am working on.
What I like
- Nice setup with the separate station, base, and iron holder
- It has helping hands and a magnifying glass
What I’d change
- have a longer rod for the magnifying glass
- use locknuts or some method to lock the rods in place
Final thoughts
After I calibrated the temperature control unit, I really enjoyed using the KAIWEETS KOT936 Electric Soldering Station. I like that the holder for the soldering iron is separate from the base. It lets you put the hot iron between the soldering steps. It also allows for more flexibility if you have to solder in different locations. I think it is a great tool for someone starting out to learn to solder. I think, though, if you were going to solder a lot and needed consistent heat, you might want to look for a different station. It is listed on Amazon for $48.99, but a couple of coupons get it down to $40.30.
Price: $48.99
Where to buy: Kaiweets ( save 15% with code: Julie15 ) and Amazon
Source: The sample of this product was provided by Kaiweets.


Gadgeteer Comment Policy - Please read before commenting
Very nice! I wish I had something like this FORTY YEARS ago when I could see better. Techs use to bring boards to me because I could spot a cold solder joint by just looking at the board. Now, tri-focal glasses and clip on MAGNIFIERS are the norm. 😉