REVIEW – I saw a review for the Mingda Magician X 3D printer on YouTube about a year ago. I was impressed by how easy it was to use and the results it produced. I remember thinking that if I ever had the opportunity to review a Mingda 3D printer, I wouldn’t pass it up. Fast forward about a year, and I got my chance. Mingda offered me the opportunity to review the Magician X2, a follow-up to that 3D printer I was so impressed by. Did the Magician X2 impress? Or was it all just an illusion?
What is it?
The Mingda Magician X2 is a cutting-edge 3D printer that offers a range of features to make 3D printing easier and more efficient.
What’s in the box?
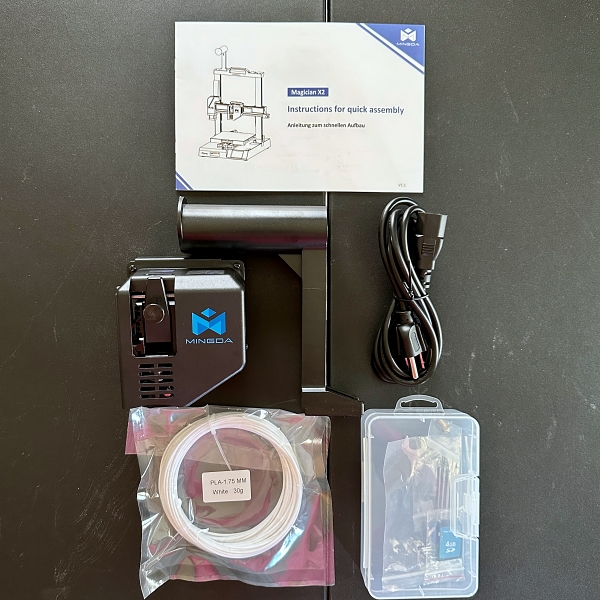
- 1-Extruder
- 1-Gantry
- 1-Base
- Screw pack
- Teflon Tube
- Extra nozzle .4mm
- Wrench and Allen wrenches
- Filament spool holder
- 10m filament sample (white)
- Full-size SD card
- Power cord
- User manual
Hardware specs
- Print size: 23×23×26 cm (10.2″×9.0″×9.0″)
- Bed leveling: 16points smart auto-leveling
- Extruder: Double gears direct drive
- Z-axis: Double lead screw
- Nozzle size: 0.4mm
- Tool Box: Yes, external
- Print interface: SD Card, U Disk, USB-C
- Machine Weight: 7.4kg/10.5kg
- Machine Dimension: 46×43×54.6cm / 18.1*16.9*21.4in
- Printing platform: PEI
- Max nozzle temperature: 260 °C/500 °F
- Max heat bed temperature: 110 °C/230 °F
- Filament diameter: 1.75 mm
- Printing material: PLA, PETG, TPU, etc
- Filament runout detection: Support, start from layer
- Resume Printing: Support, start from point
- Control panel: 3.5-inch colorful LCD touchscreen
Design and features
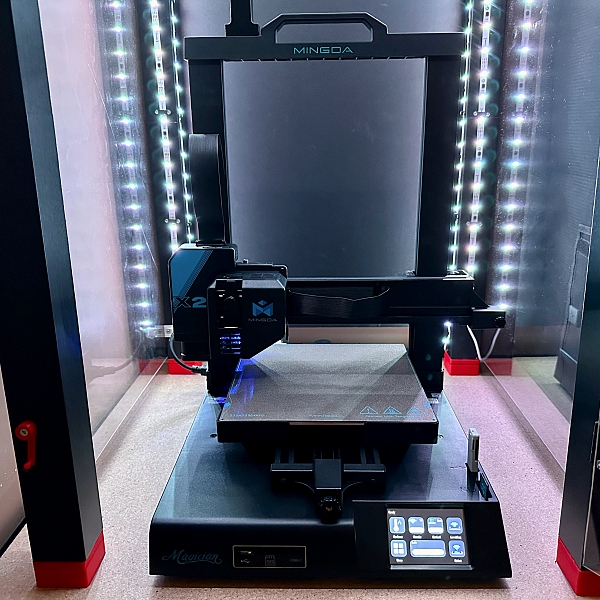
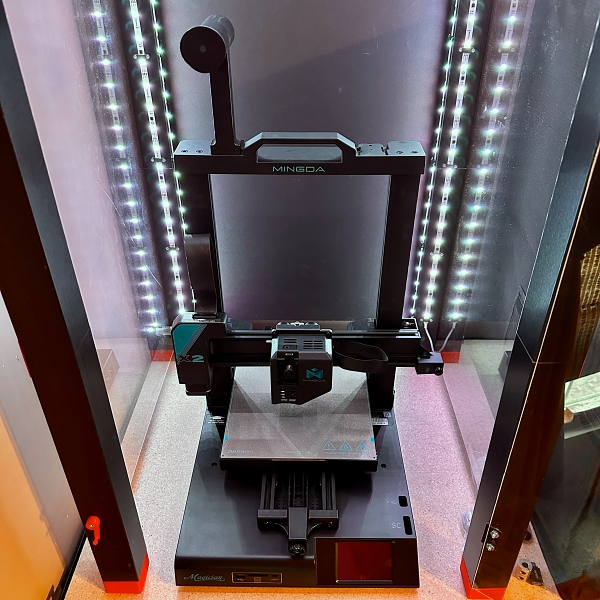
The Mingda Magician X2 3D Printer is designed similarly to most of today’s FDM-style printers. One thing I did notice is there are a lot of injection molded plastic parts. This makes the 3D printer lighter and gives it a nice clean, appliance-like look. Everything on the printer looks good, and the parts are smartly assembled.

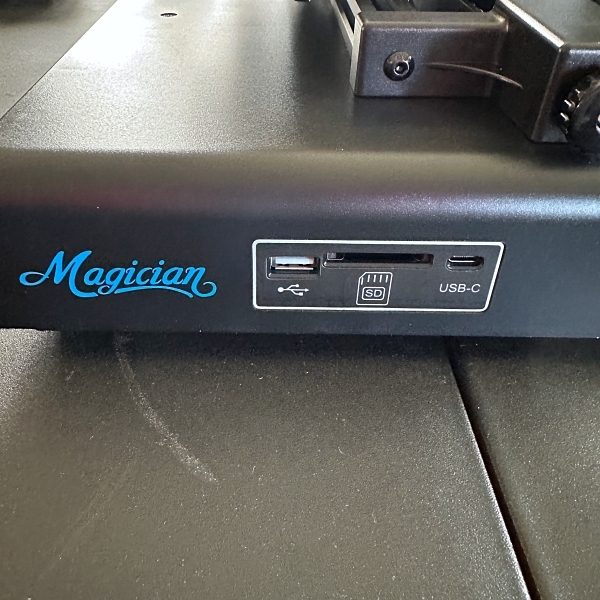
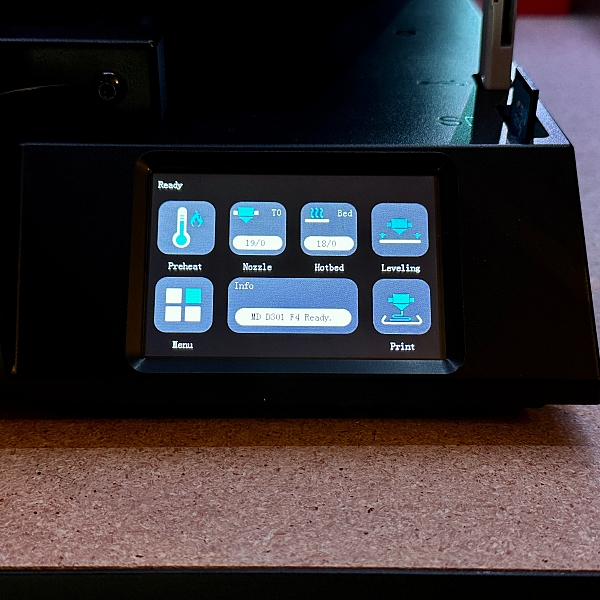
The base of the Mingda Magician X2 3D Printer is completely covered in plastic. On the front, there is a 3.5-inch color touch screen and slots for a full-sized SD card, USB flash drive, and USB-C for printer control directly from your computer.
The color touchscreen display is crisp and easy to read, albeit a little small. The menus are easy to navigate, and the interface is relatively intuitive.
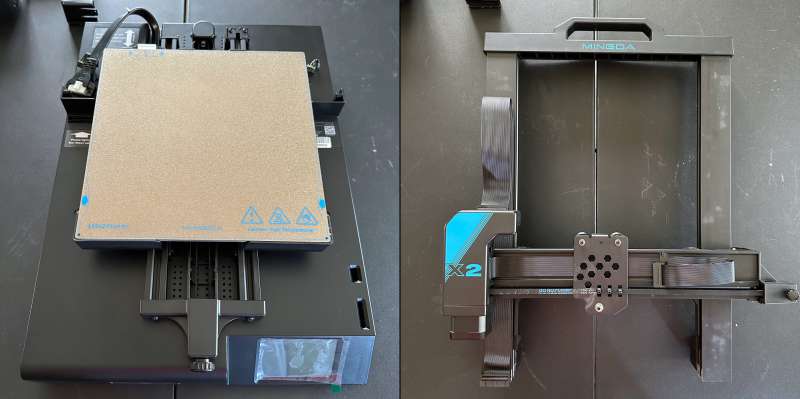
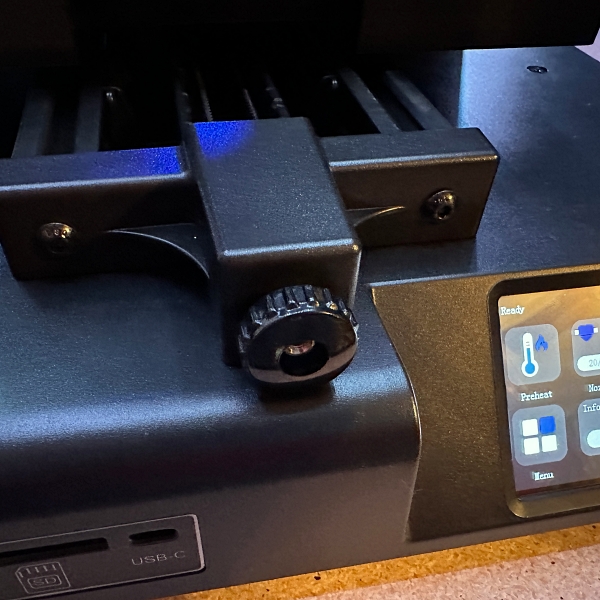
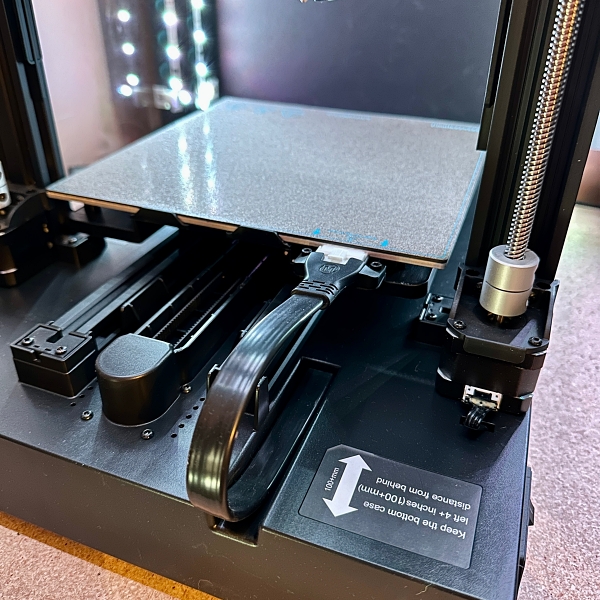
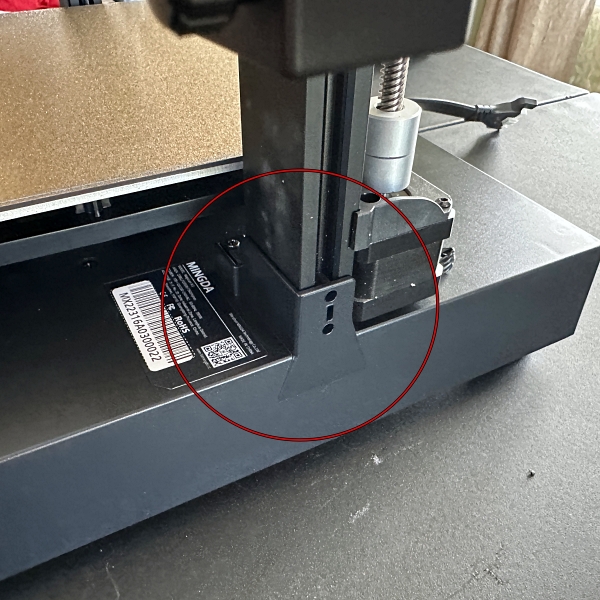
One thing that makes the X2 unique is its fixed-position print bed. That means there aren’t any leveling wheels on the corners, and the bed is not adjustable. The bed rides on a broad metal extrusion base, giving it good stability.
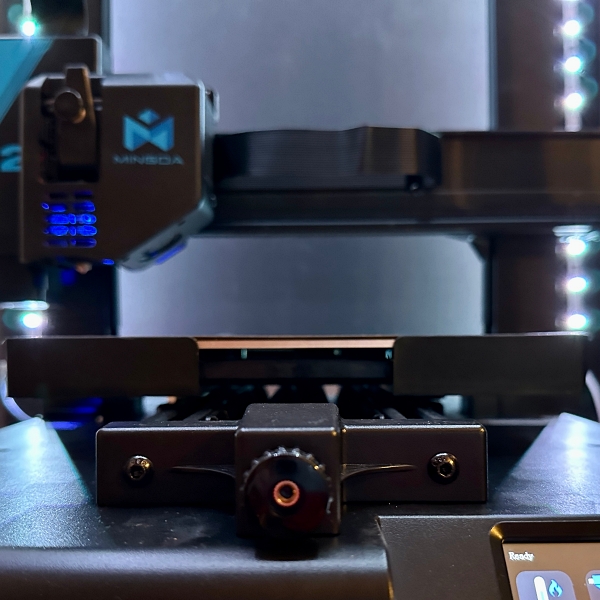
And there is a knob on the font to adjust belt tension.
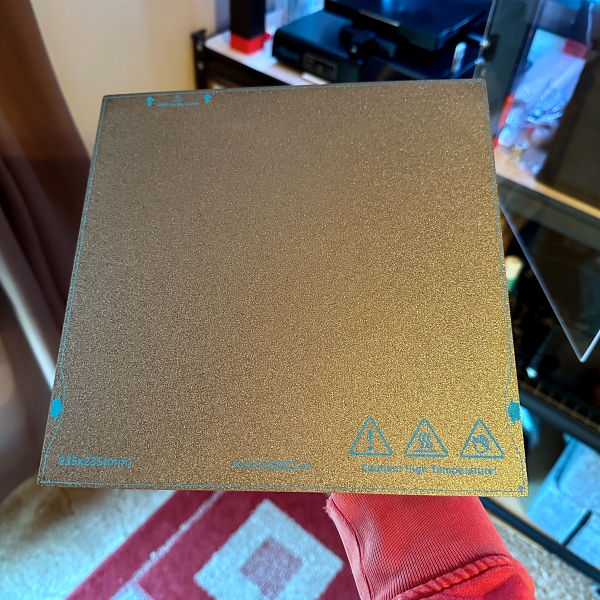
The print surface is a flex steel PEI-coated plate. This is a nice upgrade from the glass bed on the Magician X. I like the PEI plates because they are better for print adhesion. There’s nothing worse than having a long print break free from the bed halfway through. And finished prints pop off with just a flex of the plate.
The power cord and switch are located on the left side of the printer near the back.
One thing missing from the Mingda Magician X2 3D Printer that was on the X is the built-in tool drawer. Mingda does, however, include a small plastic toolbox which helps.

There are also two slots to store the USB card and USB flash drive.

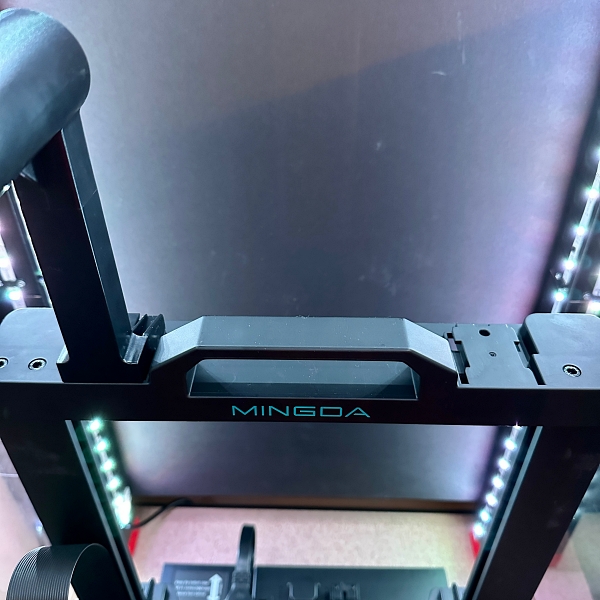
The gantry (stop me if you’ve heard this before) is mainly injection molded plastic. There’s a built-in top handle, and the spool holder can be attached on either the left or right side.
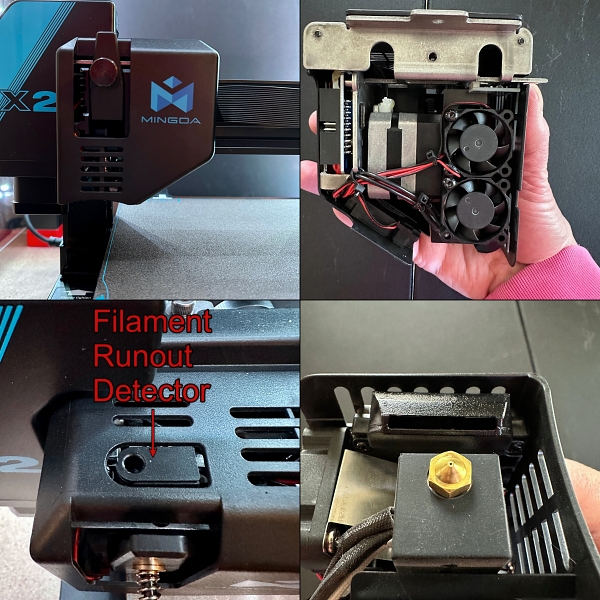
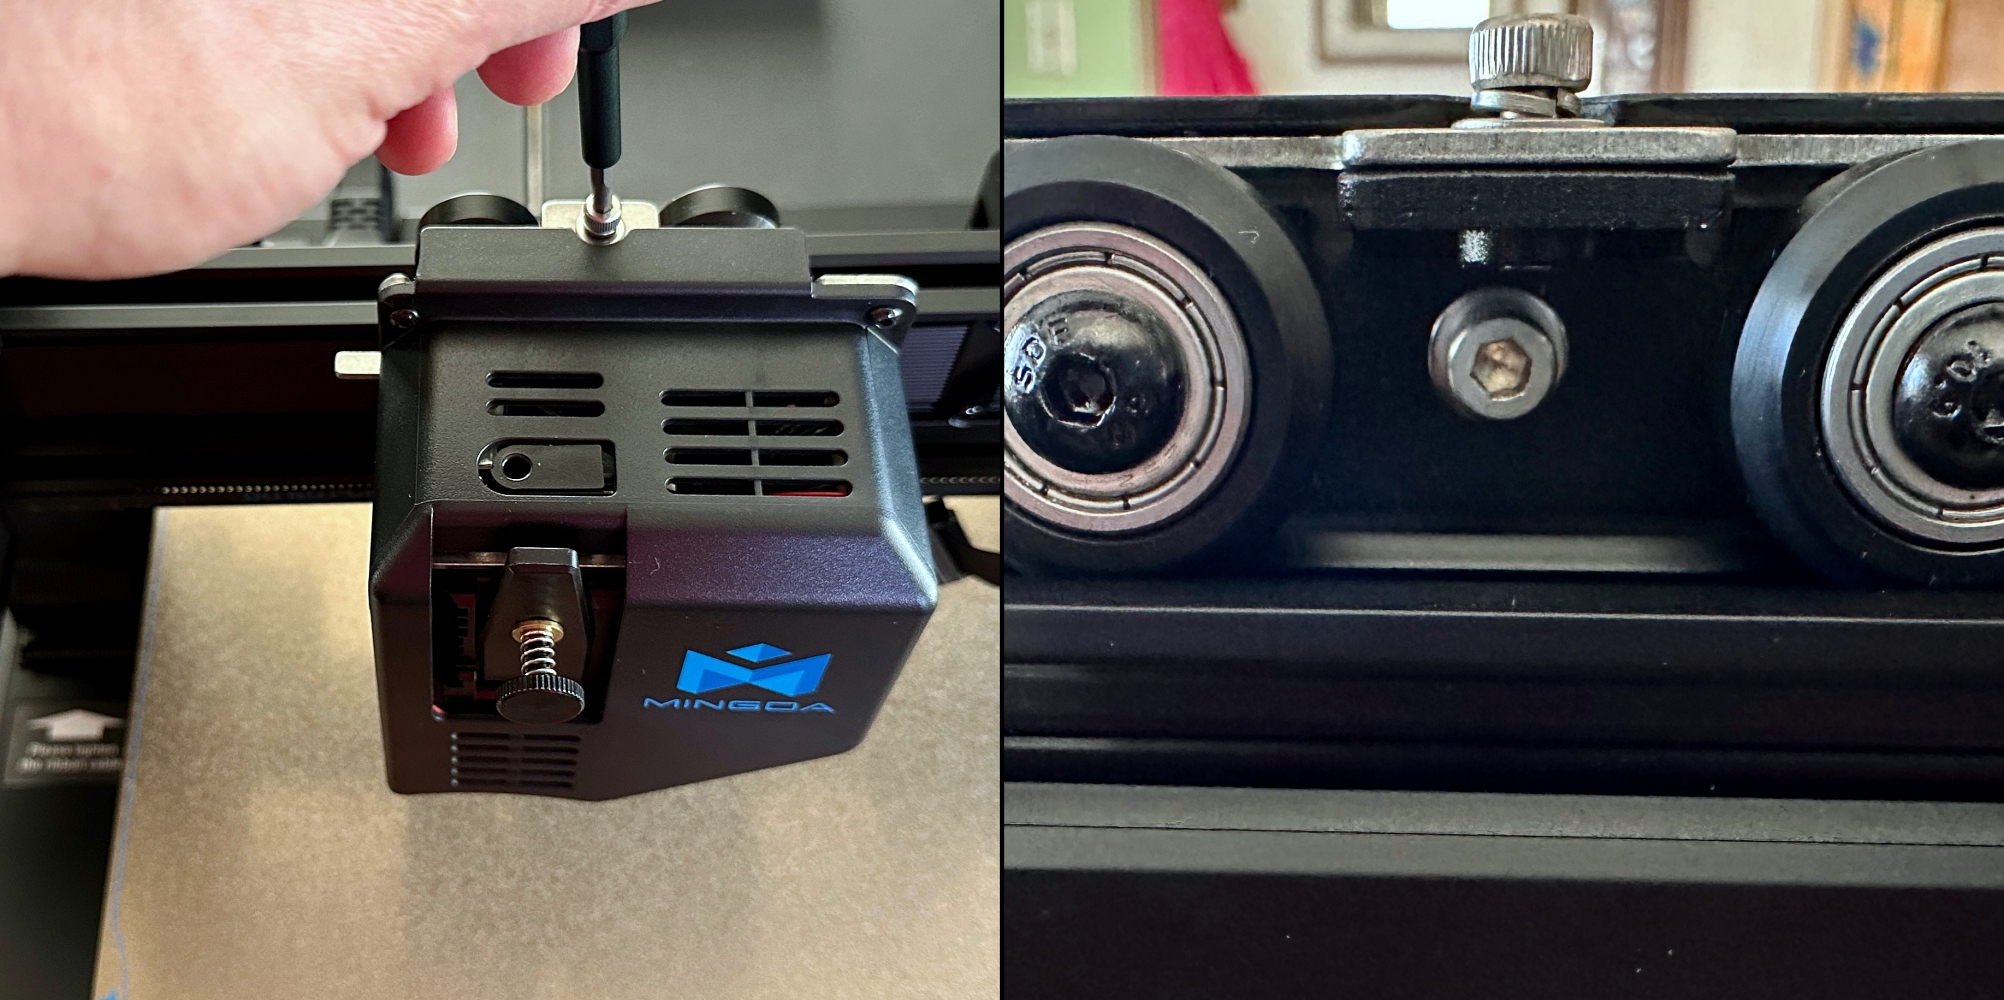
The huge extruder assembly rides on an equally wide X-axis, which provides better stability. Inside there is a dual-gear direct drive extruder. The benefit of the dual gears is smoother filament feeding and support for flexible filaments like TPU. Just above the extruder, there is a filament runout detector. The detector automatically stops the printer if the filament runs out or breaks. The nozzle can reach a temperature of 260º C, so it can be used to print a variety of filaments, including PLA, PETG, TPU, etc.
The belt tensioner knob is located on the right end of the x-axis.

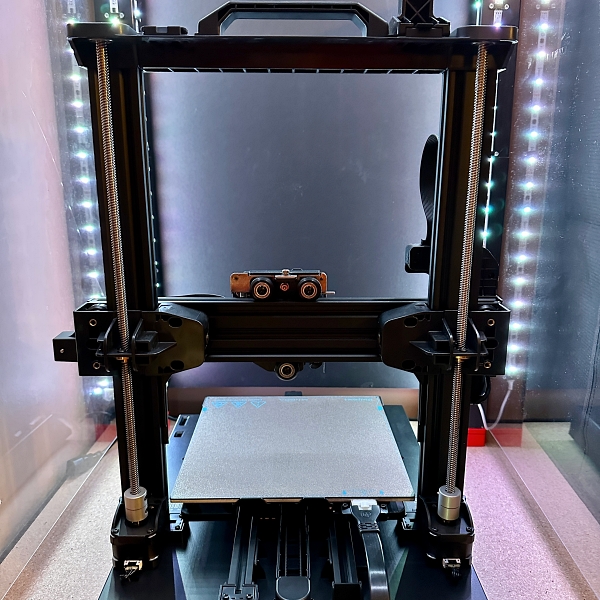
The Mingda Magician X2 3D Printer uses dual Z-axis lead screws and motor drives on the back of the gantry. The benefit is making the Z-axis movement more stable and smooth, improving printing accuracy and stability.
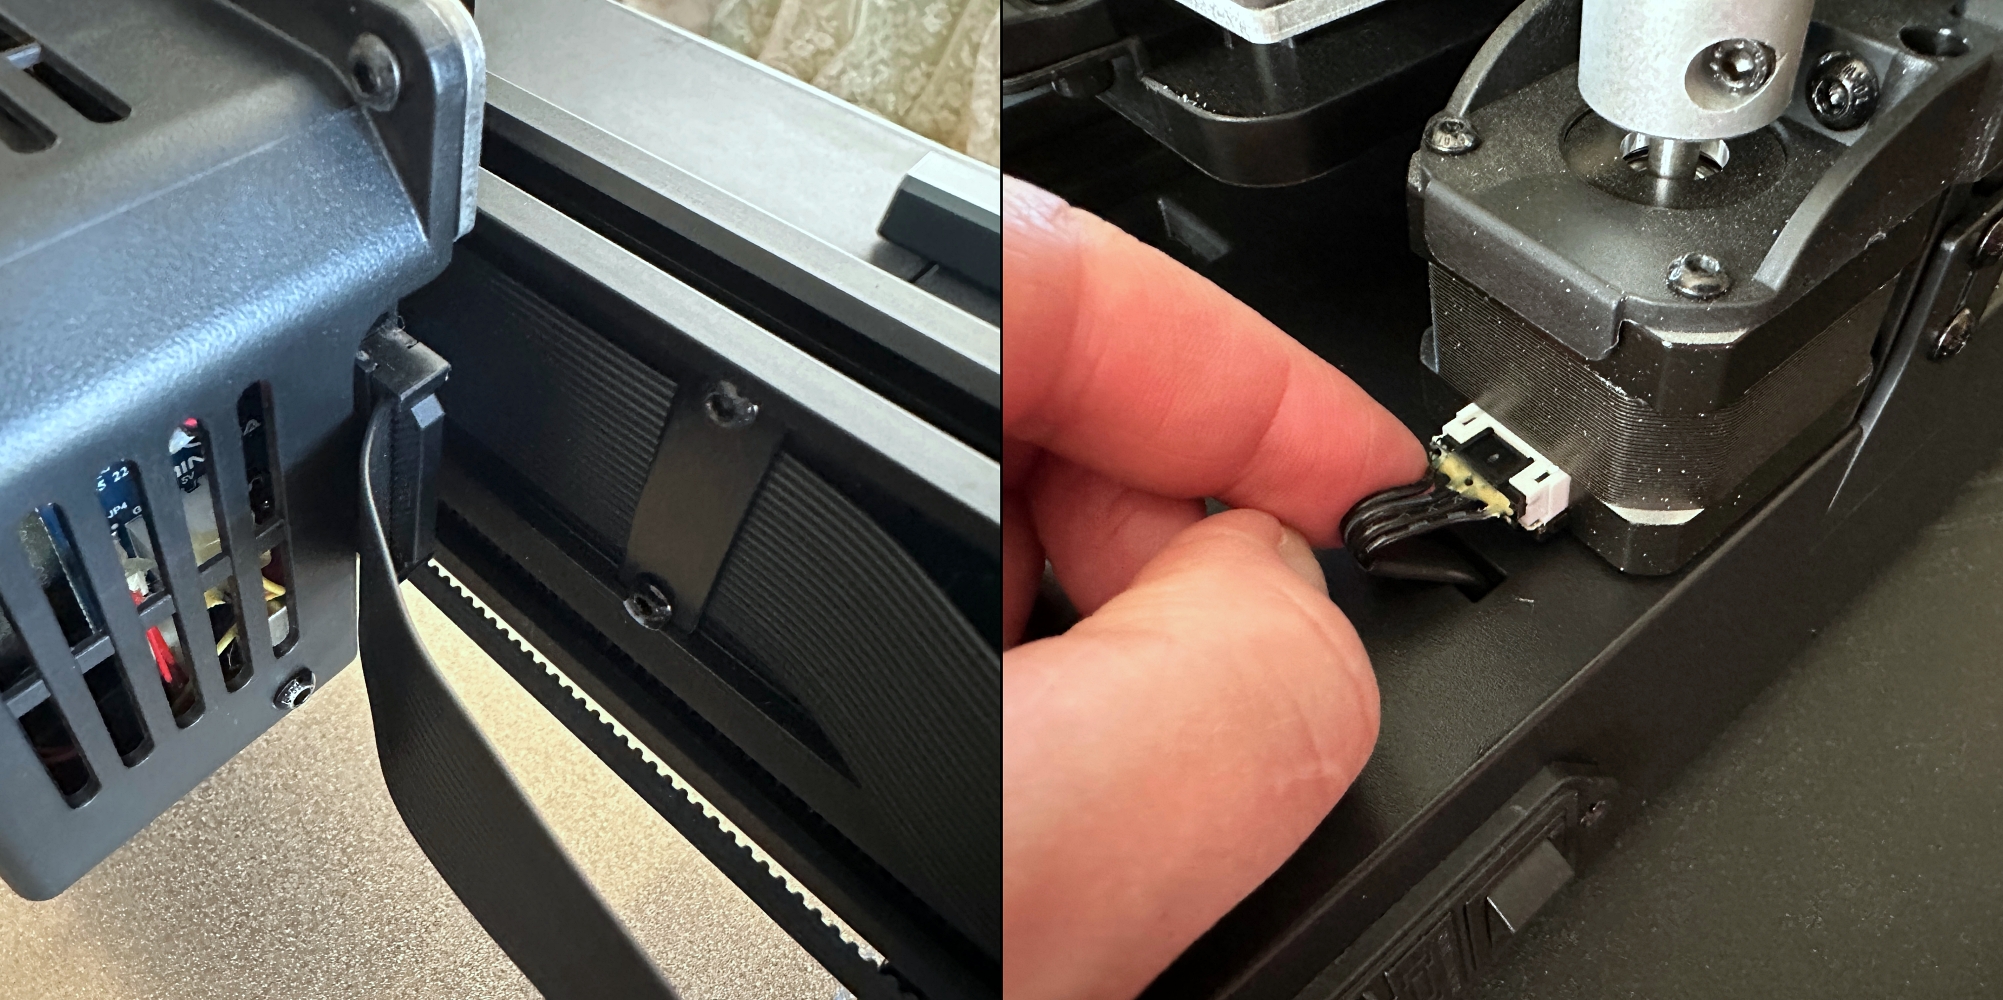
The cable management is excellent. The ribbon cables are neatly tucked away and don’t interfere with movement. The hotbed cable is secured by 2 screws, and a U-shaped trough in the base helps manage the cable’s movement.
Setup
The Mingda Magician X2 3D Printer is by far the easiest-to-assemble printer I have ever used. It literally goes together in 3 steps and takes only minutes. The user manual is well laid out, with good pictures and step-by-step instructions.
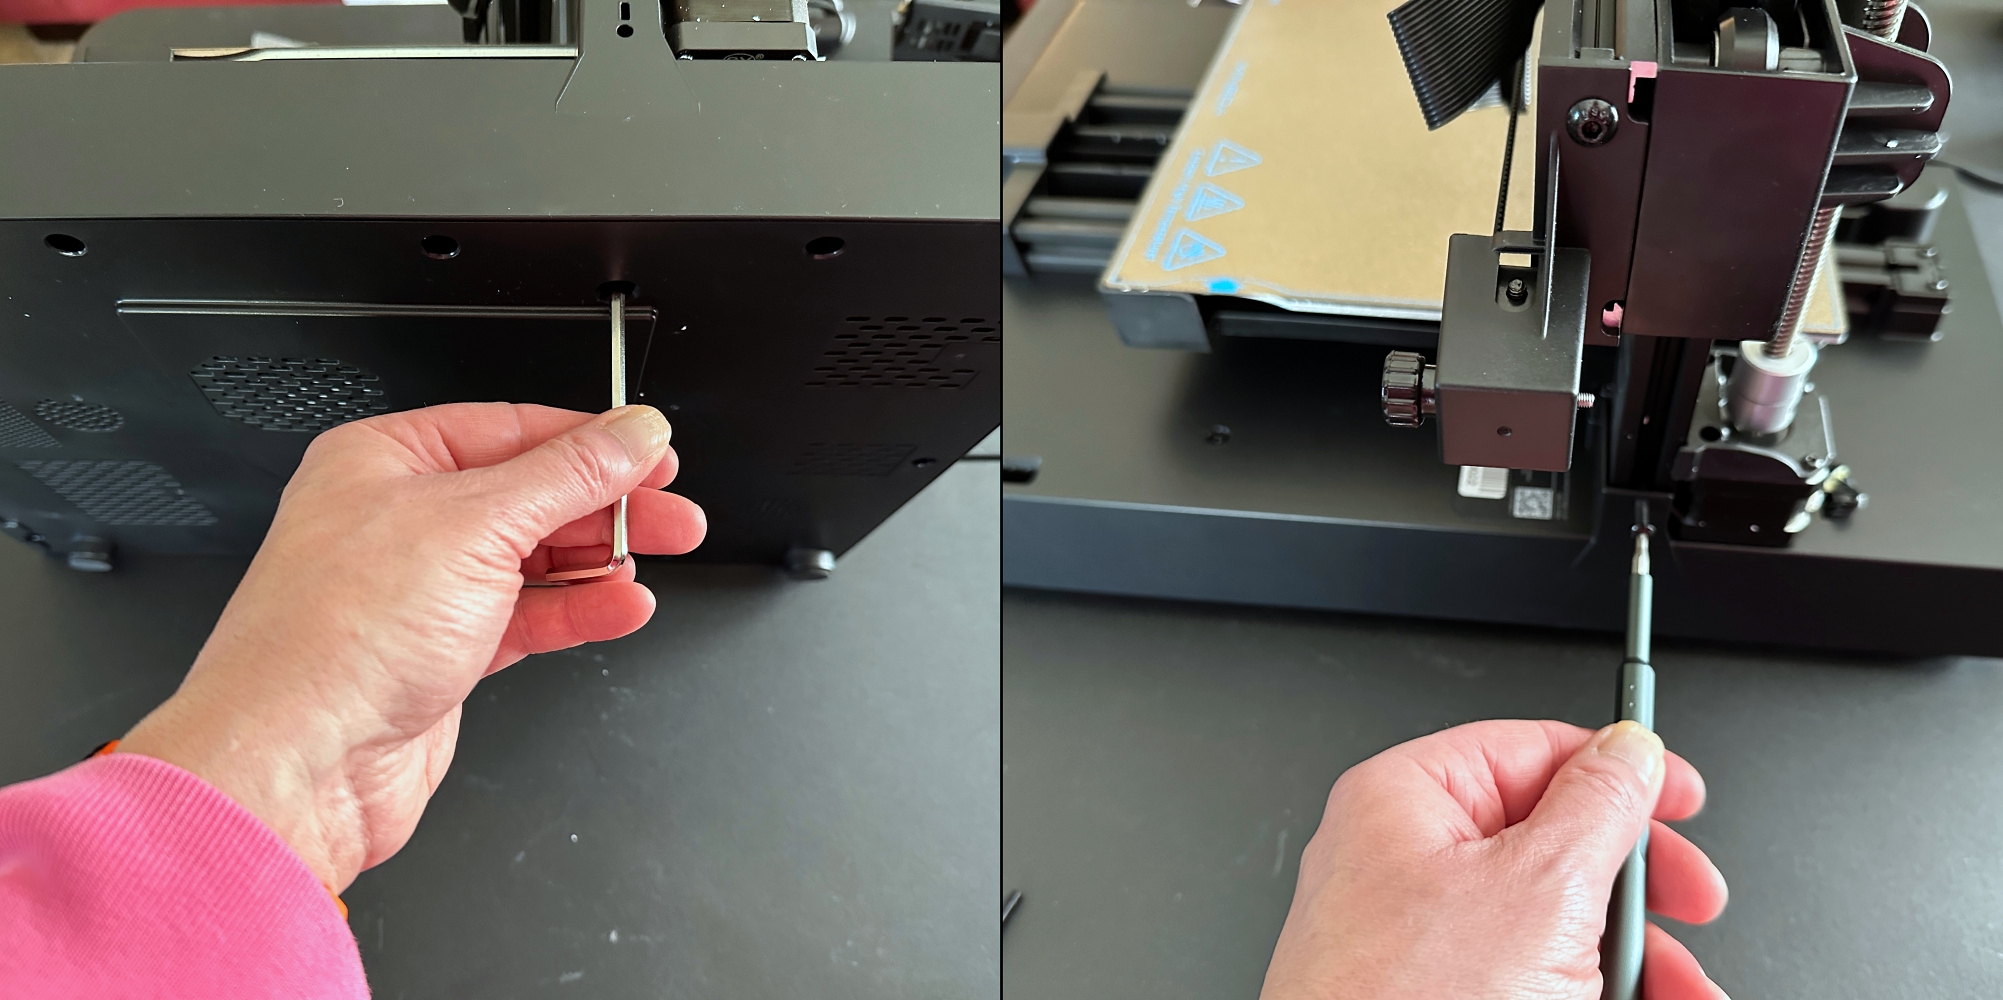
First, attach the gantry to the base using 6 bolts (2 on the bottom and 2 on each side). Slots in the base help to hold the gantry in place while you put the bolts in.
Next, attach the extruder assembly to the X-axis. Mingda upgraded the X2 with a quick swap extruder that only uses two M4 10 screws to hold it in place. This also makes it easy to remove the assembly for maintenance.
Lastly, snap the filament holder into the top of the gantry.
After the printer is assembled, connect the cables for the hotbed, both Z motors, the ribbon cables for the X and Z axis, and the power cord.
16 point auto leveling
Before you can print anything, you must level the print bed. The Mingda Magician X2 3D Printer uses a smart auto-leveling function to compensate for any unevenness on the print bed.
From the main menu on the touchscreen, select Leveling. The printer will then heat the nozzle to 150º C and the bed to 50º C. After heating is complete, the auto leveling will begin. The nozzle will proceed to tap 16 points on the print bed. After it finishes, save the settings, and you’re done. The bed is now level, and you shouldn’t have to rerun the auto-leveling for a while unless you move the printer. Although, it’s probably a good idea to repeat this step periodically. The below video is sped up.
There is a manual leveling feature you can access in the Z-offset menu. This allows you to set and save the Z-offset at 16 points on the print bed.
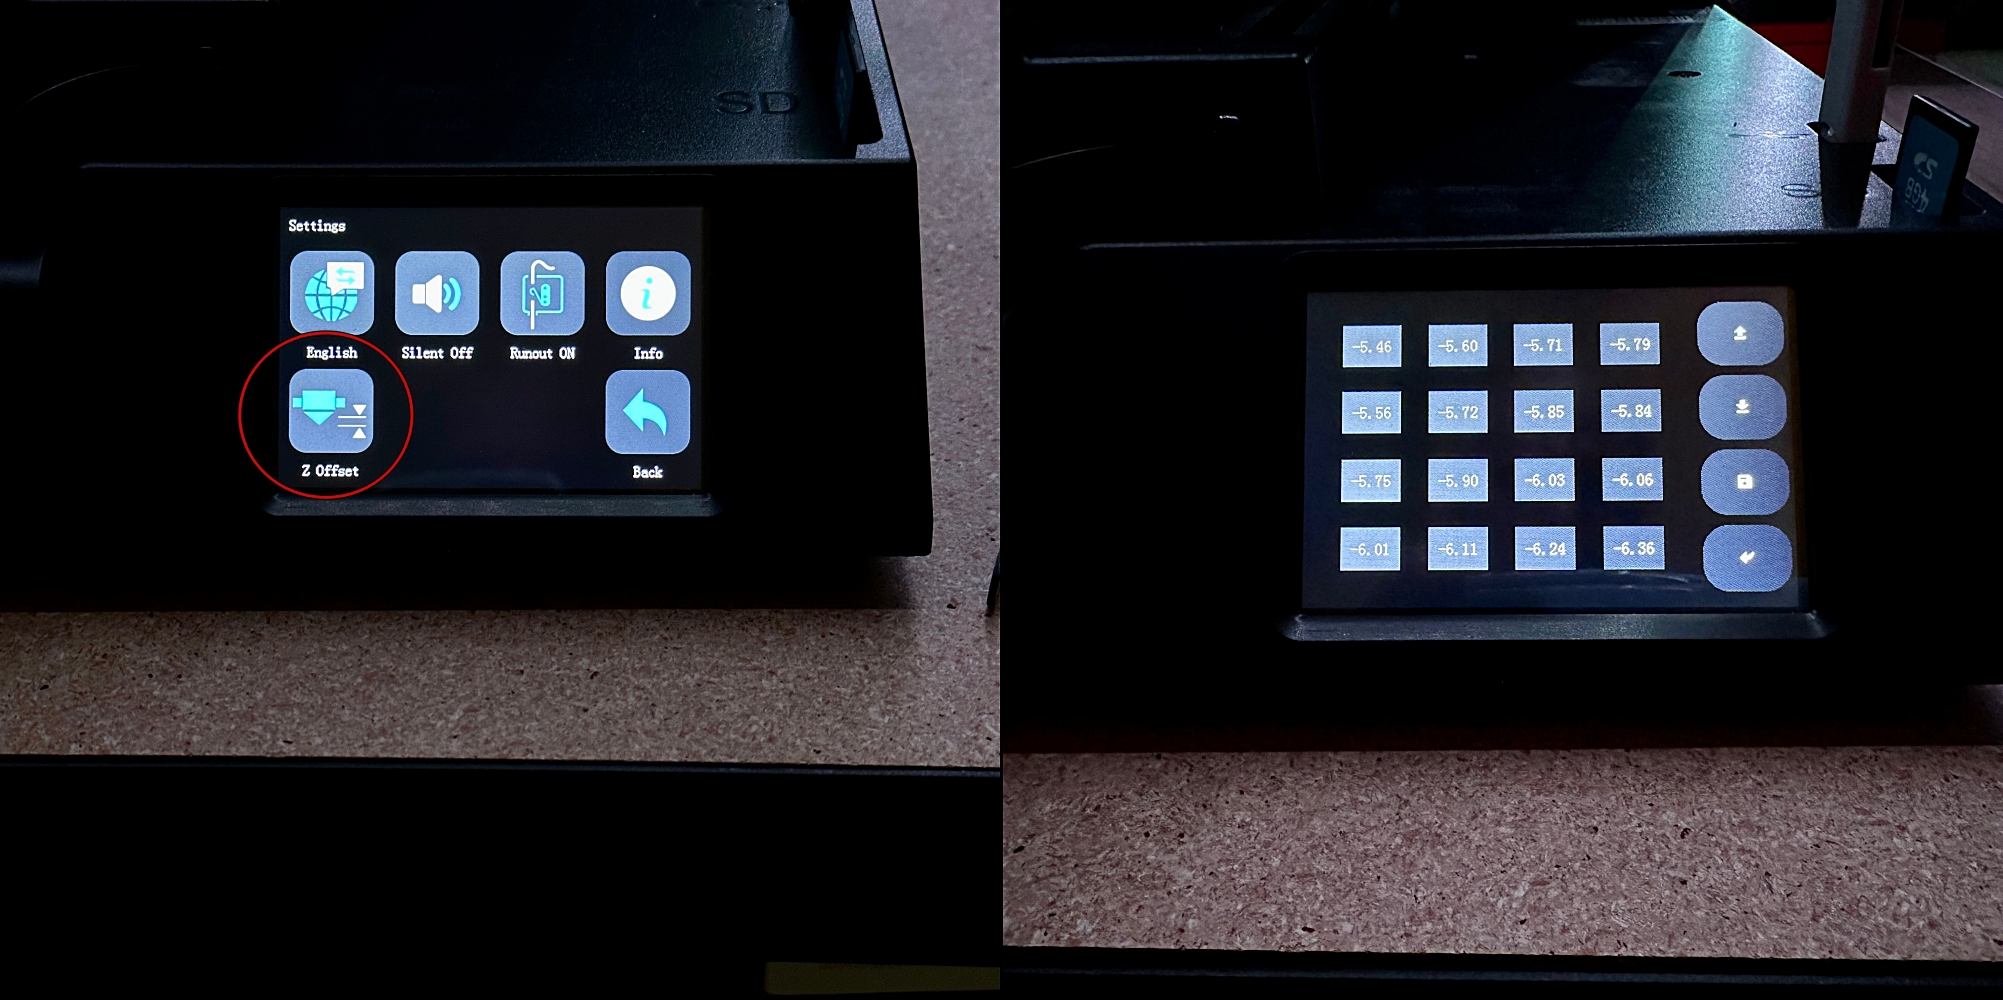
Oddly, there is no mention of this in the user manual. I only learned about it while watching a recording of the Magician X2 launch event on YouTube.
Performance
Before printing anything, you will want to download slicing software. The Magician X2 is compatible with various slicing software, including Cura, Simplify 3D, Prusa Slicer, and more. Mingda includes an older version of Cura on the USB card, or you can download the newest version from Ultimaker. From there, the manual does an excellent job of walking you through setting up the X2 as a custom printer and how to import the PLA+ printing profile from the USB card.
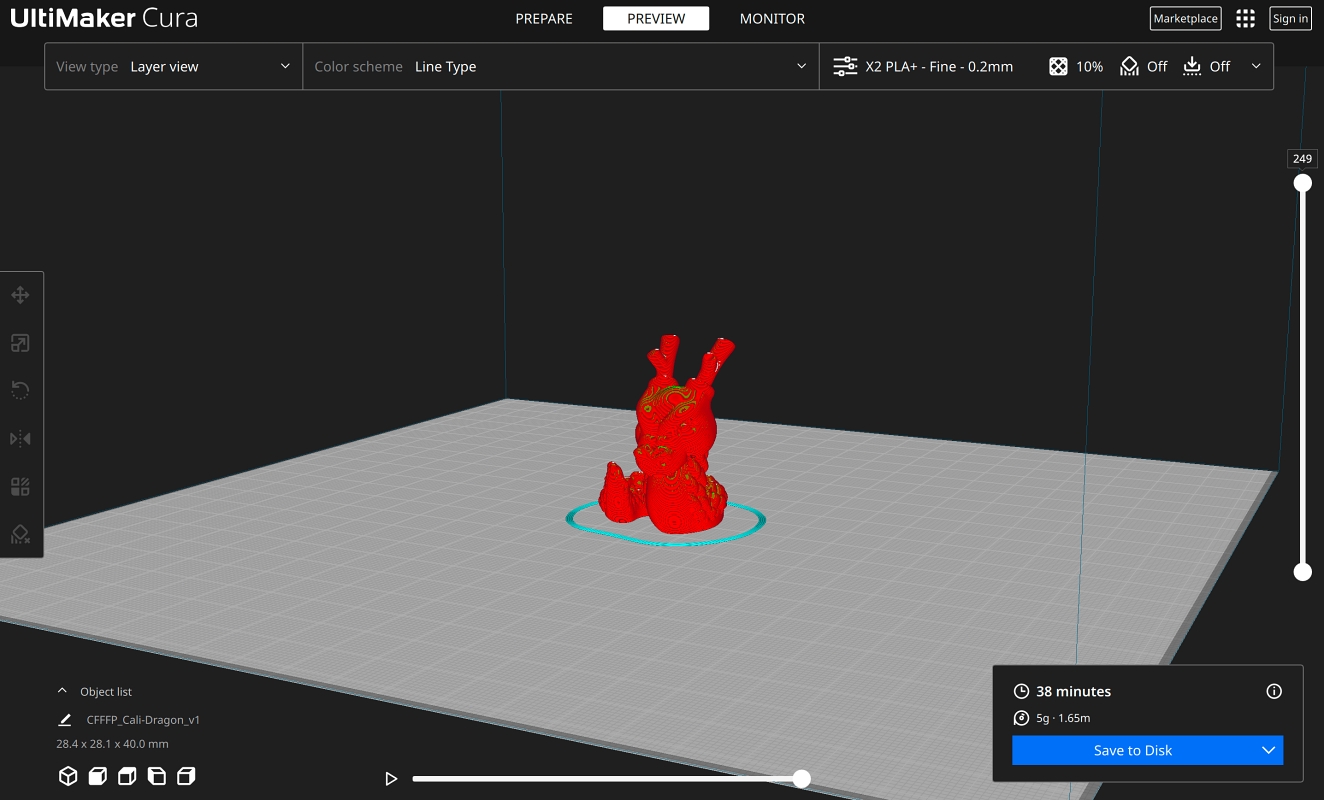
Using the preset PLA+ print profile, I sliced a calibration model to print. I like to use a file called Cali Dragon. This small model prints quickly and tests for surface smoothness (layer consistency), stringing, small perimeters, overhangs, ghosting, and details.
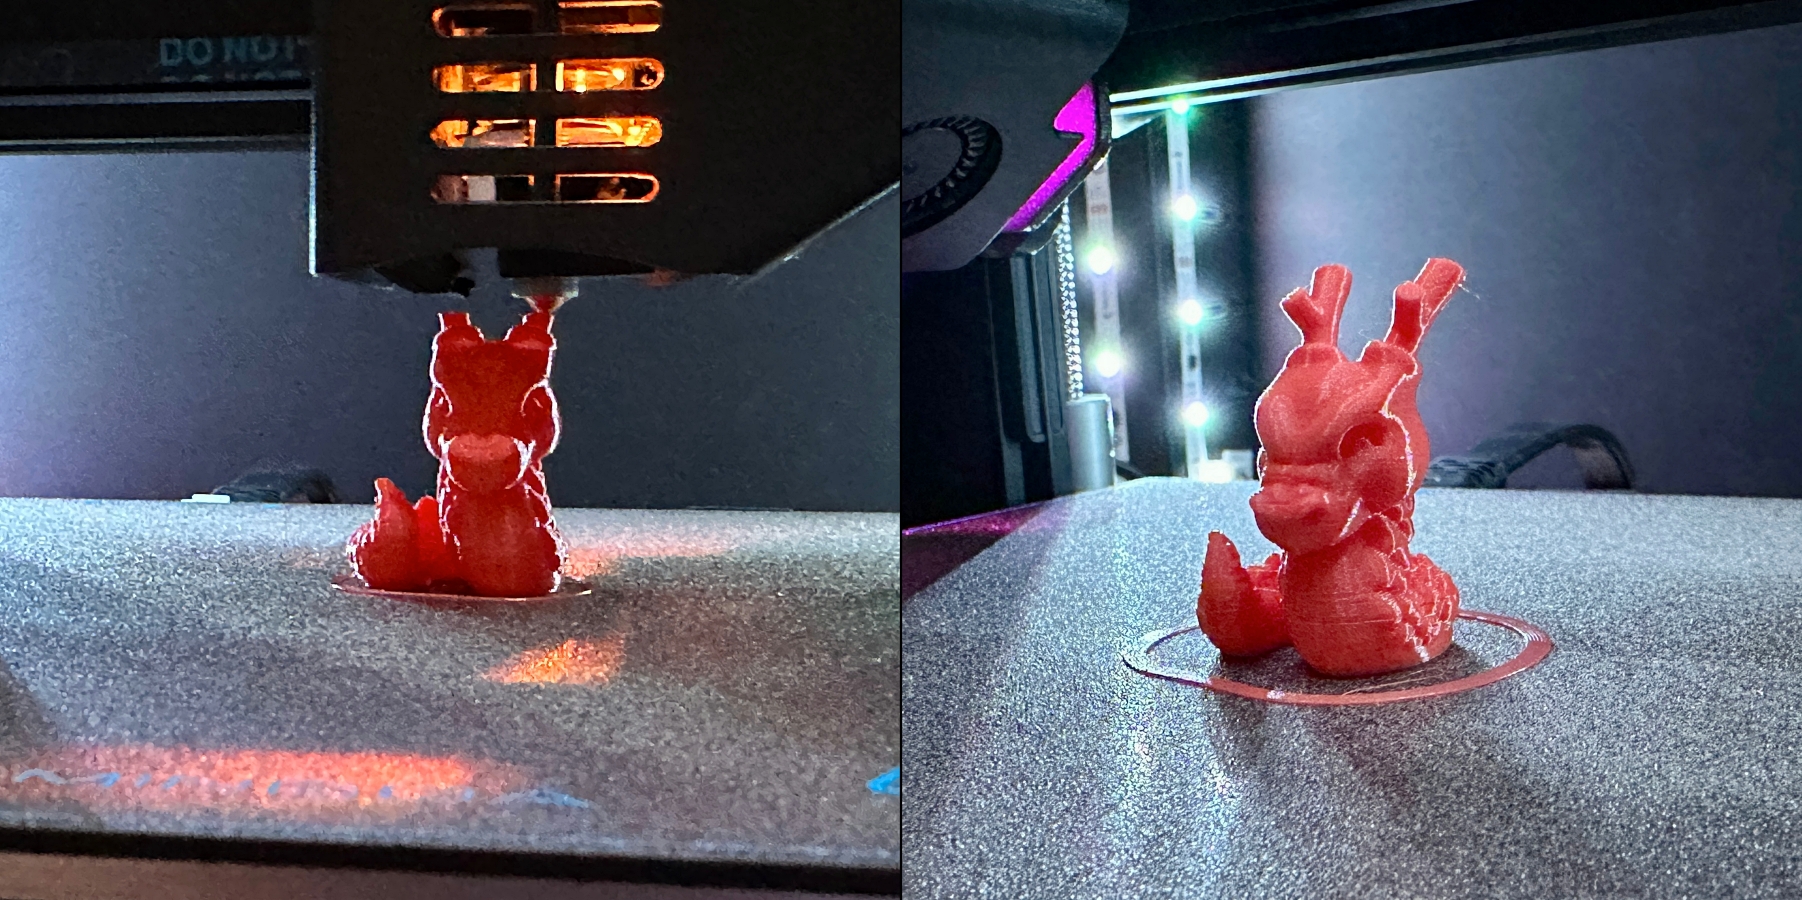
I decided to use my own PLA filament to print the model. I proceeded to preheat the nozzle and bed. The printer has a built-in hot-end temperature indicator light that goes from blue (cold) to orange when the nozzle is heated. This is a neat little feature, especially if you’re not close enough to the printer to see the numbers on the display.

After the print started, I used the touchscreen to baby-step the nozzle until it was the proper distance from the bed. As you can see from the pic below, aside from some wispy stringing, the print came out exceptional.
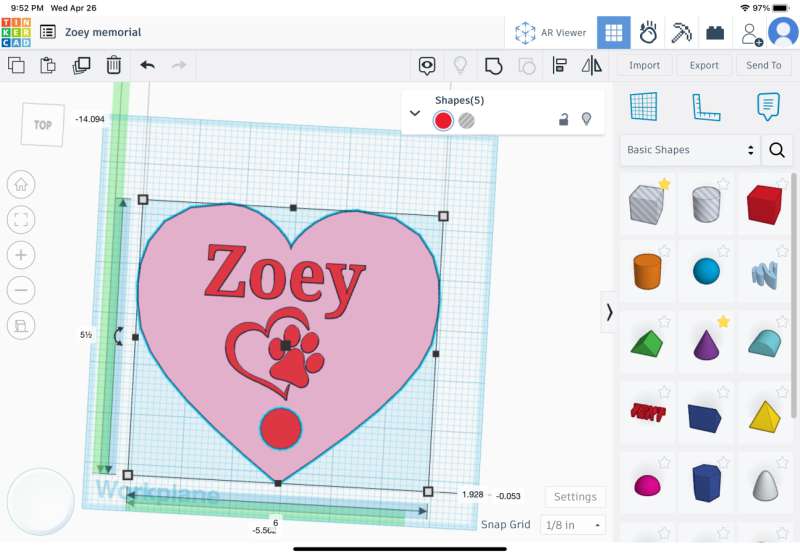
The following print was a model I designed using the Tinker Cad app on my iPad Air. This was the first print I had ever created. The inspiration for the model was my 13 yo Puggle Zoey. Unfortunately, she passed away a couple of months ago, and I wanted someplace to display her collar. Miss ya, Zo!
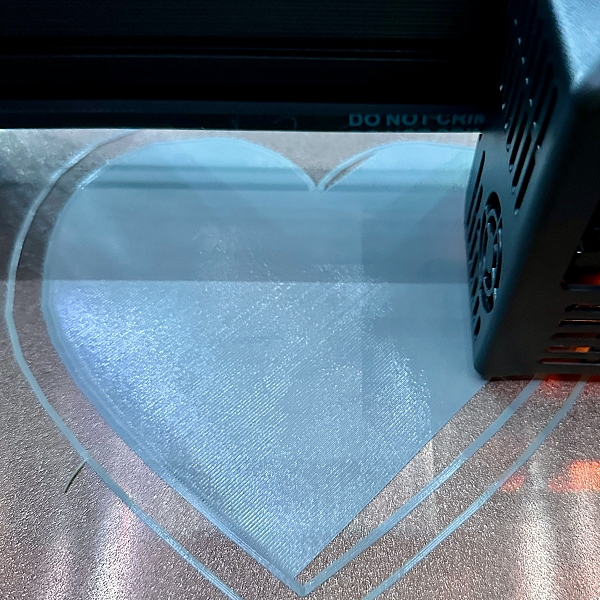
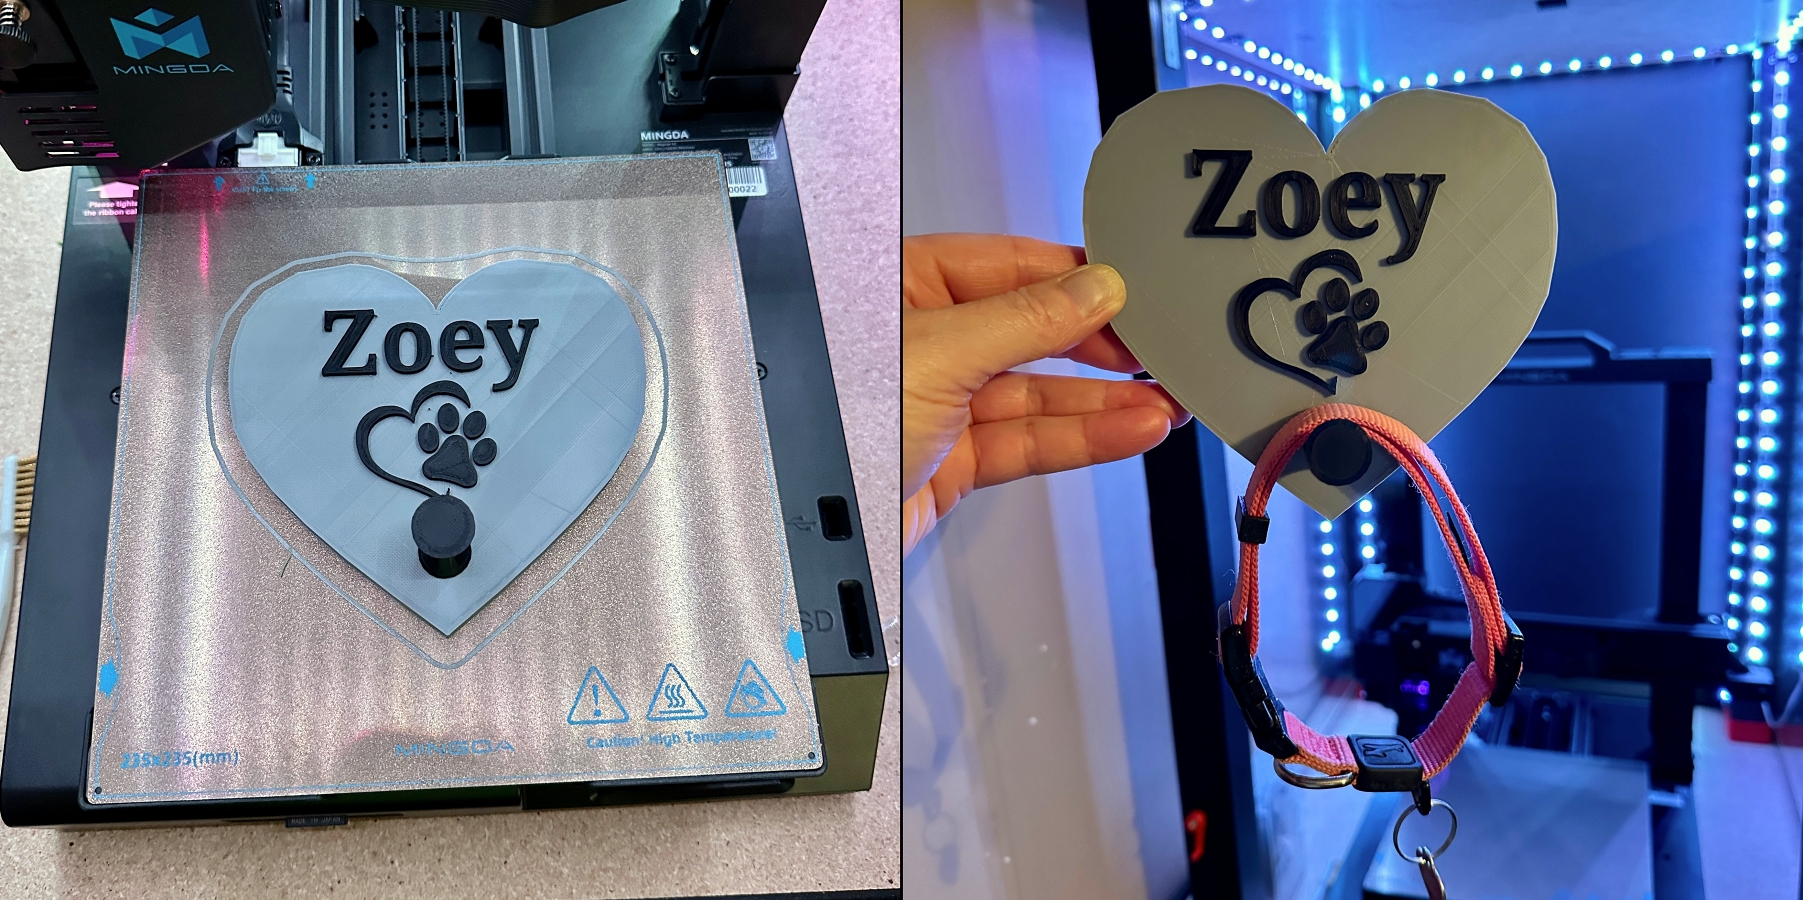
This was also my first ever two-color print. This print was also a little larger taking up a good amount of the print bed. As you can see, the first layer was buttery smooth. In fact, it’s the cleanest first layer I’ve had on any printer thus far.
To achieve the two-color look, I paused the printer at the point of the model where I wanted it to change. I then swapped the filament and restarted the print. It was surprisingly easy to do. The print took about seven hours, and I was thrilled with the result.
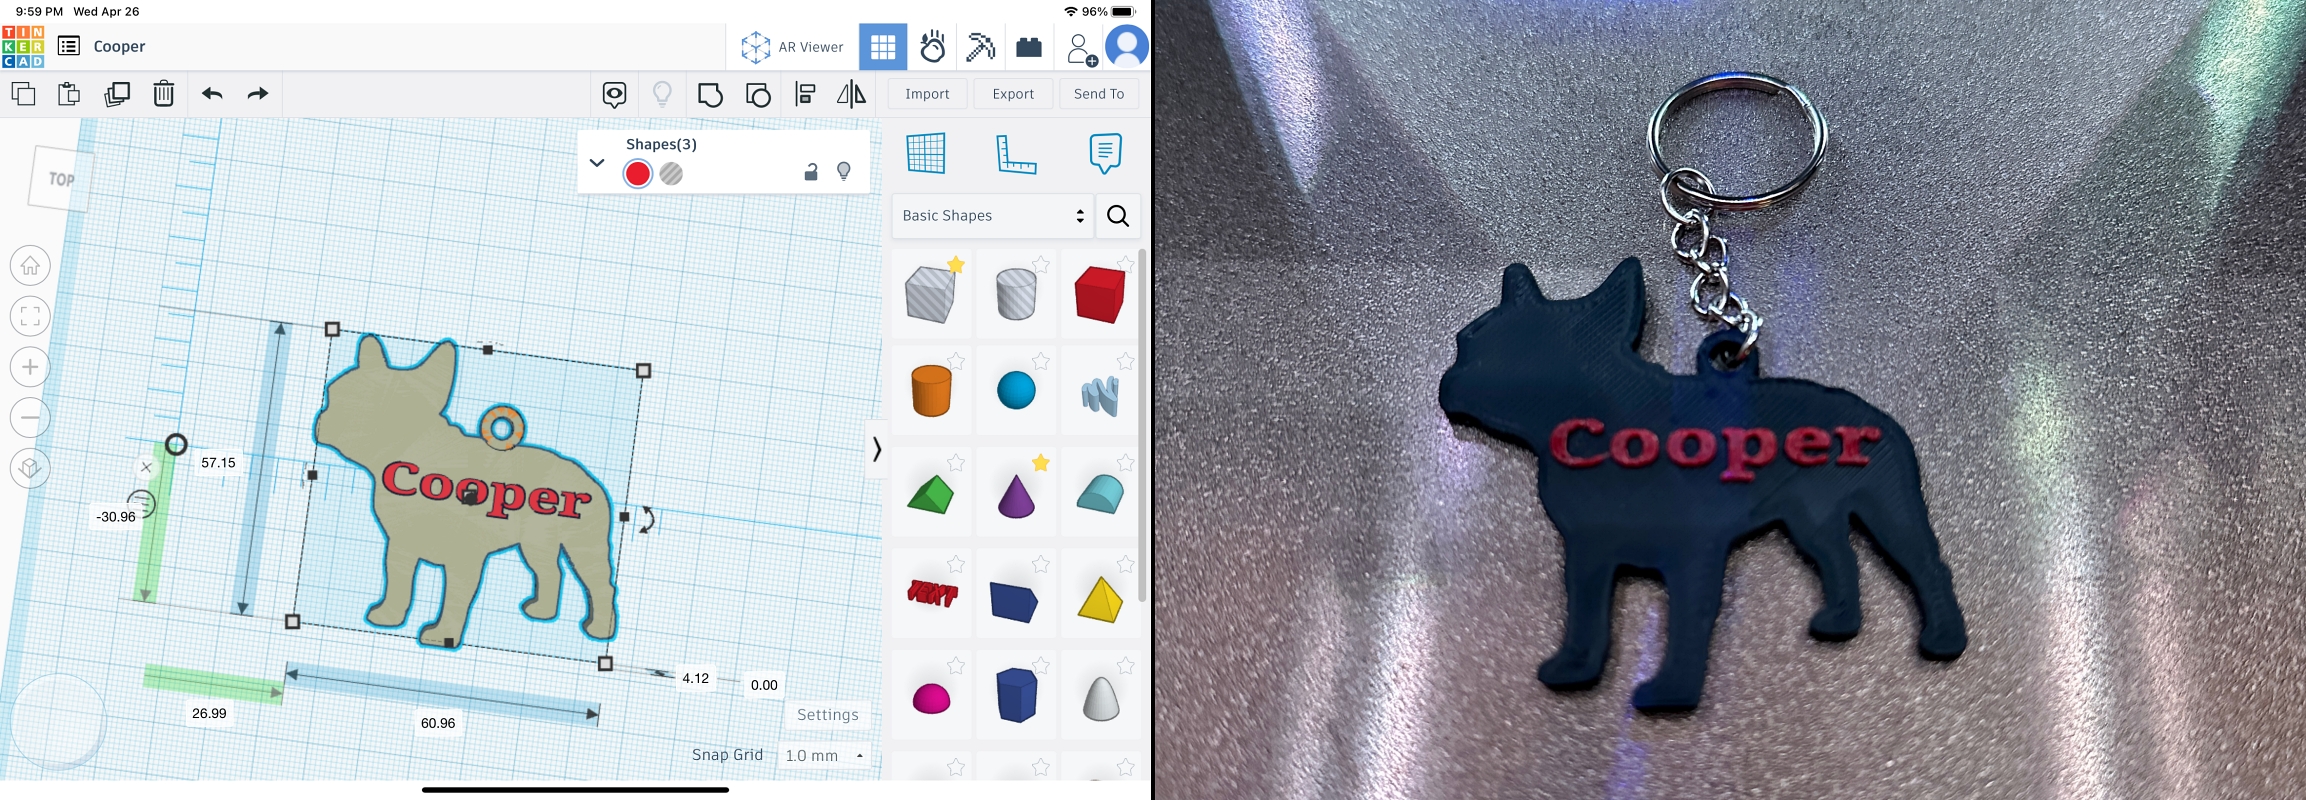
I liked it so much that I designed another smaller two-color print; a French Bulldog keychain.
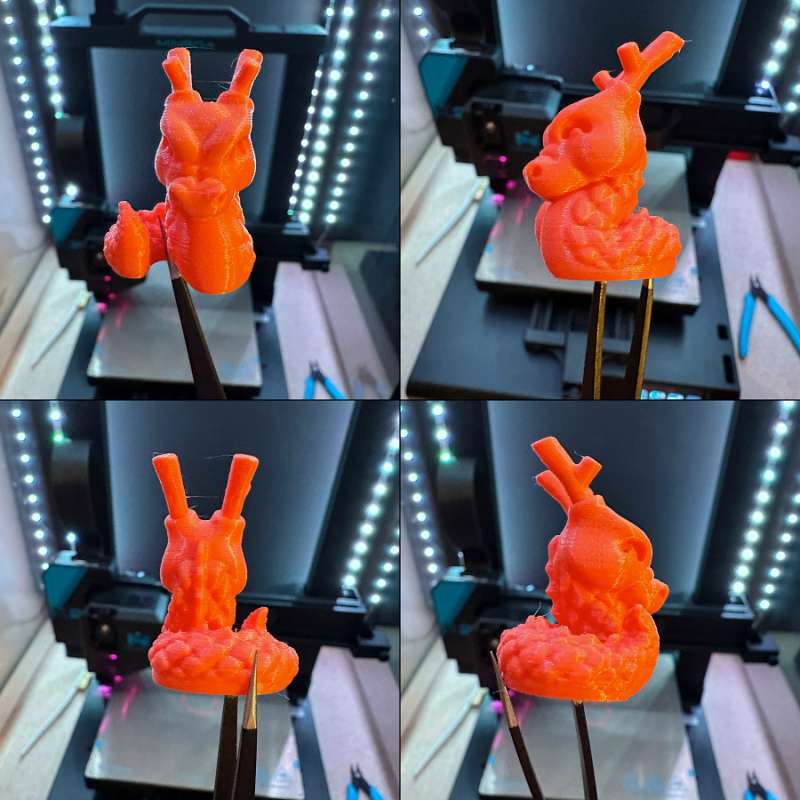
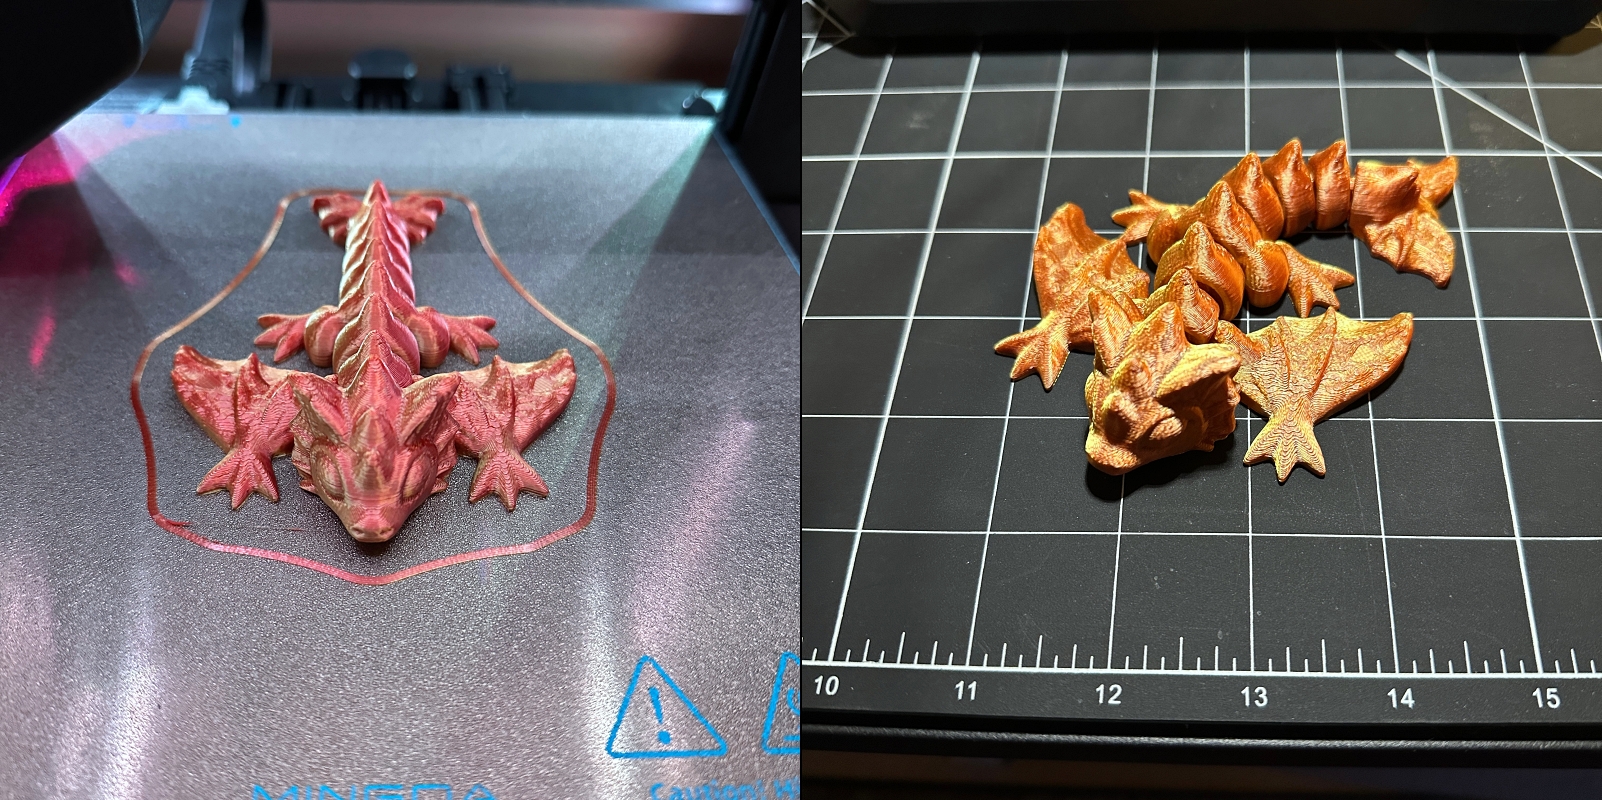
I wanted to see how the Mingda Magician X2 3D Printer would handle printing a different type of filament. I chose a dual-color silk PLA from Eryone. I sliced a small PIP (print in place) articulated dragon. This would also be an excellent test to see how the printer dealt with more intricate details. Once again, the print turned out fantastic. The model was clean, and all the parts moved freely. I don’t think the pictures do it justice, but the dual-color filament is stunning.
What I like
- Easy assembly
- Auto-leveling
- PEI print plate
- Quiet operation
What I’d change
- Larger touchscreen
Final thoughts
Overall, I came away highly impressed by the Mingda Magician X2 3D Printer. It’s a snap to assemble and couldn’t be easier to use right out of the box. The auto-leveling feature takes the guesswork out of leveling the printer. More importantly, it produces consistently excellent results. To me, the most essential ability of any 3D printer is reliability. And the Magician X2 has it in spades. Whether you’re a beginner or just looking to purchase a second or third printer, the Mingda Magician X2 is an excellent choice for anyone looking to take their 3D printing to the next level. Especially at its currently reduced price of $289.
Price: $349 reduced to $289 at the time of writing this review.
Where to buy: Mingda and Amazon
Source: The sample for this review was provided by Mingda.

Google Review Tap Cards (3-Pack) by TapFive - Tap for Instant Reviews - All Phones Compatible - Reusable Smart Tap NFC & QR - Boost Business Reviews - Powered by TapFive (3 Card Pack)
(as of June 21, 2026 22:59 GMT -05:00 - More infoProduct prices and availability are accurate as of the date/time indicated and are subject to change. Any price and availability information displayed on [relevant Amazon Site(s), as applicable] at the time of purchase will apply to the purchase of this product.)