REVIEW – Recently there have been some security issues with gadgets containing cameras, including Roomba robotic vacuum cleaners, where pictures taken in the privacy of the home wound up in public places. In light of these issues, I’ve decided to replace the Yeedi vac 2 pro robot vacuum that we are currently using, as it uses a camera to map and navigate around the house. We like the Yeedi, as it works pretty well, and they’ve not been involved in anything suspicious that we know of; even so, I would like to remove the camera from my home. To this end, I’m testing the T10s, the latest robotic vacuum cleaner from ILIFE. This gadget uses LiDAR instead of a camera, so this should eliminate some privacy concerns. Is this vacuum a good choice? Read on to find out.
What is it?
The ILIFE T10s is a robotic vacuum cleaner that can automatically vacuum and mop floors. It comes with a docking station that can both recharge the robot and empty its dust bin. ILIFE is a Chinese company whose name reflects “the pursuit of a better life.”
What’s in the box?
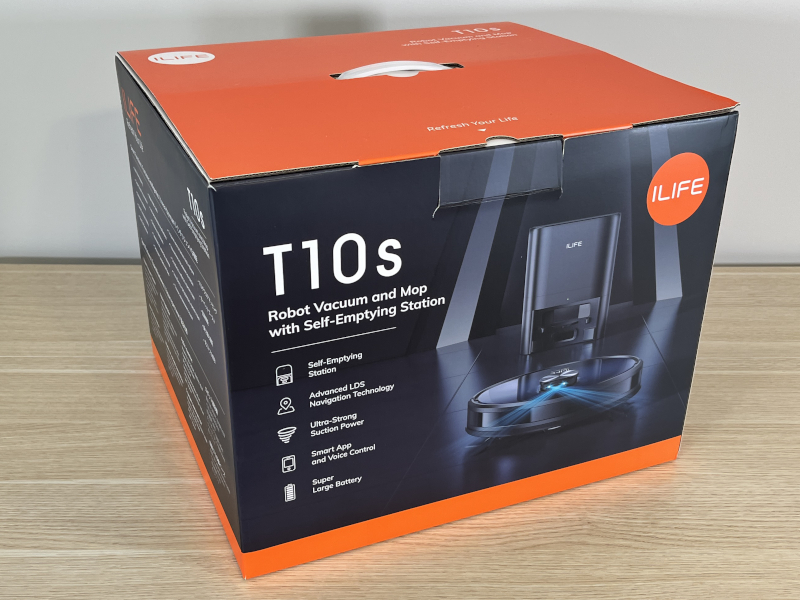
The T10s arrived from Amazon in a bright orange box that was in a box that was in another box.
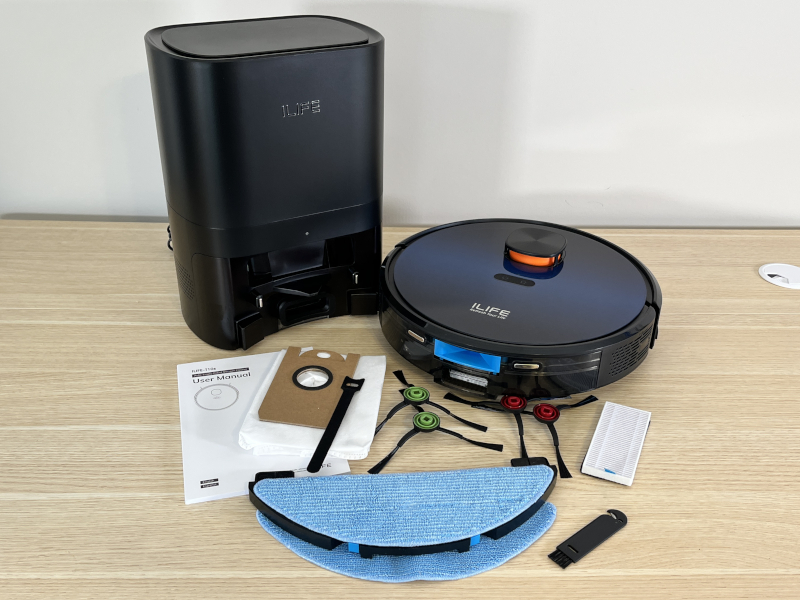
It contained the following items:
- Robot with 2-in-1 dustbin (with filter already installed) and water tank
- Mopping attachment (with microfiber mop pad already installed)
- Four side brushes
- Docking station (with dust bag already installed)
- Spare filter, mop pad, and dust bag
- Cleaning tool
- User manual
- Velcro cable tie
Specifications
The T10s has the following specifications:
- Robot size: 6 inches in diameter x 3.6 inches high
- Station size: 6 x 9.5 x 6.5 inches
- Navigation: SLAM (simultaneous localization and mapping) using LDS (laser distance sensor)
- Suction power: 3000 Pa
- Dustbin capacity: 250 ml
- Water tank capacity: 240 ml
- Dust bag capacity: 5 liters
- Battery: 3200 mAh
- Running time: 150 minutes
- Coverage: 1600 square feet
Design and features
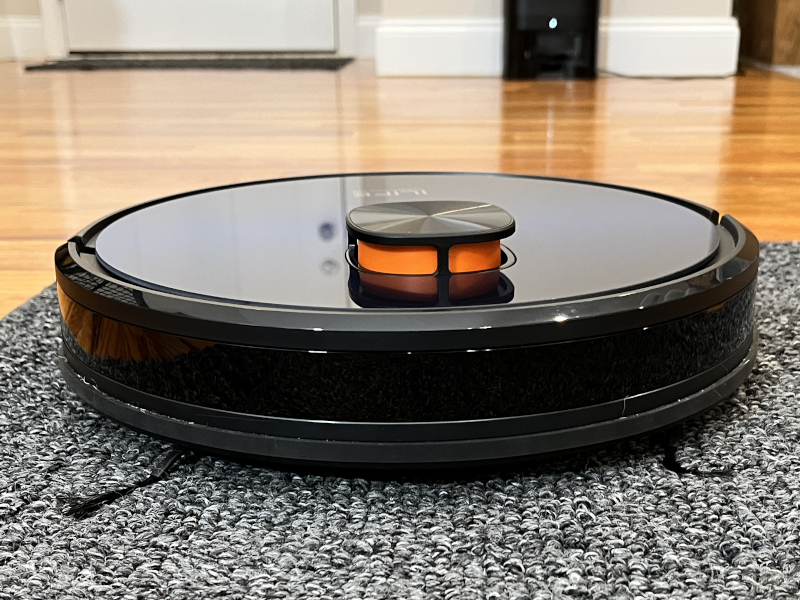
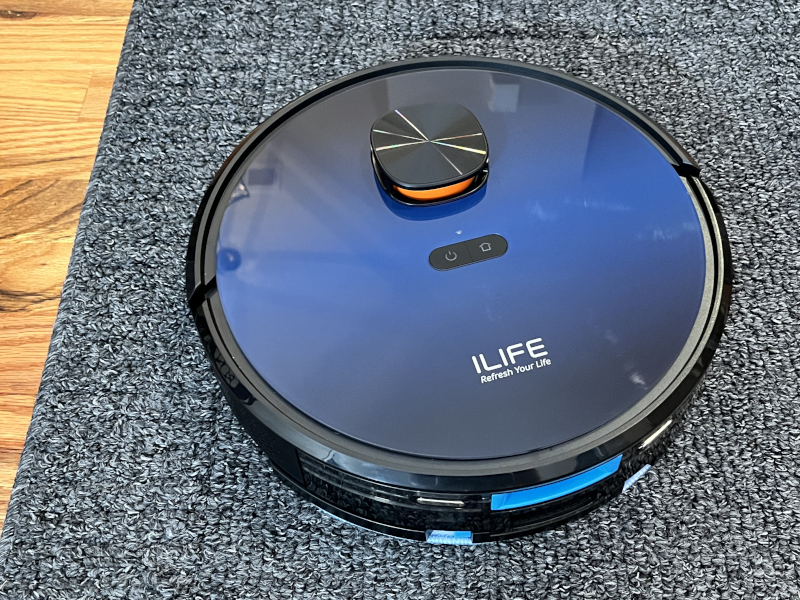
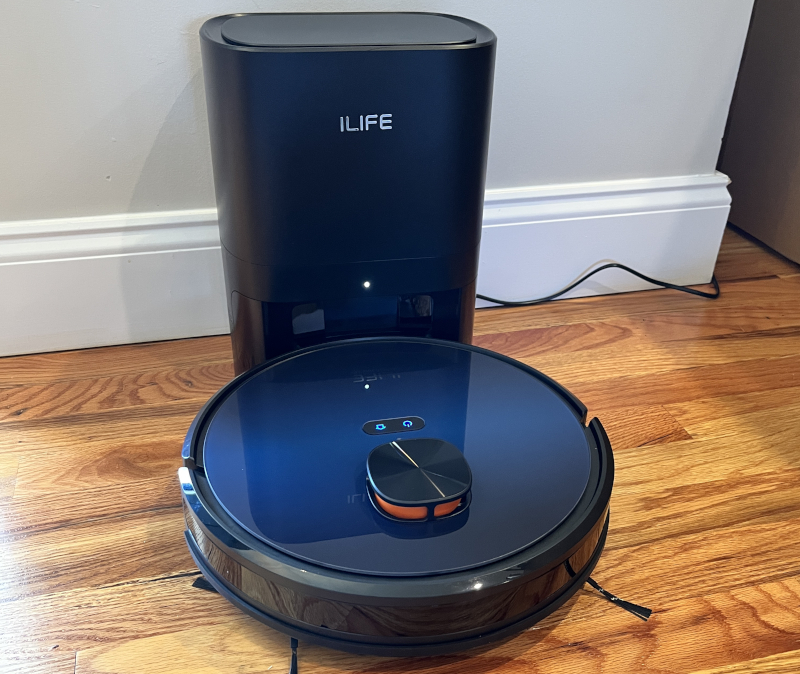
The ILIFE T10s robot vacuum has the same general size and cylindrical shape as other robotic vacuum cleaners. At 3.6 inches in height, it’s slightly taller than some others; at only 12.6 inches wide, it’s narrower than others, which will help it navigate through chair legs and behind my couch. The body is primarily black, which will show the dust that vacuums inevitably collect over time. The top has black to dark blue gradient that looks very sharp; it’s topped off by the laser sensor, which is a bright orange.

The docking station basically looks like a small, black trash can with some metallic connectors near the base.
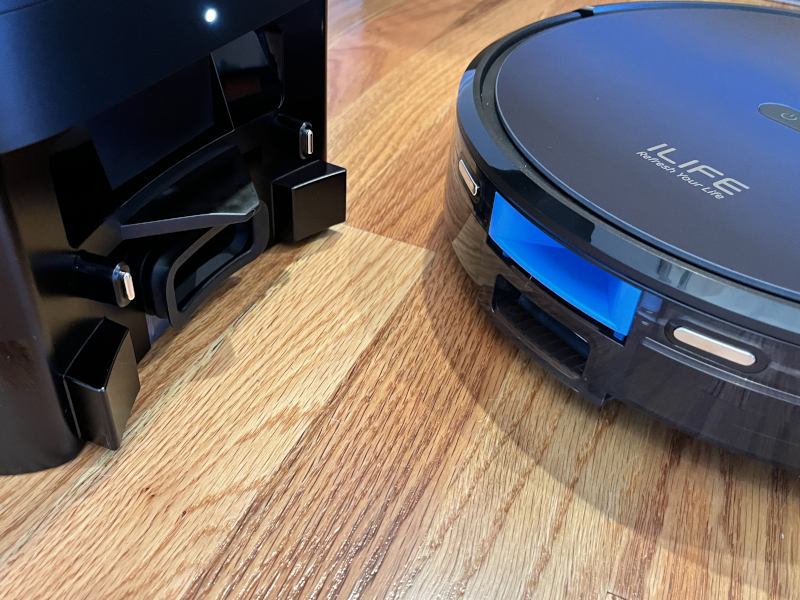
Unlike most docks, the ILIFE T10s does not have a base that the robot has to drive up on. Instead, it will simply drive up to the dock until the connectors on the vacuum touch those on the base. Overall, the design of the 10Ts is very slick.
Installation and setup
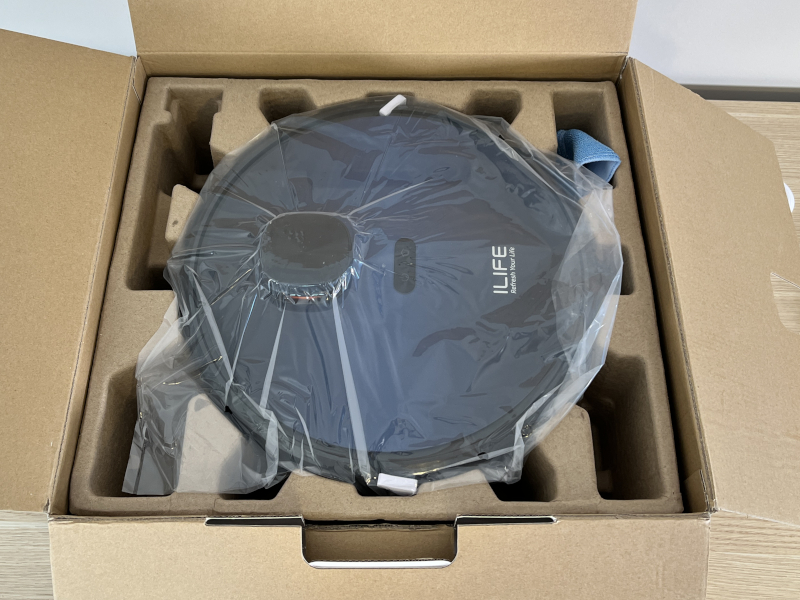
Inside the box, I found that the ILIFE T10s was very well protected with custom cardboard inserts. Once I removed everything from the box, I read through the manual. This manual was a joy to read. It is well written, nicely illustrated, and laid out cleanly. For setup, I followed the installation instructions starting on page 11.
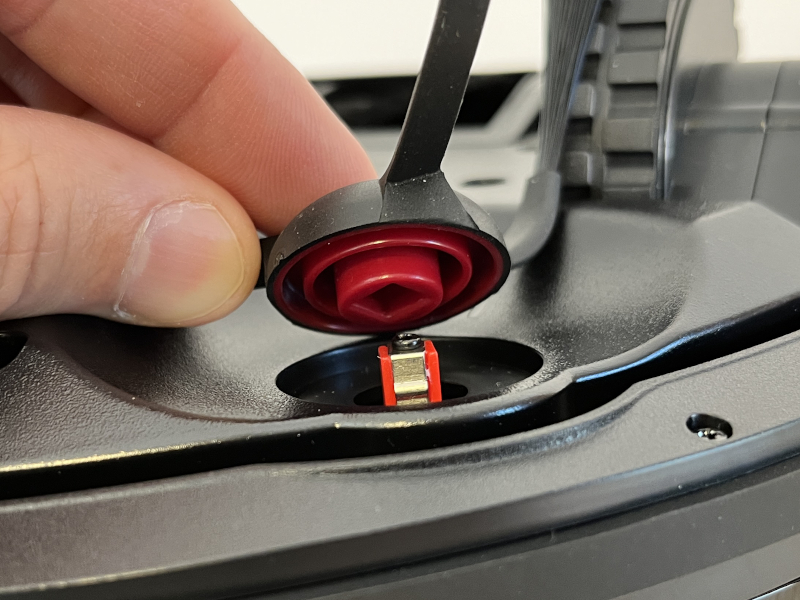
First, I installed the side brushes. They are color-coded, making it super easy to install the correct ones on the left and right sides.
I put the docking station on the floor and ran the power cable around the corner, then I set the robot down in front of it such that the connectors were touching, allowing it to charge. I then turned it on. The manual does not indicate how long it takes to fully charge the battery.
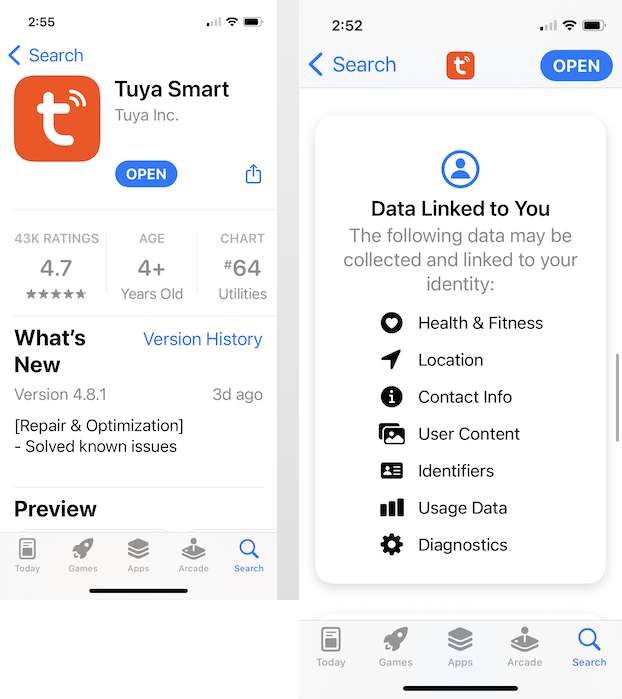
Before I accepted the offer to review this gadget, I went to Apple’s app store to check the privacy statement of their app. ILIFE actually has three apps, and all three assert that they collect no data. Perfect. That’s what all gadget apps should do. Unfortunately, it appears that ILIFE is not very good at writing apps, as all three have terrible ratings and are full of complaints. Perhaps that’s why the T10s does not use any of these apps; instead, it uses the Tuya Smart app, a generic app for controlling a variety of smart gadgets, including robotic vacuums. This app is downright evil, as it collects a lot of information that it doesn’t need, and, even worse, it requires a valid email address for registration before it will connect to the gadget. It also asked for access to my Bluetooth, HomeKit, my location, and my camera, none of which it needs (and I denied). I don’t like this app at all; I shouldn’t have to give away all this info just to vacuum my floors. ILIFE, please figure out how to write good apps for yourself and stop using third-party apps.
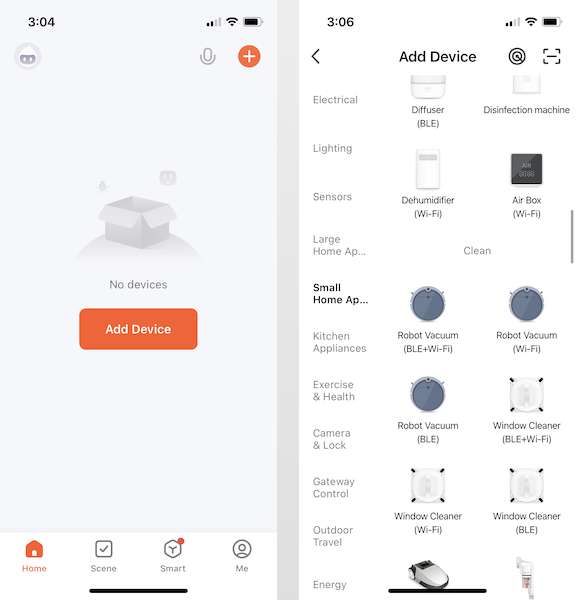
The ILIFE manual has clear instructions for connecting the app to the robot. I selected “add device” and then “robot vacuum (WiFi)” from the set of small home appliances. This let the app know what type of gadget it would be controlling.
This gadget requires a 2.4 GHz WiFi, so I entered the name and password for my guest network, since I certainly won’t be connecting to my home network, and then simultaneously pressed the power and home keys on the top of the vacuum. The robot said “AP mode,” and so I selected AP mode in the app. This initiated the processing of connecting the Tuya app to the T10s’ hotspot network.
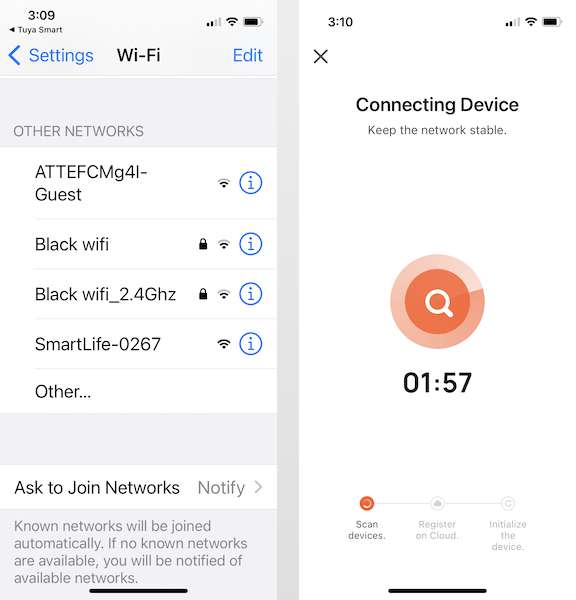
On my iPhone, I then connected to the robot’s network, which started with “SmartLife,” then I waited for it to connect to the device. It connected! I was finally ready to start vacuuming.
As I read through the rest of the manual, I realized that while it provided some general information about how the vacuum works — it creates a map of my house, it vacuums one area at a time, it will return to the base when it’s done — there are no specific instructions on how to use the Tuya Smart app. A quick scan through the app revealed that there are no instructions within the app itself either. This means that I’m going to have to learn how to use this app by trial and error. That’s a complete failure on ILIFE’s part. Whether it uses its own app or someone else’s, it needs to provide detailed instructions. At the very least, it should show me how to use the key features that the vacuum supports, like cleaning an area of the map, defining a specific spot to vacuum (or not vacuum), or setting a schedule.
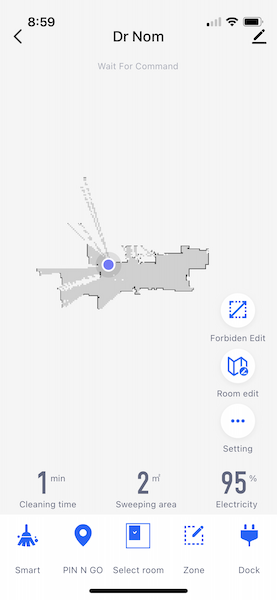
It’s now time to experiment. The Yeedi has a mapping button that tells the robot it’s time to map out the house, but there doesn’t seem to be any equivalent in the Tuya app. I can see that its laser is already starting to map the house, even when it’s just on by the docking station. (As an aside, I did take the time to name this guy — all of our robot vacuums get a name — I named him Dr. Nom, because in the words of our daughter, “It shall nomnom all the dirt!”) Not knowing what else to do, I tried the “Smart” button at the bottom, and off he went!
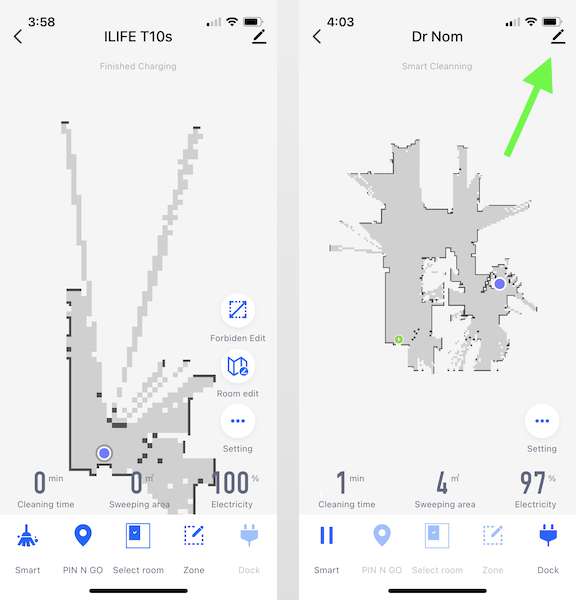
It appears that when the T10s does not have a map, it automatically creates one before vacuuming. It drove through every room in my house twice, trying to get a general layout. Dr. Nom did a perfect job of this, as it found every room and closet in my house, including the master bath and closet, which had eluded previous vacuums. From what I have read, this is one of the real strengths of using LiDAR instead of a camera.
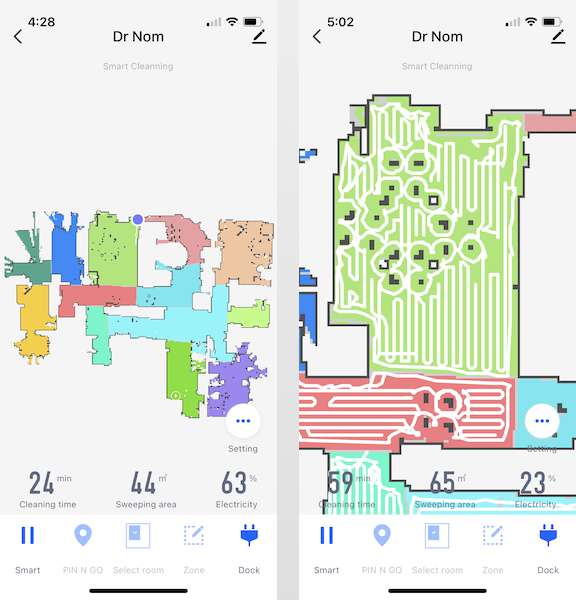
Once it thought its map was complete, Dr. Nom then attempted to designate all the rooms in my house. The result was pretty funny, because it rarely correctly identified an entire room. I guess these are more like zones, various parts of the house where I will be able to tell it to vacuum, and this works just fine. (I later found a setting that lets me combine zones together, so maybe I could use that turn to them into the right rooms.) The vacuum then began vacuuming one zone at a time. First, it made a complete circle around the zone, then it went back and forth throughout it. This bright green zone on the map is part of our kitchen, so you can see where it had to drive around all the legs of the table and chairs. It did a thorough job.
Performance
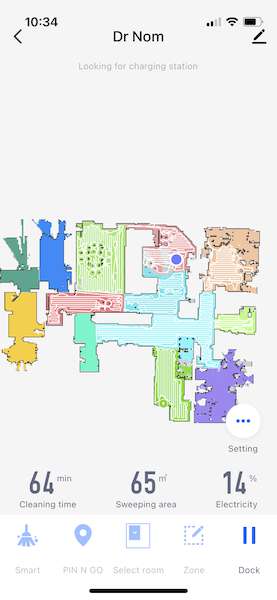
Now the first pass was done, it was time to test the key features of this vacuum. The “Smart” button tells the T10s to vacuum the rooms that it has previously mapped. When I use it, it vacuums about 2/3 of my 2000 square foot house. The ILIFE website said it has “automatic charging and resume,” but it never resumes after charging. This means that I need a way to manually select the other rooms in my house if I want to get everything vacuumed.
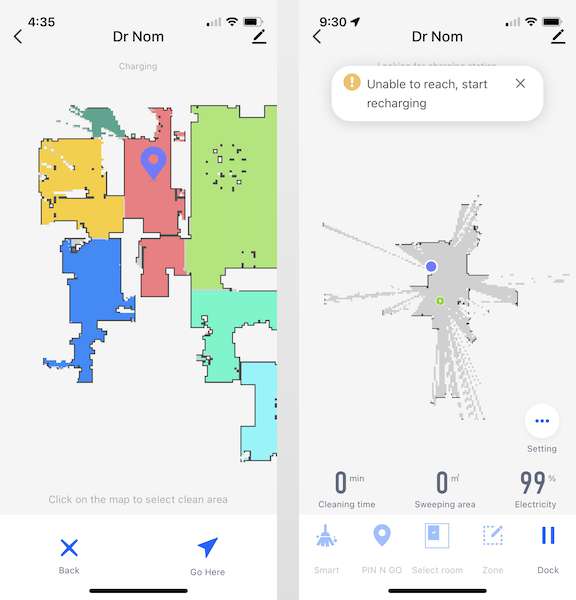
The “Pin n Go” button is for spot vacuuming, so I dropped a pin where I wanted to clean. Dr. Nom headed off in the right direction, but after 10 feet, it said that it did not have a map. The previously generated map disappeared, and it began to create a new one. Then it threw an error, saying it could not reach to the zone that I had designated, probably because it just deleted the map. This is a catastrophic error. I had to use the “Smart” button to create another map, and I used the “Dock” button to send it home once the mapping was done.

The “Select Room” button is for vacuuming one zone in the house. I selected part of the kitchen, and Dr. Nom went right to the zone, did one loop around the outside, and then vacuumed back and forth within. When done, it headed back to the station and emptied himself. Perfect!
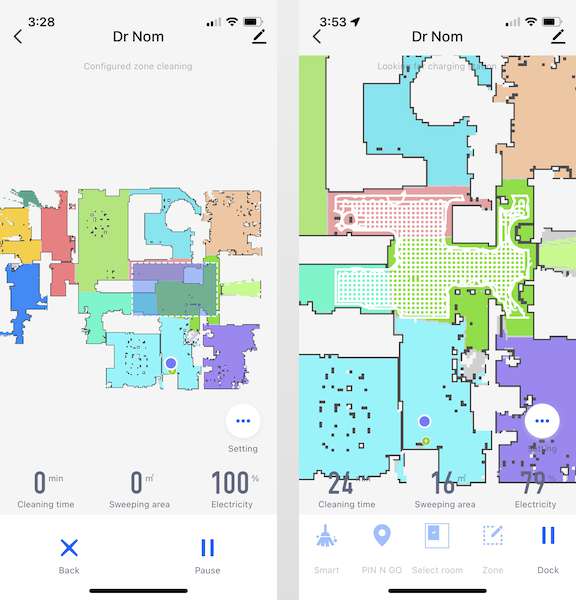
The “Zone” button allows me to draw a rectangle somewhere on the map that I want cleaned. It functions just like the “Select Room” button, except that Dr. Nom vacuumed everything twice in a crisscross pattern. I suppose this mode is for extra dirty problems; in any case, it worked great.
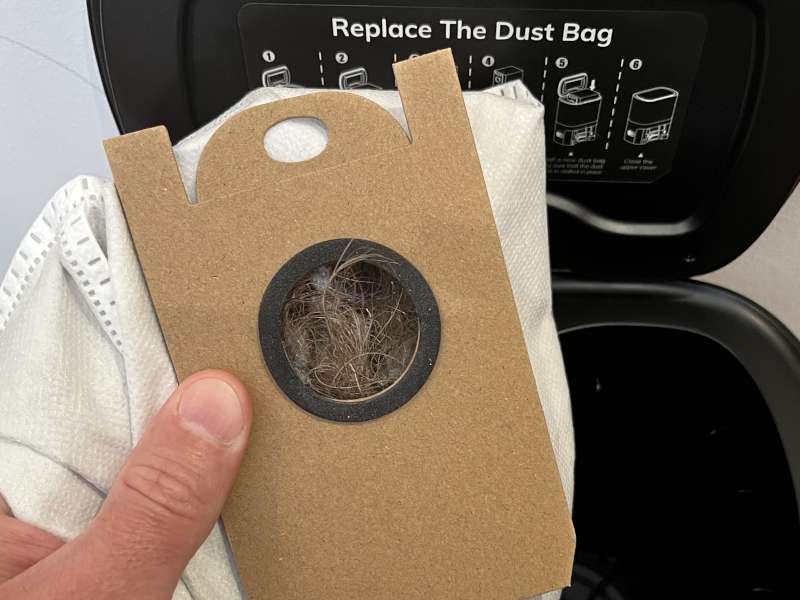
When I looked inside the bag in the docking station, there was plenty for of dust, dried grass, carpet fibers, and hair. The ILIFE T10s robot vacuume is certainly doing its job.
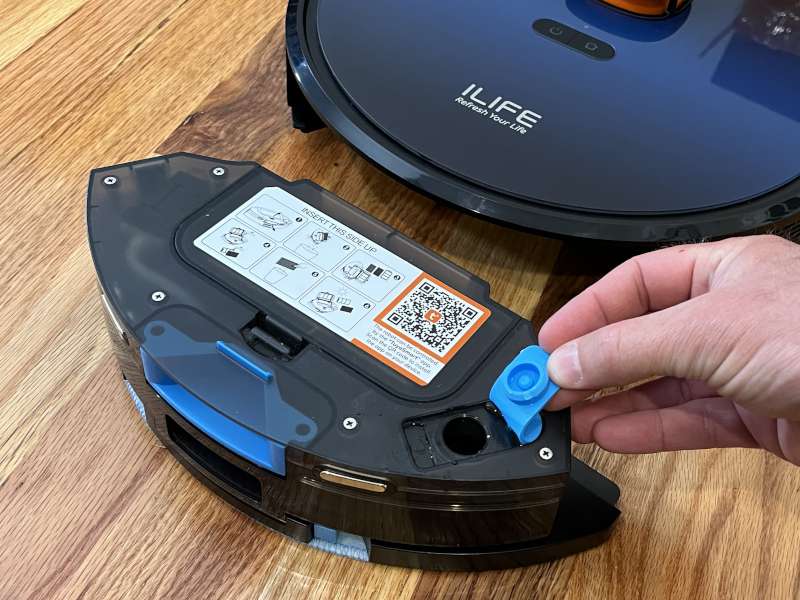
Dr. Nom is capable of simultaneously vacuuming and mopping. I pulled out the combo dust bin and water tank, filled it with water, then returned it to the robot. I also added the thin mopping attachment, which has the microfiber cloth.
I used the “Select Room” button and selected our entry hallway, and once again it lost the map. Instead of mopping the hallway, it began mapping the house yet again. At that point, I just shut it down. Either the vacuum or the software is broken. It’s not useful to have a product that needs to remap half the time.
For those times when Dr. Nom did work, I made a few observations. One, the ILIFE website says it has “up to 150 mins runtime,” but that seems to be a massive exaggeration. When using the “Smart” button, it runs for less than 70 minutes before returning to the station to change.
Two, when Dr. Nom is over carpet, he automatically turns his suction to high (called suction boost mode). This creates a high-pitched whine, one that is very annoying, able to be heard through the whole house. None of the other three robotic vacuums that I have tested made this whining sound. This is so irritating, that it alone is a reason for me to not buy this gadget, especially since we now run the vacuum nearly every day because we have dogs.

Three, the ILIFE T10s easily vacuums over these plush Norwex rugs, something that the Yeedi never could. That’s nice.
Four, this robot has a voice that speaks to provide basic information, such as when it’s charging or when it’s stuck. The speaker sounds mushy, and the heavily accented voice is hard to understand; ILIFE could make a lot of improvements here.
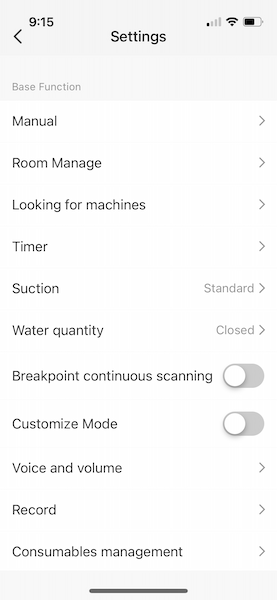
The ILIFE T10s robotic vacuum can be configured with a variety of different settings, though I didn’t experiment much with them, due to the other problems. The purpose of some of these settings are obvious; others are obscure.
The T10s supports Alexa and Google but not Apple’s Homekit.
What I like
- LiDAR maps very well
- Vacuum picks up a lot of dirt
- Self-emptying station is convenient
What I’d change
- Replace the app with one that doesn’t violate my privacy
- Provide instructions on how to use the app
- Stop requiring an email account just to vacuum my floor
- Remove that high-pitched whining when in “suction boost” mode
- Fix the bug with resume after charging
- Fix the bug with that loses the map
- Support Apple’s Homekit
Final thoughts
The ILIFE T10s is a robot vacuum that can vacuum and mop your floor. It navigates using LiDAR, and it excels at accurately mapping out the entire house. When it works, it does a thorough job vacuuming the house. Unfortunately, I experienced several issues with this gadget. The app spontaneously combusts the map, causing the vacuum to stop what it’s doing and remap the house. The app also—pardon the pun—hovers up way too much information, a violation of my privacy that is not remotely necessary to vacuum the floor. ILIFE doesn’t provide any instructions on how to use the app, which is how I control the vacuum. Finally, the suction boost mode, which it uses on carpets, emits a high-pitched whine that is too annoying. This gadget is not ready for prime time yet, and it did not earn a coveted spot in our house; instead, we pulled our Yeedi vacuum out of early retirement.
Price: $399.00 or $429.00
Where to buy: Amazon or ILIFE’s online store
Source: The sample for this review was provided by ILIFE.
Gerber Gear 22-47162N Fast Draw Folding Assisted Opening Pocket Knife, Fine Edge, Black
(as of June 17, 2026 18:54 GMT -05:00 - More infoProduct prices and availability are accurate as of the date/time indicated and are subject to change. Any price and availability information displayed on [relevant Amazon Site(s), as applicable] at the time of purchase will apply to the purchase of this product.)
Gadgeteer Comment Policy - Please read before commenting
Unless breakpoint continuous scanning is enabled under settings, robot will not go back and resume vacuuming where it left off. Also under settings you can un check auto boost so it would not increase suction? noise over carpet. I do think there is poor explanation of the features in the app.
Thank you for this information! Do you also know what the “customised mode” does?
I’m sorry, I do not. As I noted, lack of documentation is one of the problems with this vacuum.