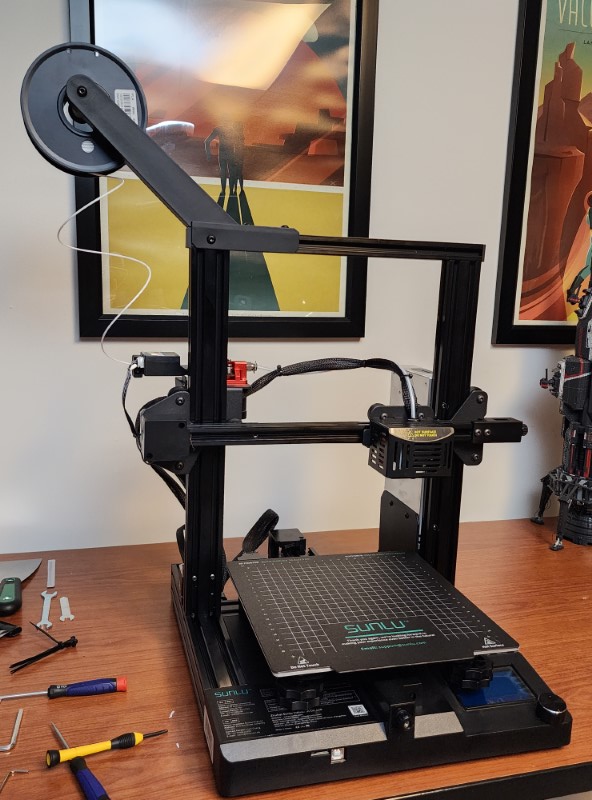
REVIEW – 3D printing is a ton of fun, but waiting hours or days for a print to complete can test anyone’s patience. Worse yet is when a print fails in the 11th hour. SUNLU has brought to market the T3 which touts the capability to print at 250 mm/s – or up to five times faster than a typical print. Have we entered the era of warp-speed printing at the hobbyist price point?
What is it?
The SUNLU T3, also known as the Terminator 3, is an FDM 3D printer that includes some quality of life features at a compelling price. Most notably is the advertised potential to reach print speeds of 250 mm/s.
SUNLU has been in the 3D printing space since 2013, and currently offers several printers. The T3 is the smallest printer in their line up, with the S8 and S9 models consisting of large format printers. SUNLU also produces accessories and supports its products with readily available replacement parts.
What’s in the box?
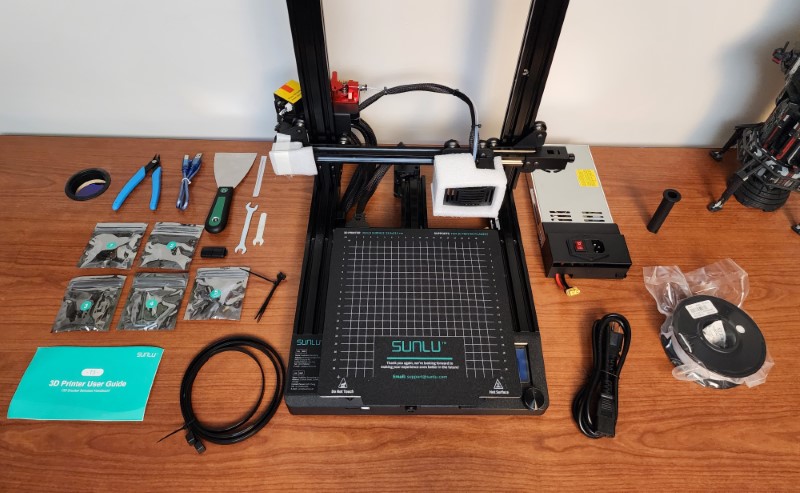
- SUNLU T3 3D Printer
- Assembly tools
- Spare parts – extra screws, .4mm nozzle
- SUNLU PLA Filament
- SD Card with USB-A adapter
- Power Cable
- Scraper
- Filament cutters
- USB-A to USB-B cable
Hardware specs
| Type of Printing Technology | FDM |
| Printing Size | 220×220×250(mm) |
| Number of Nozzles | One |
| Nozzle Specifications | 0.4mm(Compatible:0.4mm-0.8mm) |
| Printing Speed | 20-250mm/s |
| Print Maximum Temperature | 260℃ |
| Bed Maximum Temperature | 100℃ |
| Support Printing Method | SD Card, PC |
| Power Specifications | 115V/230V AC,50/60HZ |
| Machine Size | 440×400×470(mm) |
| Printer Net Weight | 2.2 lbs |
Design and Features
This is a typical bed-slinger design that immediately brings the Creality Ender v3 to mind.
Additional features include:
- Clog detection
- 32-bit motherboard
- Auto leveling
- Filament break detection
- Resume on power failure
- All metal double gear extruder
- Pulley belt tension adjuster
- Magnetic platform
Setup
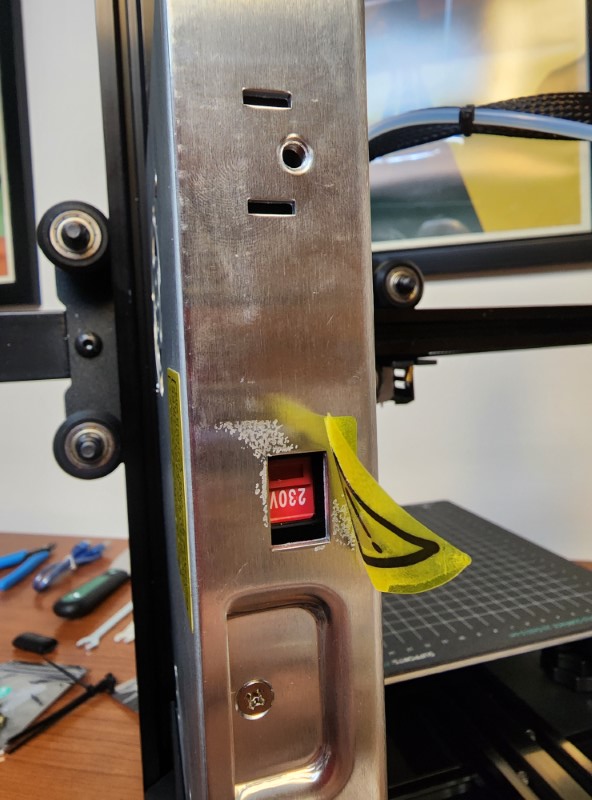
The SUNLU T3 3D printer arrived well-packaged and almost fully assembled. The assembly instructions are clear and easy to follow, and within 15 minutes we were ready to load up some filament and start printing. Be sure to check the voltage setting on the power supply, as mine arrived set at 230v and needed to be flipped to 115v in order to work.
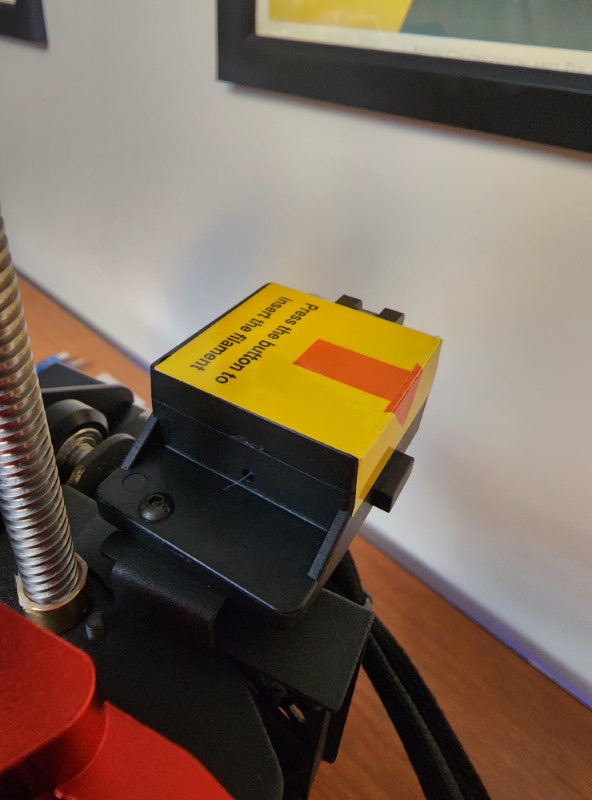
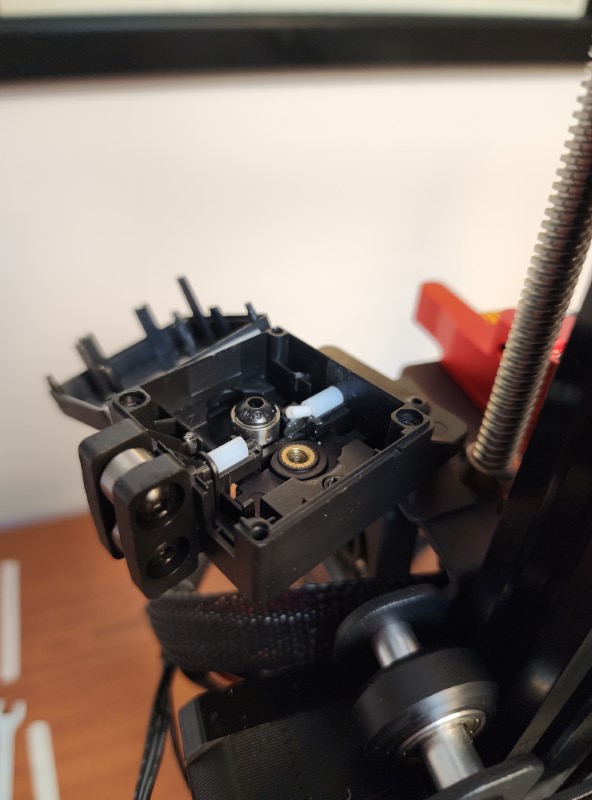
During the build I noticed some stringing coming out of the filament detection module and had a hunch that loading the filament would be problematic. Sure enough, the filament wouldn’t load – and on disassembly of the module, I discovered a broken piece of filament blocking the channel. There’s no other indication that the printer was used and returned, so my best guess here is that this is a remnant of a QA process.
Included on the SD card are a few test prints, some documentation, and an installer for an older version of Cura. Off the bat, I’m disappointed that the test prints are just STL files and aren’t sliced. Having pre-sliced files helps to more quickly dial in settings for the printer as they provide a point of reference for settings suggested by the manufacturer. Notably, the version of Cura included on the SD card does not have a profile for the printer. On the SUNLU website you can get a Cura installer with the SUNLU T3 profile, as well as updated firmware.
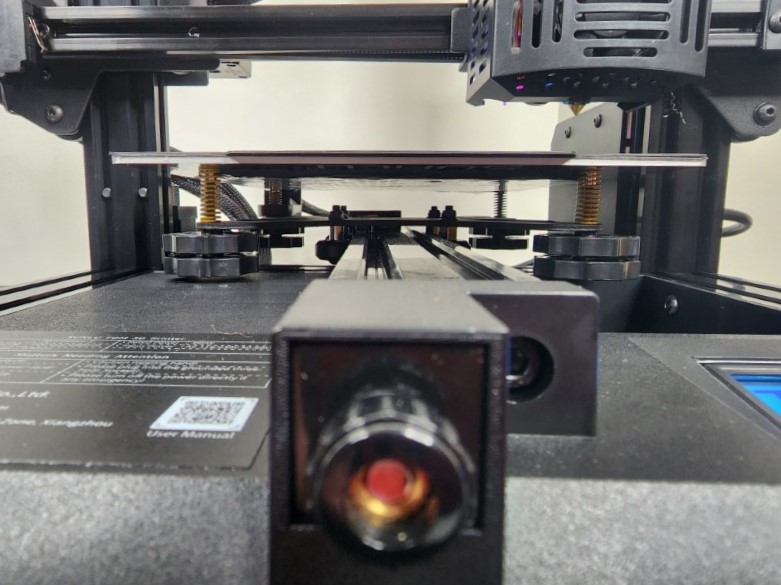
I found the bed to be mostly level, and after some fine tuning we were ready to get started!
Performance
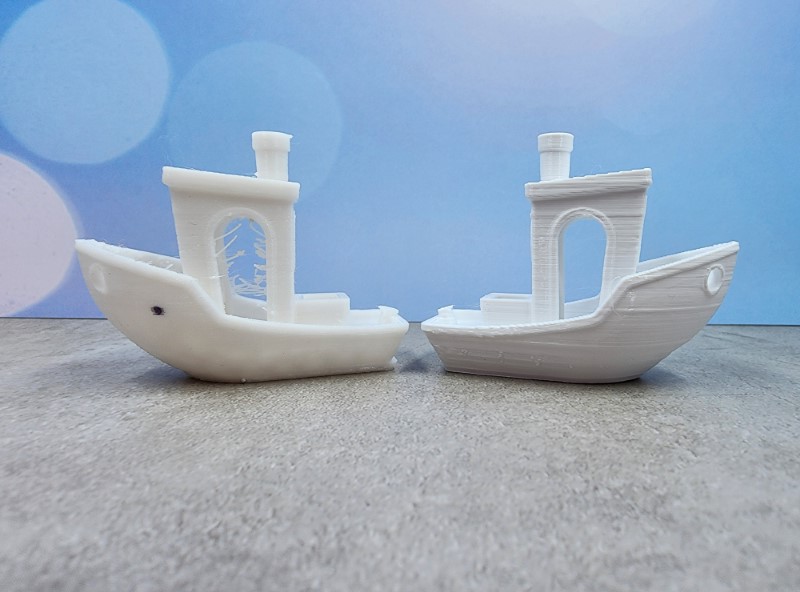
Out of the box, I ran a print straight away, using some guesstimates for slicer settings based on my experience with my other printer. The benchy that resulted had some layer shift, excessive stringing, and I suspected we were too hot at the extruder. I switched gears to some calibration prints to dial in the retraction settings and temperature: 35mm (+10 from default) and 190 respectively, and the results speak for themselves.
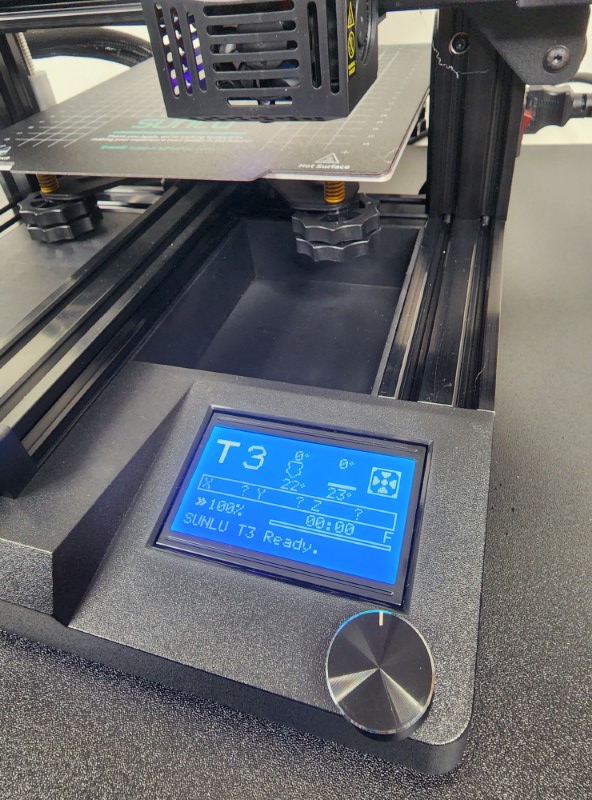
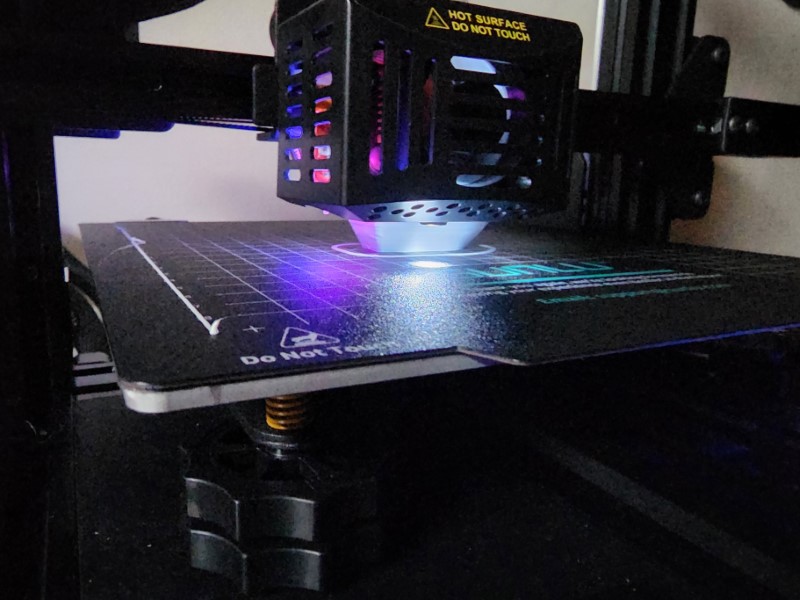
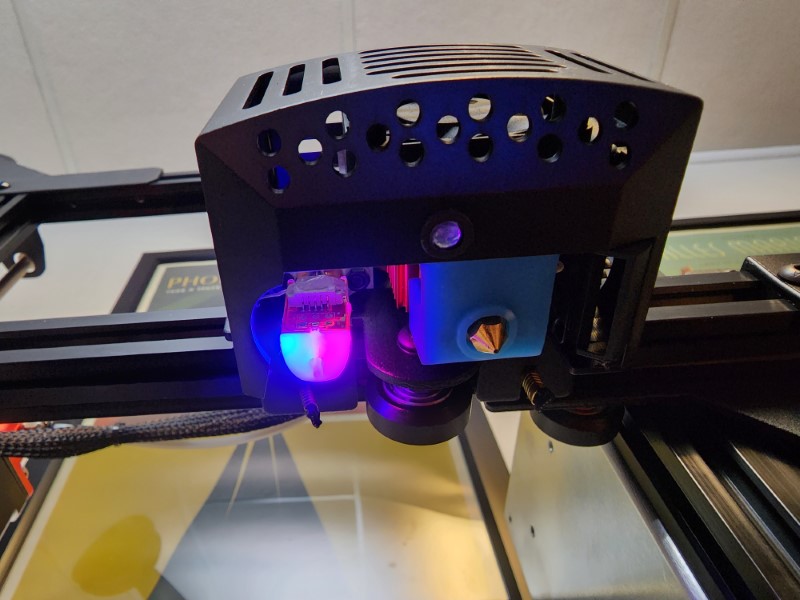
The auto-leveling feature works pretty well and uses a BLTouch. Before each print, 16 points of the print bed are checked automatically. The Z-offset can be manually set which is recommended to make sure you don’t have the nozzle too close to the print bed. The manual setting for Z-offset worked OK out of the box, but since the firmware update it stopped working. For some reason the BLTouch just blinks red whenever I try, though it still works fine during the automatic leveling process. Hopefully this is resolved in a future update as this doesn’t seem to be a mechanical issue. Helpfully, you can change the Z-offset while a print is running so you can quickly adjust on the fly if needed.
On the topic of the BLTouch, I discovered that the wiring into the BLTouch module was not properly terminated into its connector. While hot glue is annoyingly typical to assure connectors don’t work themselves loose, I found that the connector into the BLTouch module was reliant on the hot glue to keep the wiring itself into its own connection. In other words, when the hot glue is removed, the wiring itself comes out of the connector.
While I didn’t have any issues with clogging, other features worked exactly as advertised. Sabotaging the filament successfully tripped the run-out sensor, and pulling the power at the wall properly triggered the power failure resume once power was returned. I absolutely love the magnetic print bed with the included flexible print surface, as it makes removing finished prints super simple.
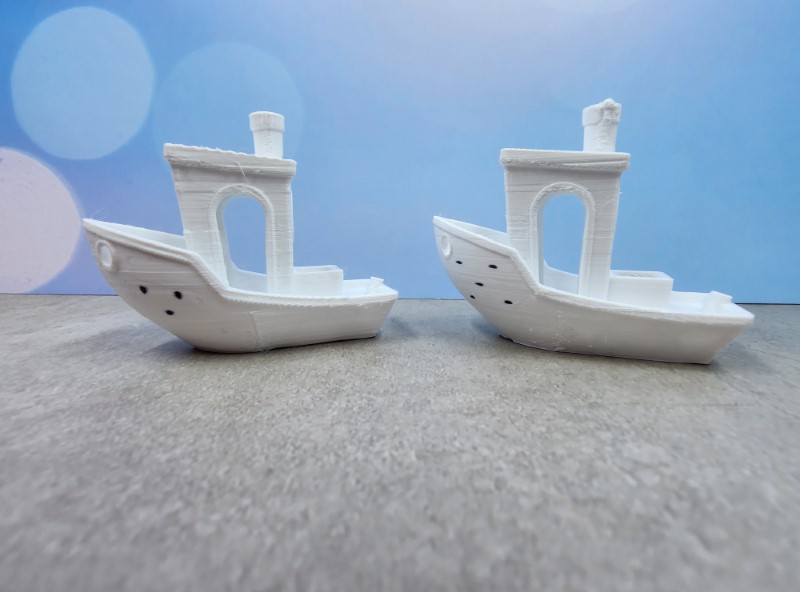
Perhaps the most eyebrow-raising feature of this printer is the claim to print at 250 mm/s, or about five times faster than typical. This poses all kinds of challenges, and while I believe the motors are capable of throwing the bed and extruder around fast enough to do it, the quality is going to be impacted. For a test of this, I sliced a benchy at 200 mm/s, upped the temperature to 200 as suggested by SUNLU, and flipped the printer into the fast print mode. I failed to resist the urge to channel Picard by announcing “engage” when kicking off the warp-speed print. The benchy ultimately printed successfully, and it was definitely faster – but at the expected cost of quality. These fast prints are good for general draft tests, but I will probably stick to under 100 for regular printing.
What I like
- Common upgrades are built in
- Standard platform for ease of further customization and repairs
- Price point
- 1 year warranty
What I’d change
- Quality control in testing process and firmware release
- Wireless printing capability would be great
- Availability of pre-sliced test prints on the included SD card for gcode reference
Final thoughts
The SUNLU T3 3D printer is a feature packed 3D printer at a price point that makes it a very compelling option. The features are all generally well-executed, although some bugs exist that will require some time and patience to work through. Once dialed in the printer works quite well, and I would recommend it.
Lastly, I’d like to thank fellow Gadgeteer’s Mike Dixon and Zack Chongulia for their willingness to share some of their 3D printing wisdom. Be sure to check out their reviews of other 3D printers!
Price: $249.99
Where to buy: Amazon
Source: The sample of this product was provided by SUNLU.


