REVIEW – We’ve been looking for a 3D printer for more than a year. It’s a big expense, and there are a lot of factors to consider. In my family, my son wants to create unique figures of his Dungeons & Dragons characters, which are difficult to find in our local game shops. However, since we received the Geeetech Mizar S 3D printer to review, we’ve found so many more potential uses.
What is it?
The Geeetech Mizar S is an auto-leveling 3D printer for less than $400. It’s versatile, very quiet, and can print up to 255x255x260mm.
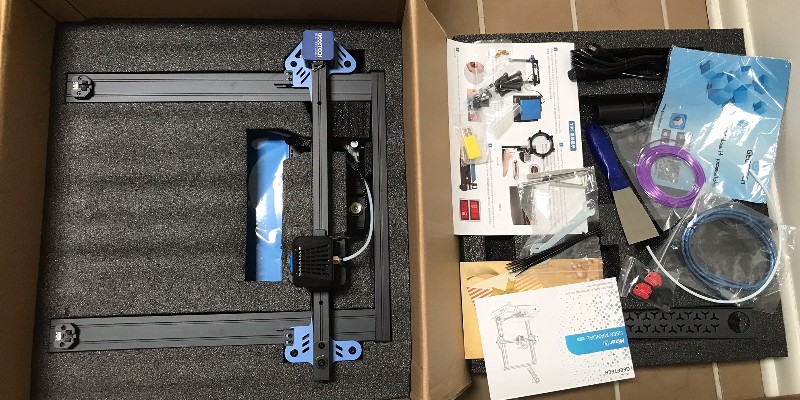
What’s in the box?
- Hot bed kit
- Gantry kit
- Y-axis limit switch
- Belt tensioner (2)
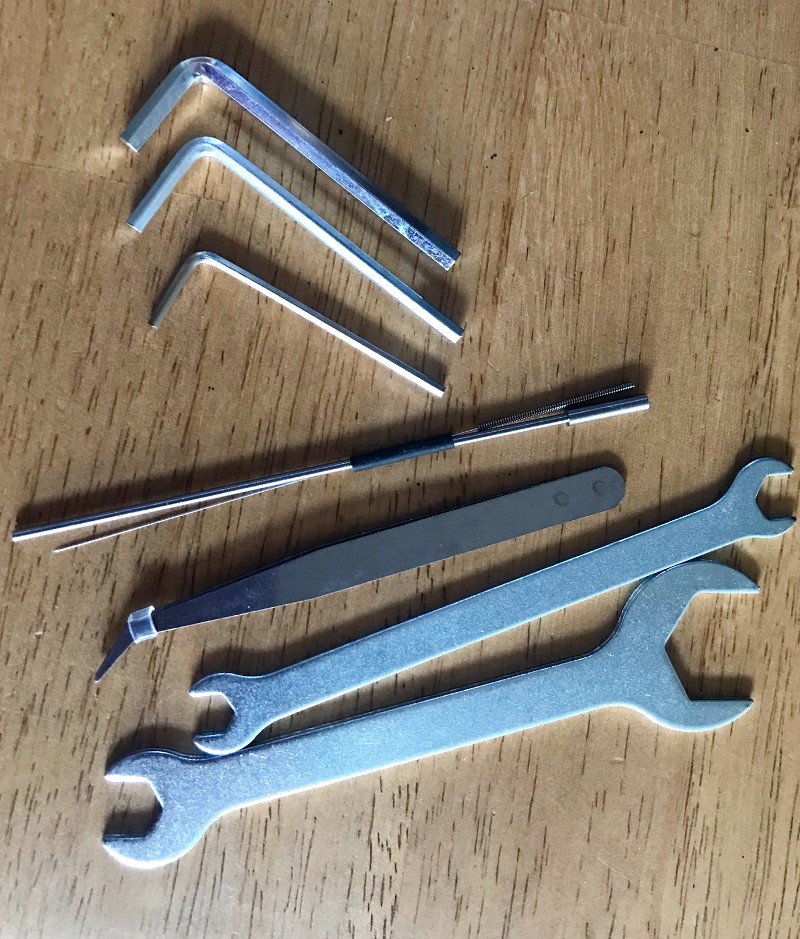
- Took kit and hardware
- Filament holder
- Power cord
- Spare nozzle (2)
- USB cable
- Micro SD card
- Shovel/spatula
- Test filament
- User manual and service card
Hardware specs
- Package dimensions: 20.5 x 19.4 x 12.25 inches
- Item weight: 26.3 pounds
- ASIN: B09NVPSLXF
- Item model number: GIANTARM-0727
- Printer Type: FDM
- Layer thickness: 0.1-0.2mm (can be set)
- Printing material: PLA, ABS, PETG, silk PLA, wood polymer
- Building platform volume: 255*255*260mm
- Auto-leveling: yes
- Break resuming: Yes
- Preheat time (110℃): 7min
- Nozzle diameter (mm): 0.4
- Nozzle quantity: 1
- Positioning precision: X-axis: 0.011mm; Y-axis: 0.011mm; Z-axis: 0.0025mm;
- Printing accuracy: ±0.1mm
- Printing speed: 10~150mm/S; recommend 60~80mm/s
- Display screen: 3.5” colorful touch screen
- Operating system: Windows, Mac, Linux,
- Slicing software: Repetier-Host, EasyPrint Lite, Cura
- Supported file format: .Gcode
- Hotbed max temperature: 110 ℃
- Extruder max temperature: 250 ℃
- Environmental temperature: 10-40 ℃
Electrical parameter
- Power input: 115/230V AC, 50/60Hz
- Power output: DC24V-15A Max, 360W
- Connectivity interface: 1*TF Card, 1*USB cable
- Power supply unit certification: CE, FCC,ROSH
Mechanical parameter
- Printing Size:255*255*260mm
- Net weight: 8.9kg
- Gross weight: 11.2kg
- Printer whole size: 362(W)*377(L)*653(H)mm
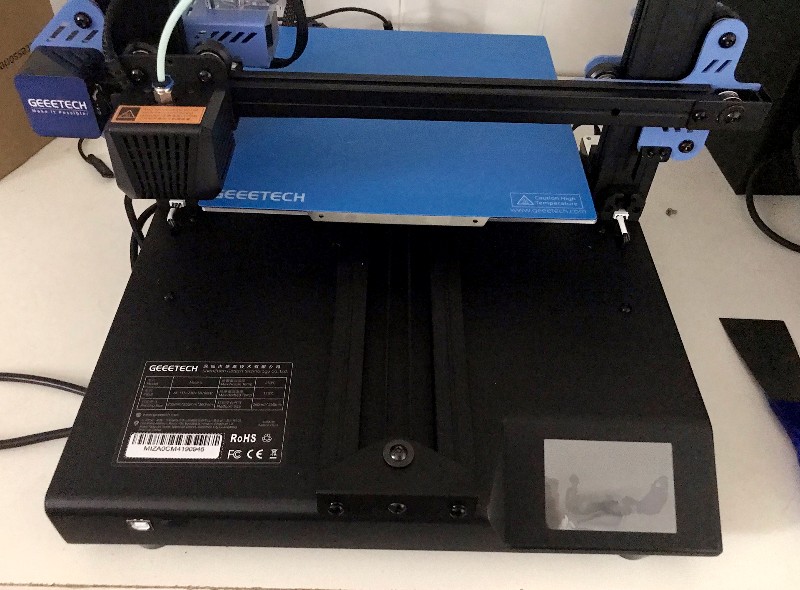
Design and features
Setup
It takes at least an hour to assemble the Geeetech Mizar S 3D printer. After unpacking and organizing the parts, you’ll need to assemble and screw the gantry kit and hotbed to each other.
Then you need to assemble the Y-access limit switch with the tools and screws included.
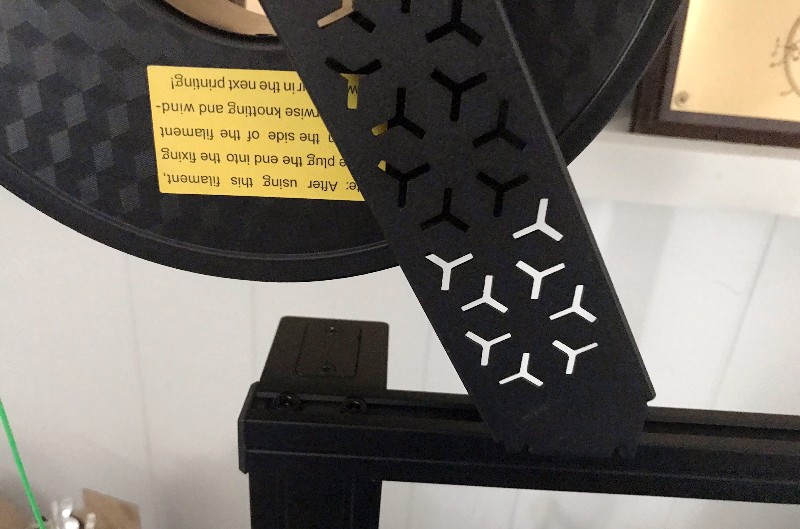
Finally, you need to put together the filament holder kit by sliding the pieces together. And then you use two screws and T-nuts to attach the filament holder to the top of the gantry. And you insert the other end of the teflon tube on the hot end into the extruder.
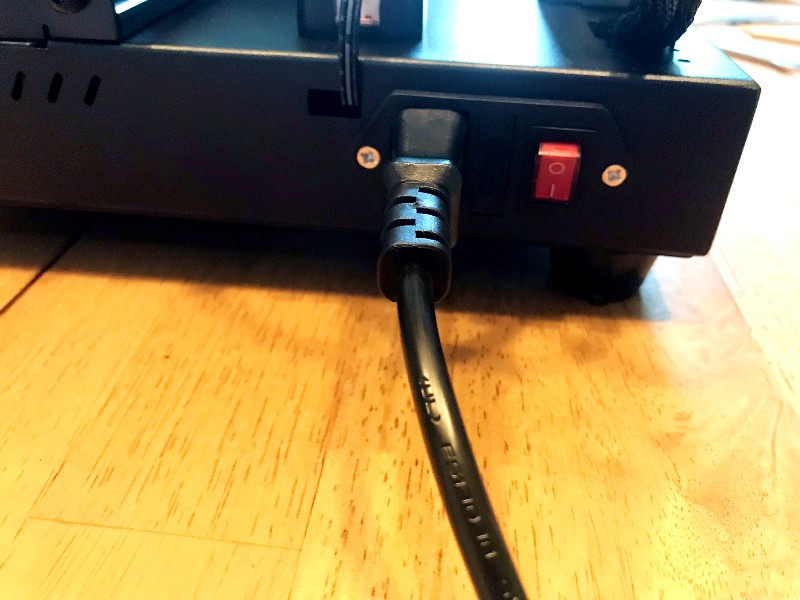
At the very end of the assembly, you connect the power cord and USB cable.
While there are a lot of little parts to put together, the instruction manual and photos are very clear, and all of the tools and hardware are included.
Performance
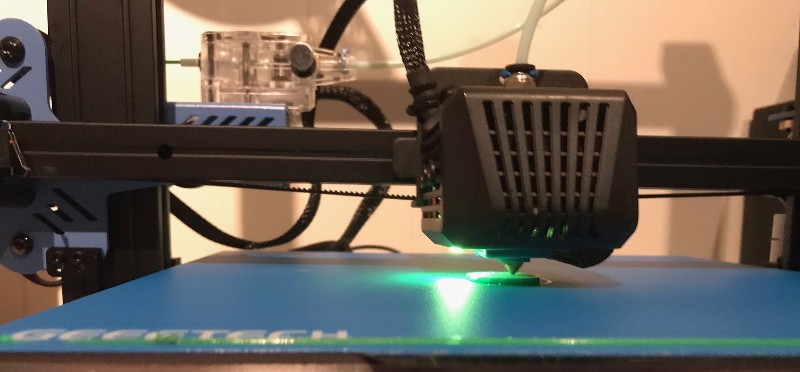
When you first use the Geeetech Mizar S 3D printer, you need to make sure it’s level. This model has an auto-leveling setting, which is what we did and is the recommended method. However, it does have an option to manually level it. The user manual has detailed explanations of how to do both. To auto-level, you just press a button.
To load the filament, you need to click “Tool” and “Change” and “Load” and the nozzle will automatically heat to 200 degrees C. Once heated, you insert the filament into the extruder and click “Confirm.” You need to make sure to straighten the end of the filament to load it. And then you wait and watch for it to make its way to the nozzle.
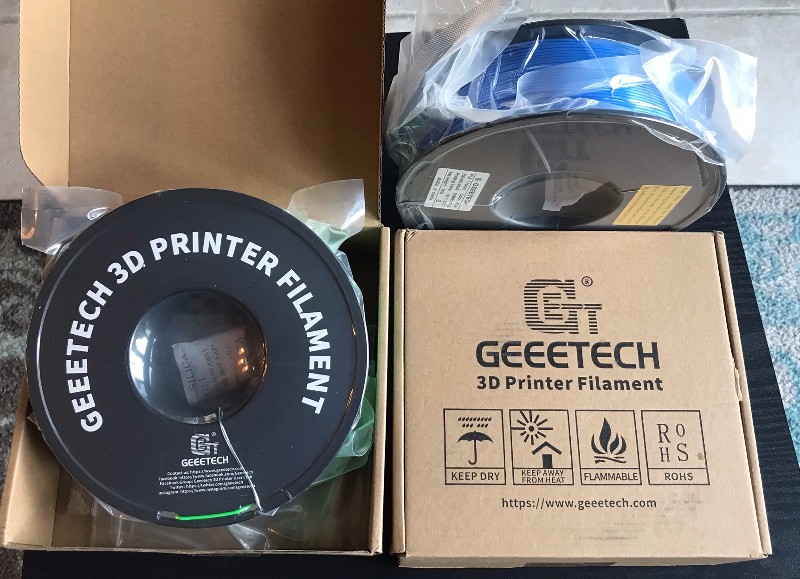
Filament and resin range from $11.99 to $27.90 for a single roll, and Geeetech offers some really cool options, such as glow-in-the-dark, metallic and gradient colors. They also offer multi-packs of 4, 6, 8 or 12 rolls.
In addition to the small amount of filament that came with the printer, the company sent us two rolls for testing purposes.
The Geeetech Mizar S 3D printer only supports G-code files. It comes with a Mirco SD card that has manuals for slicing software Cura and Repetier-Host already downloaded, and links to download these are in the manuals.
We downloaded Cura software and then searched for 3d model files online. The ones we choose were .stl files, which were easily converted to G-code using the Cura software. Note that you need to put the G-code in the root directory of the Micro SD card; the printer won’t recognize the file in a folder.
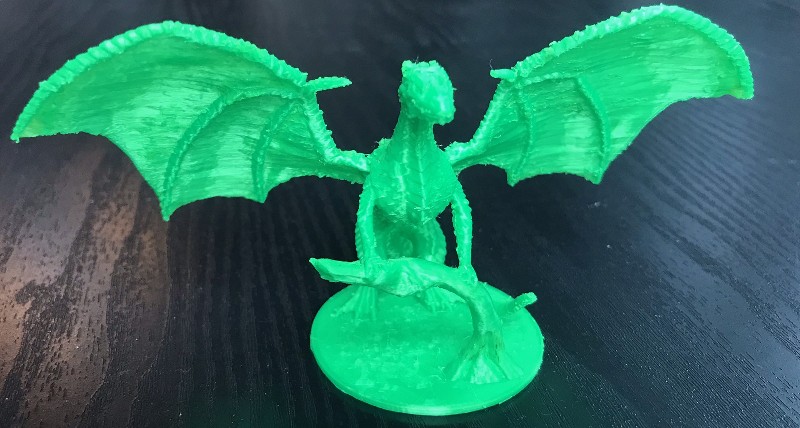
Then you simply put the SD card in the printer, find your file and select “Confirm” to start printing. Our test models took anywhere from 1 hour to 8 hours. This dragon model (70mm) took eight hours.
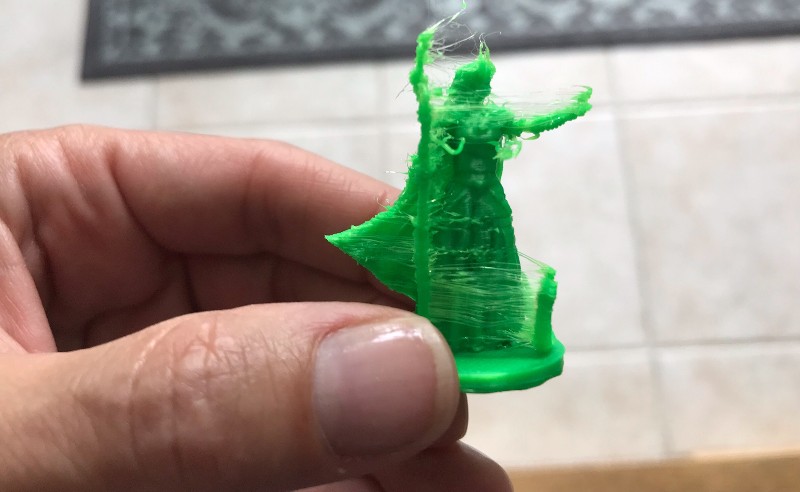
This 28mm cleric took one hour and 45 minutes to print.

What I found especially impressive about this 3D printer is how quiet it is. We have it in our downstairs family room where we watch movies, and it’s barely noticeable. We’ve watched many movies while the printer is going and it’s no distraction at all. I wouldn’t hesitate to have this in a home office or even a bedroom. It produces much less noise than other household sounds, like a fan or robot vacuum.
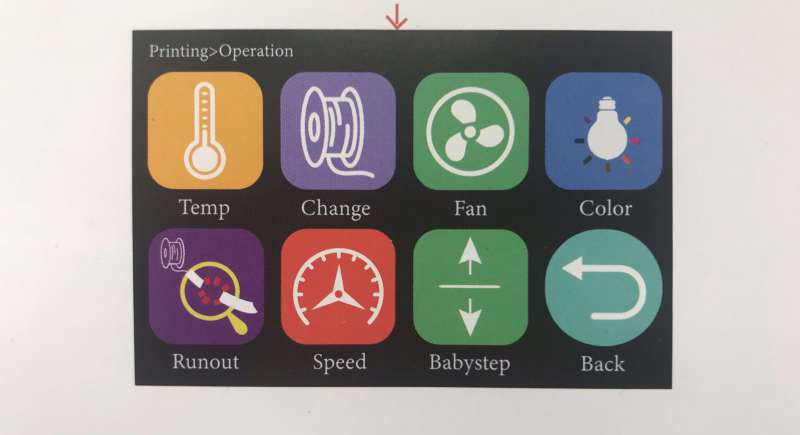
While printing, you can adjust some parameters for better quality. We did this to compare the quality at different heat settings.
- Temp: Adjust the temperature
- Change: Change filament
- Fan: Adjust the speed of the heat dissipation fan to cool the printed object
- Color/Off/White: Control the color of the hot end LED or turn it off
- Runout: When turned on, it will automatically suspend current printing if the filament is broken or used up
- Babystep: Make fine adjustments between the nozzle and hot bed during printing
- Speed: Adjust printing speed and extrusion speed
Tip: Wait until the hot plate is fully cooled before attempting to remove your printed object.
After printing, depending on your design and settings, you may have some lingering strings or scaffolds. This was especially true with the first figurine we printed. The Mizar S does include some tools, like tweezers, to remedy this.
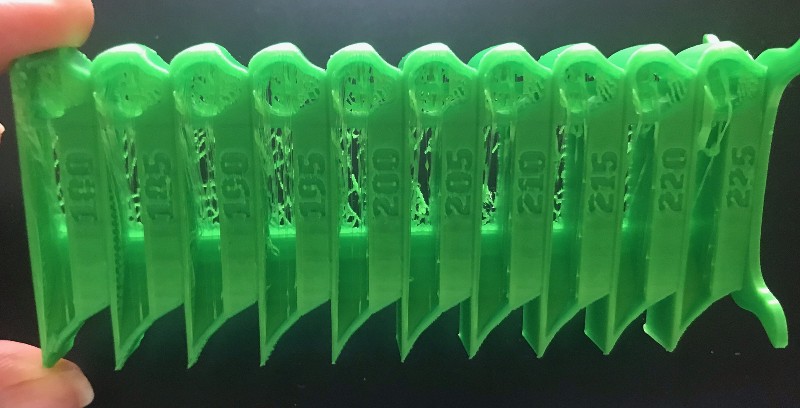
We’ve been testing different temperature settings, but still have some degree of stringiness at every setting we’ve tried. Below you can see the range from 180 degrees to 225 degrees.
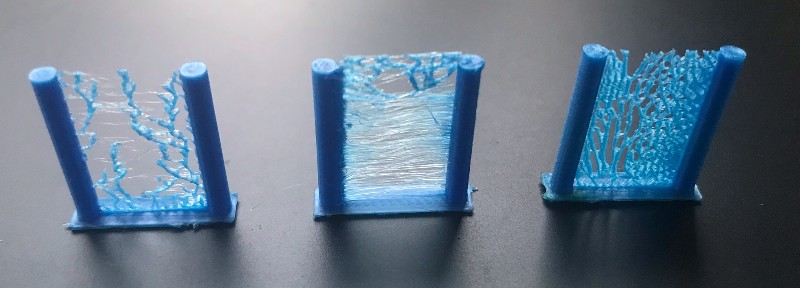
We thought it might be the green filament or the moisture in the air, so we switched to a brand new roll that was shrink-wrapped and immediately printed the blue testers shown below. The design is two posts sticking up, and you can see the degree of stringing and oozing at each temperature setting (left is 185 degrees, middle is 200 degrees with z-hopping and retraction, right is 215 degrees).
Depending on what you plan to print, you may want to look for some precise, post-processing tools to accompany this printer. In the meantime, we will keep working on different solutions for the strings, and I will share an update if we find one.
We’ve mostly printed toys and experiments so far: figurines, decorations, and test items to evaluate different heat settings. However, I’m looking forward to creating some home decorations, organizational items, and maybe even some small gifts.
What I like
- Very quiet
- Versatile, many options and possibilities
What I’d change
- Less stringy printing
Final thoughts
The Geeetech Mizar S 3D printer is a very quiet, self-leveling 3d printer for at-home use. For precise projects, you may need some post-production tools to eliminate strings.
Price: $375
Where to buy: Geeetech website or Amazon
Source: The sample of this product was provided by Geeetech.
L39 Ultra Slim UV Protective Filter for Leica Q3 43 Q2 Camera with Moisture-Proof Case & Removal Tool 19 Layers Mulit-Coated UV Ultraviolet Filter 99.3% Light Transmission Water Oil Scratch Resistant
(as of July 4, 2026 15:21 GMT -05:00 - More infoProduct prices and availability are accurate as of the date/time indicated and are subject to change. Any price and availability information displayed on [relevant Amazon Site(s), as applicable] at the time of purchase will apply to the purchase of this product.)
Gadgeteer Comment Policy - Please read before commenting
I purchased mine in September 2022 and have had two parts fail since then. The first part was the fan that cools the power supply. The second part has to do with the extruder where I get a Error code mintemp.
So far any assistance from customer support has been nothing.