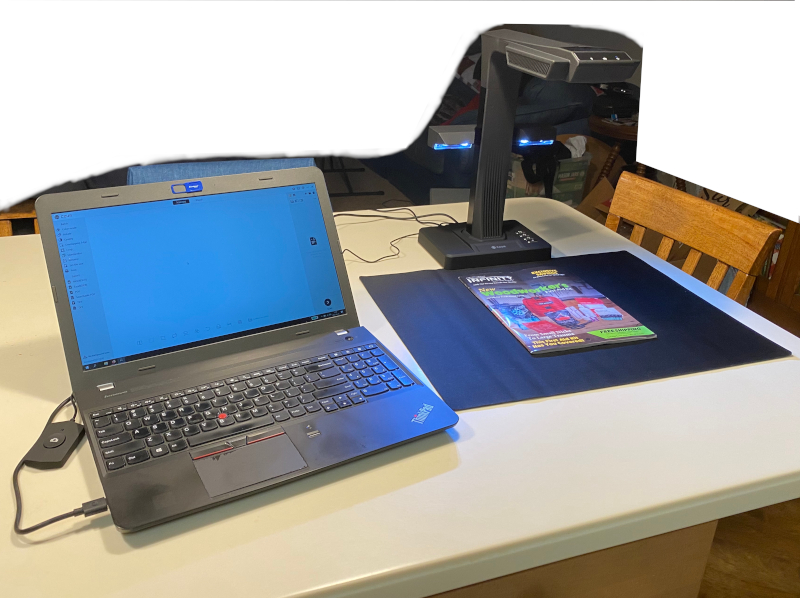
CROWDFUNDING REVIEW – More and more frequently my bibliophile / book collector and private educator (specialized tutor-for-hire) have been colliding, and I need to capture images of documents (e.g., invoices for book and ephemera purchases, documentation of edition variations, and illustrations for my students). Until now, I have been making do with the cameras in my iPhones and document management apps to collect and process these images. I now need a more robust setup to handle my imaging needs. I’m hoping that the CZUR ET24 Pro Smart document scanner will help me dig out from my current imaging backlog.
What is it?
The CZUR ET24 Pro Smart Scanner is the latest generation of document imaging systems from CZUR. The ET24 Pro is the sixth generation of document imaging systems from CZUR. In addition to being a document scanner, the ET24 Pro may also be used to capture live audio and video and pass those out to a projector or display over HDMI.
What’s in the box?
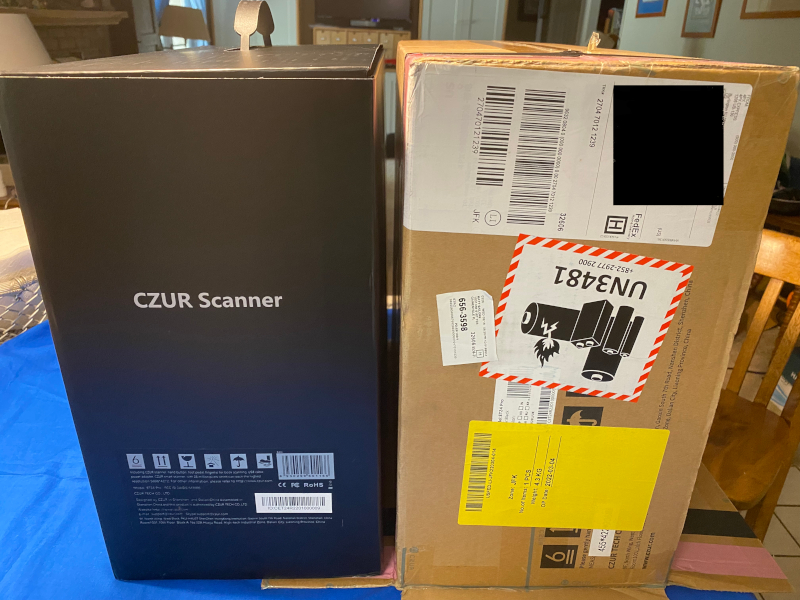
The ET24 Pro arrived packed in a well-designed box / case inside a brown-paper shipping carton.
Inside the black equipment box, each of the parts is nestled in a form-fitting cutout in the foam liner. The main unit is not wrapped up, but most of the smaller pieces are packaged in individual boxes labeled with their purpose.
This led to a bit of concern because I could hear a distinct rattle when I picked up the carton from my front door where the courier left it. This turned out to just be the foot-activation pedal (we’ll get there) parts rattling against each other.
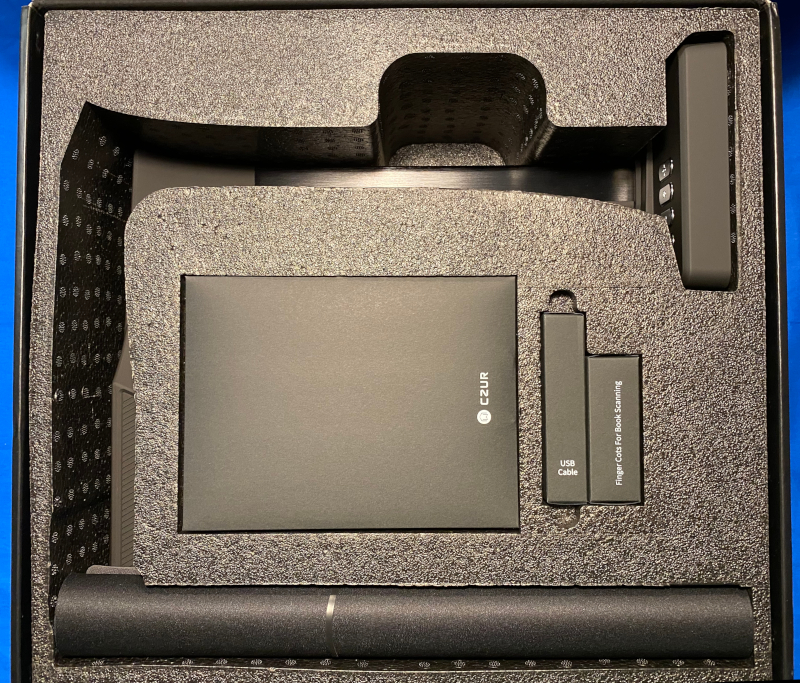
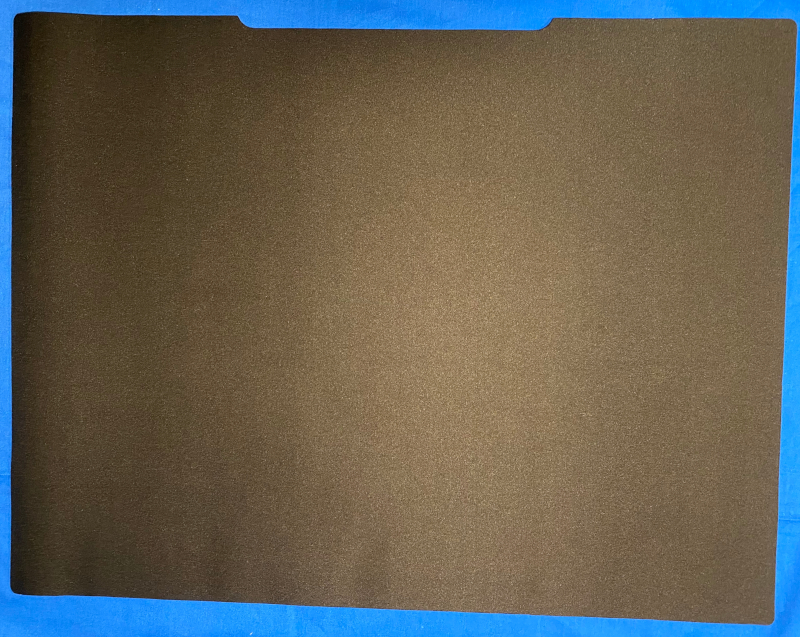
Notice the large black “mousepad” (actually the working surface the items to scanned are placed on) rolled up along one edge of the box.
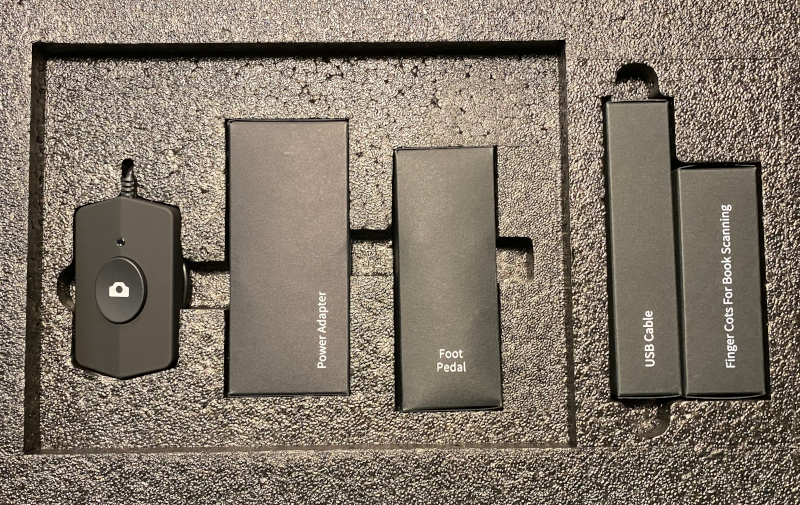
The button on the far left is the desktop remote trigger.
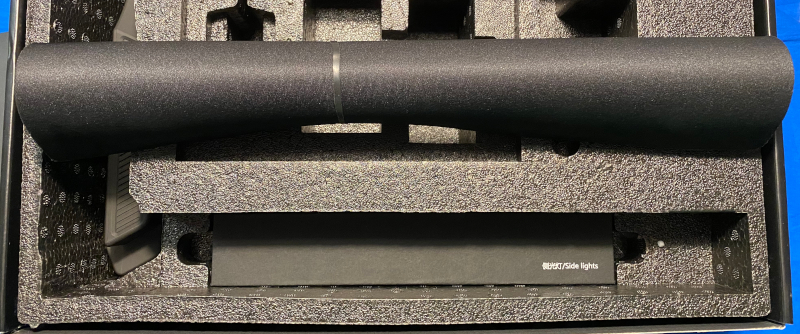
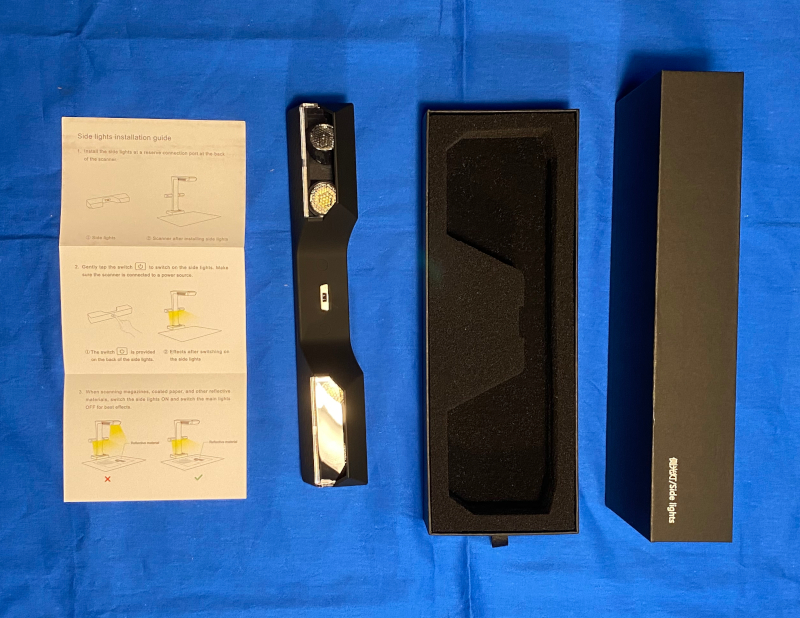
The side lights are tucked into a box under the document mat.
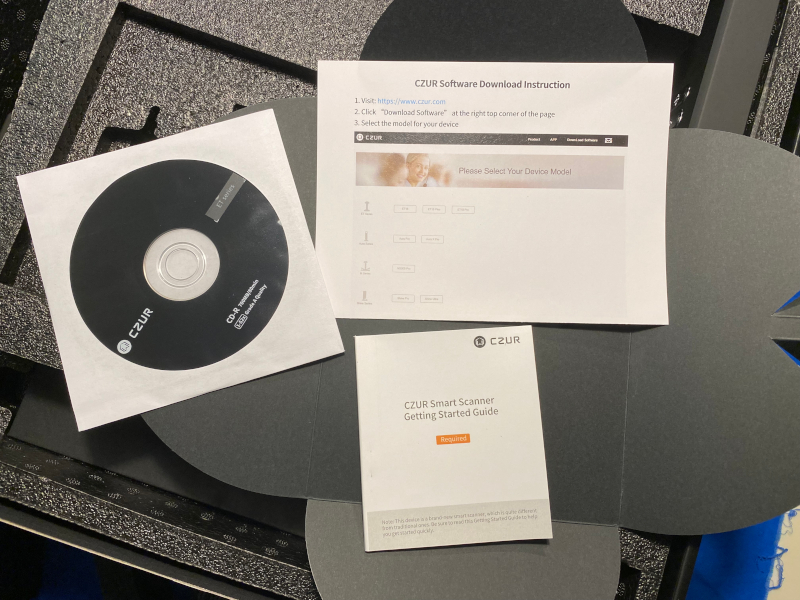
The quick-start documentation and software CD.
Once everything is unpacked you will find the following:
- Scanner
- Sidelights
- USB cable (USB-A to USB-B)
- Power adapter
- Hand button
- Foot pedal
- Black document pad
- Specialized finger cots
- CD, User manual
- Warranty card
- Quality certificate
Hardware specs
Brand: CZUR
Model: ET24 Pro smart scanner
Dimension: 375*220*390mm(L*W*H)
Weight: 1.5kg (Net)
Color: Black
Sensor: CMOS
Pixel: 24M
Resolution: 5696 x 4272
DPI: 360
Scan Format: Flat single page≤A3; Books≤A4
Scan Speed: Flat single page≈1.5s/page;
Books≈1.5s/dual pages
Image Format: JPG, PDF, TIFF
Image Color: 24 bits
Static File Output Format: JPG, PDF, Searchable PDF, Word, Excel, TIFF
PC-Visual Presenter: 3072*1728@12Fps;
PC-Scanning:1536*1152@20Fps
Focus Mode: Fixed focus
Scan Light Source: Natural light and LED lights
Input:100 to 240V, 50/60Hz
Output: 9V/1.5A
Language: Support more than 180 languages
System: XP, Win 7/ 8/10/11, 32/64-bit; macOS 10.11 and above
Design and features
Setup
Hardware
Setting up the ET24 Pro involved unpacking all of the smaller boxes, removing the main unit from the box and unrolling the imaging mat.
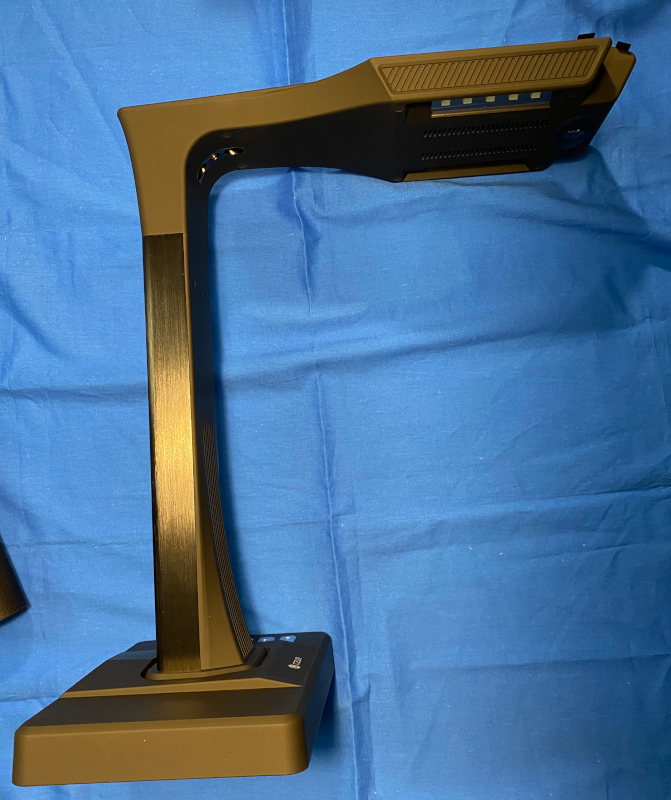
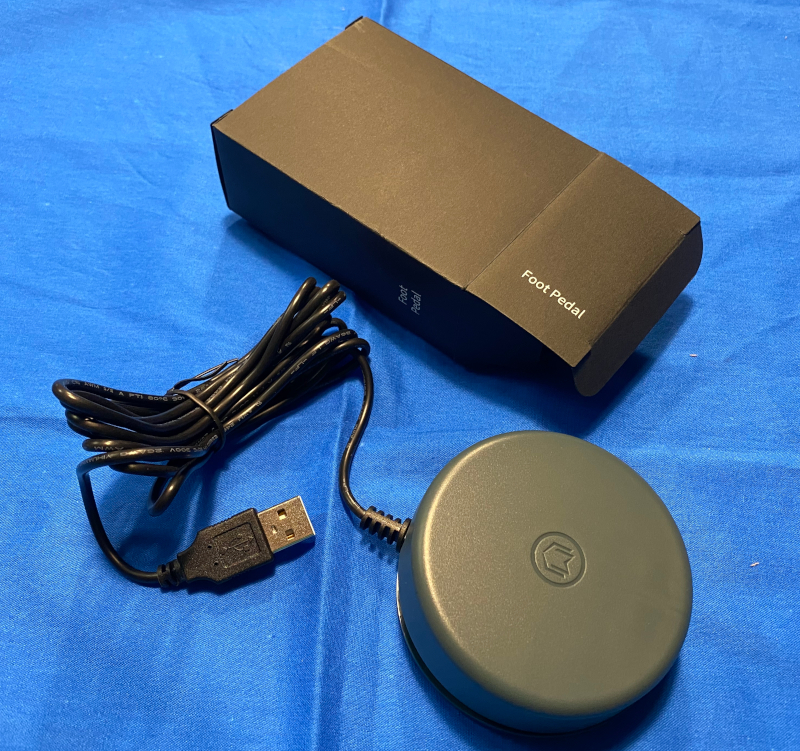
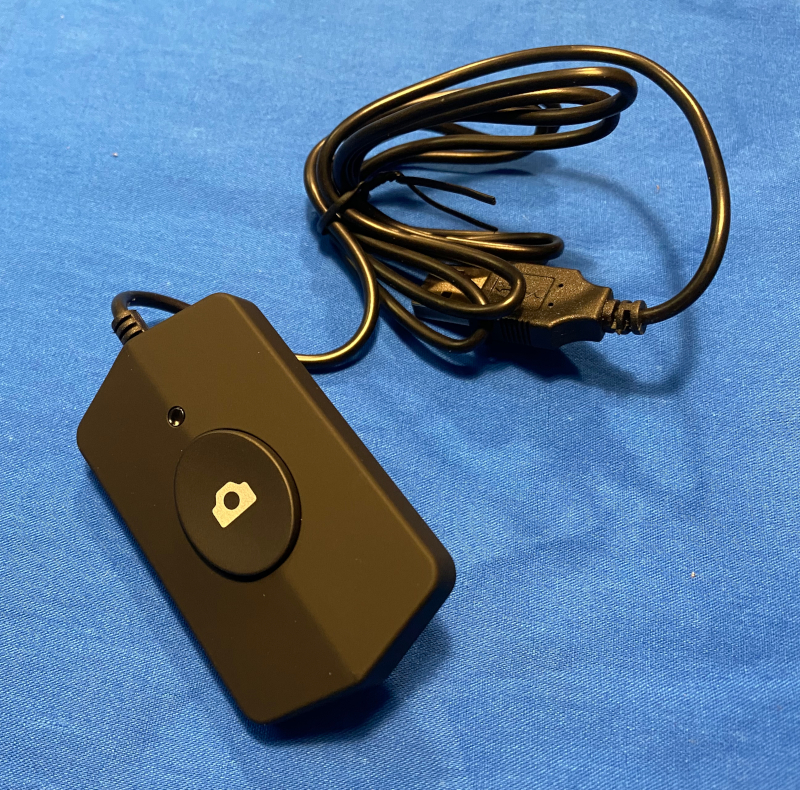
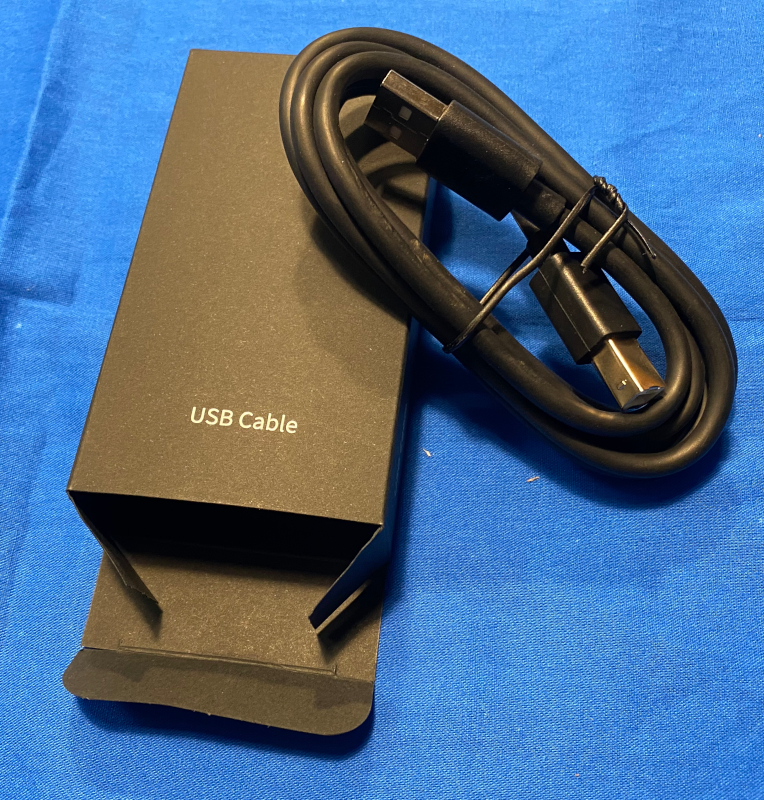
It is interesting the CZUR decided to use a USB-B port on the back of the unit instead of a mini/micro-USB or even a USB-C port.
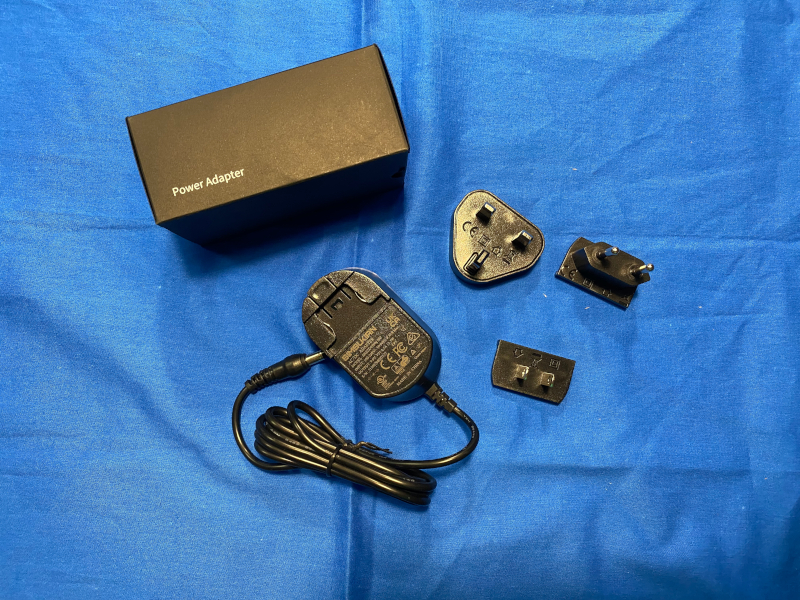
The power adapter comes with a nice selection of interchangeable prongs.
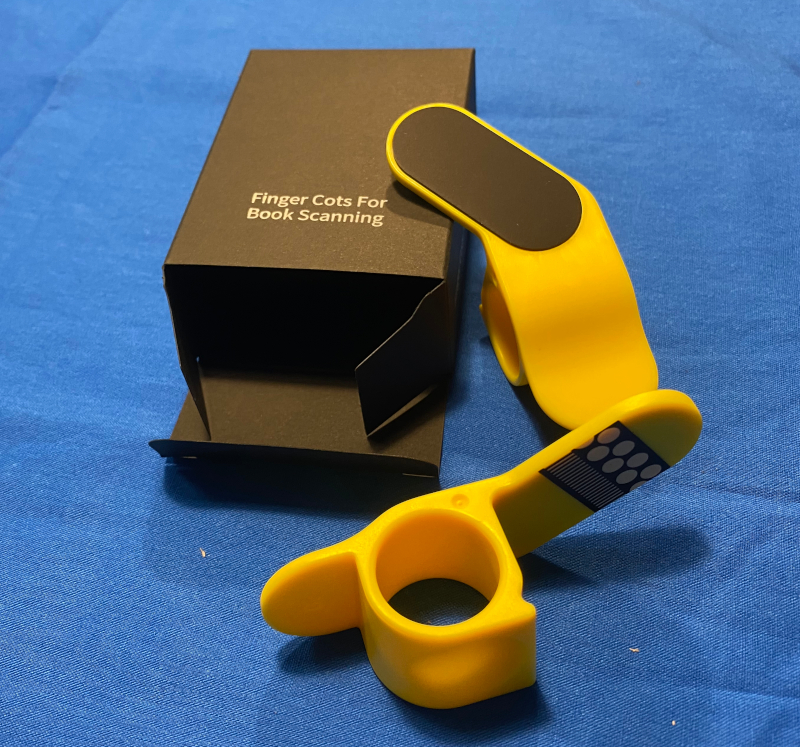
Finger cots used to hold books open for scanning — requires the use of the foot pedal rather than just the desktop trigger.
Once everything is unpacked, it must be setup / assembled.
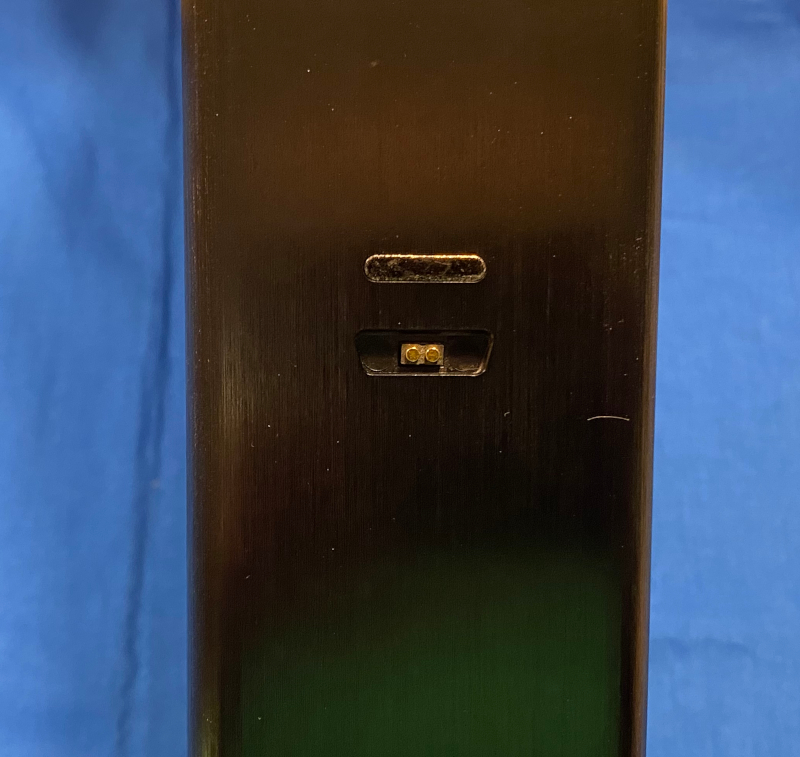
The side lights attach to the back of the main unit with a magnetic connection and a small niche that provide a mechanical positioning key and contains the power connector.
The USB cable, power adapter cable, and a trigger device (either the foot pedal or desktop button which are connected using USB-A) must be plugged into the back of the unit.
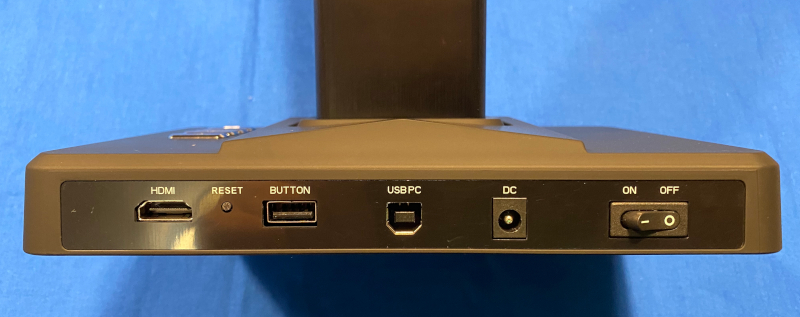
And of course the unit must be turned on.
Finally, the scanner unit must be placed in notch on the document mat.
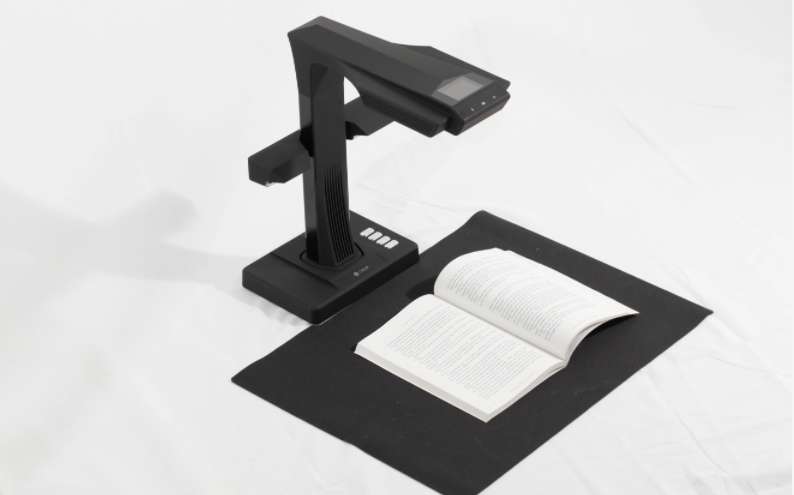
Manufacturer’s image of the system ready-to-go.
Software
Once the hardware is assembled, the CZUR software must be installed on your computer. This is where I hit my first snag. All of the Windows computers in our house refused to read the CD-R included in the box. They all reported it as an empty disc. However the internet and our liaison came to the rescue, and I was able to download the correct drivers (the same ones used for the previous model) from the CZUR website.
Once the software was installed, I plugged the scanner into my laptop and started up the application. The scanner was recognized right out the gate.
Performance
Hardware
On the scanner itself there are buttons on the base to turn the overhead light (alongside the camera in the head) on and off and adjust the brightness (poor choice of button icons) as well as activate the camera.
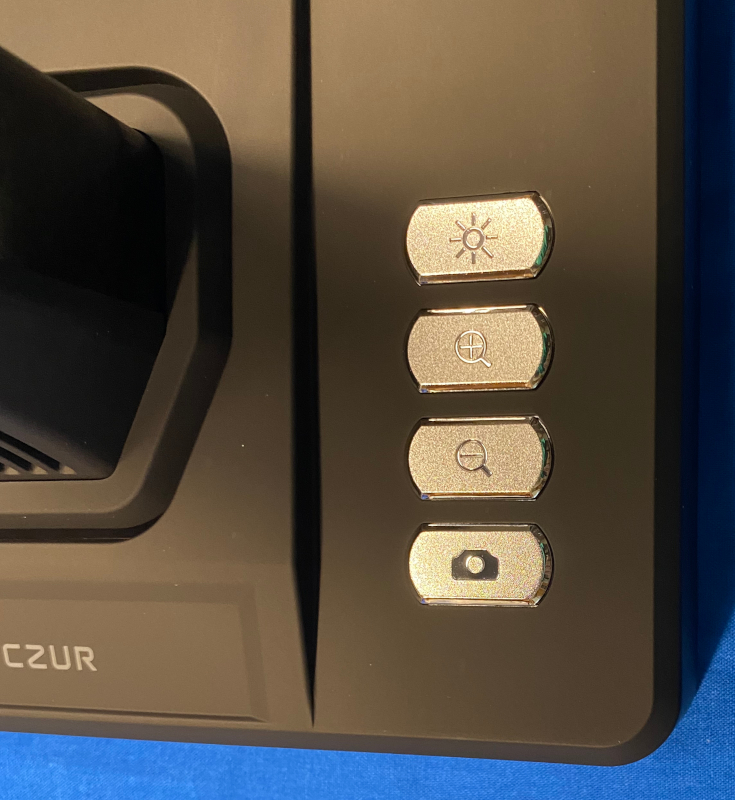
The business end of the scanner shows the top light, the camera lens, and diodes that generate the witness lines for page flattening.
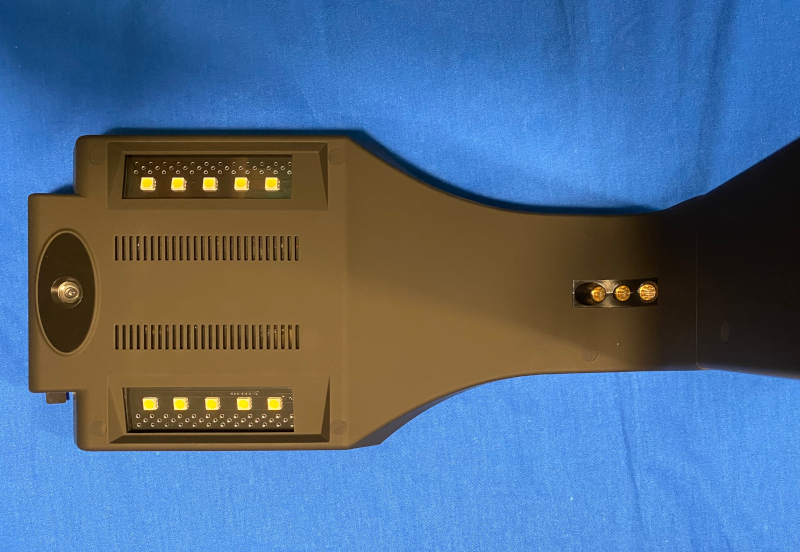
In addition to these controls, there is a single button on the back of the side lights to turn those lights on and off.
When using the scanner, the only real controls that I needed to use were the light on/off buttons and the trigger button / foot pedal. I did use the video display on the top of the scanner head to do the initial positioning of items being scanned / displayed, but most of that I did using the image being displayed on the computer screen / HDMI output device.
Software
The software that accompanies the ET24 Pro is a bit of a let down after the well-executed hardware package. My first impression was a negative one because the software only runs in full-screen mode, which may be fine if you are running a sub-HD laptop resolution or even a 1920 x 1080 display, but it is VERY annoying when running the software on a 2K or 4K monitor. This is an inexcusable design flaw for 2021 / 2022 software. In addition to this quirk, the overall UI/UX impression is that the design language for the software is stuck around Windows 95. The workflow is not immediately obvious.
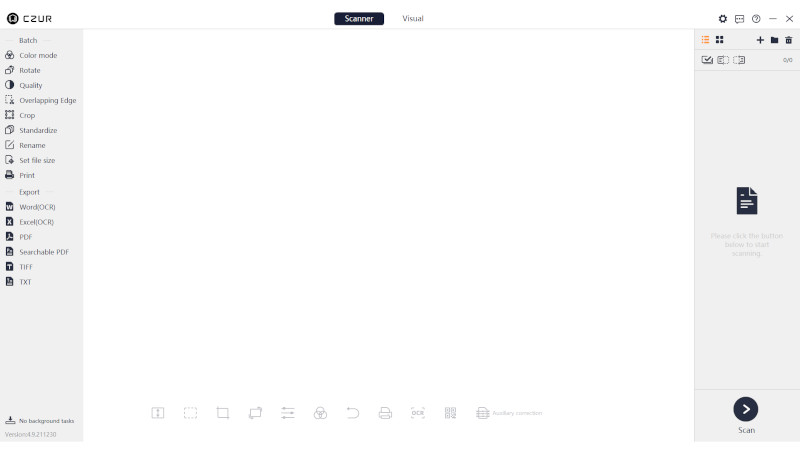
I was able to stumble my way through capturing some images before breaking down and watching the instructional videos. This cleared up a number of workflow issues and made the rest of the testing process much easier.
Once you work around the UI, the power of the underlying software engines begin to shine. The ET24 supports multiple modes of capturing images:
- Full area (no processing)
- Manual selection
- Auto select with rotation correction
- Front/back mode
- Left/right pages (creates either 1 large or 2 separate images depending on settings)
Let’s see what each of these modes does.
No processing
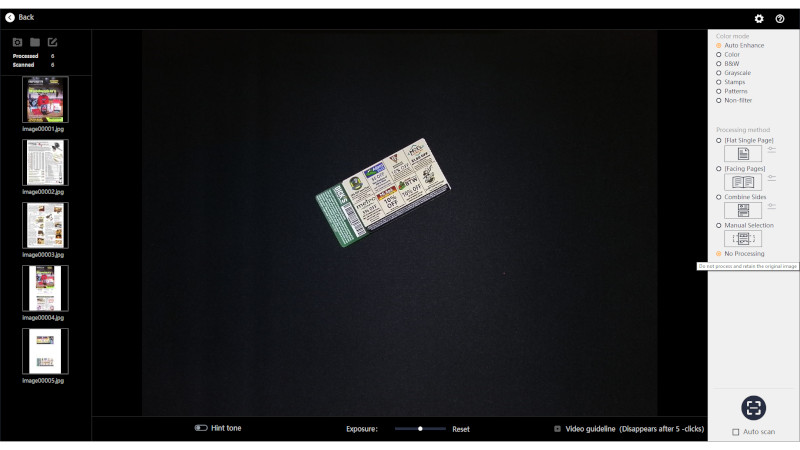
As you can see, the item and the entire document mat are set to be captured.
Manual selection
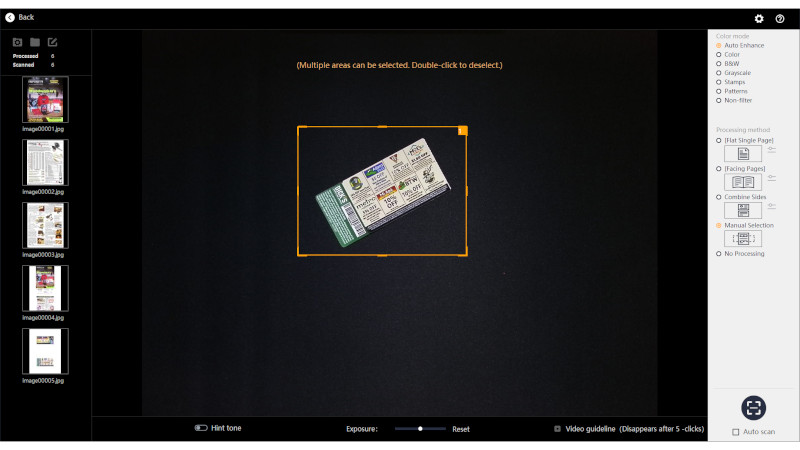
Here I’ve manually selected a rectangular area to capture. Again, nothing particularly fancy here.
Flat single page
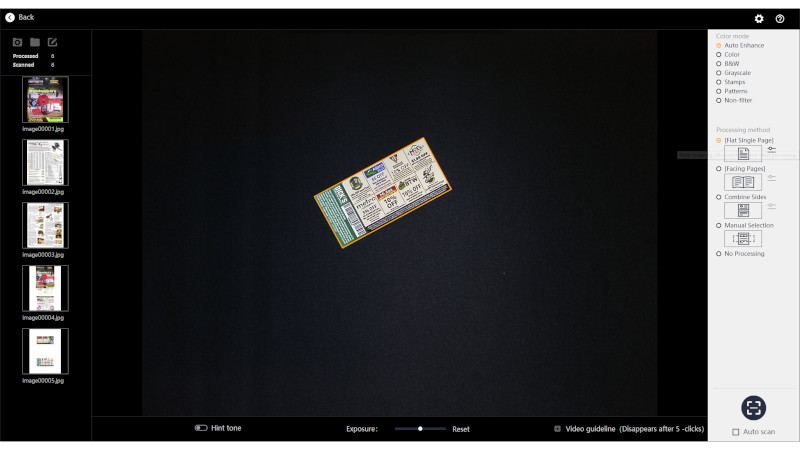
Here you can see the rotated object has been isolated and will be scanned in and the rotation corrected. Now things are starting to get a bit slick.
Front / back
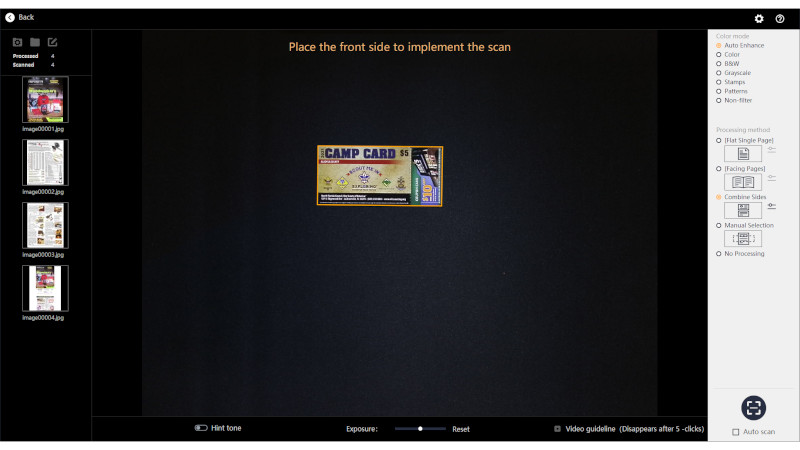
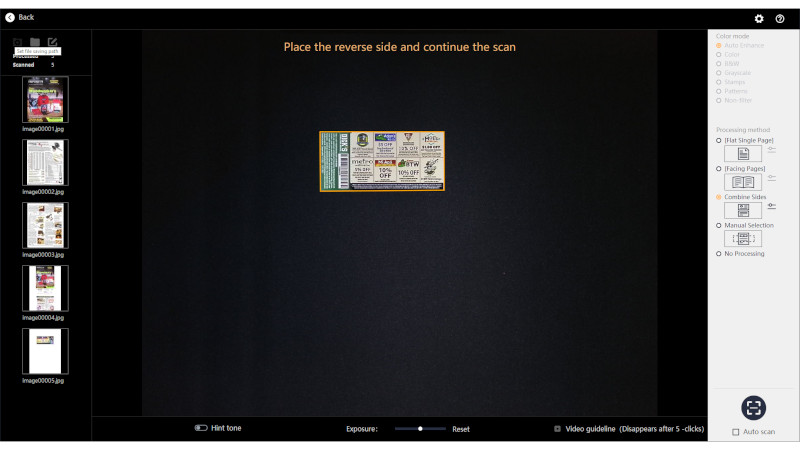
To capture the front and back images and combine into one final images, the camera must be activated twice. The on-screen prompts guide you through the process. The software handles this as well as any standalone copier with a similar feature.
Facing pages
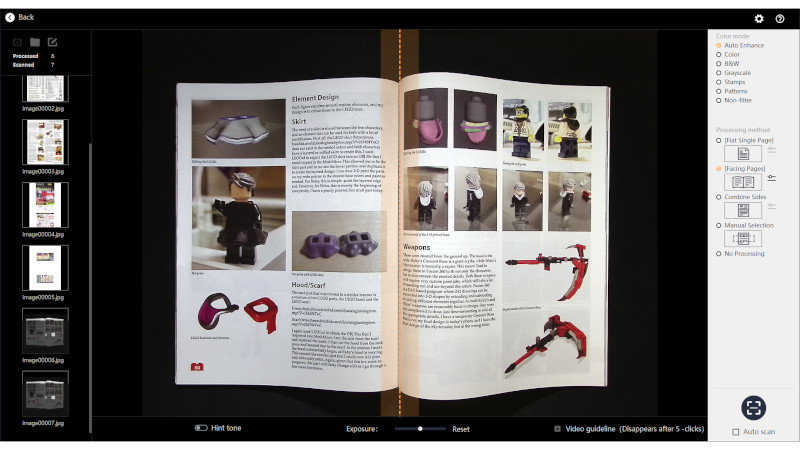
Now we’re getting into the real strengths of the software engine. You must manually line up the center of the magazine / book using the on-screen guides. When you press the image capture button (either the foot pedal or desktop button), the ET24 quickly illuminates the item being scanned with three bright red lines (laser?) to give the software reference points that are used to flatten the captured images.
The data captured by the software ends up looking like this when presented if you want to manually adjust the process. This is getting pretty slick now.
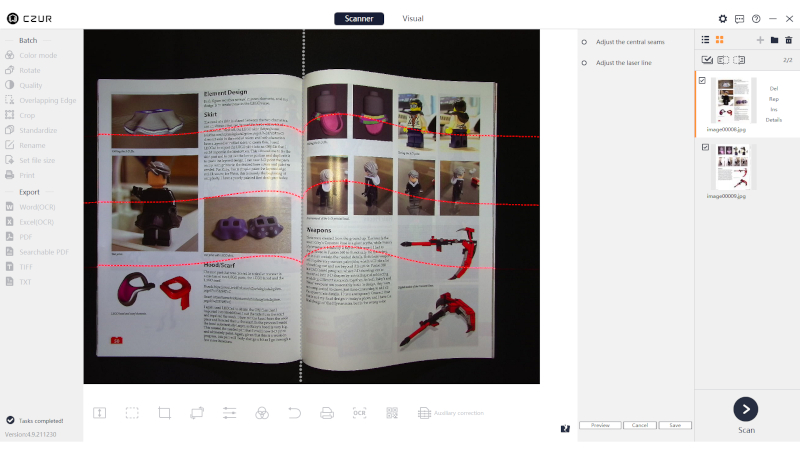
(This image is from a friend’s regular column in BrickJournal magazine and is used without the express permission of the publisher)
If you are scanning items that don’t want to lay flat (e.g., large book), you may want to use the included finger cots to hold down the edges of the pages (being careful to align the special patterns printed on the finger cots with the edges of the pages) and using the foot pedal to capture the image. The software will digitally erase the finger cots from the margins of the images. I didn’t capture an image of myself doing this maneuver because I didn’t have free hand and it was pretty awkward looking working on my counter.
The default setting is to capture separate left-page and right-page images, so that’s what I’m going to present.
It is possible to edit the captures after the fact by manually adjusting the cropping to remove extra space between pages or page edges in large books.
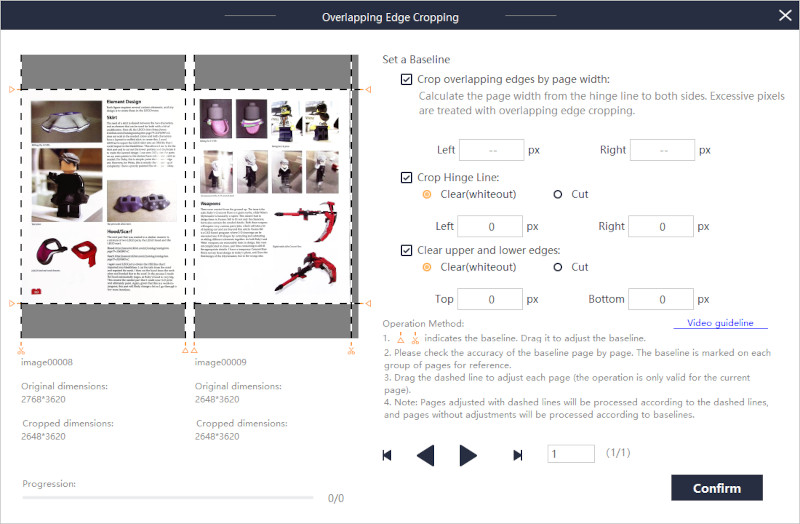
This is a post-capture function.
A final note about image capture. The overhead lights produce a significant amount of reflection/glare on glossy paper, so they should be turned off and just the side lights to minimize glare. This glare can be seen in the image immediately above on the right hand page image.
Creating an output file
Once your images have been captured, you must go back into the main interface where you select the images you wish to adjust (see above) and then select the images to be exported as individual images / combined into a PDF. Another quirk of the software pops up here: you can standardize the output image size to use ISO or US paper sizes in the original file setup, but if you try to do this during the save/export process, only ISO paper sizes are displayed.
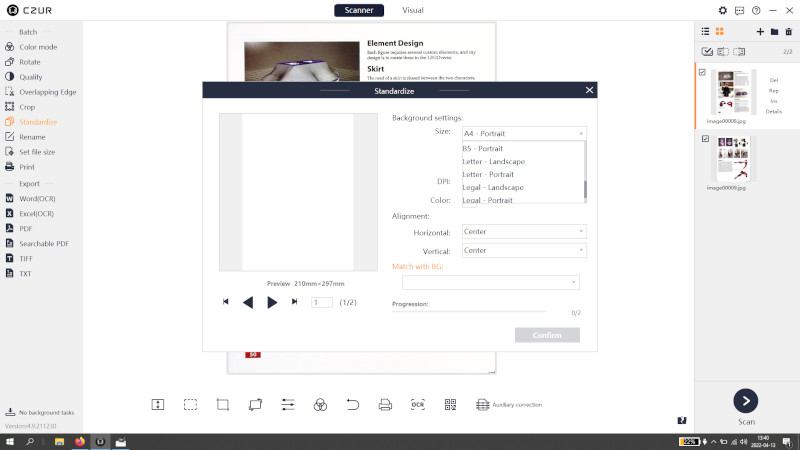
Initial PDF setup.
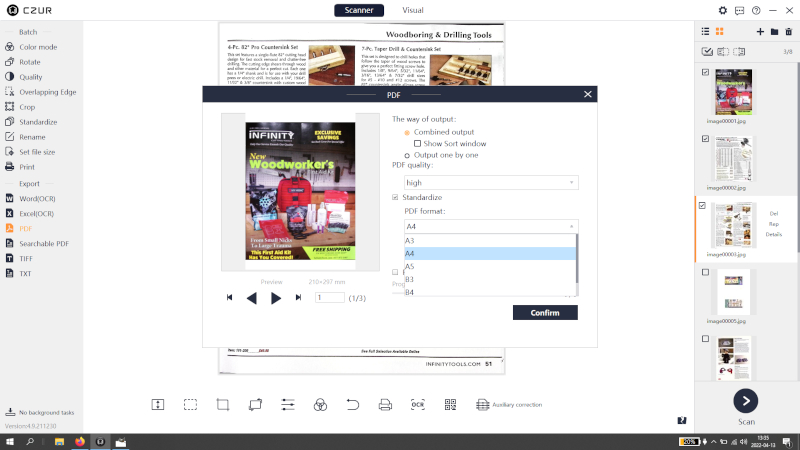
Trying to standardize the output during save — no US paper sizes.
Once you have your images selected, you commit your file and Bob’s your uncle.
You will notice that in addition to creating PDFs that just contain page images, the software will let you create searchable PDFs that combine a page image with an additional layer of text captured using the in-built OCR engine. Another neat feature. The Word and Excel export functions also use OCR to create files in these formats.
Some of the files that I created using the software.
Video Projection
Using the ET24 Pro as a projecting document camera was as simple as connecting the camera to the computer using the USB cable and then connecting the camera to the display (I used a spare monitor) using an HDMI cable. I just needed to select HDMI mode on the initial software screen on the computer, and I was able to project it onto the monitor. This isn’t something that I have much experience with, so I don’t have a good frame of reference as to how the feature stacks up with dedicated presentation cameras.
What I like
- The software does a good job of correcting for curved pages (e.g. in a book)
- Once you watch a few tutorials, it is easy to scan multiple pages and create PDF files, although I was never able to reach the scanning speeds that are quoted in the product literature or demonstration videos (I blame operator error)
- Ability to attach to a projector
What could be improved
- Software UI and UX
- More portable
- Repositionable sidelights (like on traditional document / art photography rigs)
- Better printed documentation (I’m old-school, and I don’t want to have to watch a YouTube video to learn how to use the software / hardware)
- Finish translating all portions of the software interface into other languages
(some portions are only in Chinese)
Final thoughts
I like the CZUR ET24 Pro Smart Scanner system, but the software needs to be made more user-friendly for the novice user. The capabilities are all there, but the UX and UI are a significant let-down. If you need to image large numbers of documents, the ET24 Pro is a good option, but plan on spending some time watching videos to learn the workflow necessary to create basic documents, before moving on to the more sophisticated features of the system.
On the Indiegogo page, there are a number of add-ons that might make the system even better, but they were not available at the time of the review.
Also check out our review of the CZUR Lens Pro document scanner too.
Price: $399.oo (early-bird price)
Where to buy: Indiegogo
Source: The sample of this product was provided by CZUR.


Gadgeteer Comment Policy - Please read before commenting
If they added polarizing filters on the lights and the lens you would not have any problems with reflections.
Czur says the scanner has 320 dpi, not 360 dpi.
I am the board of our historical society and we are going to purchase an overhead scanner and can not decide if we should be the Fujitsu ScanSnap SV600 or the CZUR ET 24. Any suggestions?