REVIEW – I’m a daily coffee drinker, but I suppose not as sophisticated a connoisseur as some coffee aficionados. Because the free coffee at my work is an abysmally-flavored near-poison, I’d been considering the purchase of a French press with the intention of brewing my own coffee there. A few colleagues had mentioned a type of coffee maker that I’d been reading about online called the AeroPress, and I was merely intrigued, until one day a friend demonstrated the use of his AeroPress to me. I immediately wanted one. As luck would have it, not long after this, Julie offered the AeroPress for review, and I immediately expressed interest. Truth be told, I was pining for an AeroPress quite a bit by that point, so the timing could not have been better. But did the legendary AeroPress live up to the hype? Let’s check it out. Gadget on!
What is it?
AeroPress is a press-style coffee maker that works by utilizing a plunger mechanism, similar to a large syringe, to force water ahead of a pocket of air through coffee grounds, producing low-acidity coffee that can be used to make several types of coffee drinks. AeroPress is easy to set up, use, and clean.
What’s in the box?
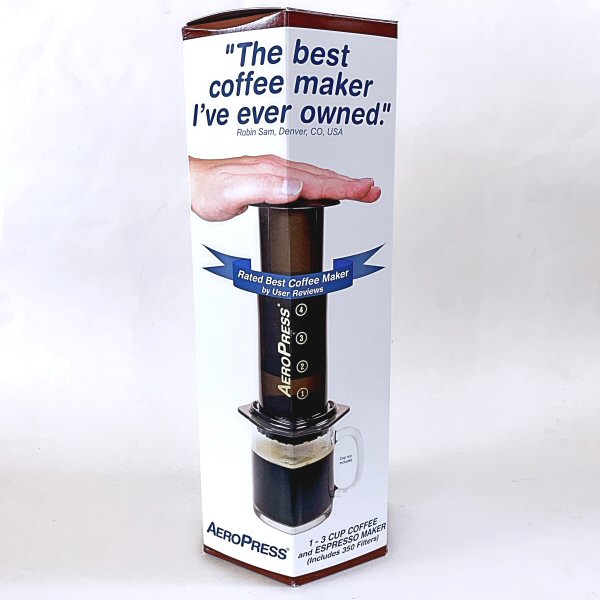
AeroPress’s box is shown above. Made of recyclable cardboard, it is full of quotes from various coffee brewing experts who all sing its praises. Marketing hype or honest truth? I was aiming to find out.
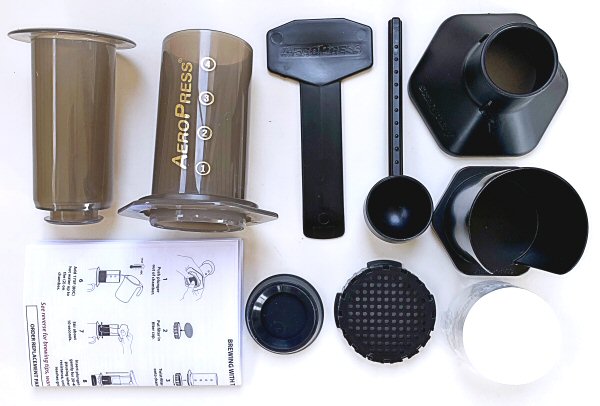
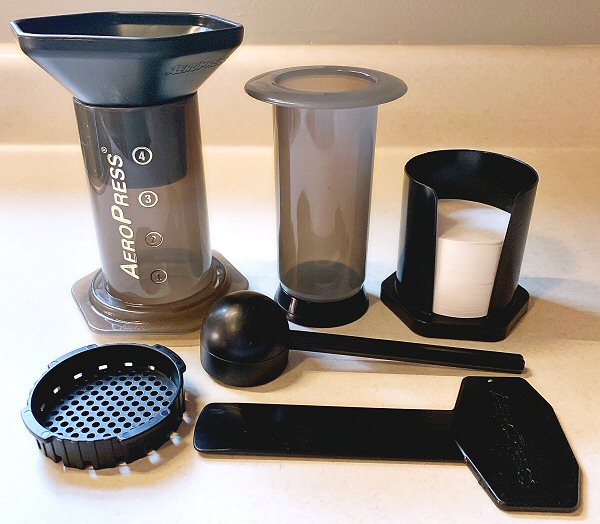
AeroPress includes the following items, listed in the order as shown in the photo above starting at the top left and moving to the right:
- Plunger
- Chamber
- Stirrer
- Scoop
- Funnel
- Filter Stand
- Instruction Manual
- Plunger Seal
- Filter Cap
- 350 Paper Filters
Hardware specs
- Chamber & Plunger = Polypropylene (BPA free)
- Plunger seal = silicone
Setup
AeroPress requires a few setup steps and very little setup time.
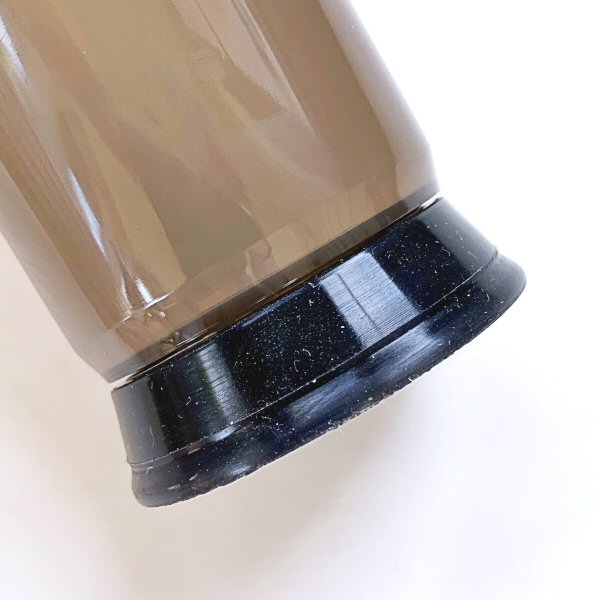
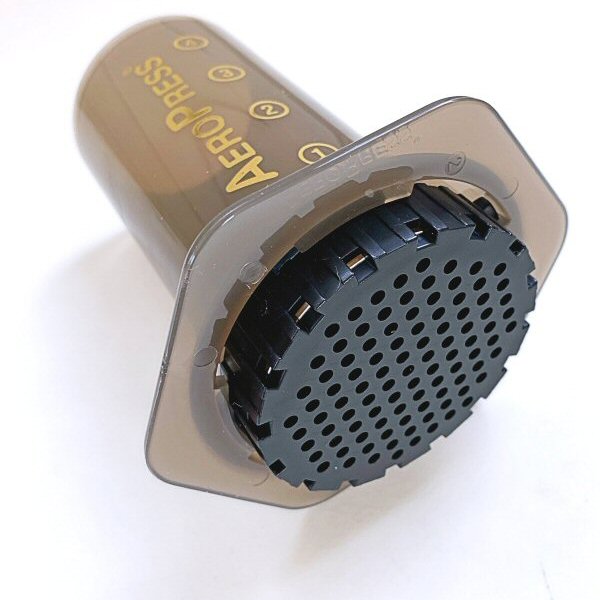
The first thing I did with Aeropress was to pull off the plunger seal to determine how quickly and easily it could be replaced because it appeared to be a component that would need to be removed when cleaning the AeroPress.
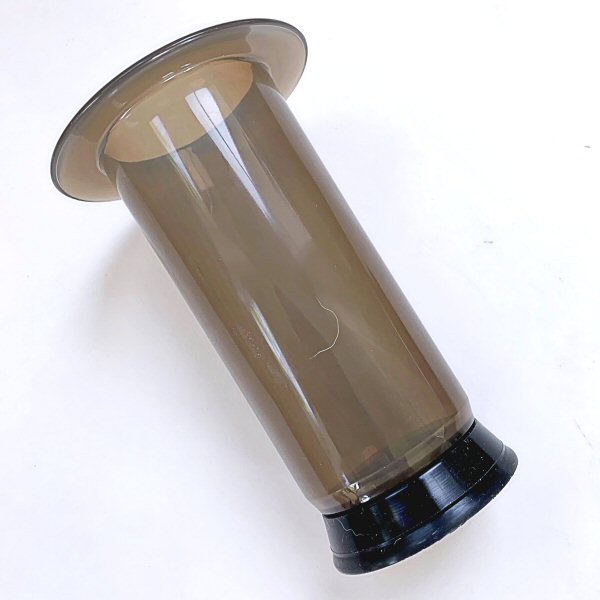
The plunger seal pops right back onto the plunger easily as seen above.
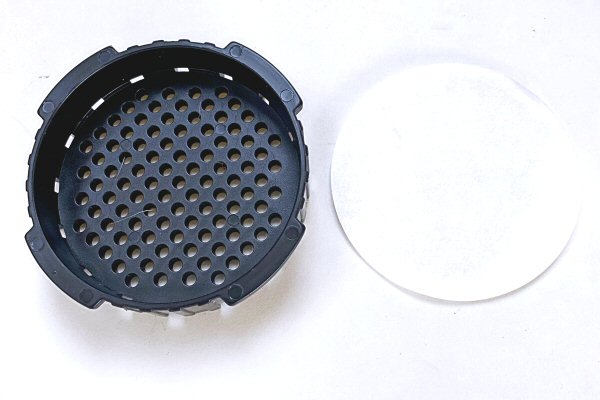
AeroPress includes 350 micro filter papers that are used to keep coffee grounds and grit from infiltrating your coffee.
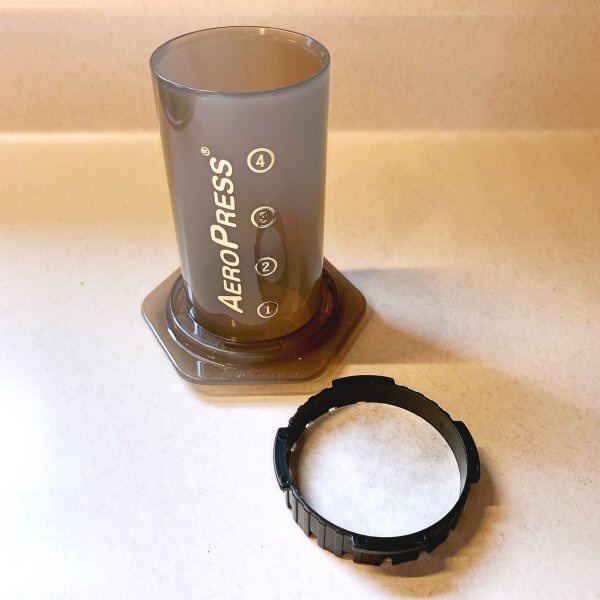
The micro filter paper is placed into the filter cap, as shown above.
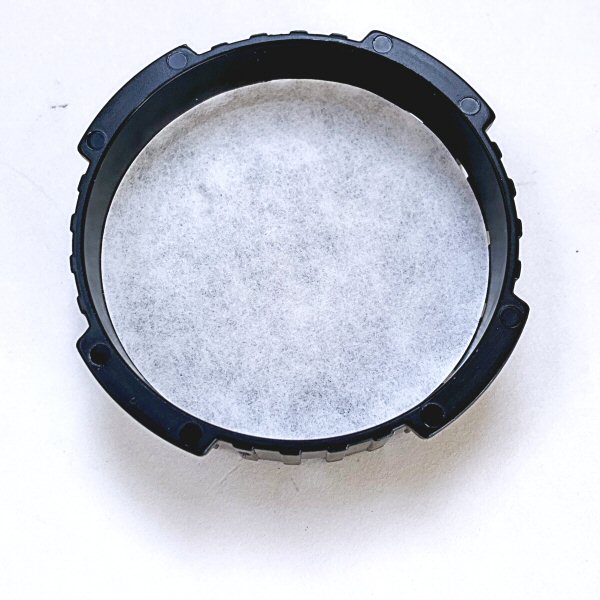
The filter cap is secured to the bottom of the chamber with a simple quarter-turn twist…
…and the filter cap is then locked in place. The AeroPress is basically ready to brew at this point.
Design and features
I’ve walked through the basic setup of AeroPress above, which essentially consists of placing a filter paper inside the filter cap and locking to the bottom of the chamber. Next, let’s walk through the steps required to brew a single cup of coffee.
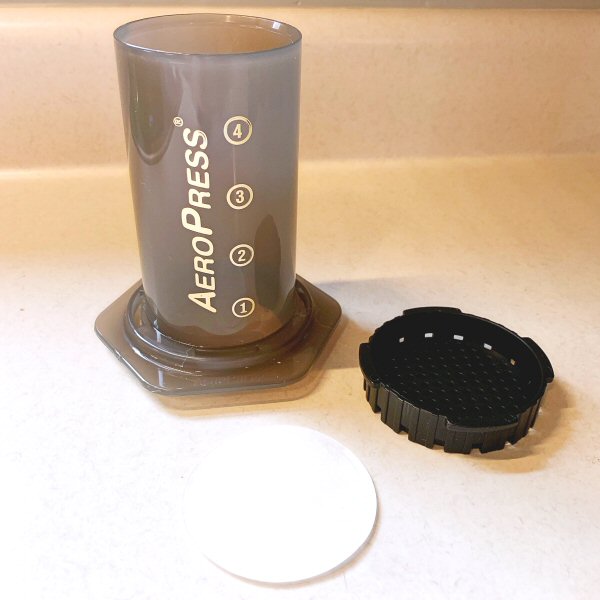
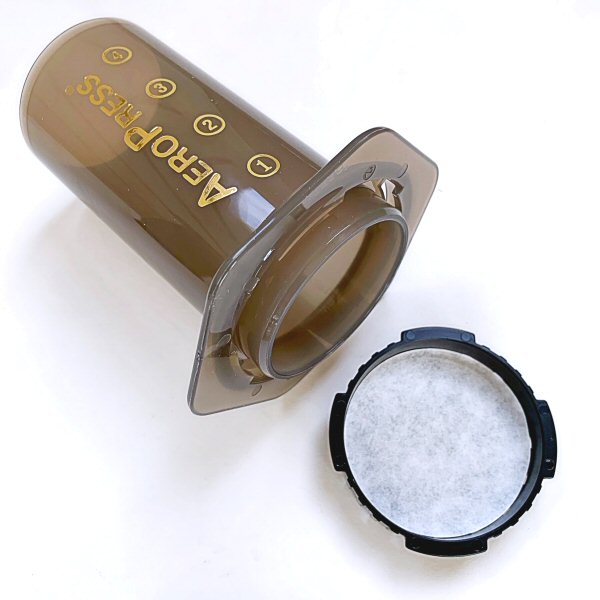
Above is the AeroPress chamber, a filter paper, and the filter cap.
As shown above, the filter paper is placed in the filter cap, which is then locked down to the bottom of the chamber with a twist.
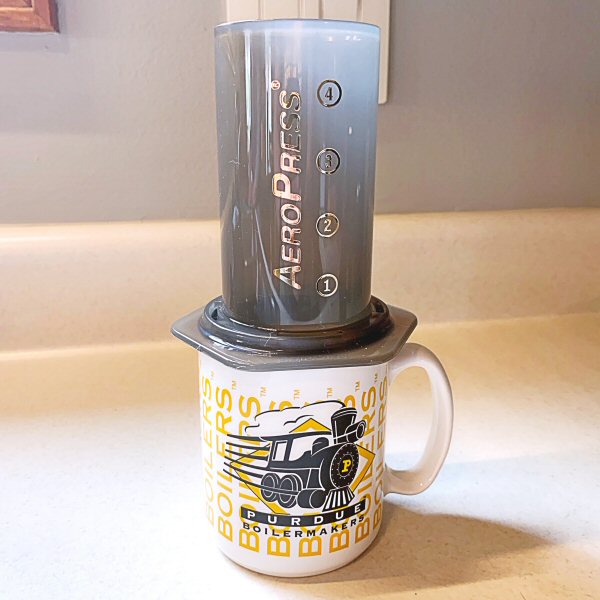
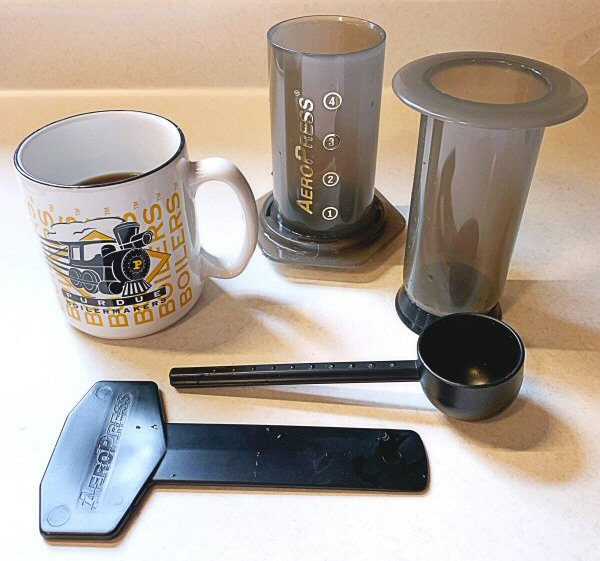
The chamber is then stood atop a sturdy mug as shown above. (Boiler up!)
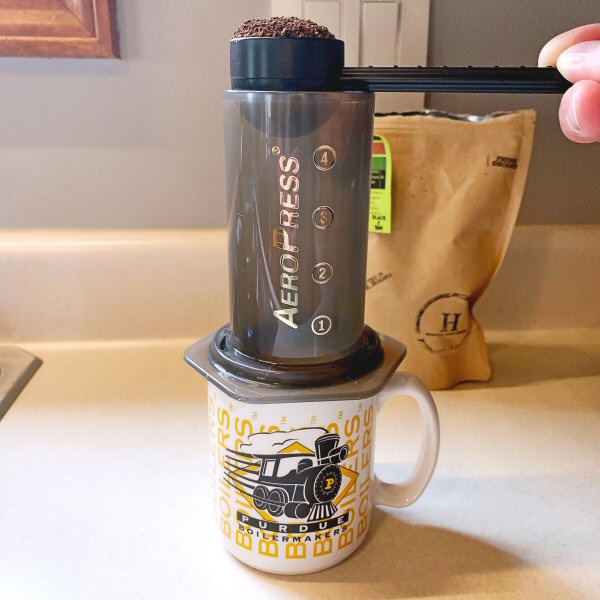
Next, a single heaping scoop of coffee grounds are placed into the chamber, then the chamber is shaken a bit to level out the coffee grounds. [NOTE: I’m a big fan of Hempton Roast Coffee, a small artisan coffee roaster that we stumbled upon not far from out home a few months back, and used it for this demonstration.]

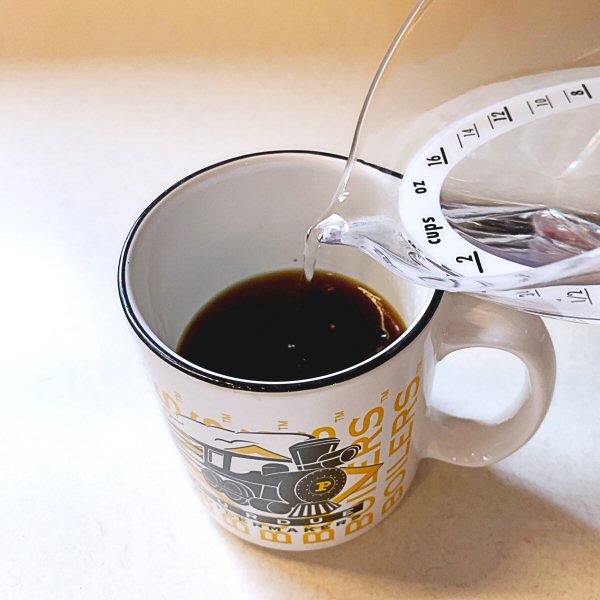
Next, water heated to 175 degrees F is poured into the top of the chamber. According to AeroPress, a panel of experts has determined that 175 deg F is the optimum temperature for your AeroPress hot coffee brewing experience. For cold brew coffee, simple add room-temperature tap water instead.
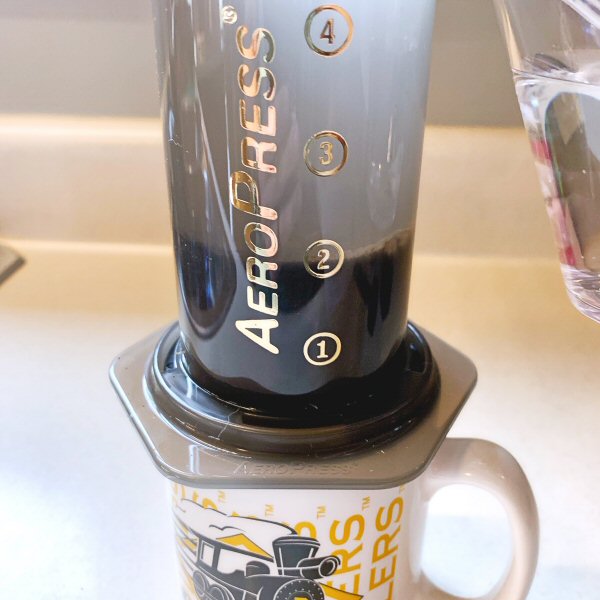
To prepare 1 cup of coffee, the instructions advised filling the chamber with water to the marked “2” level.
The included stirrer is used to stir the coffee and hot water for about 10 seconds for hot brew coffee. For cold brew coffee, stir about 1 minute.
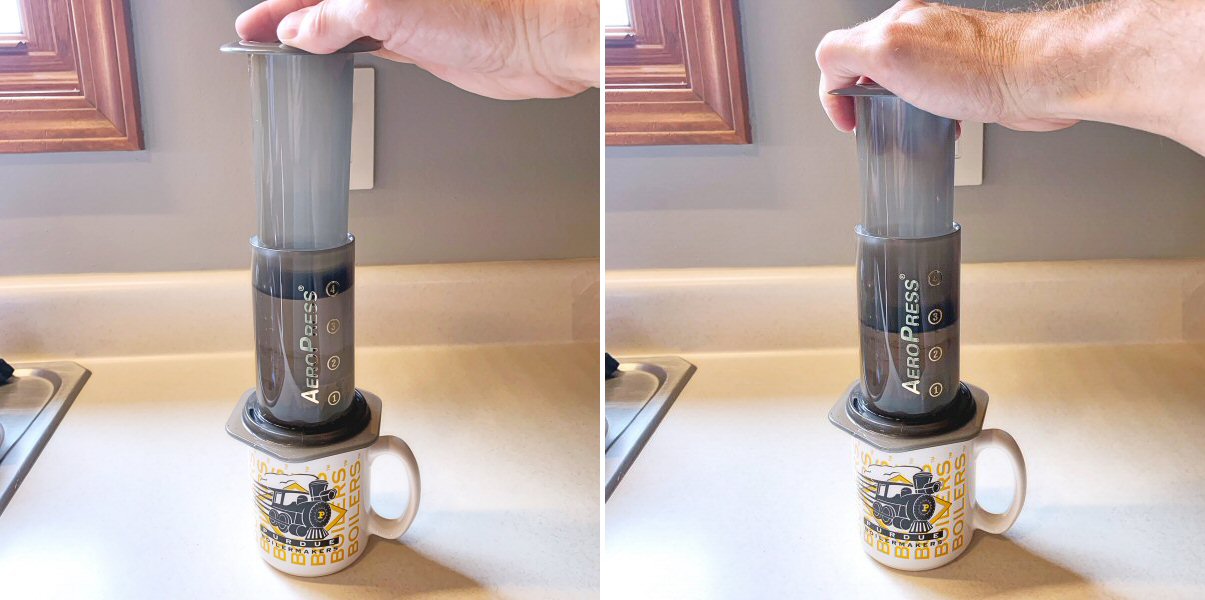
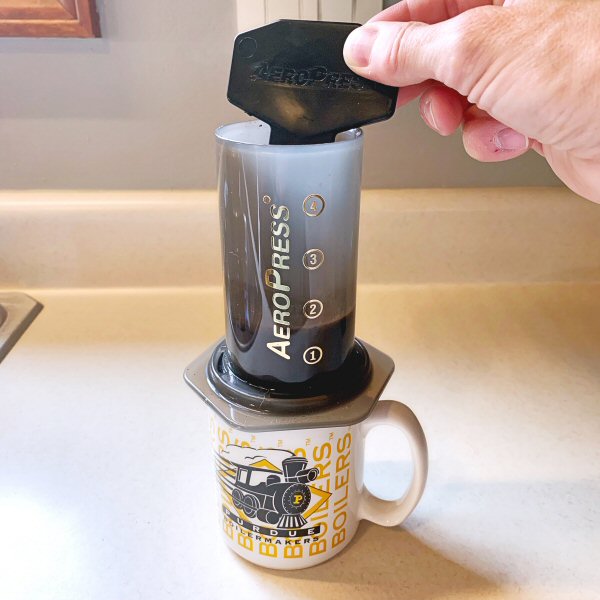
Next, the magic: I placed the plunger into the top of the chamber, then began to press slowly but firmly downward. The chamber and plunger essentially act as a giant syringe, with the air trapped in the chamber being used to force the hot water through the coffee grounds, brewing the coffee. At one point, I encountered a slight resistance, so per the instructions, I paused briefly, then resumed pushing downward carefully but firmly. I must also admit that there was something oddly satisfying and fun about pressing the plunger and hearing the brewed coffee drip down into the mug.
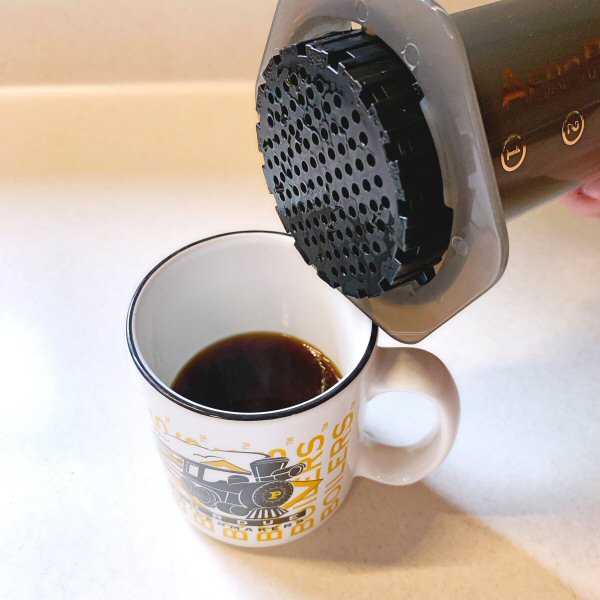
Once I had advanced the plunger down the level where it reached the top of the coffee grounds in the chamber and the plunger ceased to advance, I have it a bit more of a gentle push, then removed the chamber from the mug to reveal that sough-after java in my mug.
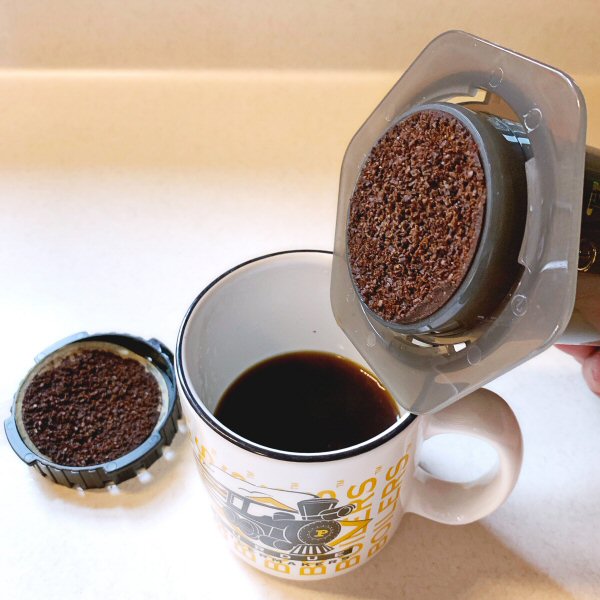
Giving the filter cap a quarter twist to remove it reveals the coffee grounds, now compressed at the bottom of the chamber.
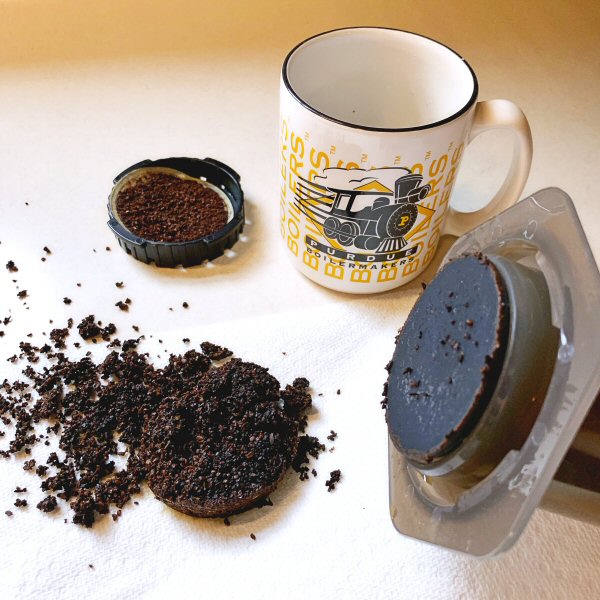
The compressed grounds essentially for a coffee “puck” or disk. Giving the plunger a little push further into the chamber shoves the puck of grounds off the end of the plunger and they fall off easily. Next time, I’ll aim for the sink or trash can!
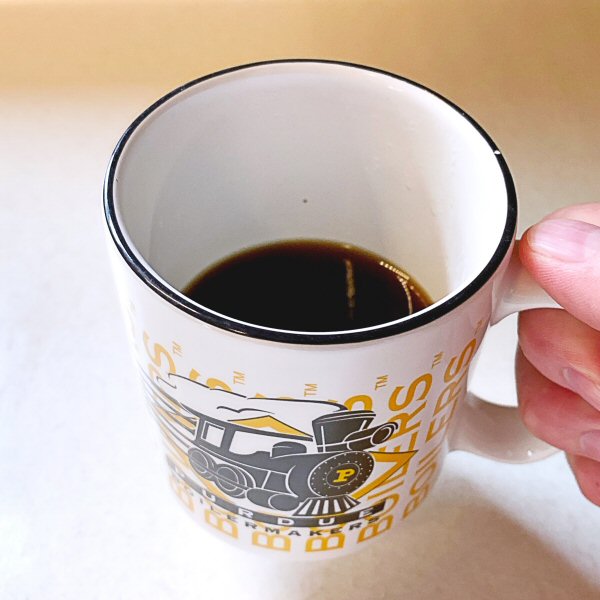
The result is about a half mug of hot, concentrated, espresso-style coffee, which was quite tasty on its own. Very smooth, yet very strong and bold.
However, I’ve not much of an espresso drinker myself, so I followed the suggestion in the instructions, added a bit of hot water, and boom! A great-tasting cup of coffee! And I do mean great-tasting! Full-bodied, rich, smooth, with almost no acidic bitterness.
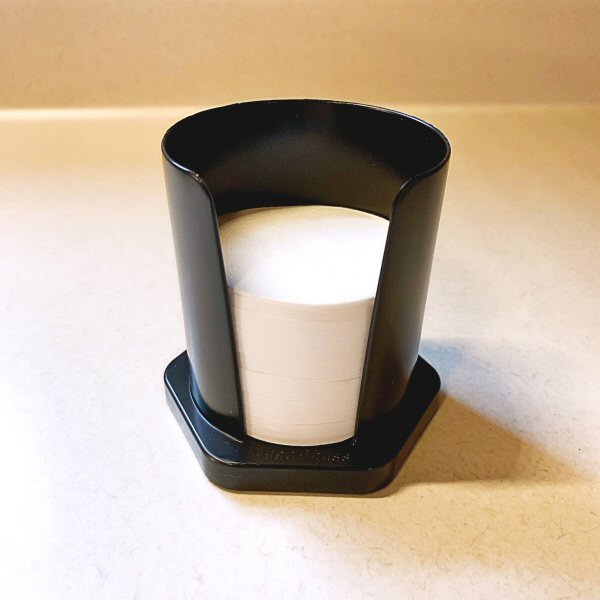
On a side note, after I finished the entire review, I realized that the above item was intended to be a holder for the paper filters, a handy little accessory.
Simplicity and durability are two of AeroPress’ great features: there just aren’t that many parts to fumble around with, the parts fit together easily, and all components are very stout and well made.
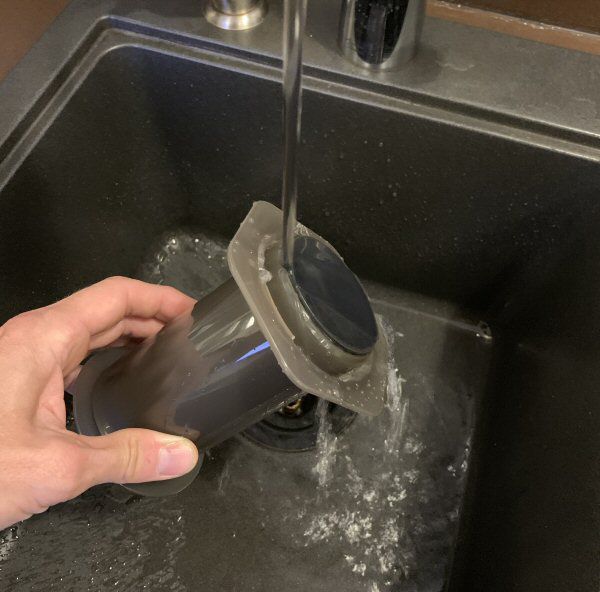
AeroPress quite simple to clean, since all of its parts easily disassemble from each other and are both hand and machine-washable.
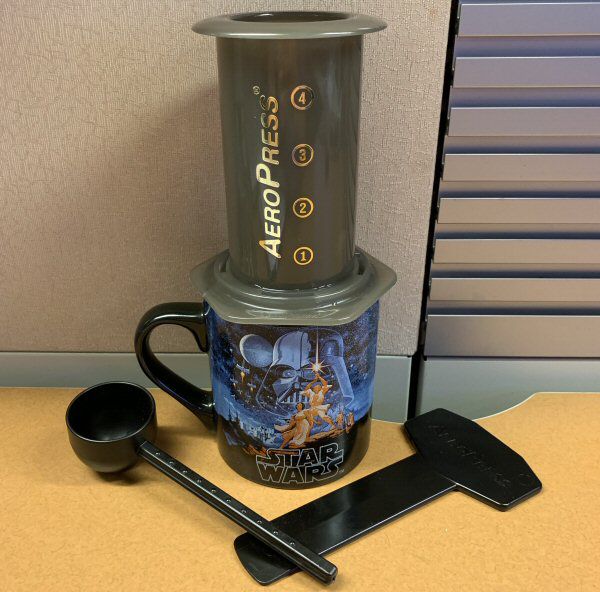
Since first using AeroPress at home a few times, it has now become one of my absolute office necessities and occupies a vital place of honor on my desktop. It’s quite a joy to sip delicious coffee—hot or cold—from my beloved Star Wars: A New Hope coffee mug as an afternoon pick-me-up. Ah, who am I kidding—it’s the fuel that sustains my brain in the afternoons!
What I like
- Simple, easy, and quick to set up and use
- Brewed coffee has great flavor
- Versatility in types of coffee that can be brewed
- Very easy cleanup
- Very portable
What I’d change
- Not a thing! (Although I wish the AeroPress folks would have included one of their nifty zippered nylon tote bags, because I would definitely use it!)
Final thoughts
AeroPress is a very cleverly simple (and fun) device to 0perate and produces a remarkably good-tasting cup of hot or cold brewed coffee in just minutes. It is simple to set up and easy to clean and is very affordable. For me, AeroPress surpassed the hype I’d been hearing about it and it was an immediate game-changer for me and brought both my home and especially my office coffee game to a new level—a level of ease, simplicity, fun, and pure java enjoyment.
Update 6/14/20
The AeroPress Coffee Maker quickly became one of my most-used and most-appreciated products I’ve reviewed here at The Gadgeteer. Although it does take a few minutes to brew a cup of coffee with it, the process is easy and I prefer the taste of the coffee that it brews over any other brewing method I’ve yet tried. Highly recommended.
Price: $29.95
Where to buy: AeroPress can be purchased directly from AeroPress and Amazon
Source: The sample of this product was provided by AeroPress.
L39 Ultra Slim UV Protective Filter for Leica Q3 43 Q2 Camera with Moisture-Proof Case & Removal Tool 19 Layers Mulit-Coated UV Ultraviolet Filter 99.3% Light Transmission Water Oil Scratch Resistant
(as of April 1, 2026 04:54 GMT -05:00 - More infoProduct prices and availability are accurate as of the date/time indicated and are subject to change. Any price and availability information displayed on [relevant Amazon Site(s), as applicable] at the time of purchase will apply to the purchase of this product.)
Gadgeteer Comment Policy - Please read before commenting
Great review Andy ! I’ve used Aeropress for years at home and on travel. This is apparently the only non-toy made by Aerobee. I’d never be able to identify which cup was Aeropress vs most other methods but it’s fast enough and better tasting to me than fill-your-own Keurig pods which my wife uses. An award winning recipe at the annual? Aeropress competition (yes there is one) a couple of years ago was this: Ground coffee in the tube, hot water in the tube up to 1 inch short of the top, agitate the tube for 15 seconds (skip the stir paddle), fill tube to the tube brim, place filter holder on tube, press contents into mug over 45 seconds, fill mug to its top with hot water, drink. Works outstandingly well.
Thank you for the kind words, and for the tip, Lex! I’ll give that a try!
Do not go to YouTube and do a search on AeroPress, you might get confused with all the different ways to make coffee with it. I have had the AeroPress for only a couple of months now and it is all you say; easy to use, easy to clean, and makes a good cup of coffee.
I tried that I see what you mean! There appear to be almost as many ways to make coffee with AeroPress as their are AeroPress owners!
They have a much better way to get rid of the grounds, compared to other coffee presses. That is the main reason I have stayed away from most coffee presses.
Cool review. I bought one of these a few years ago and had a similar experience. Nice cup of coffee … but more work than I like.
I mainly use my Keurig. Takes 1/20th the time for 90% of the taste. These presses are for the discriminating tasters who like a perfect cup of joe.
Useful review. Thanks!
I am a former Keurig owner as well. The amount of K-cups that I was throwing out and not able to recycle started to bother me, so I started using their adapter that allowed you to use your own coffee grounds, but this started to feel like a lot of work each time for a single cup of coffee–but it was about the same amount of work as the AeroPress.
Scope out reusable Aeropress filters. There’s screens, laser hole punched, mesh, woven metal fabric, whatever ~ cutting way down on packing space.
Thanks, I plan to check those out.
1) Paper filters out a compound(s) that raises LDL cholesterol, for any who care.
2) I found the 2015 award winning recipe I referenced above. Note it’s an inverted method. Love the ‘turbulent wiggle’ term. I do fill the mug with water at the end.
I am a daily coffee drinker.I bought one of this a few years ago and this one is better than others.It is simple to use and most affordable .Aeropress is simple way to clean that is the reason i use it.
Hey,
Thanks for the review Andy! I have been using the Aeropress for around a year now and similarly really enjoy it. Although my preference is to do a less intense brew with more water and less contact time between the water and the grinds. This produces a more pour over like consistency