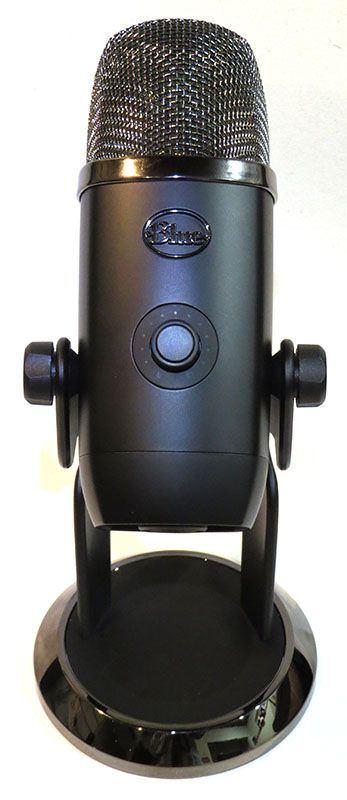
REVIEW – Since I started gaming, I have been using a headset with a microphone attached. The headsets themselves were not cheap so I figured the microphones would be enough, yet, when I see streamers, the have a dedicated microphone. Eventually, curiosity got the better of me, so I checked out the Blue Yeti X professional USB microphone. It’s a brand I’ve seen streamers using, so I figured it should be good. Let’s see if that’s the case.
What is it?
The Blue Yeti X professional USB microphone is made for streaming and recording. It also comes with the Blue VOICE! software for customization.
Hardware specs
- Sample/Bit Rate: 48 kHz, 24-bit
- Capsules: 4 Blue-proprietary 14mm condenser capsules
- Polar Patterns: Cardioid, Omnidirectional, Bidirectional, Stereo
- Frequency Response: 20Hz – 20kHz
- Dimensions (extended in stand): 4.33″ x 4.80″ x 11.38″
- Weight (microphone and stand): 2.8 lbs
- Weight (microphone only): 1.14 lbs
What’s in the box?
In the box you’ll find:
- Yeti X USB microphone
- Desktop stand
- 2m Micro-USB cable
- Quick Start Guide
Design and features
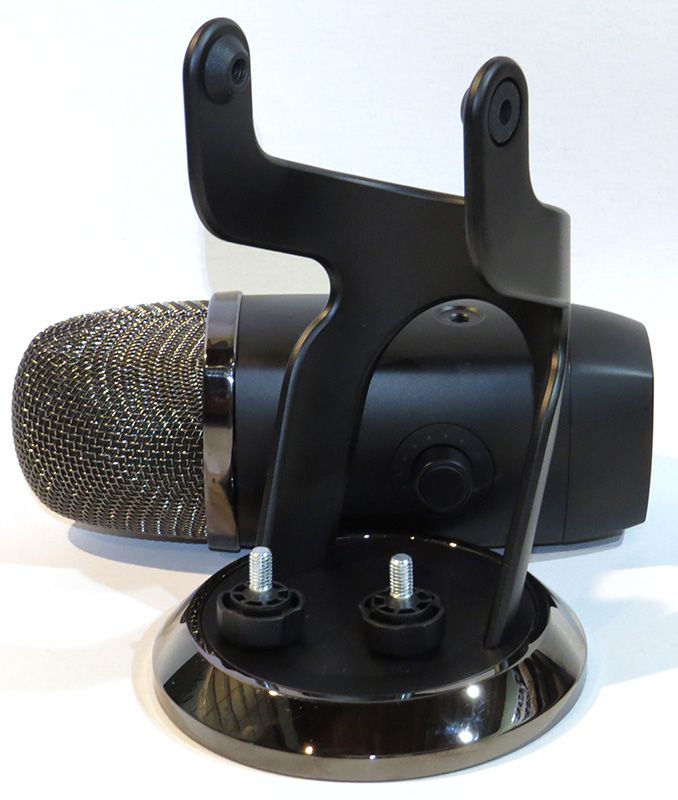
The Yeti X is plug and play, so I just plugged it into my PC and started with that. It worked like a charm. I did notice that they used a Micro-USB cable, which surprised me since it’s almost 2020 and USB-C is becoming standard. After trying the plug and play settings out, I installed the Blue Voice software, which for me was simple due to having the G Hub software installed on my PC already. After that, I went into the settings and started tinkering.
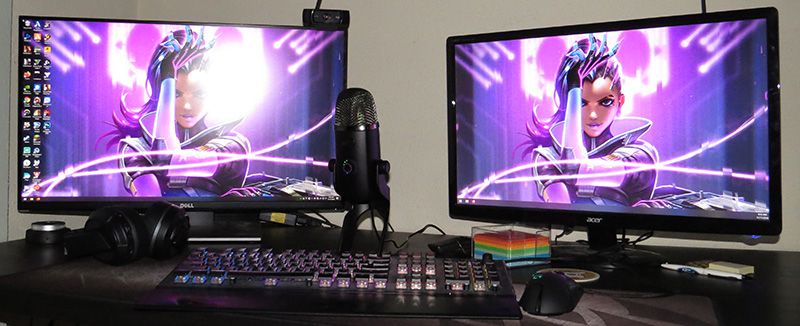
Initially, I had my PC on my desk because ‘it looked cool’ and I wanted to show off the RGB lighting. The mic picked up the vibrations from the fans, however, so I had to move it to the floor. In the future, I may pick up a boom arm in order to put my PC back on the desk.
Once I got the PC situation sorted out, I hopped in and started playing some games. A few folks commented and asked if I had a new microphone (in a positive way) and it was nice to no longer have a microphone attached to my headphones.
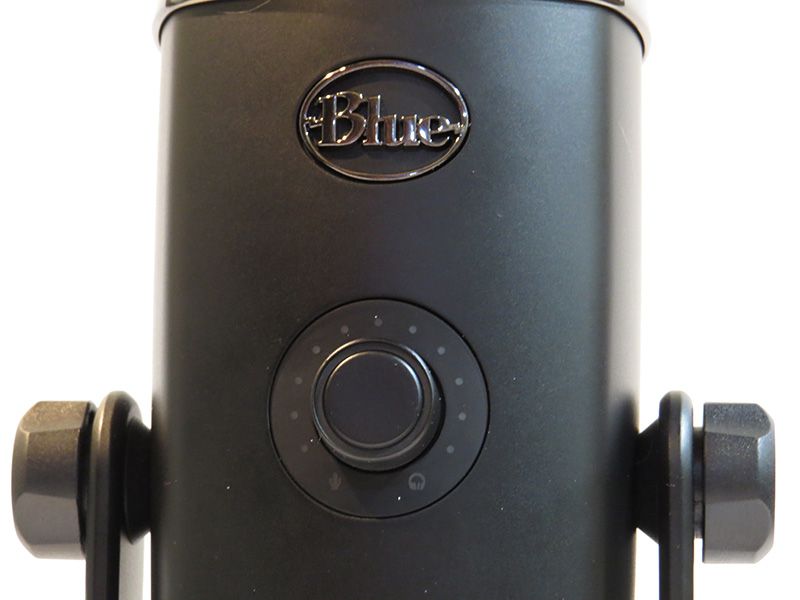
To switch between the settings, you just hold down the button on the dial until it switches to the desired setting. First, I set the mic gain, and noticed right away that it did not need to be very high at all. Between 2-3 dots was all that was necessary to be heard and not overblown. Next, since I plugged my headphones into the microphone, I adjusted the volume settings. With the headphones plugged in, I cannot use the PC or keyboard to control volume (except mute) anymore; only the microphone dial works. Lastly, I made it so I could just barely hear myself on the microphone for the direct monitoring setting.

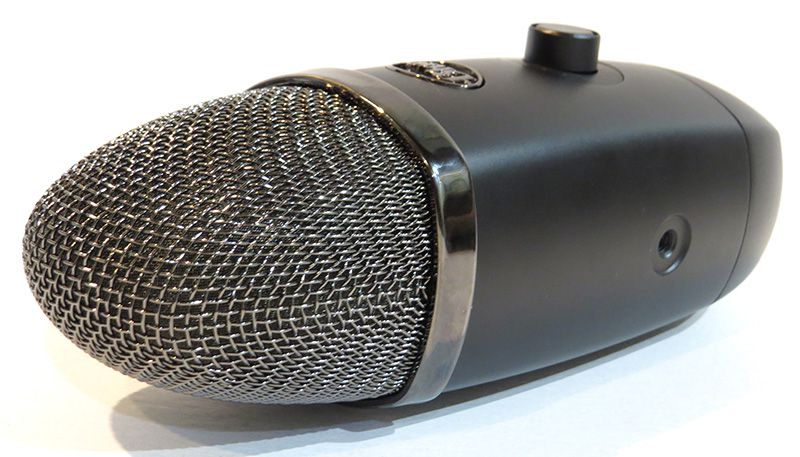
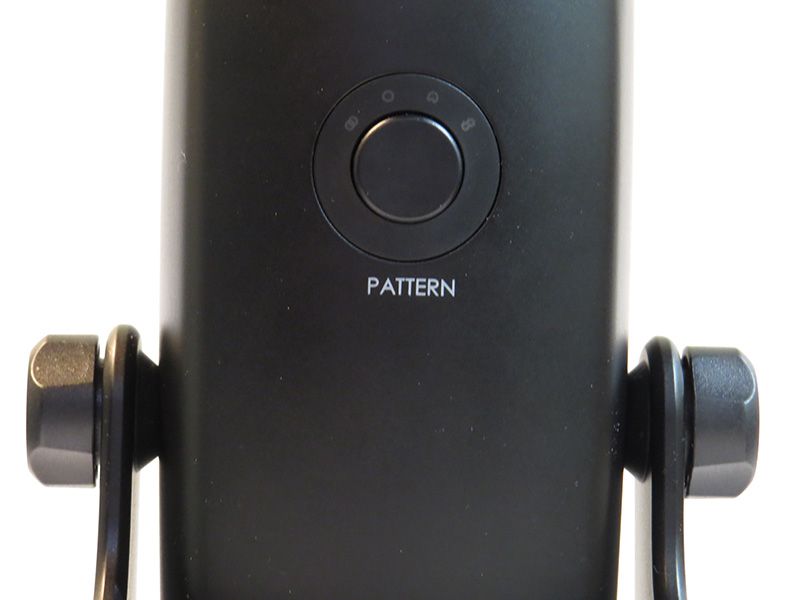
On the back of the mic, there is a button to go between the four polar patterns. (Aka: mic directional settings) I kept my settings on Cardioid, which was forward facing, the entire time. My friend mentioned as I went through each preset that he could hear the difference, especially when the setting was set to either Omni or Stereo modes.
After trying out the plug and play model for a week with positive results, I switched over to using the Blue Voice software, and I noticed right away that my voice seemed either really loud or really quiet. My friend commented that I had a bizarre ‘in and out’ sound as if the microphone suddenly picked up I was talking and amplified it.. on every word. After testing and fiddling around, I figured out that the software was best when you keep the microphone less than 1 ft from your mouth. Once I figured that out, it sounded very, very good.
I preferred to use presets, and the one I settled on using was either ‘Classic Radio Voice’ or ‘Broadcaster 2’ for everyday use. I still need to fiddle more with the customization, but the presets are really nice to have. Initially, I was very nervous about how much I was going to have to tweak the Yeti X in order to get it to keep my background noise out. I had heard it took quite a bit of work. I am unsure whether I have a very soundproof room (which I doubt) or the Blue Voice software, but it was pretty easy to get things set up how I wanted. Tweaking presets worked just fine. The only thing I could hear was my typing, and that’s because the microphone is right behind the (loud) keyboard for the time being.
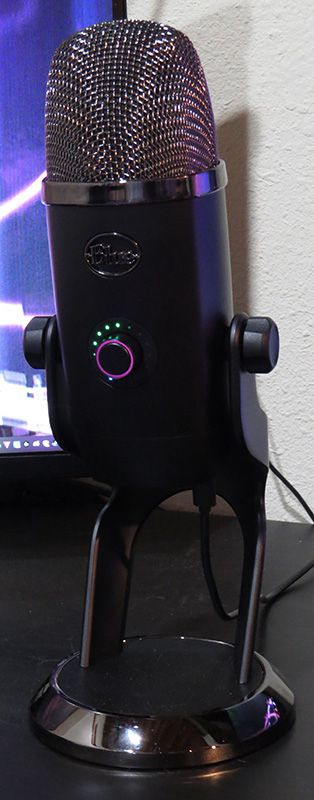
You can also customize the Yeti X’s RGB lighting on the Blue Voice software and set an equalizer if you are using the mic pass-through for your headphones. I am still yet unsure if I will go back to using the mini-amp my headphones come with, or continue using the Yeti X pass-through. For now, I’ll keep it as is.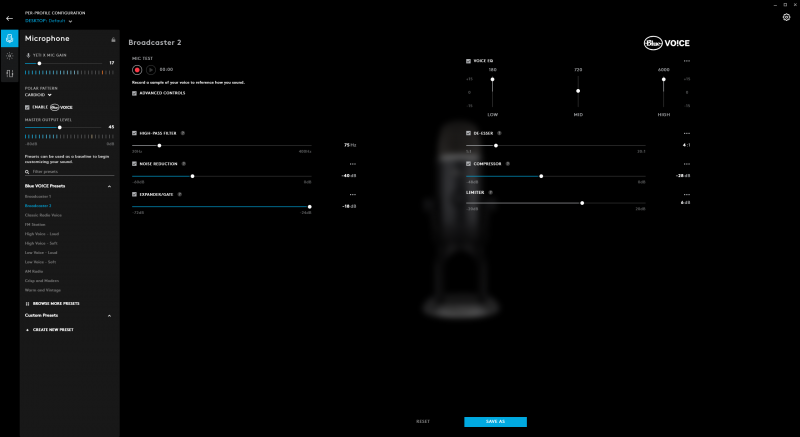
I used a couple of different headsets, both wireless and wired, and they all worked seamlessly with the Blue Yeti X. It did not like it when I kept the microphone attached to the headset, though outside of testing purposes, you wouldn’t really use both at the same time so I didn’t find that to be an issue.
Since I am not a singer, I tested the Yeti X out on my stream, and using StreamLabs and Twitch, it sounded good. Here’s a clip of me testing the microphone out on stream. To me, the sound is clear, and those who have heard my voice in person say that it sounds ‘just like me’ where before, with my previous headset microphone, there was a noticeable difference.
What I like
- Plug and play
- Excellent sound quality
- Headphone pass through
What I’d change
- Micro-USB should be USB-C
- Blue Voice software can sound weird if too far away
Final thoughts
Overall, I definitely figured out the appeal to having a dedicated, stand-alone microphone. I felt everyone could hear me very well when playing both multiplayer games and when streaming. The ease at which I could plug and play with the Blue Yeti X microphone really appealed to me, but the ability to get so much more out of the Yeti X with the Blue Voice software is also such a great pairing. If you are someone wanting excellent quality in a microphone and the ability to customize, the Blue Yeti X is definitely one to look at.
Price: $169.99
Where to buy: Blue’s Website and Amazon
Source: The sample of this product was provided by Blue.


