REVIEW – I have been 3D filament printing for a while now but laser engraving is something else I have wanted to try out so I jumped at the chance to test out the new Ortur Laser Master 3 laser engraver. Let’s see if I will be adding another hobby to my already long list of crafts.
What is it?
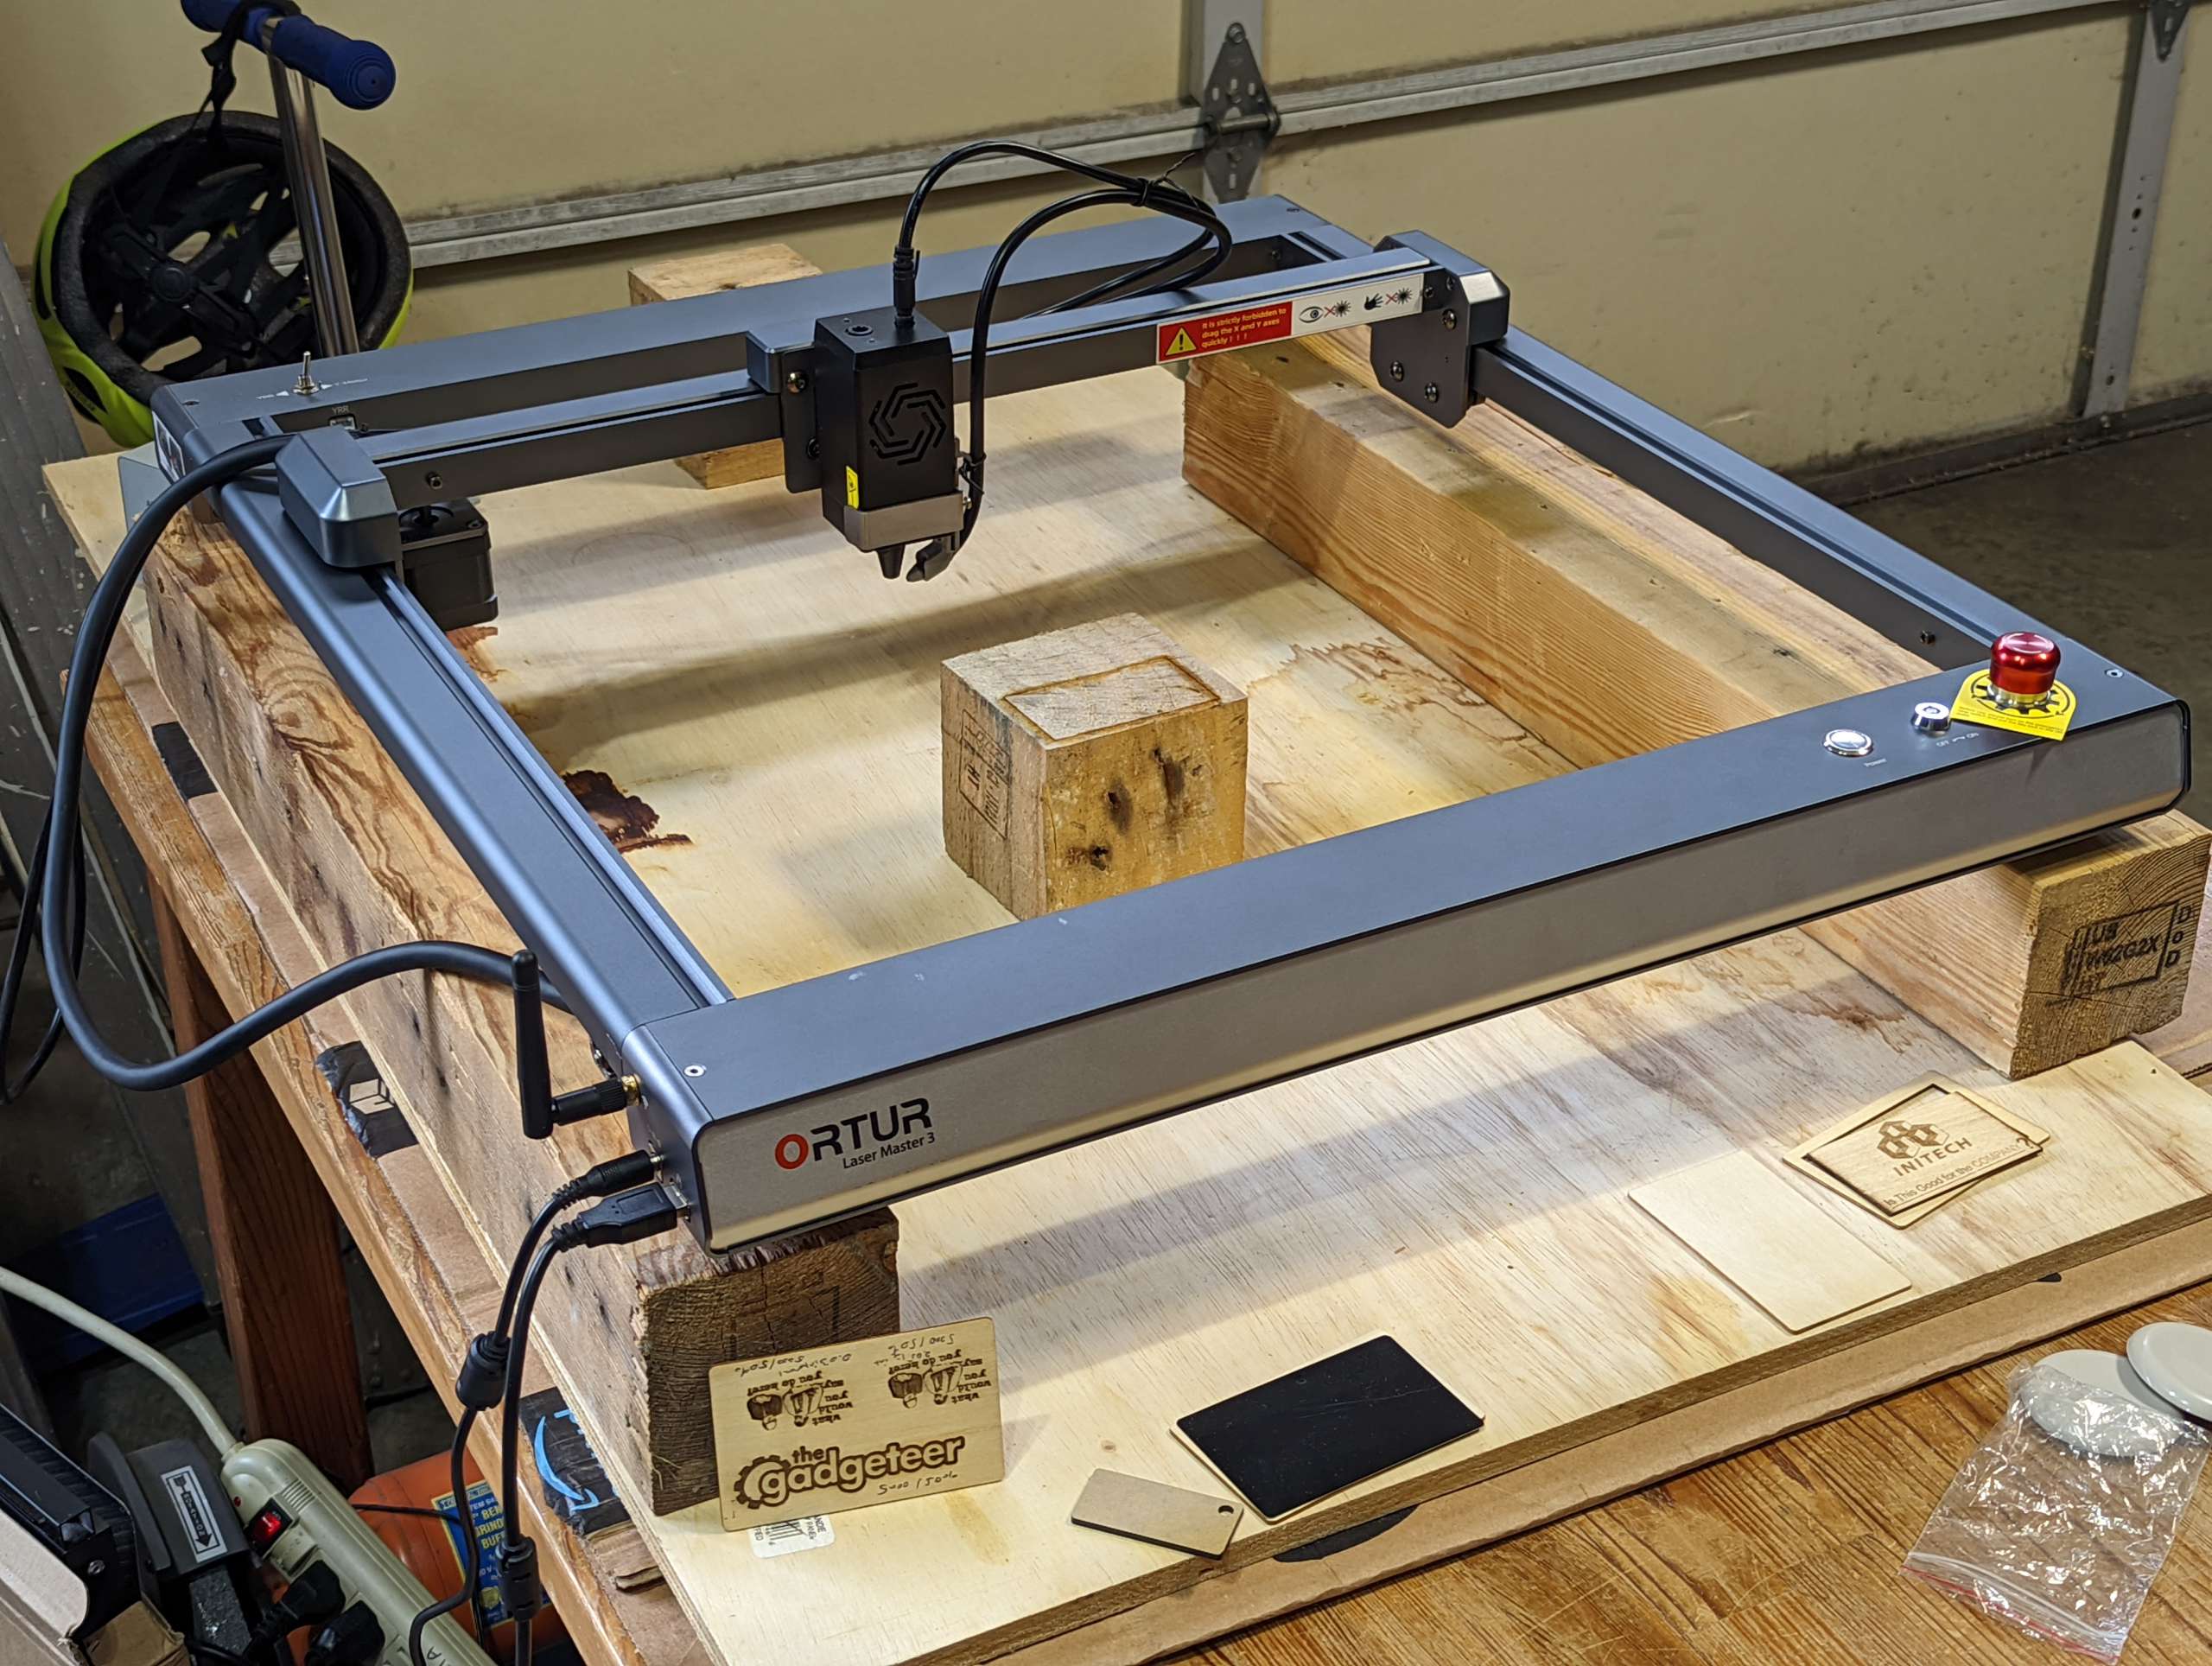
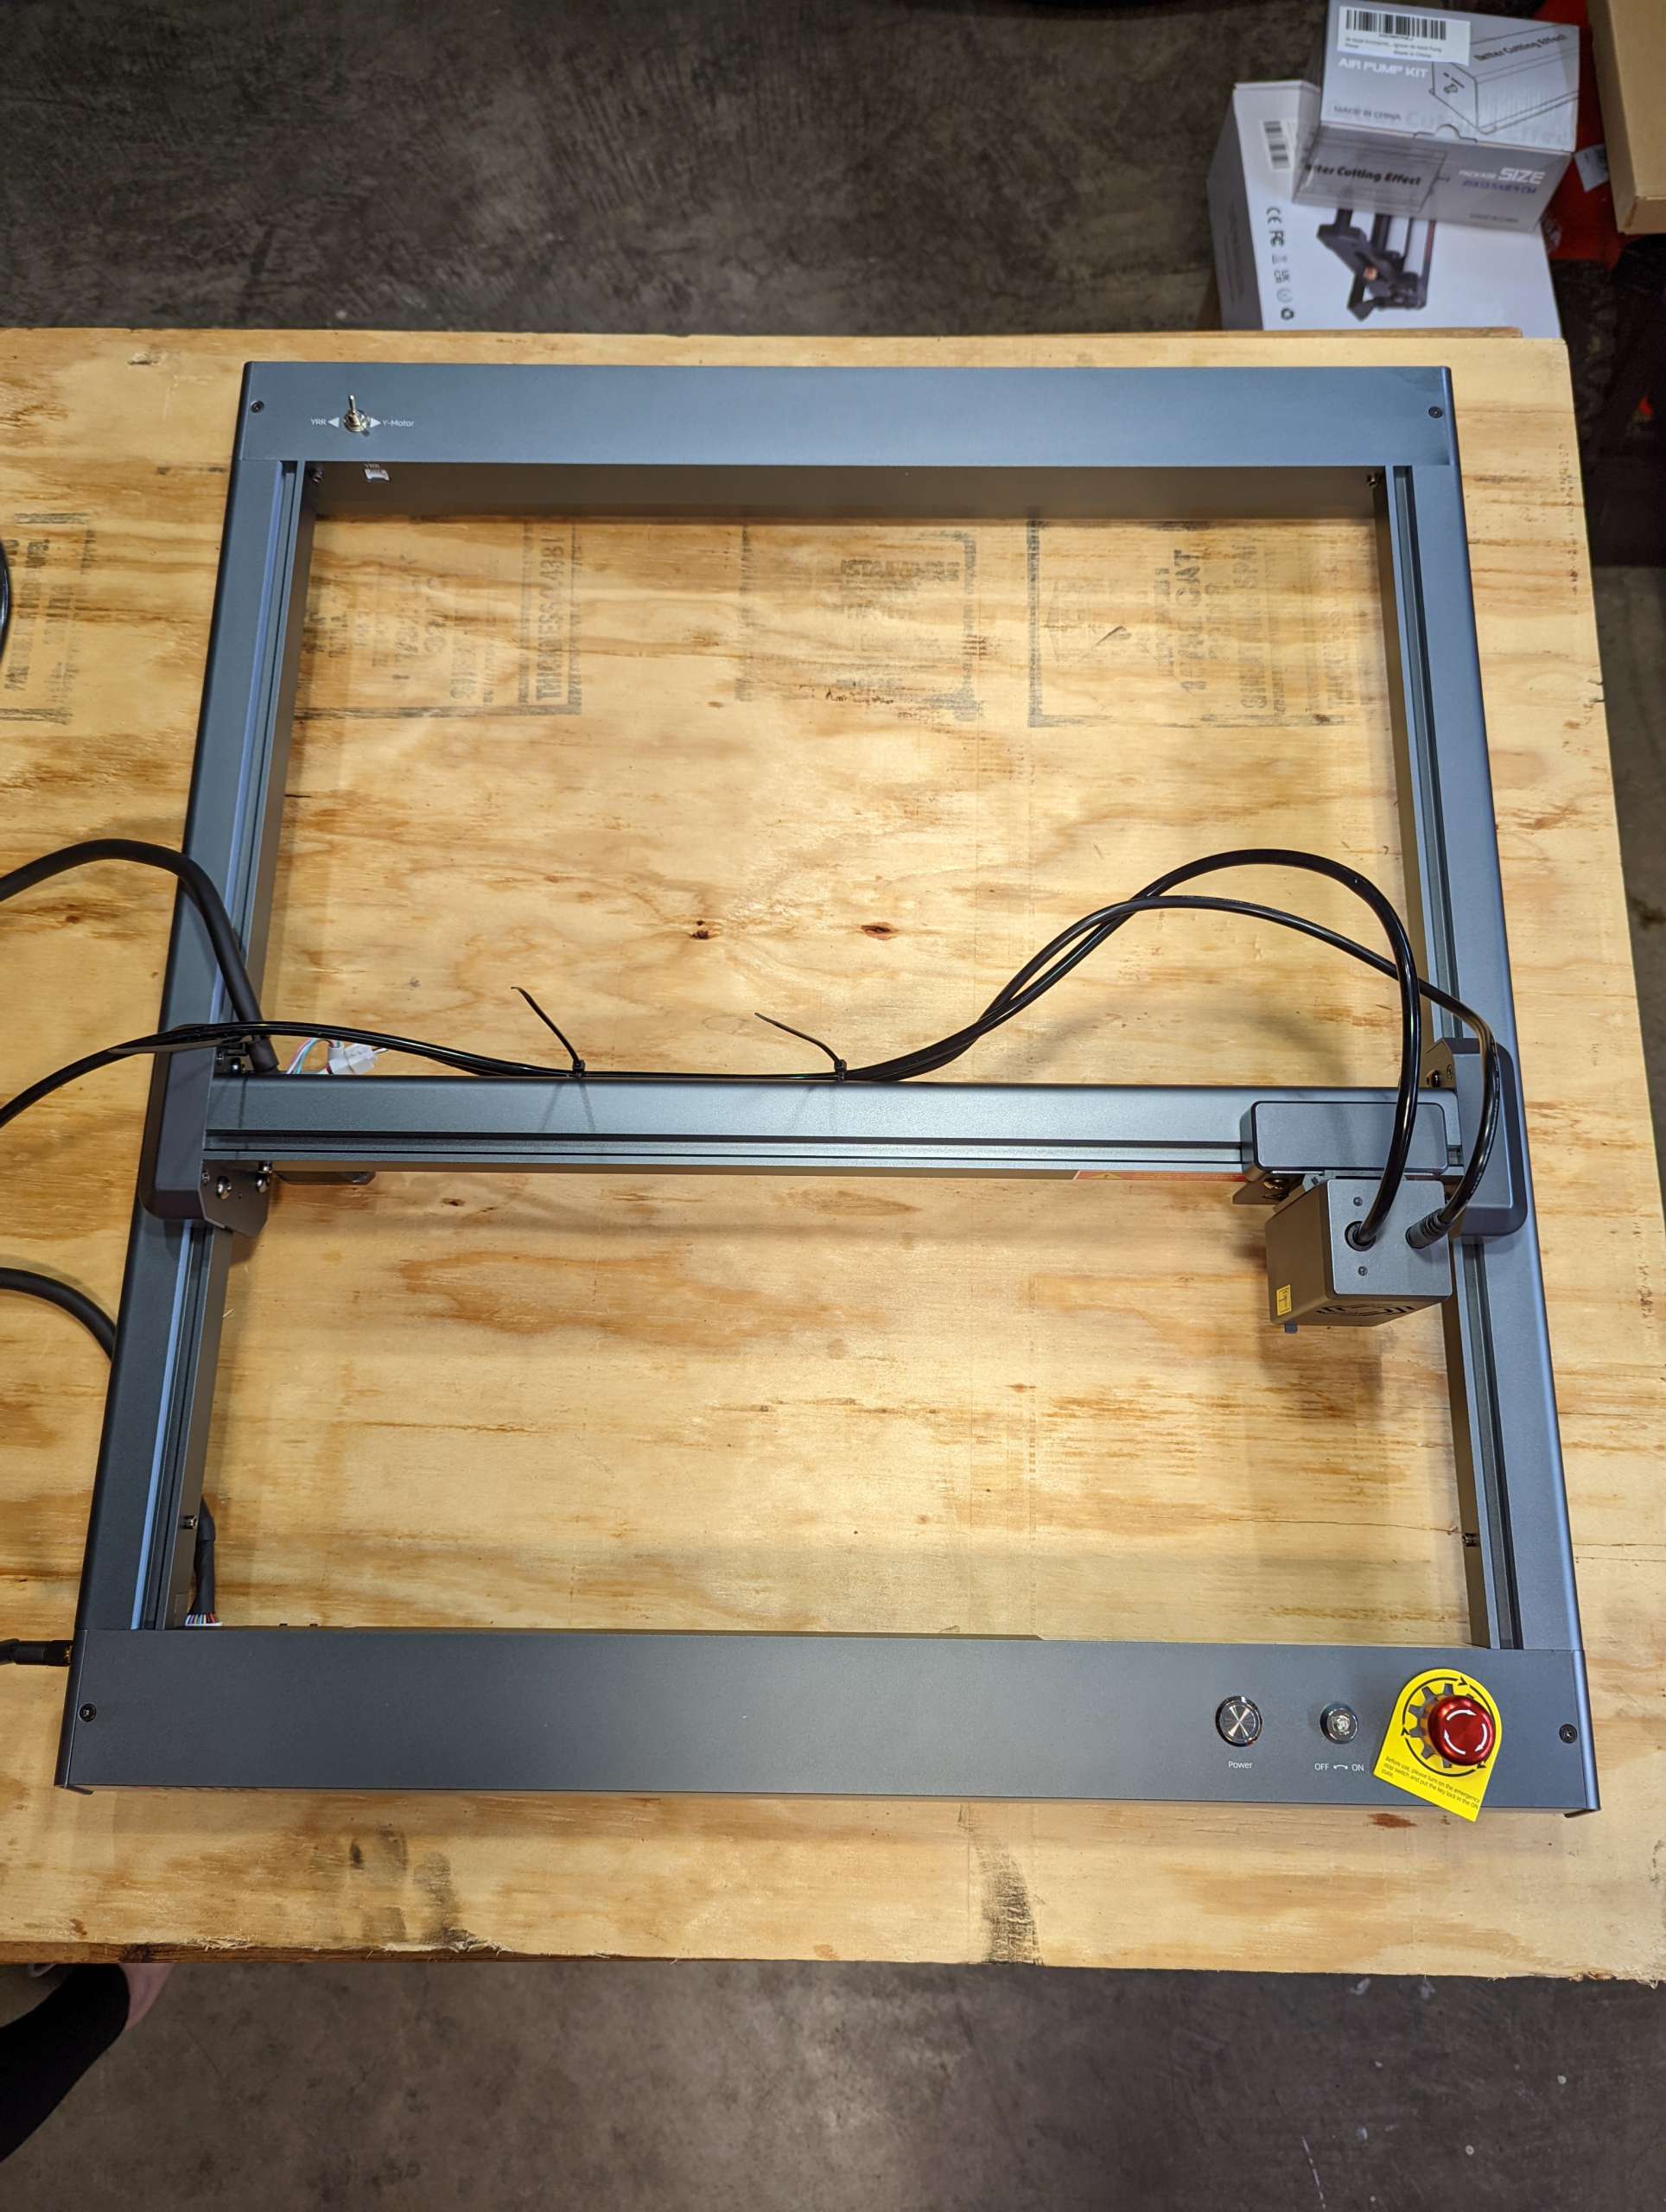
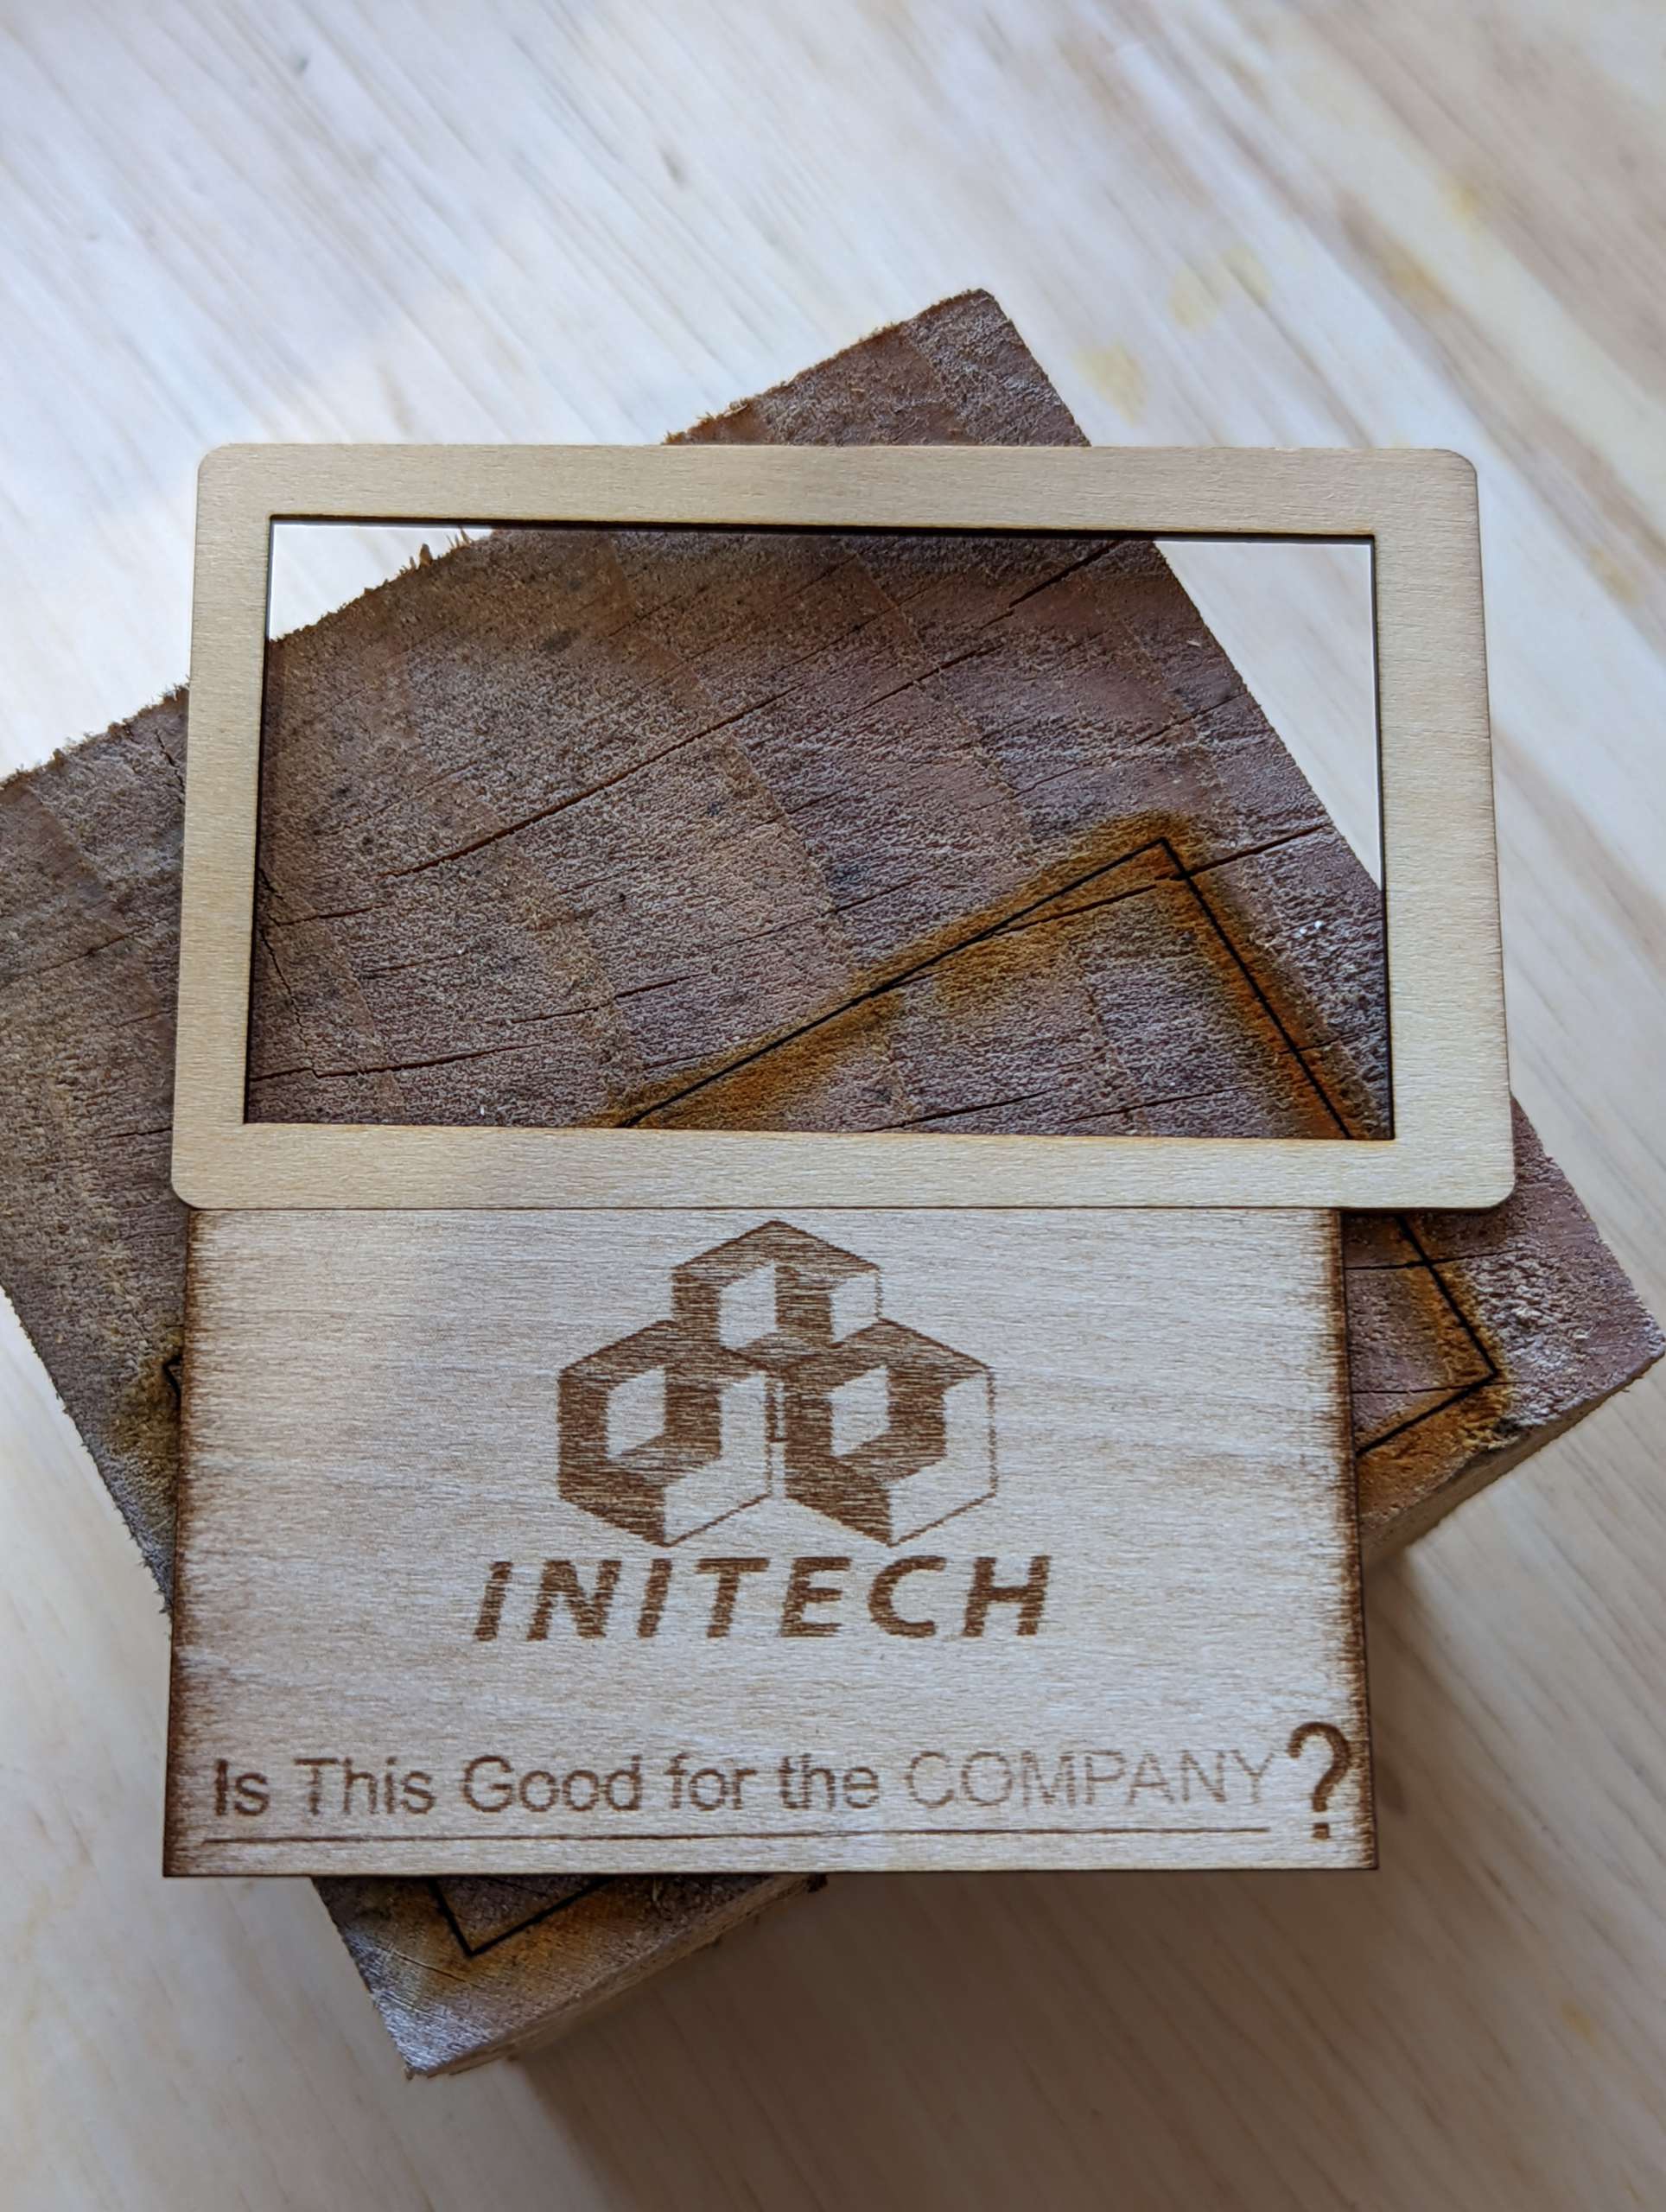
The Laser Master 3 is Ortur’s newest laser engraver equipped with a 10 watt laser that can engrave or cut a plethora of materials for crafts or for fun. It has several features including air assist, a 400mm x 400mm engraving area, WiFi capability, and 20,000mm per min engraving speed.

What’s in the box?
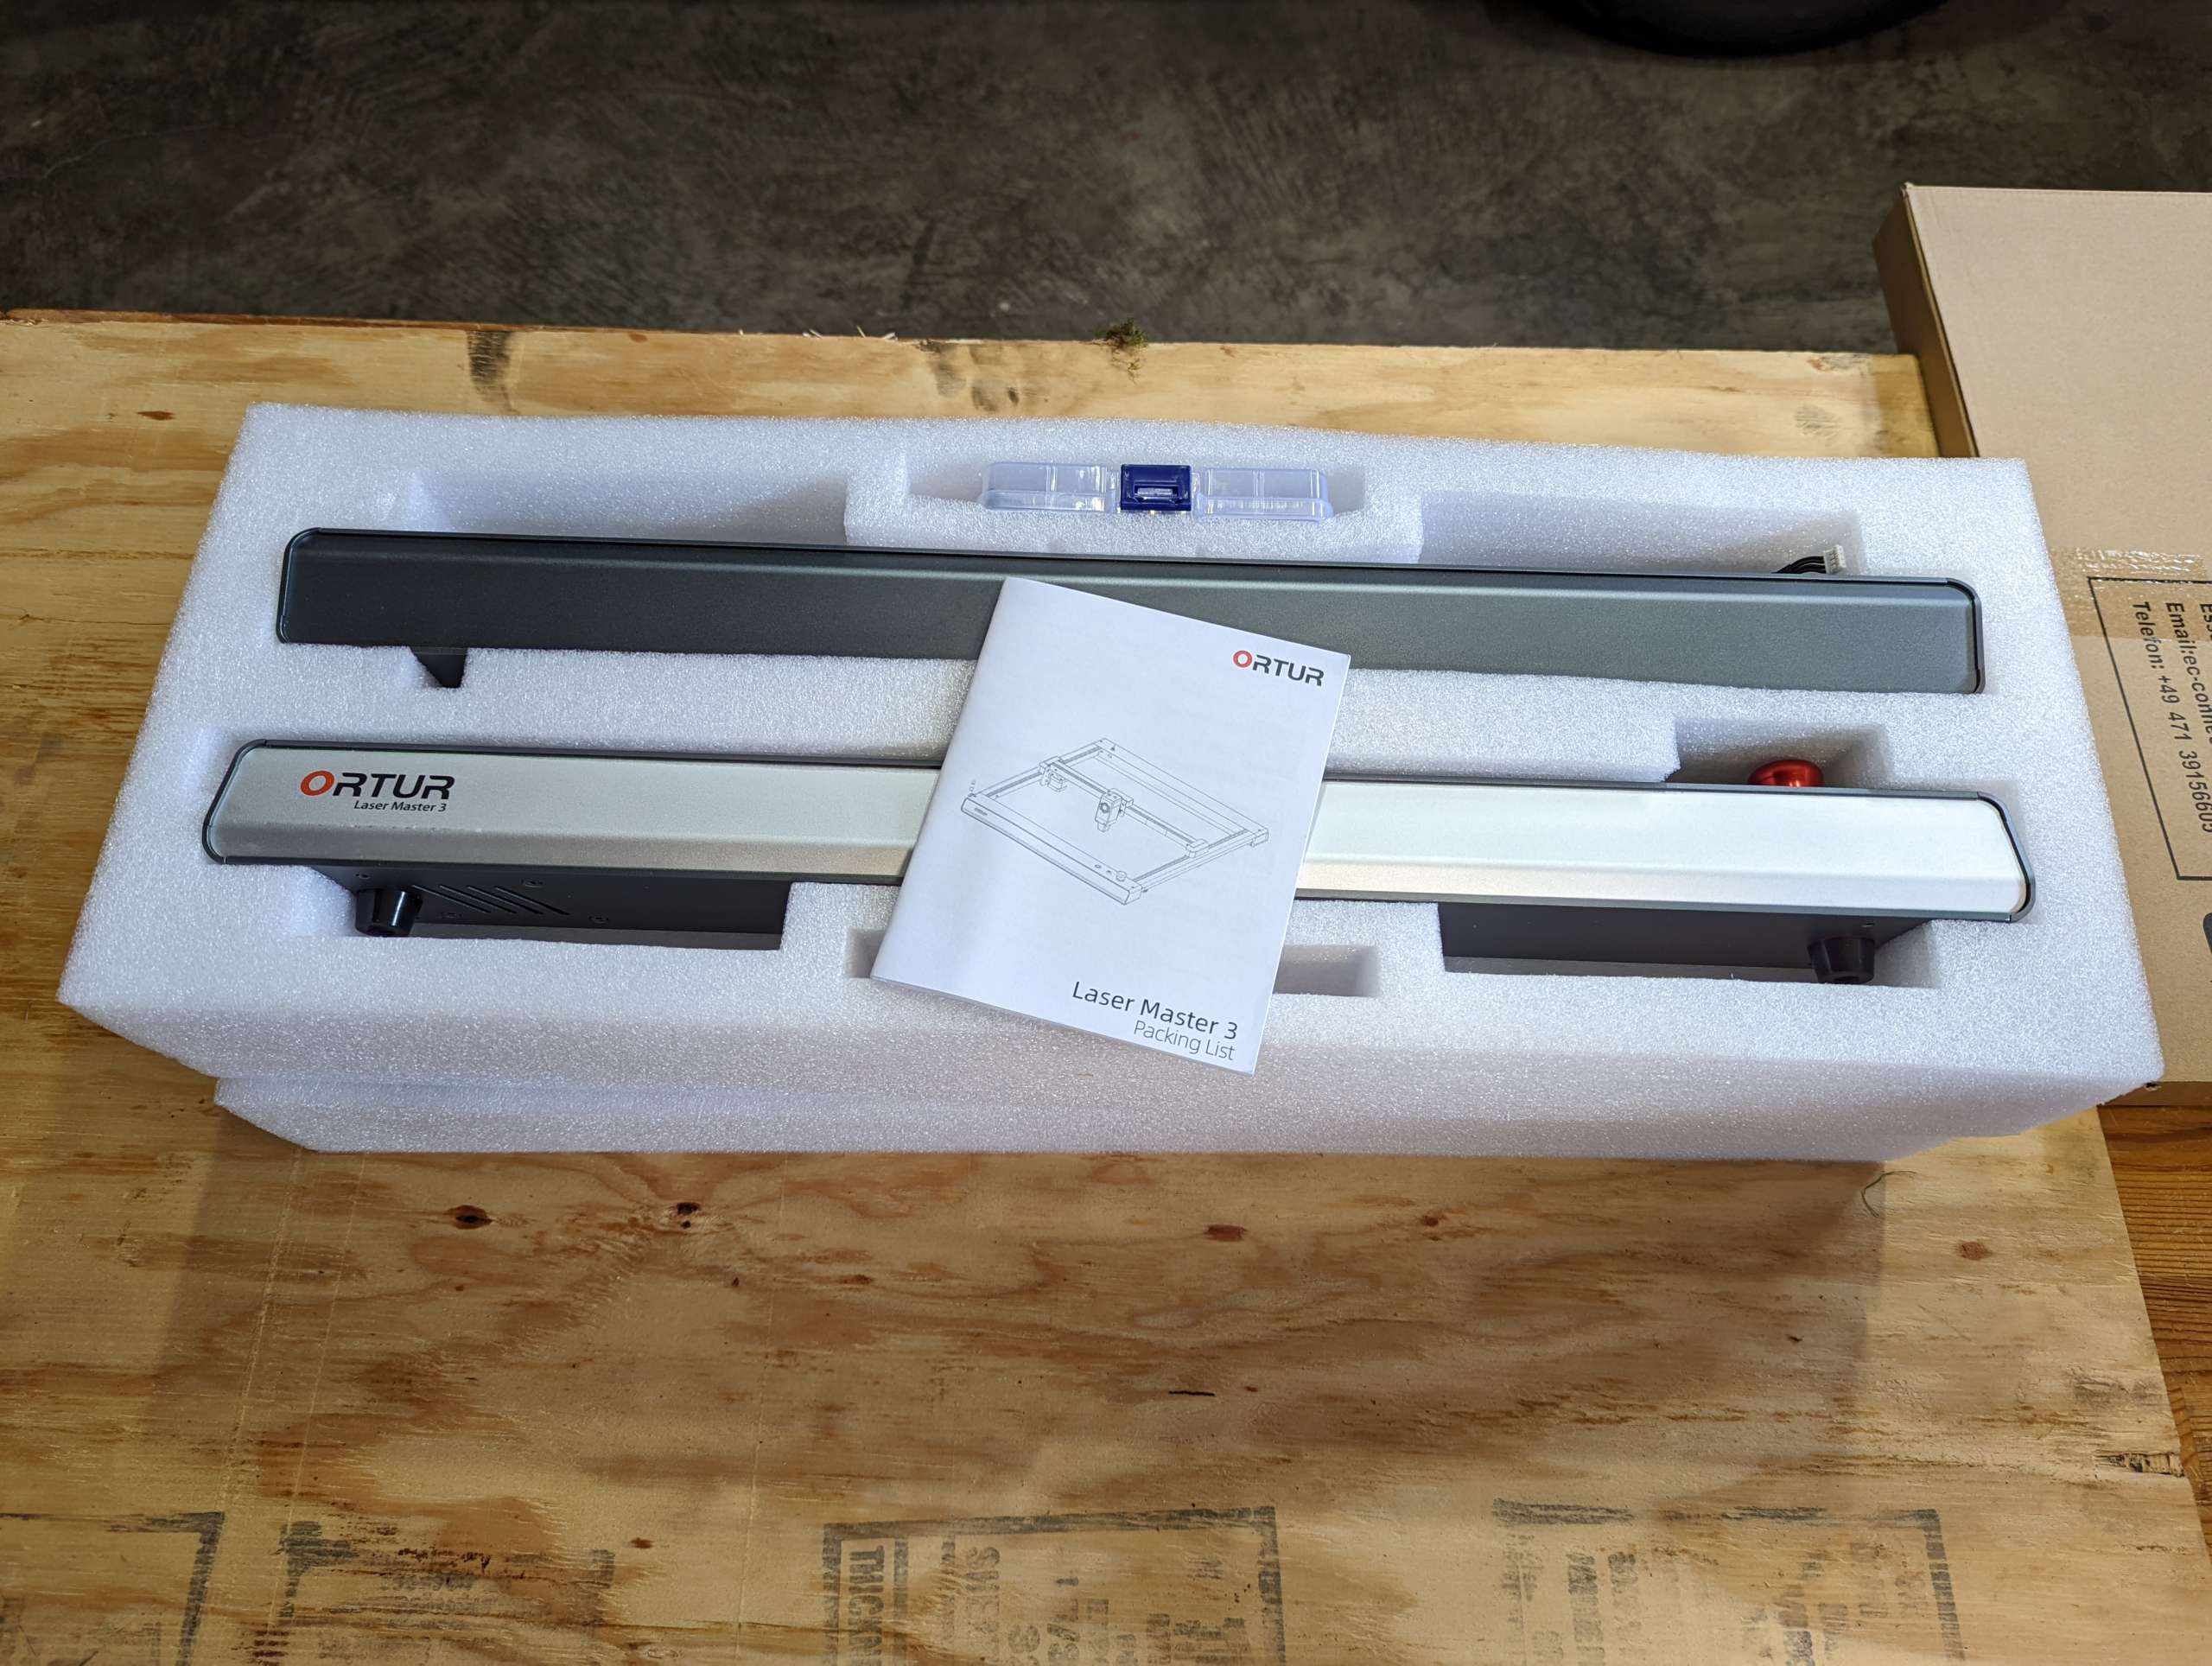
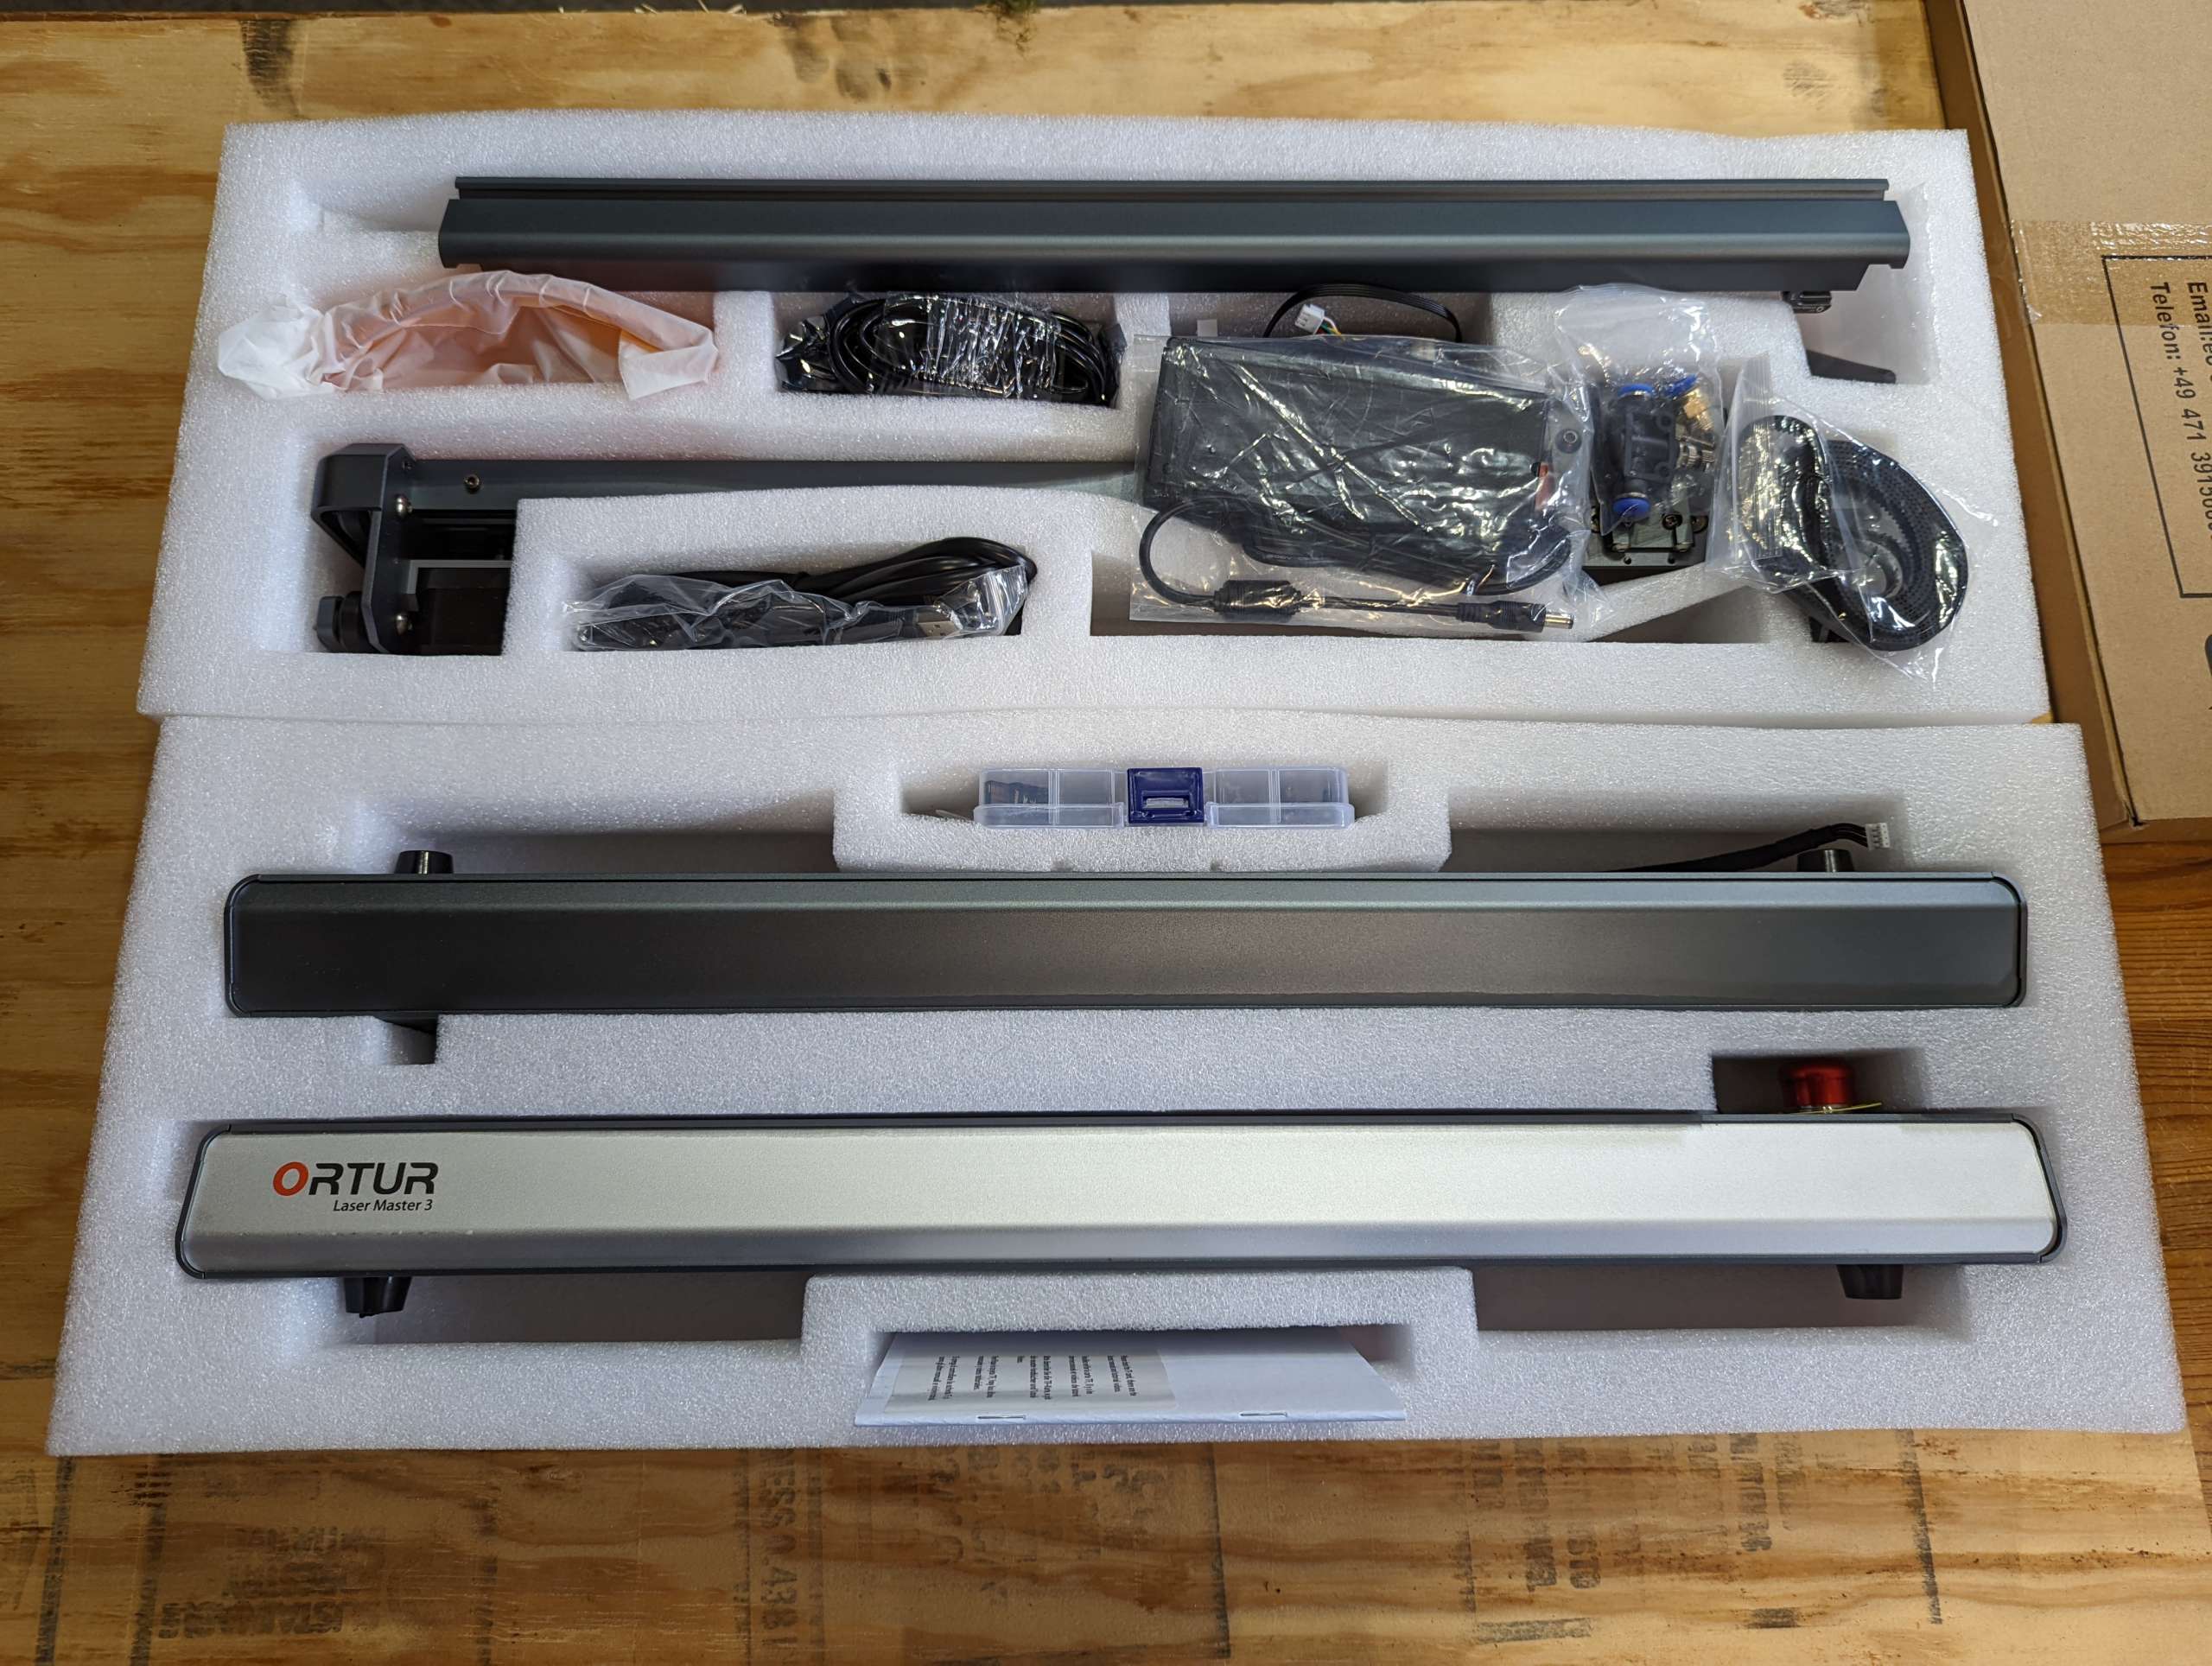
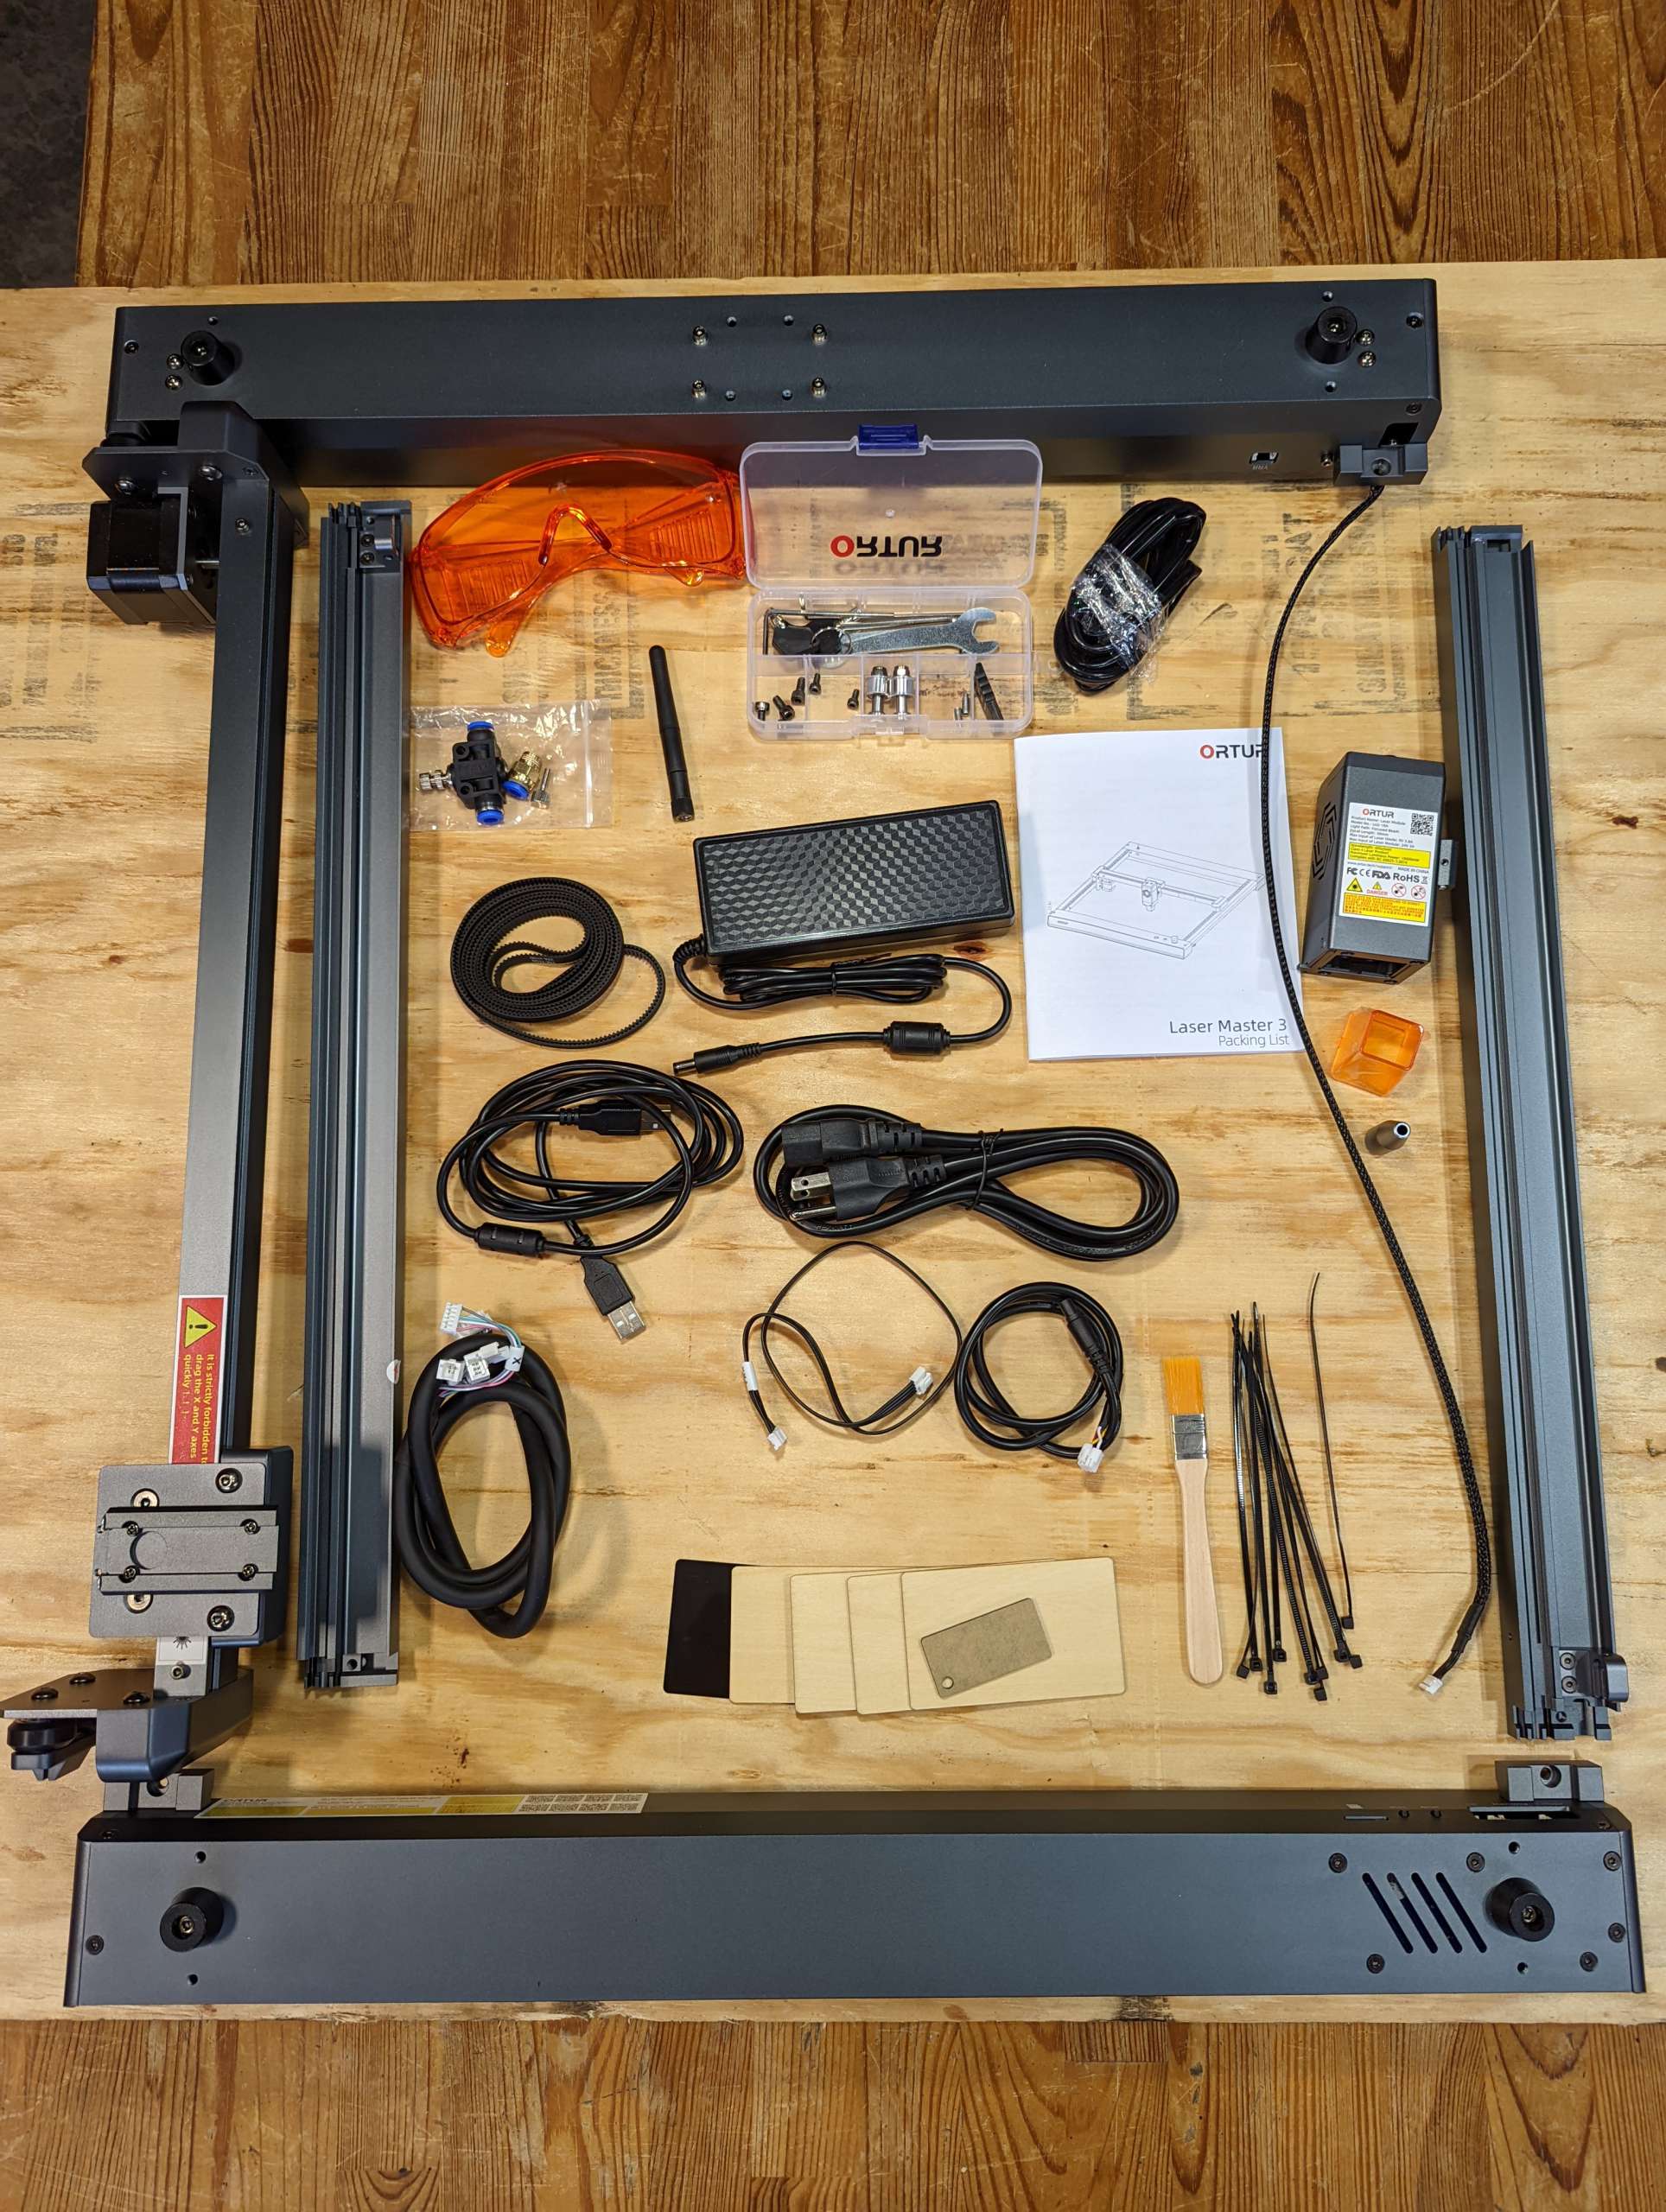
- Ortur Laser Master 3 frame
- LU2-10A laser module
- Laser safety glasses
- 2mm, 2.5mm, and 3mm Allen keys, small wrench
- Small brush
- 1 test acrylic swatch
- 4 test wood swatches
- SD Card reader and micro SD card
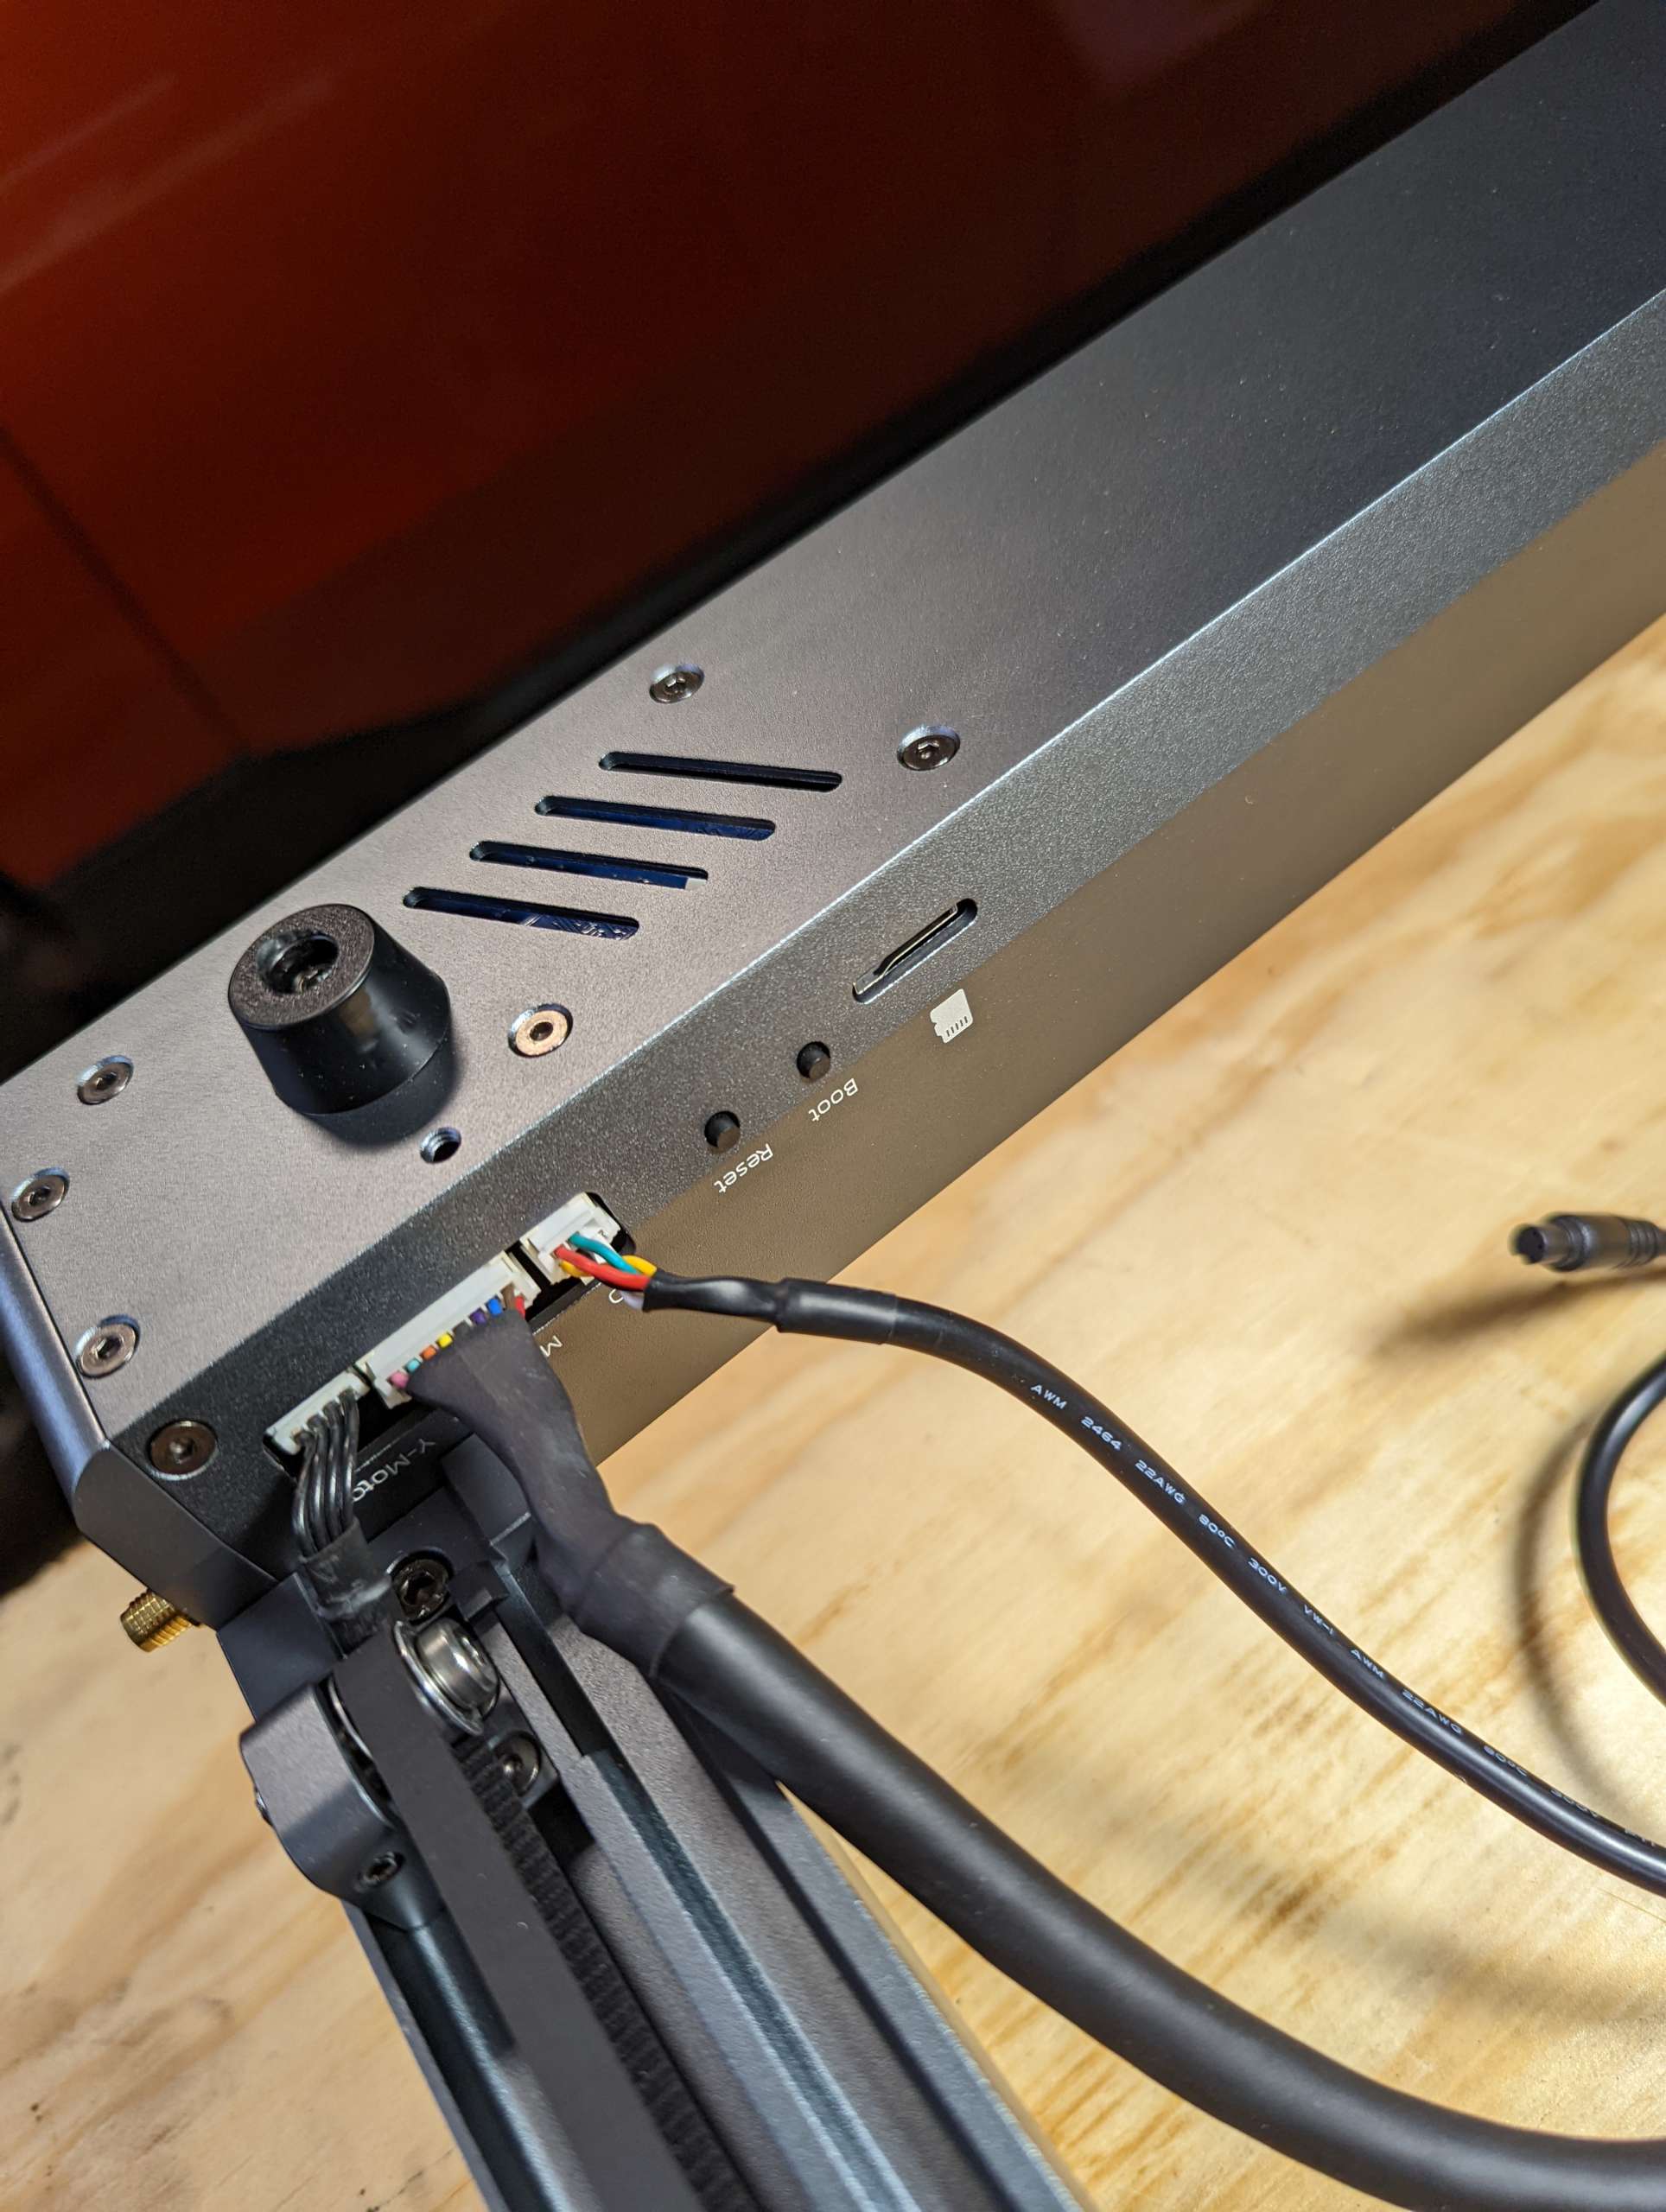
- YRR motor wire for rotary adapter
- Power adapter
Specifications:
- Model Name: Ortur Laser Master 3
- Printing Methods: 2.4G WiFi allows Laser Engraver app on cell/tablet or USB cable to computer for use with LaserGRBL or LightBurn programs
- Speed: 0-20,000mm/min
- Engraving Area: 400 x 400 mm
- Laser: 10W LU2-10A
- Laser Features: Integrated air assist, dual fans, foldable focal gauge
- Laser weight: 235g
- Laser Accuracy: 0.05 x 0.1mm compressed spot
- Maximum Cutting Depth in One Pass: Wood-12mm, Acrylic-10mm, Pine Board-20mm
- Ship Weight: 14.3lbs
- Overall dimensions: 580 x 550 x 105mm
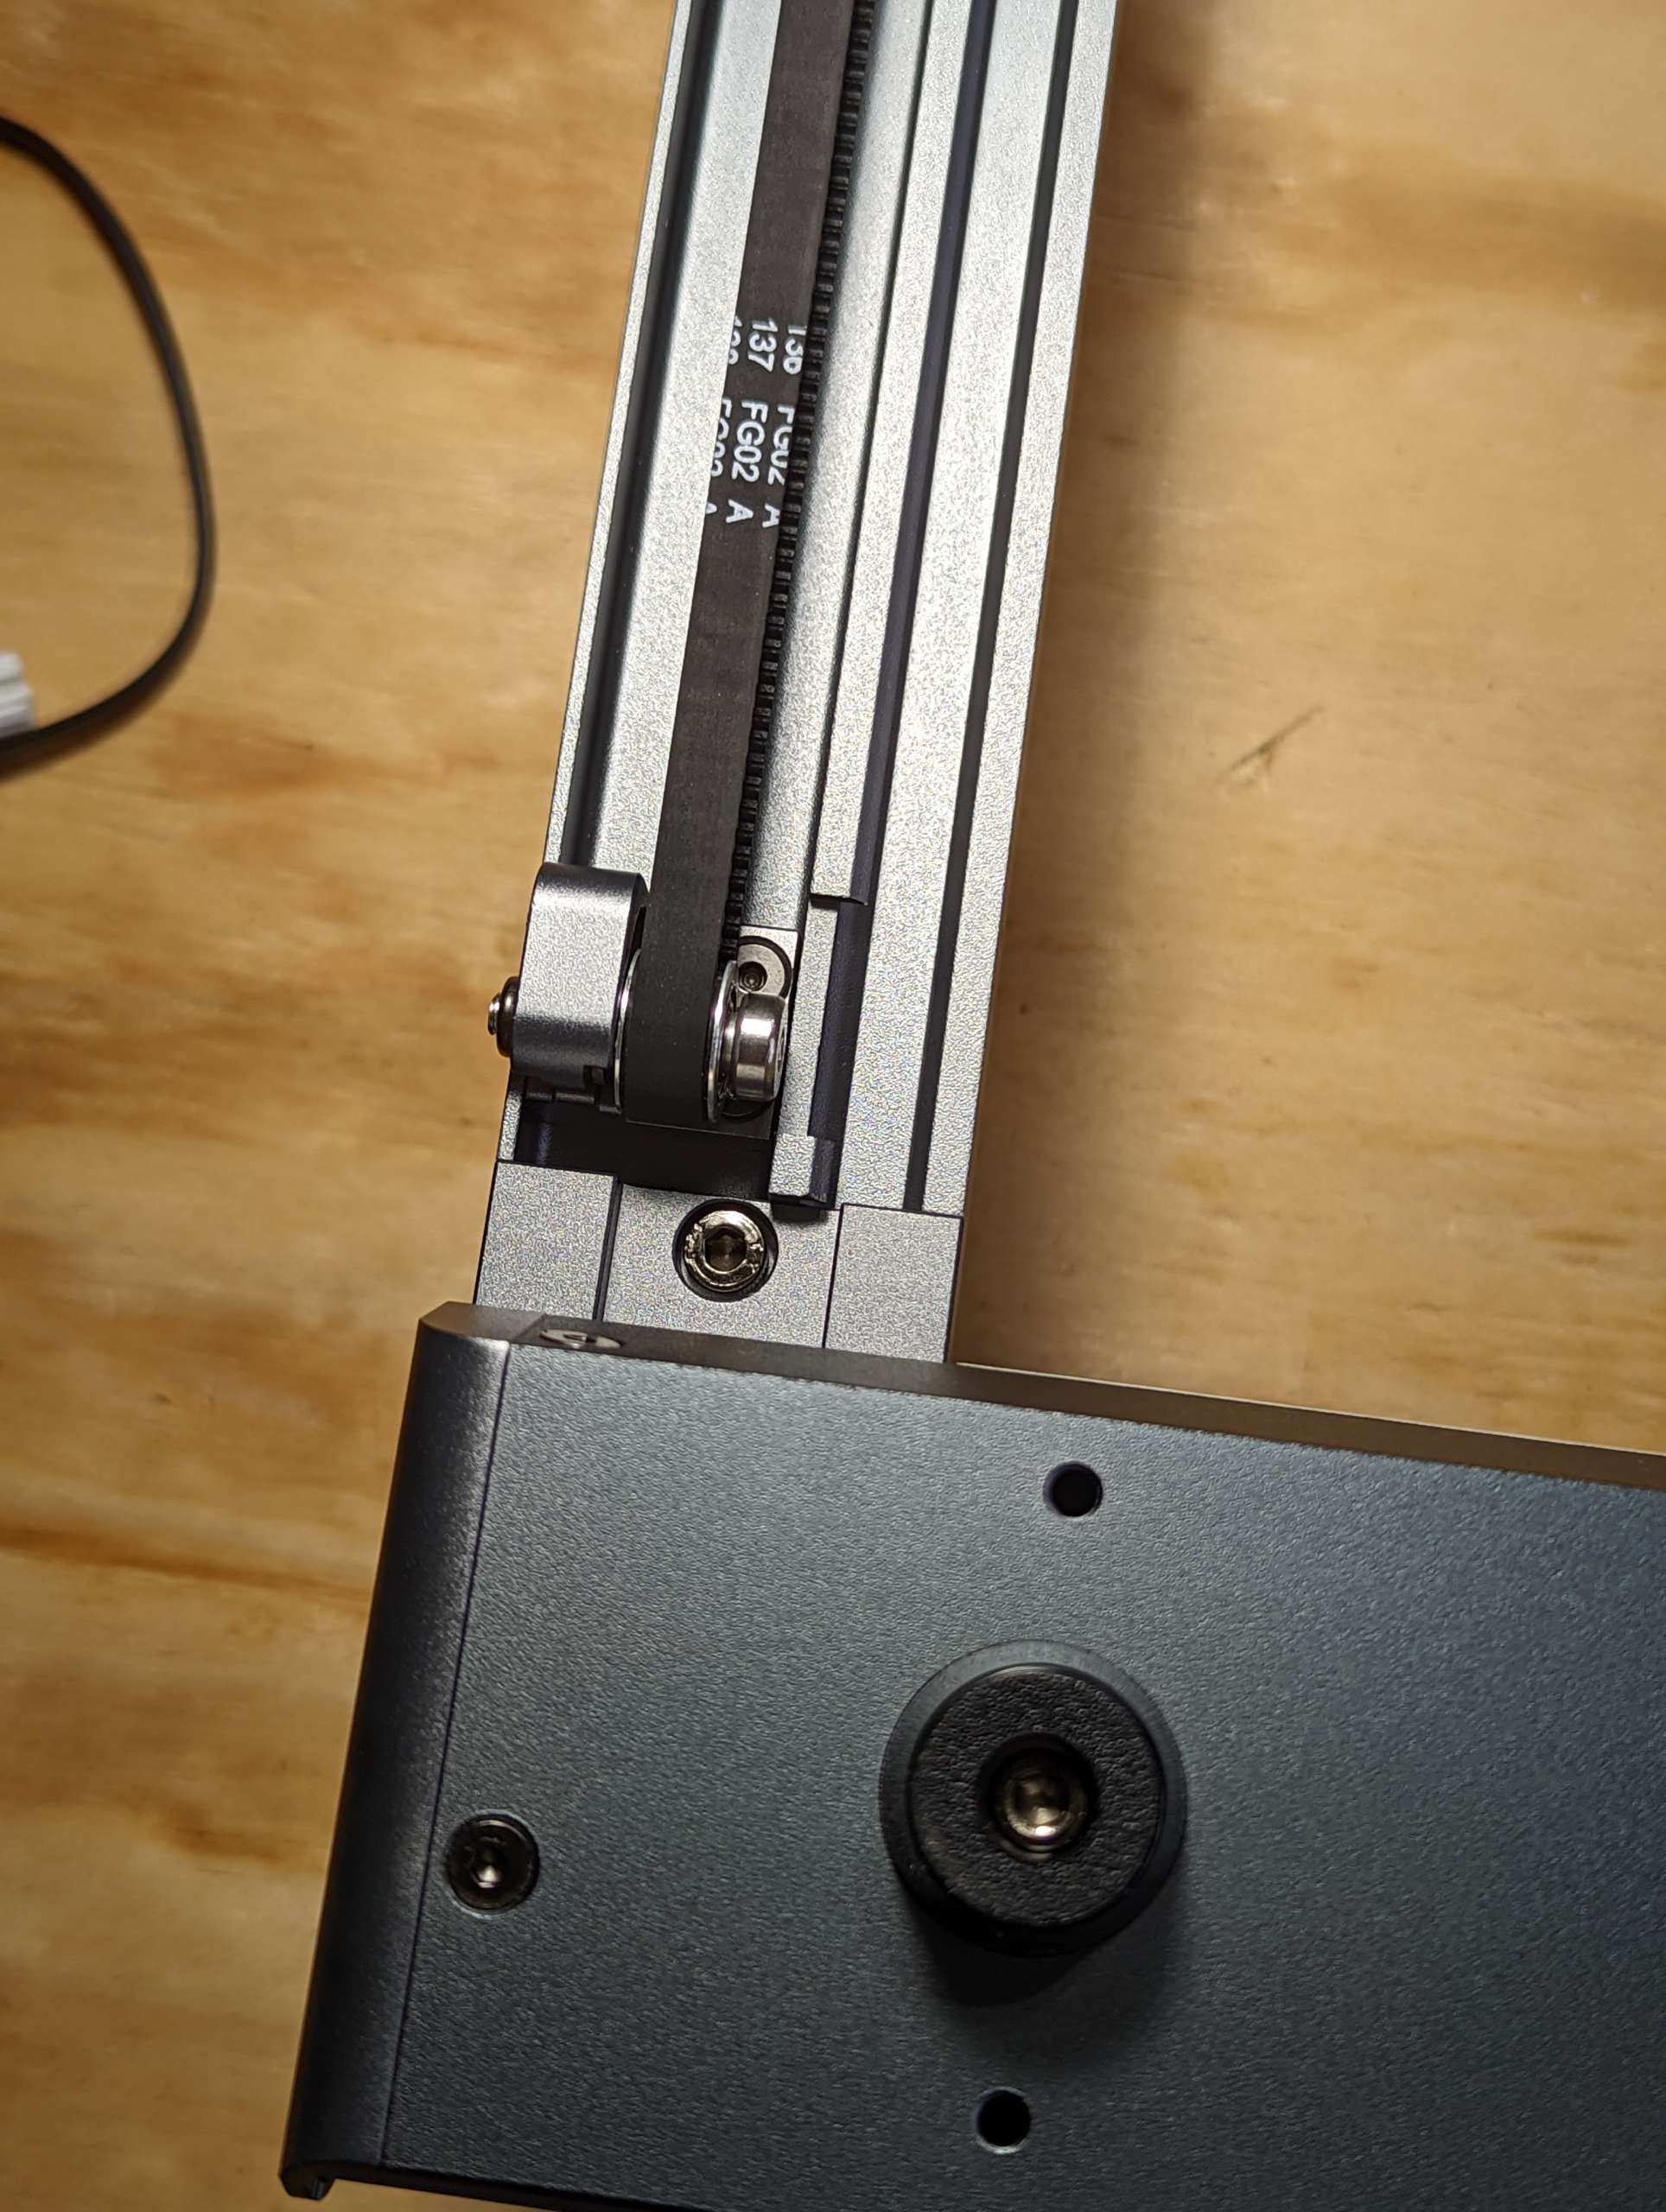
Design and features
The Ortur Laser Master 3 laser engraver arrived sufficiently packaged and following the assembly manual included on the SD card was quick to assemble. Unfortunately, updating the firmware and connecting the app was a journey in trial and error. You will need to reference three different manuals to do this and I would recommend reading all of the manuals in full before you attempt to set it up. This would have saved me some time because the very last paragraph in one manual stated that if you do not insert an SD card into the slot you may experience issues. I was not aware that the SD card acts as the memory repository for the machine. In the 3D printing world the SD card is just used to transfer print files so I did not even think about inserting it. This would have been good to know before I repeatedly failed to update the firmware because I didn’t have the SD card inserted. I’ll take the hit on that mistake since I should have read through all the manuals before getting started.
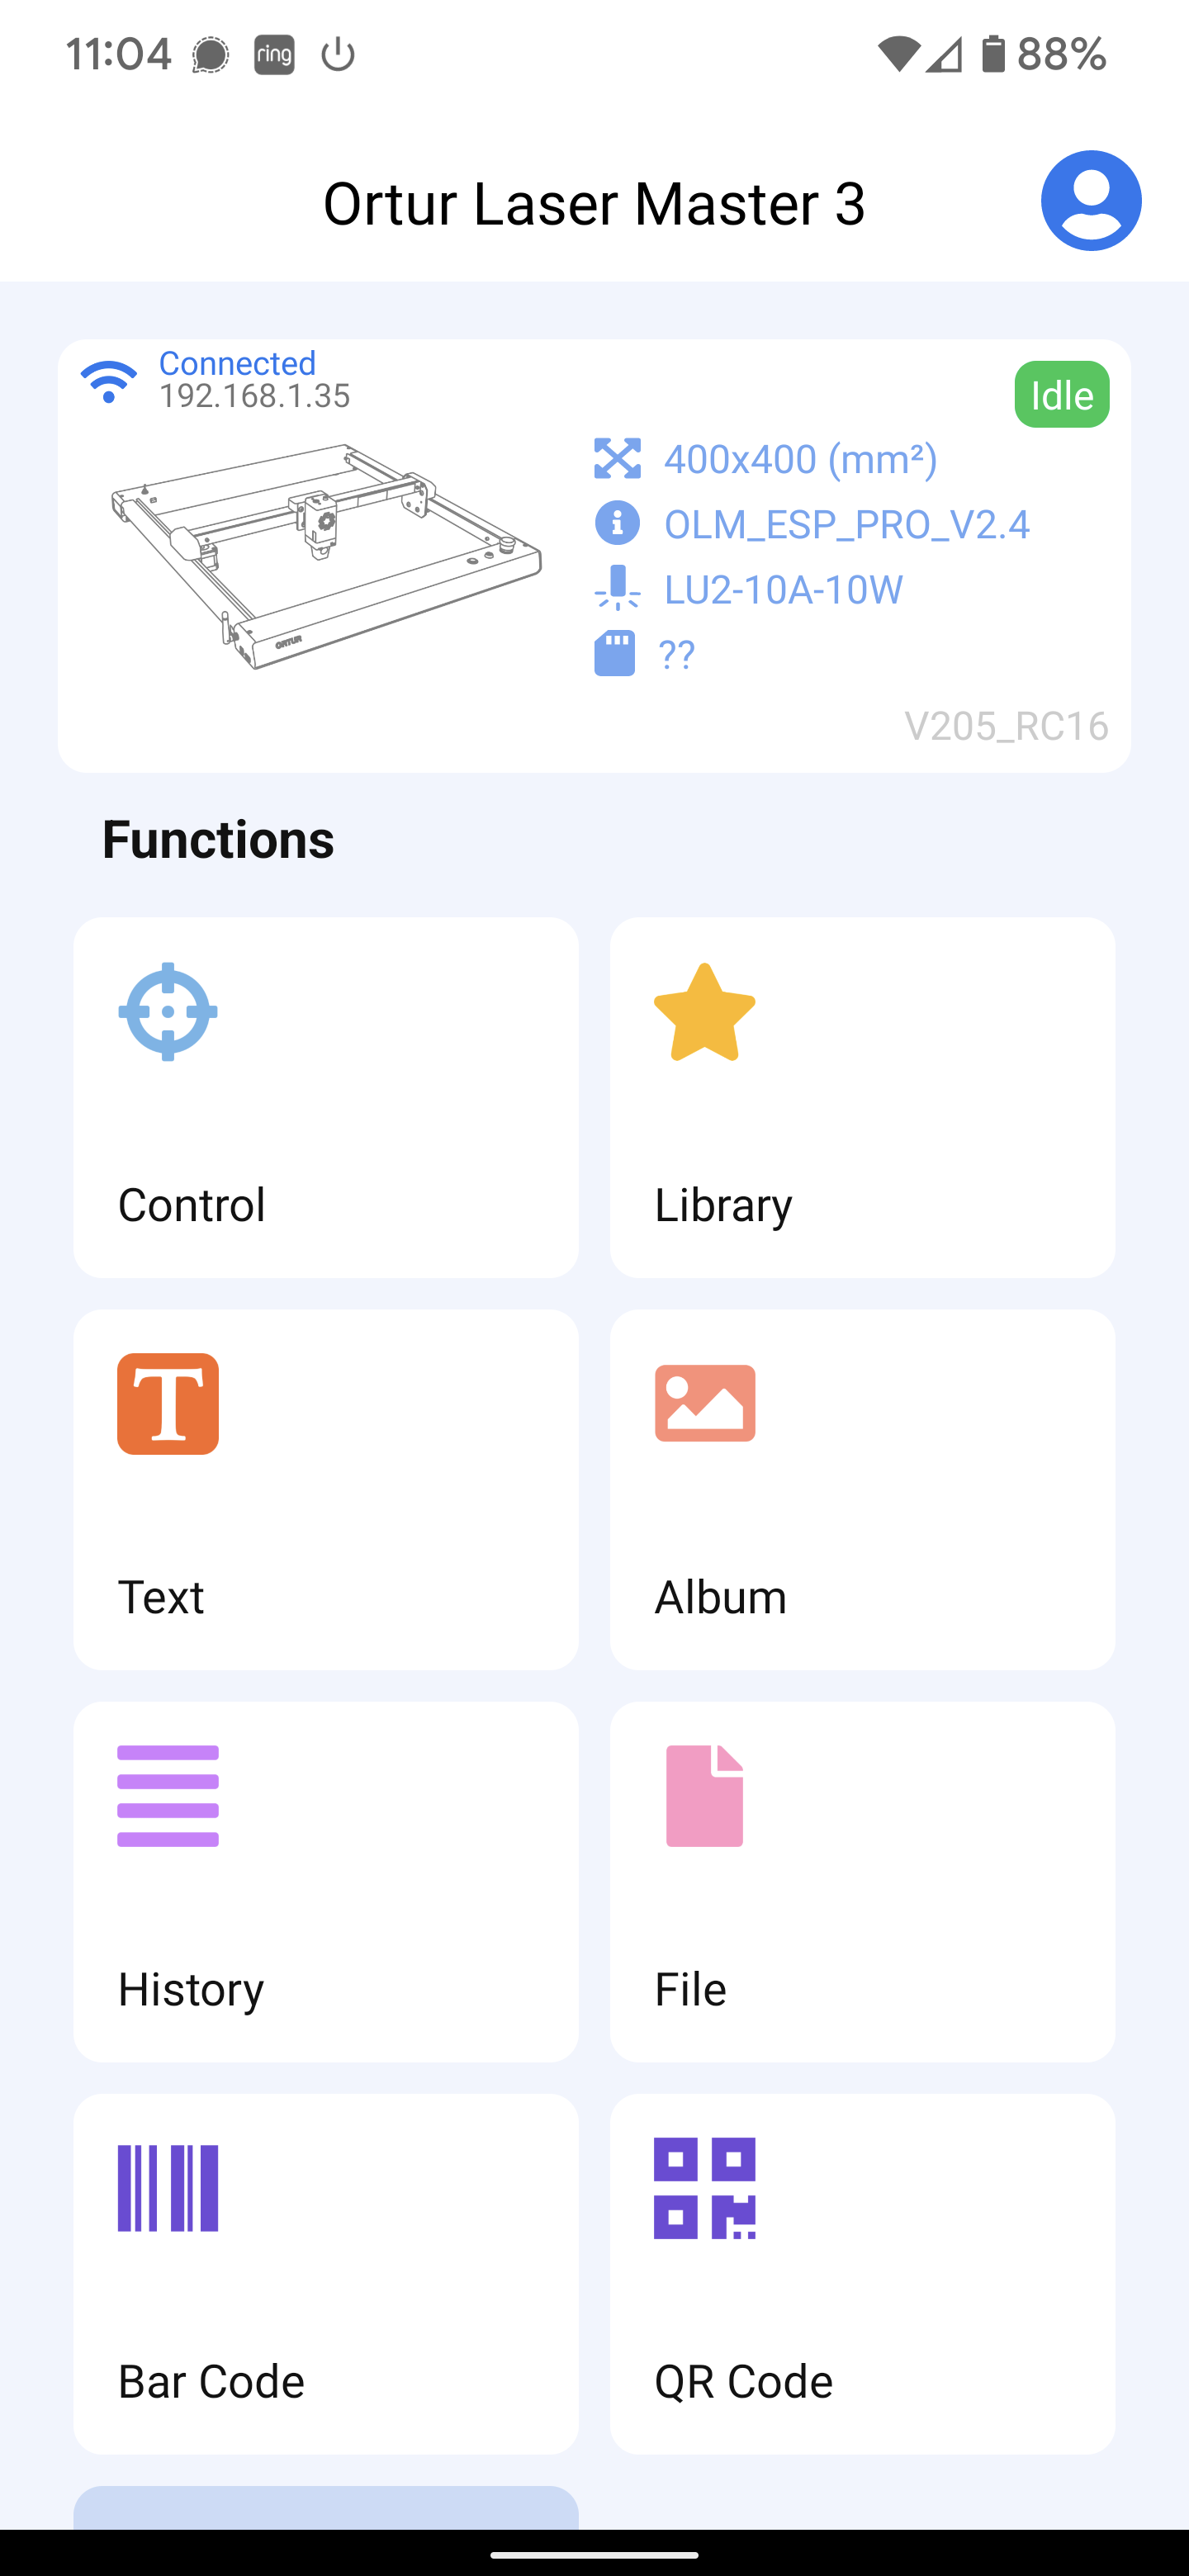
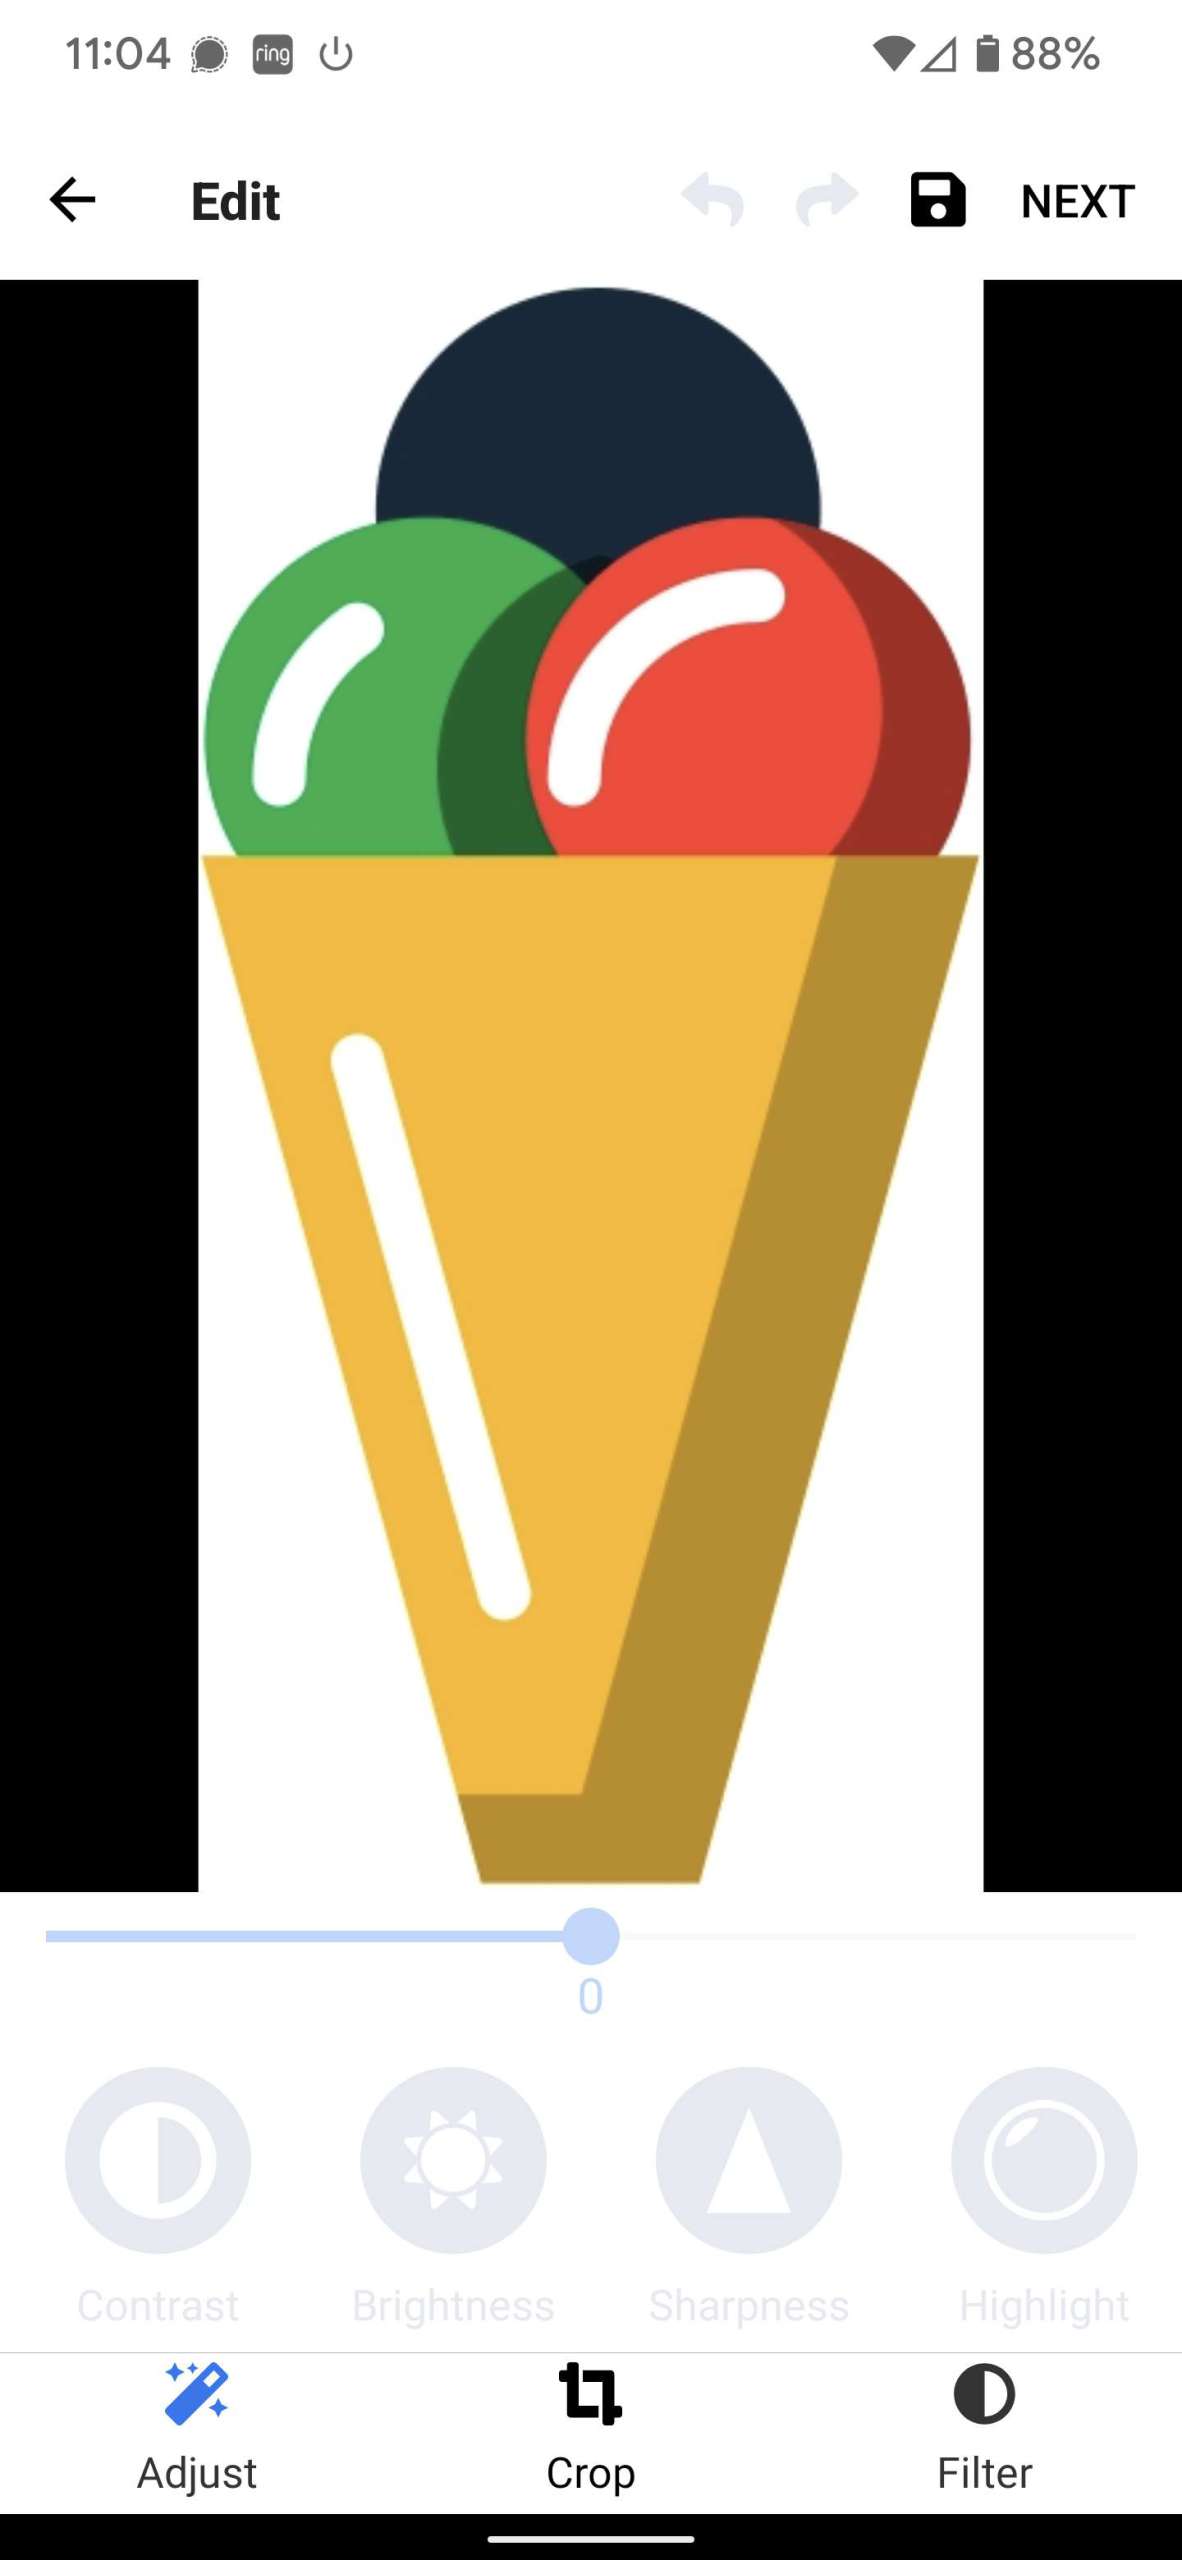
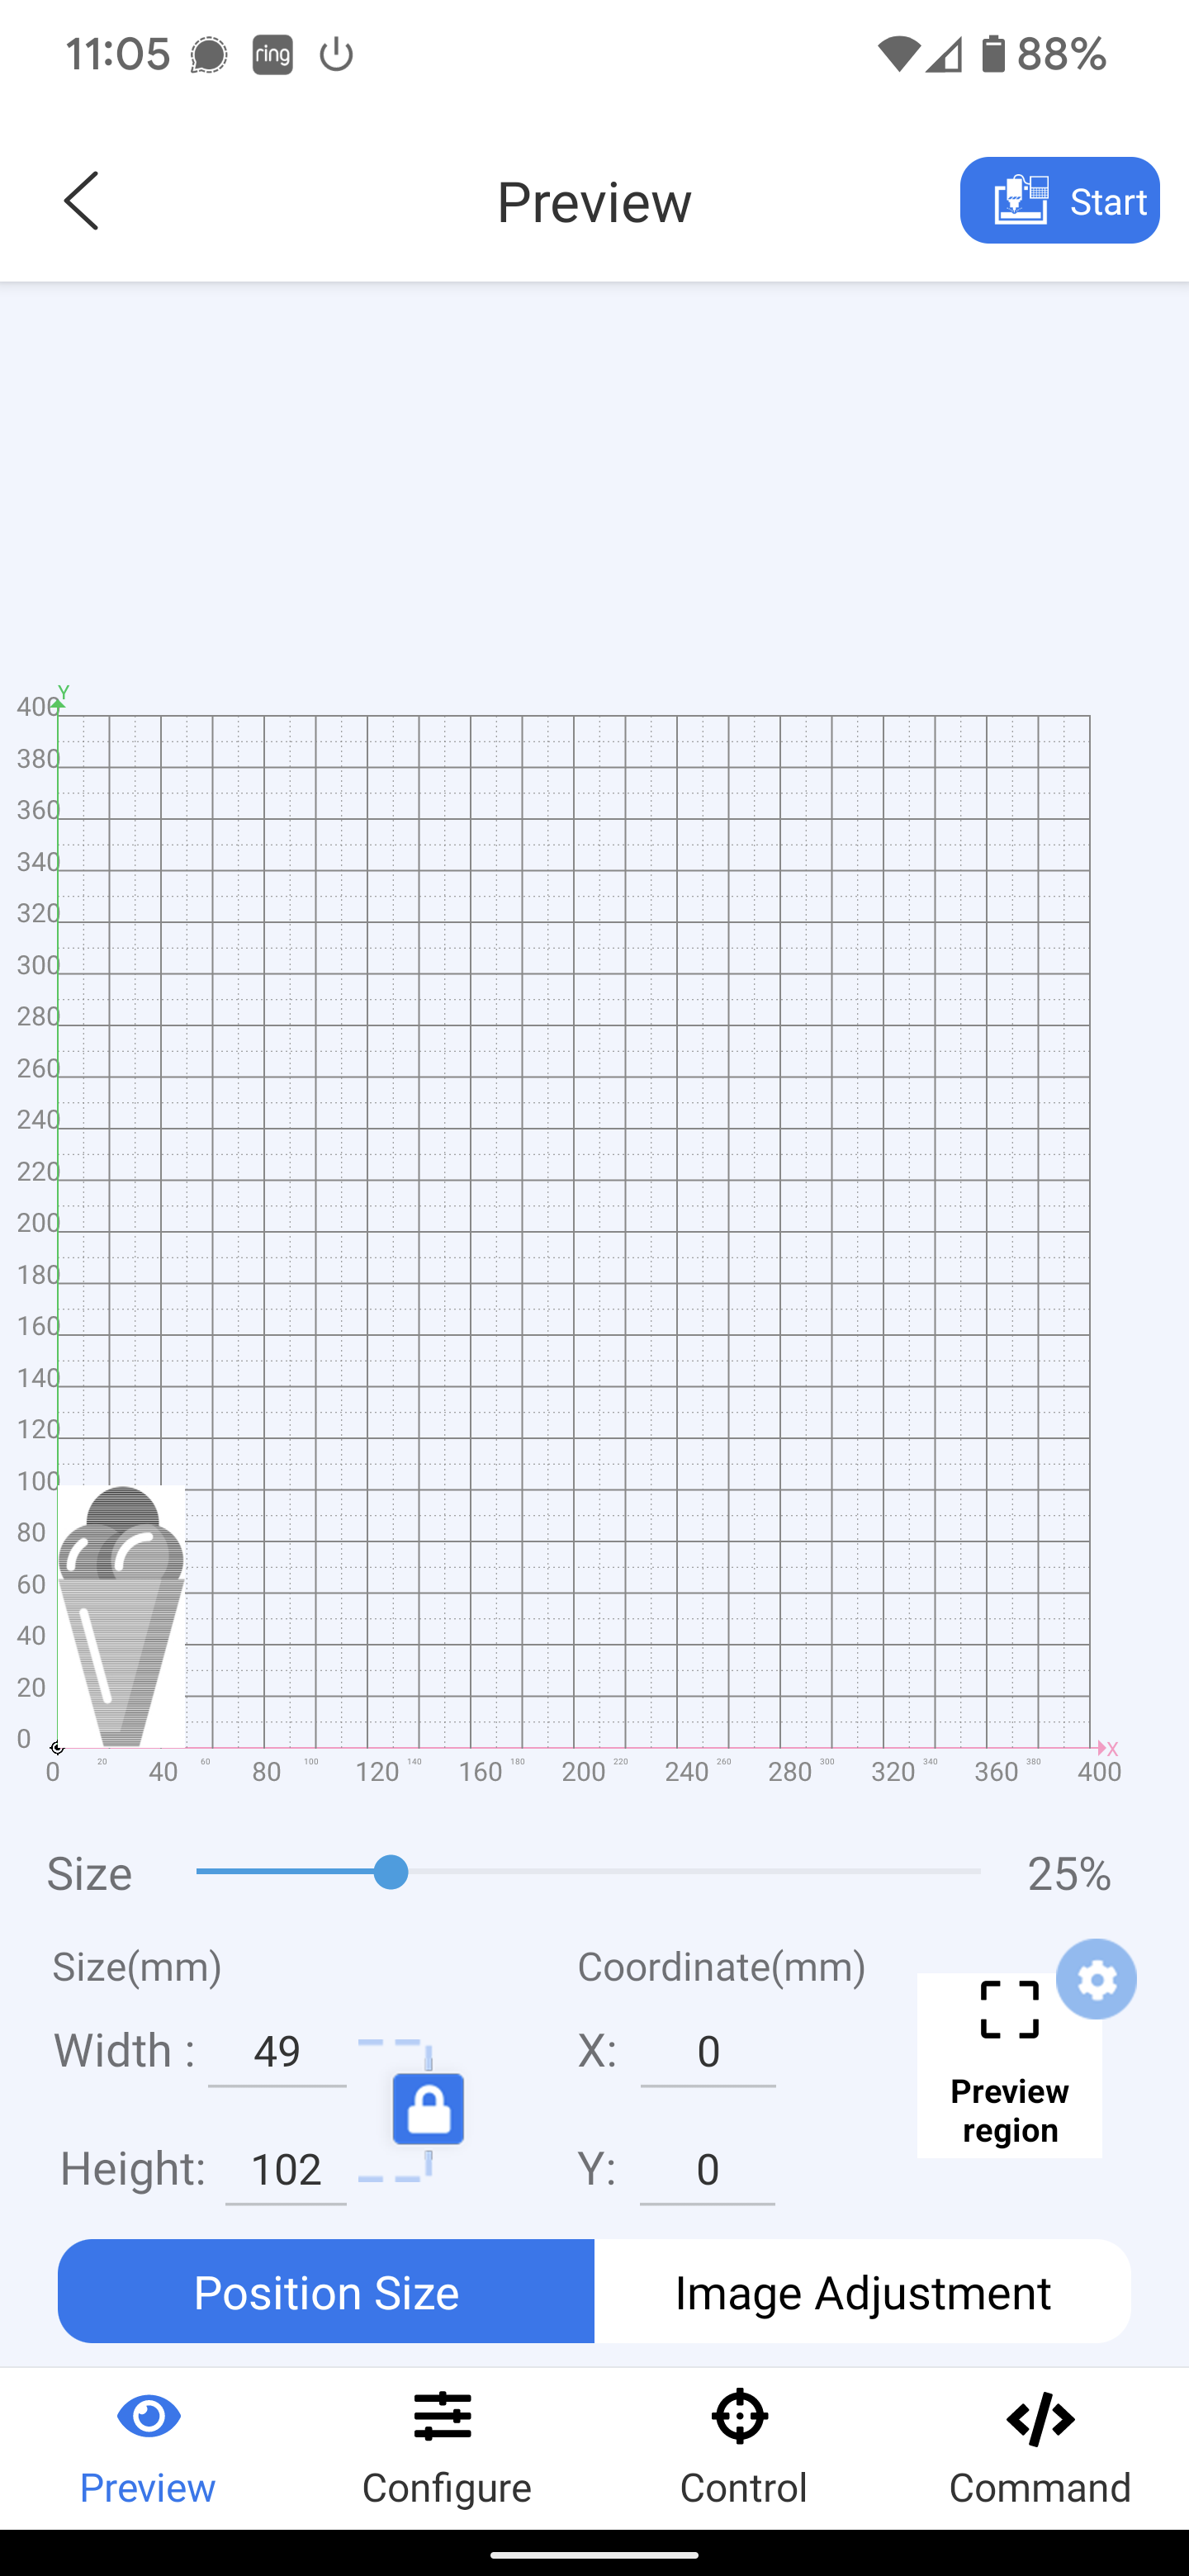
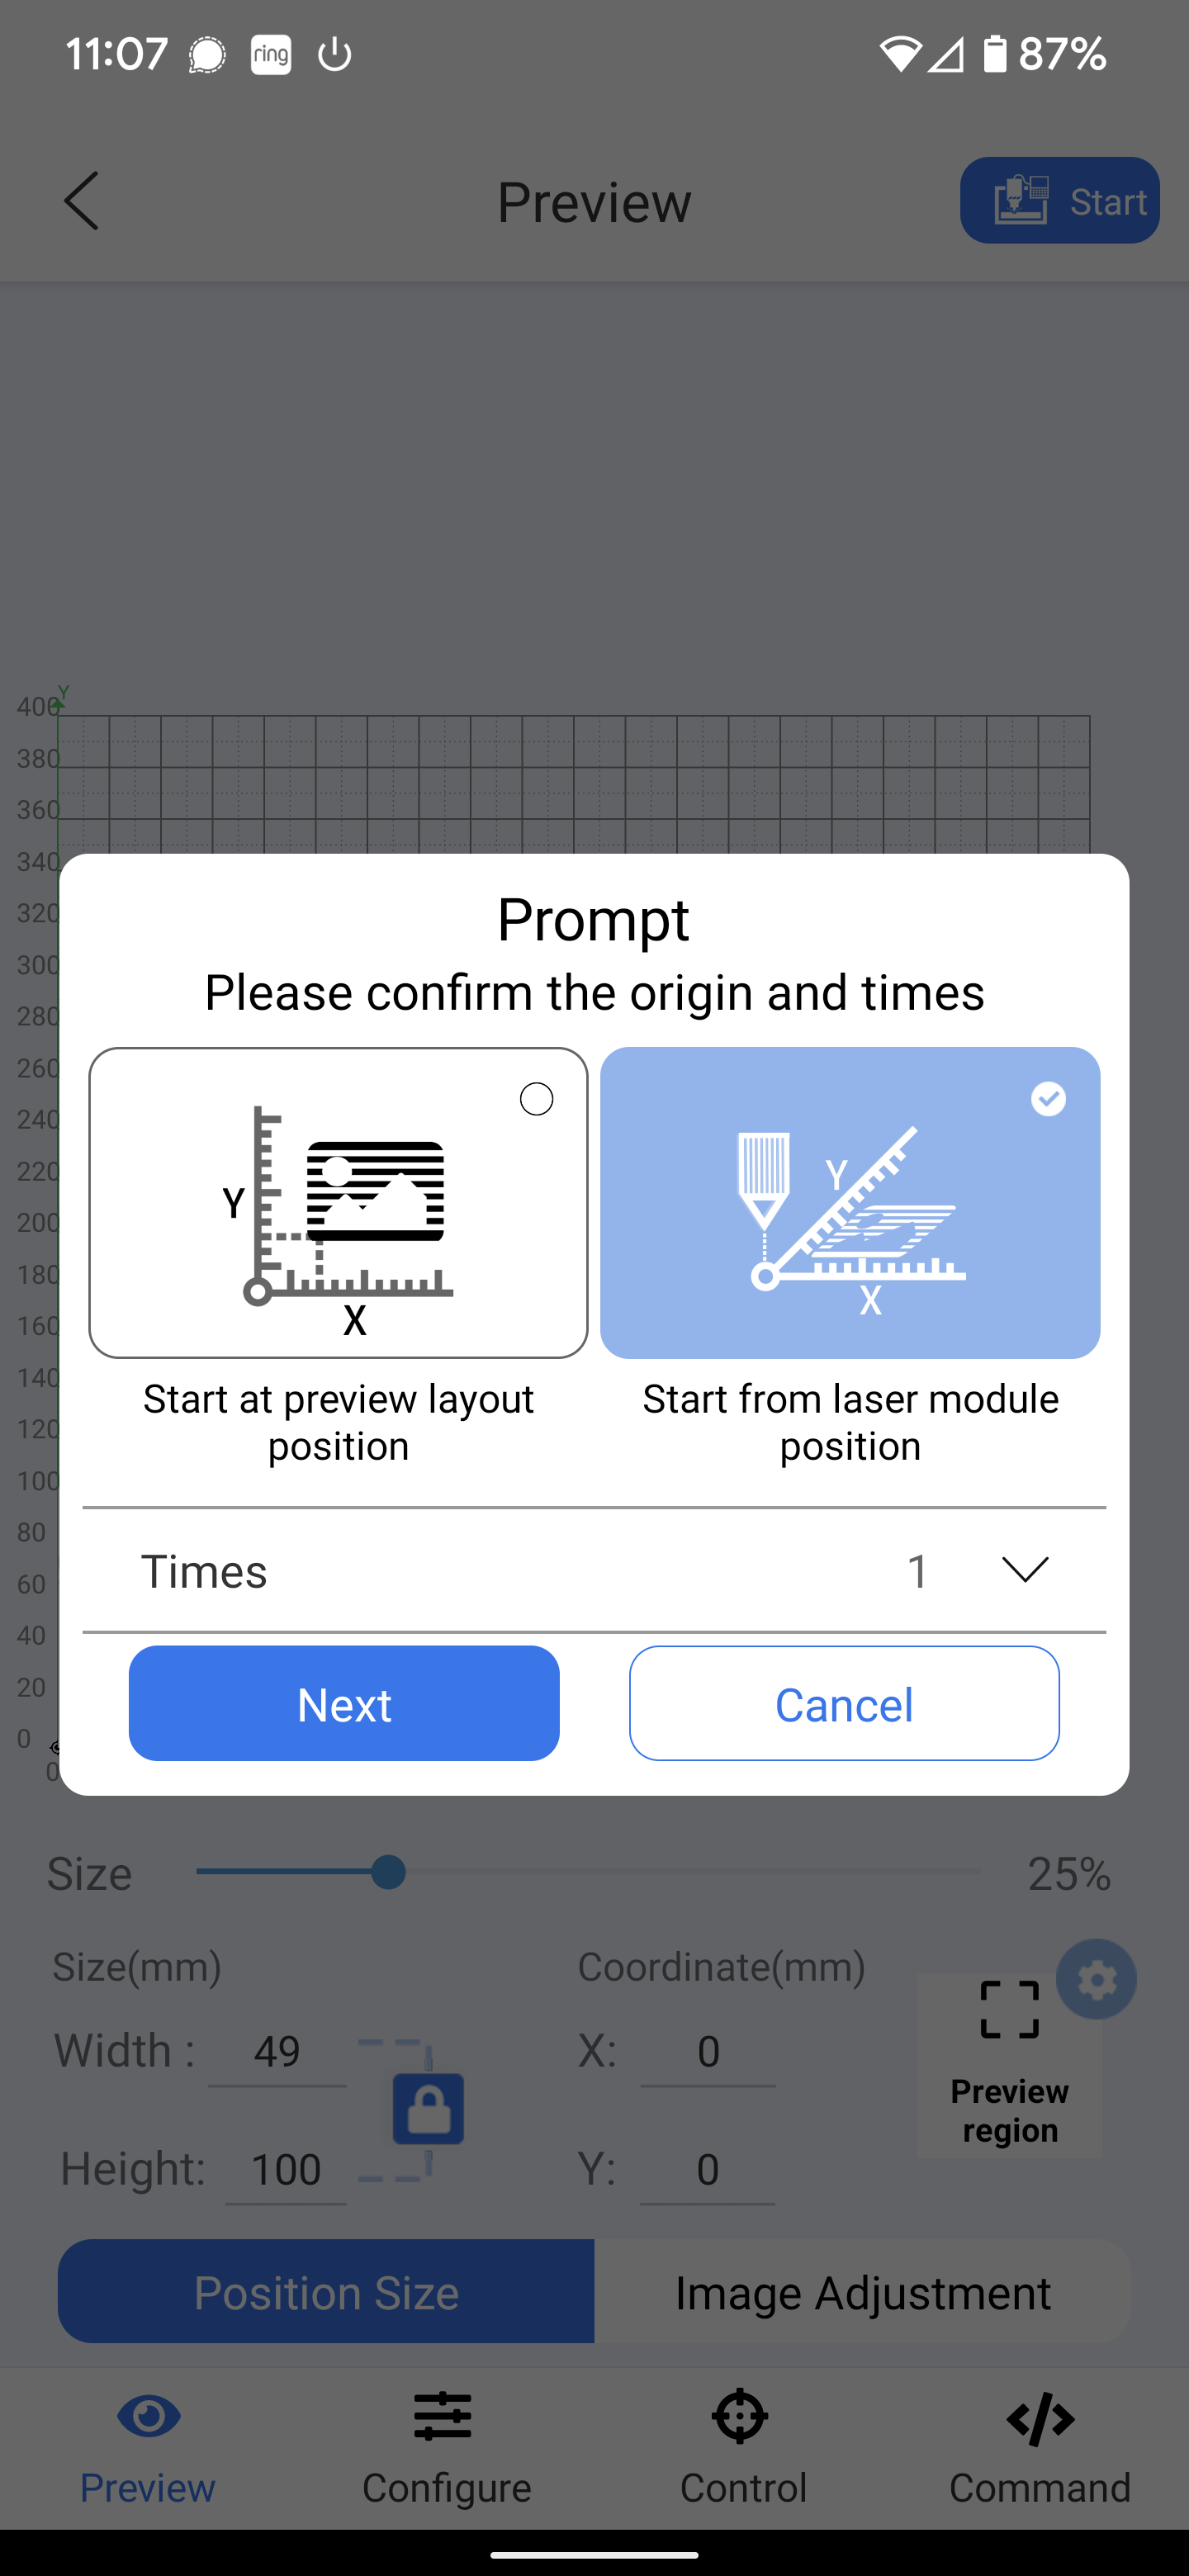
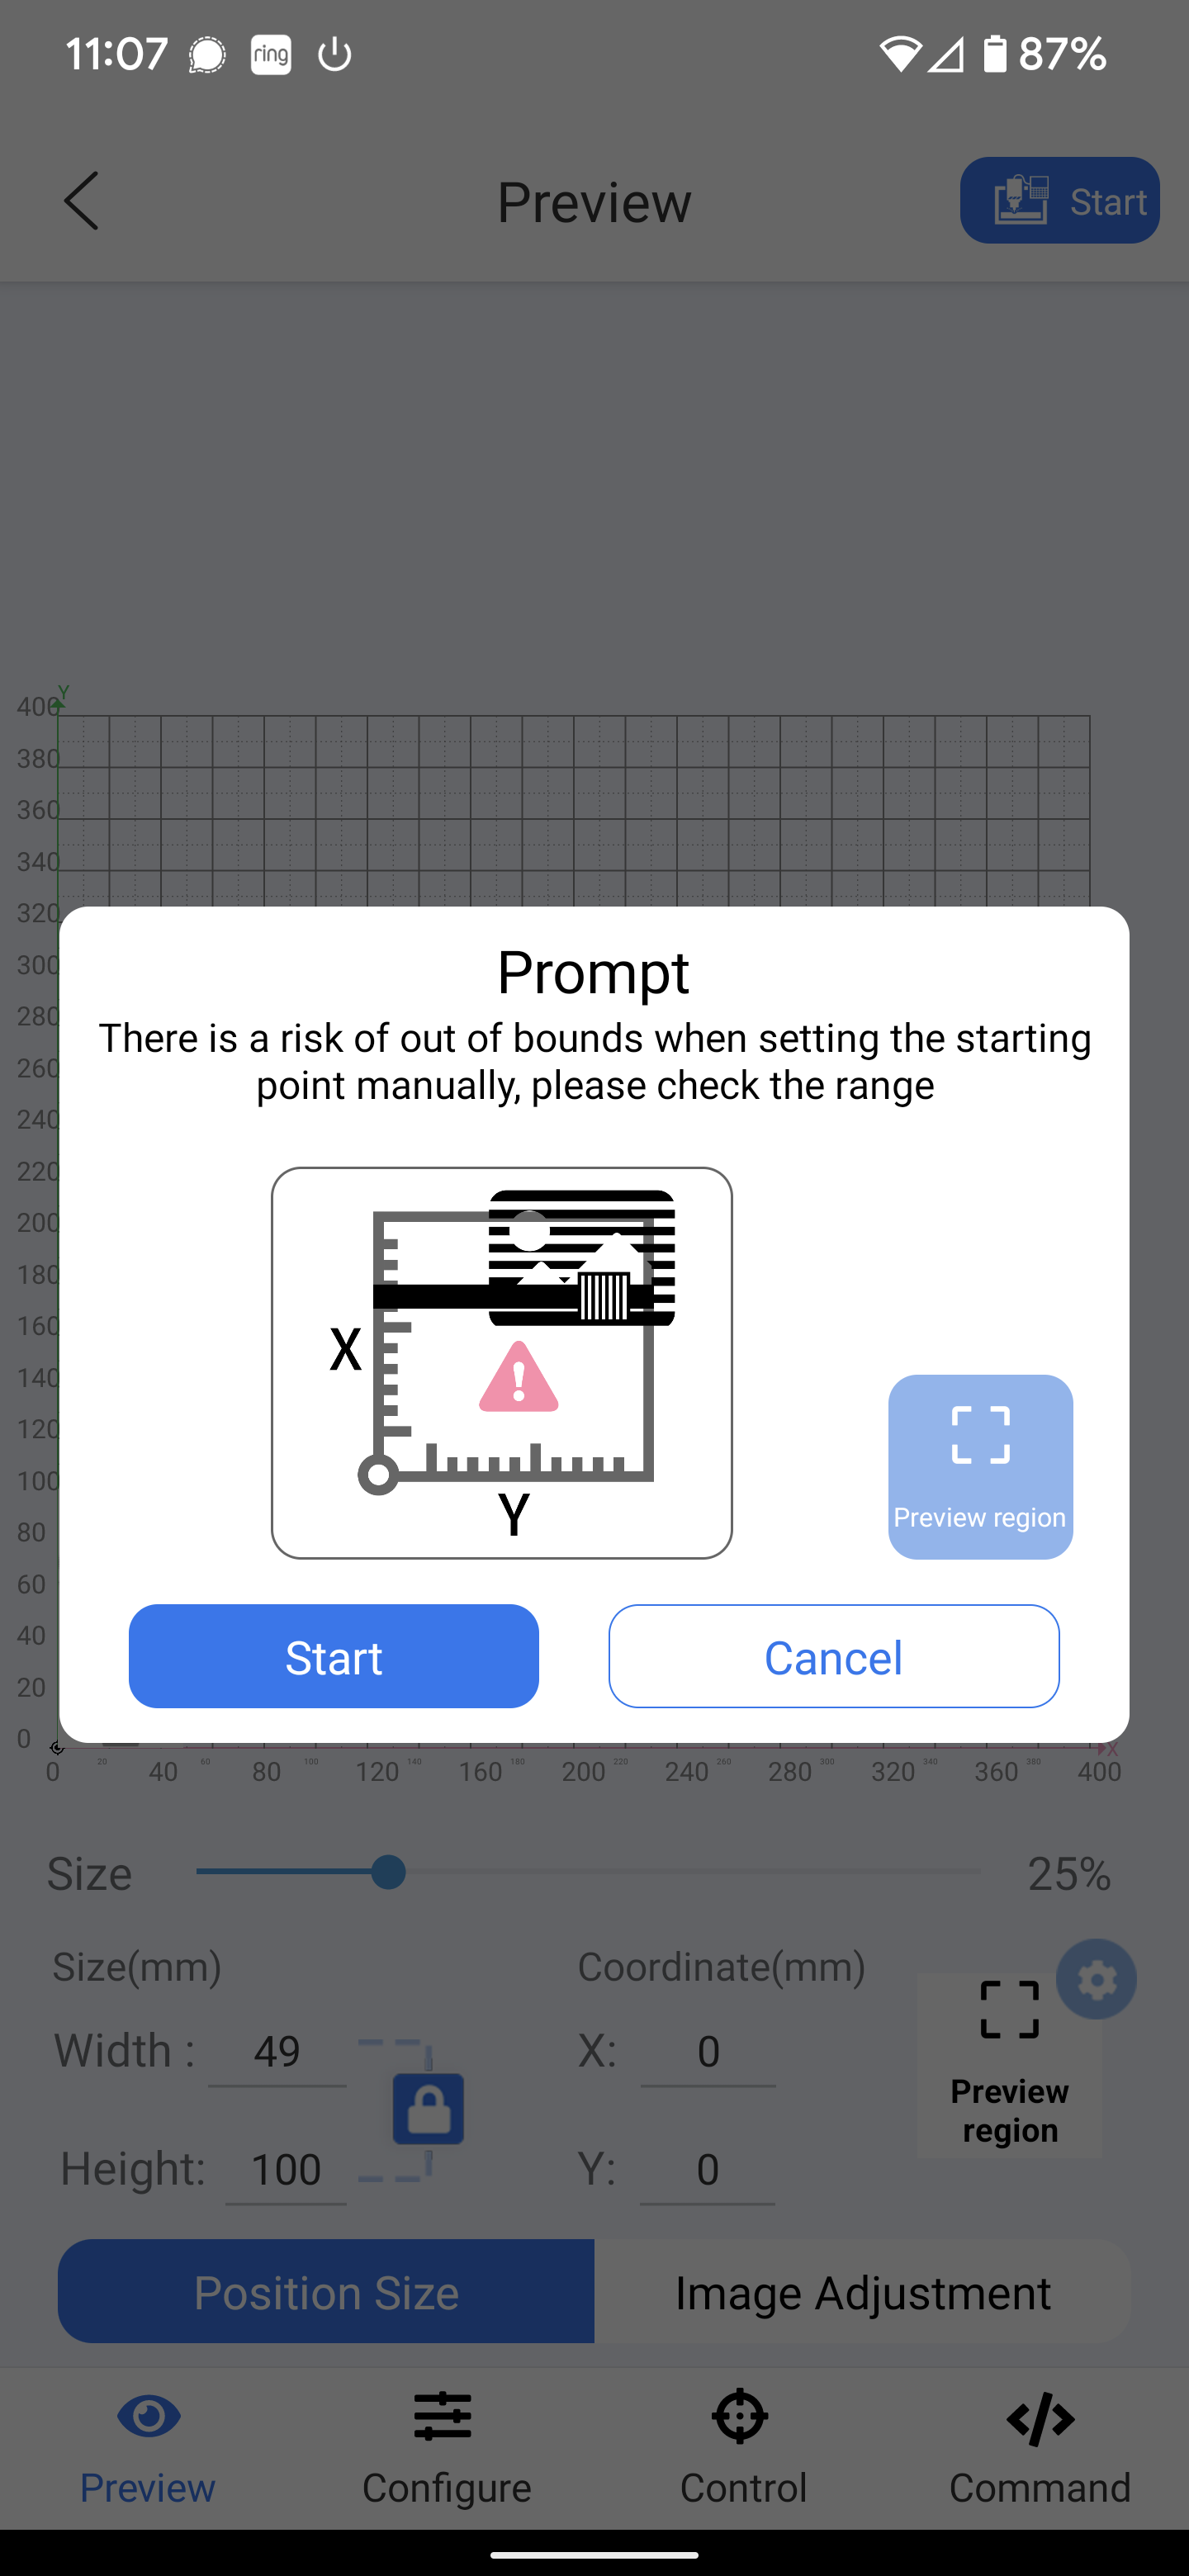
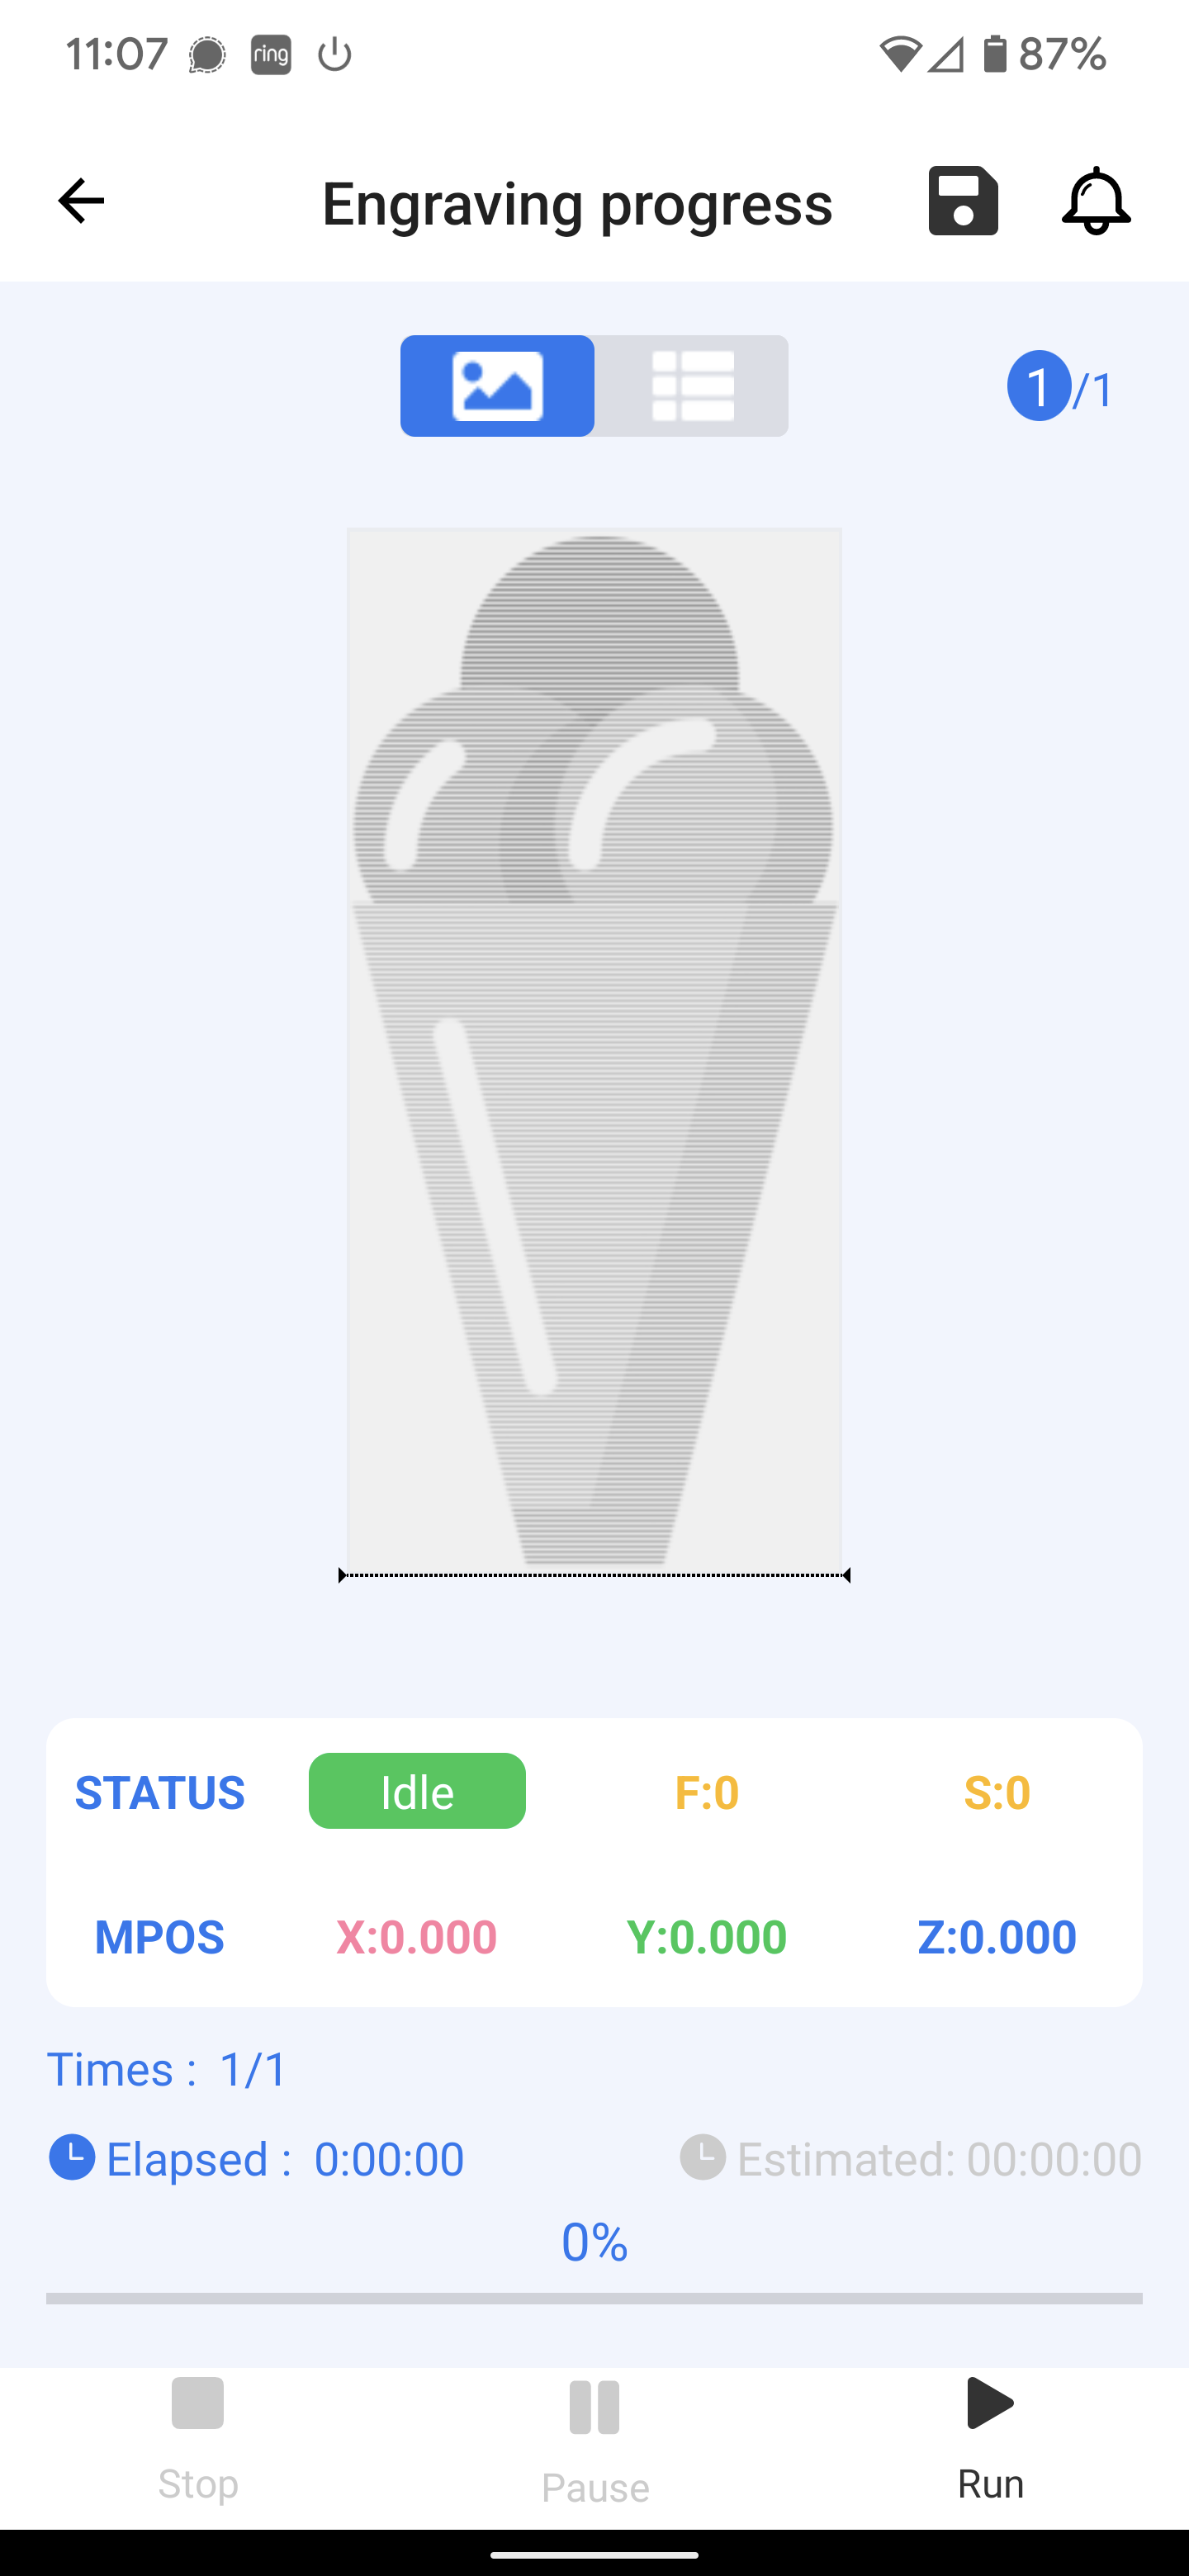
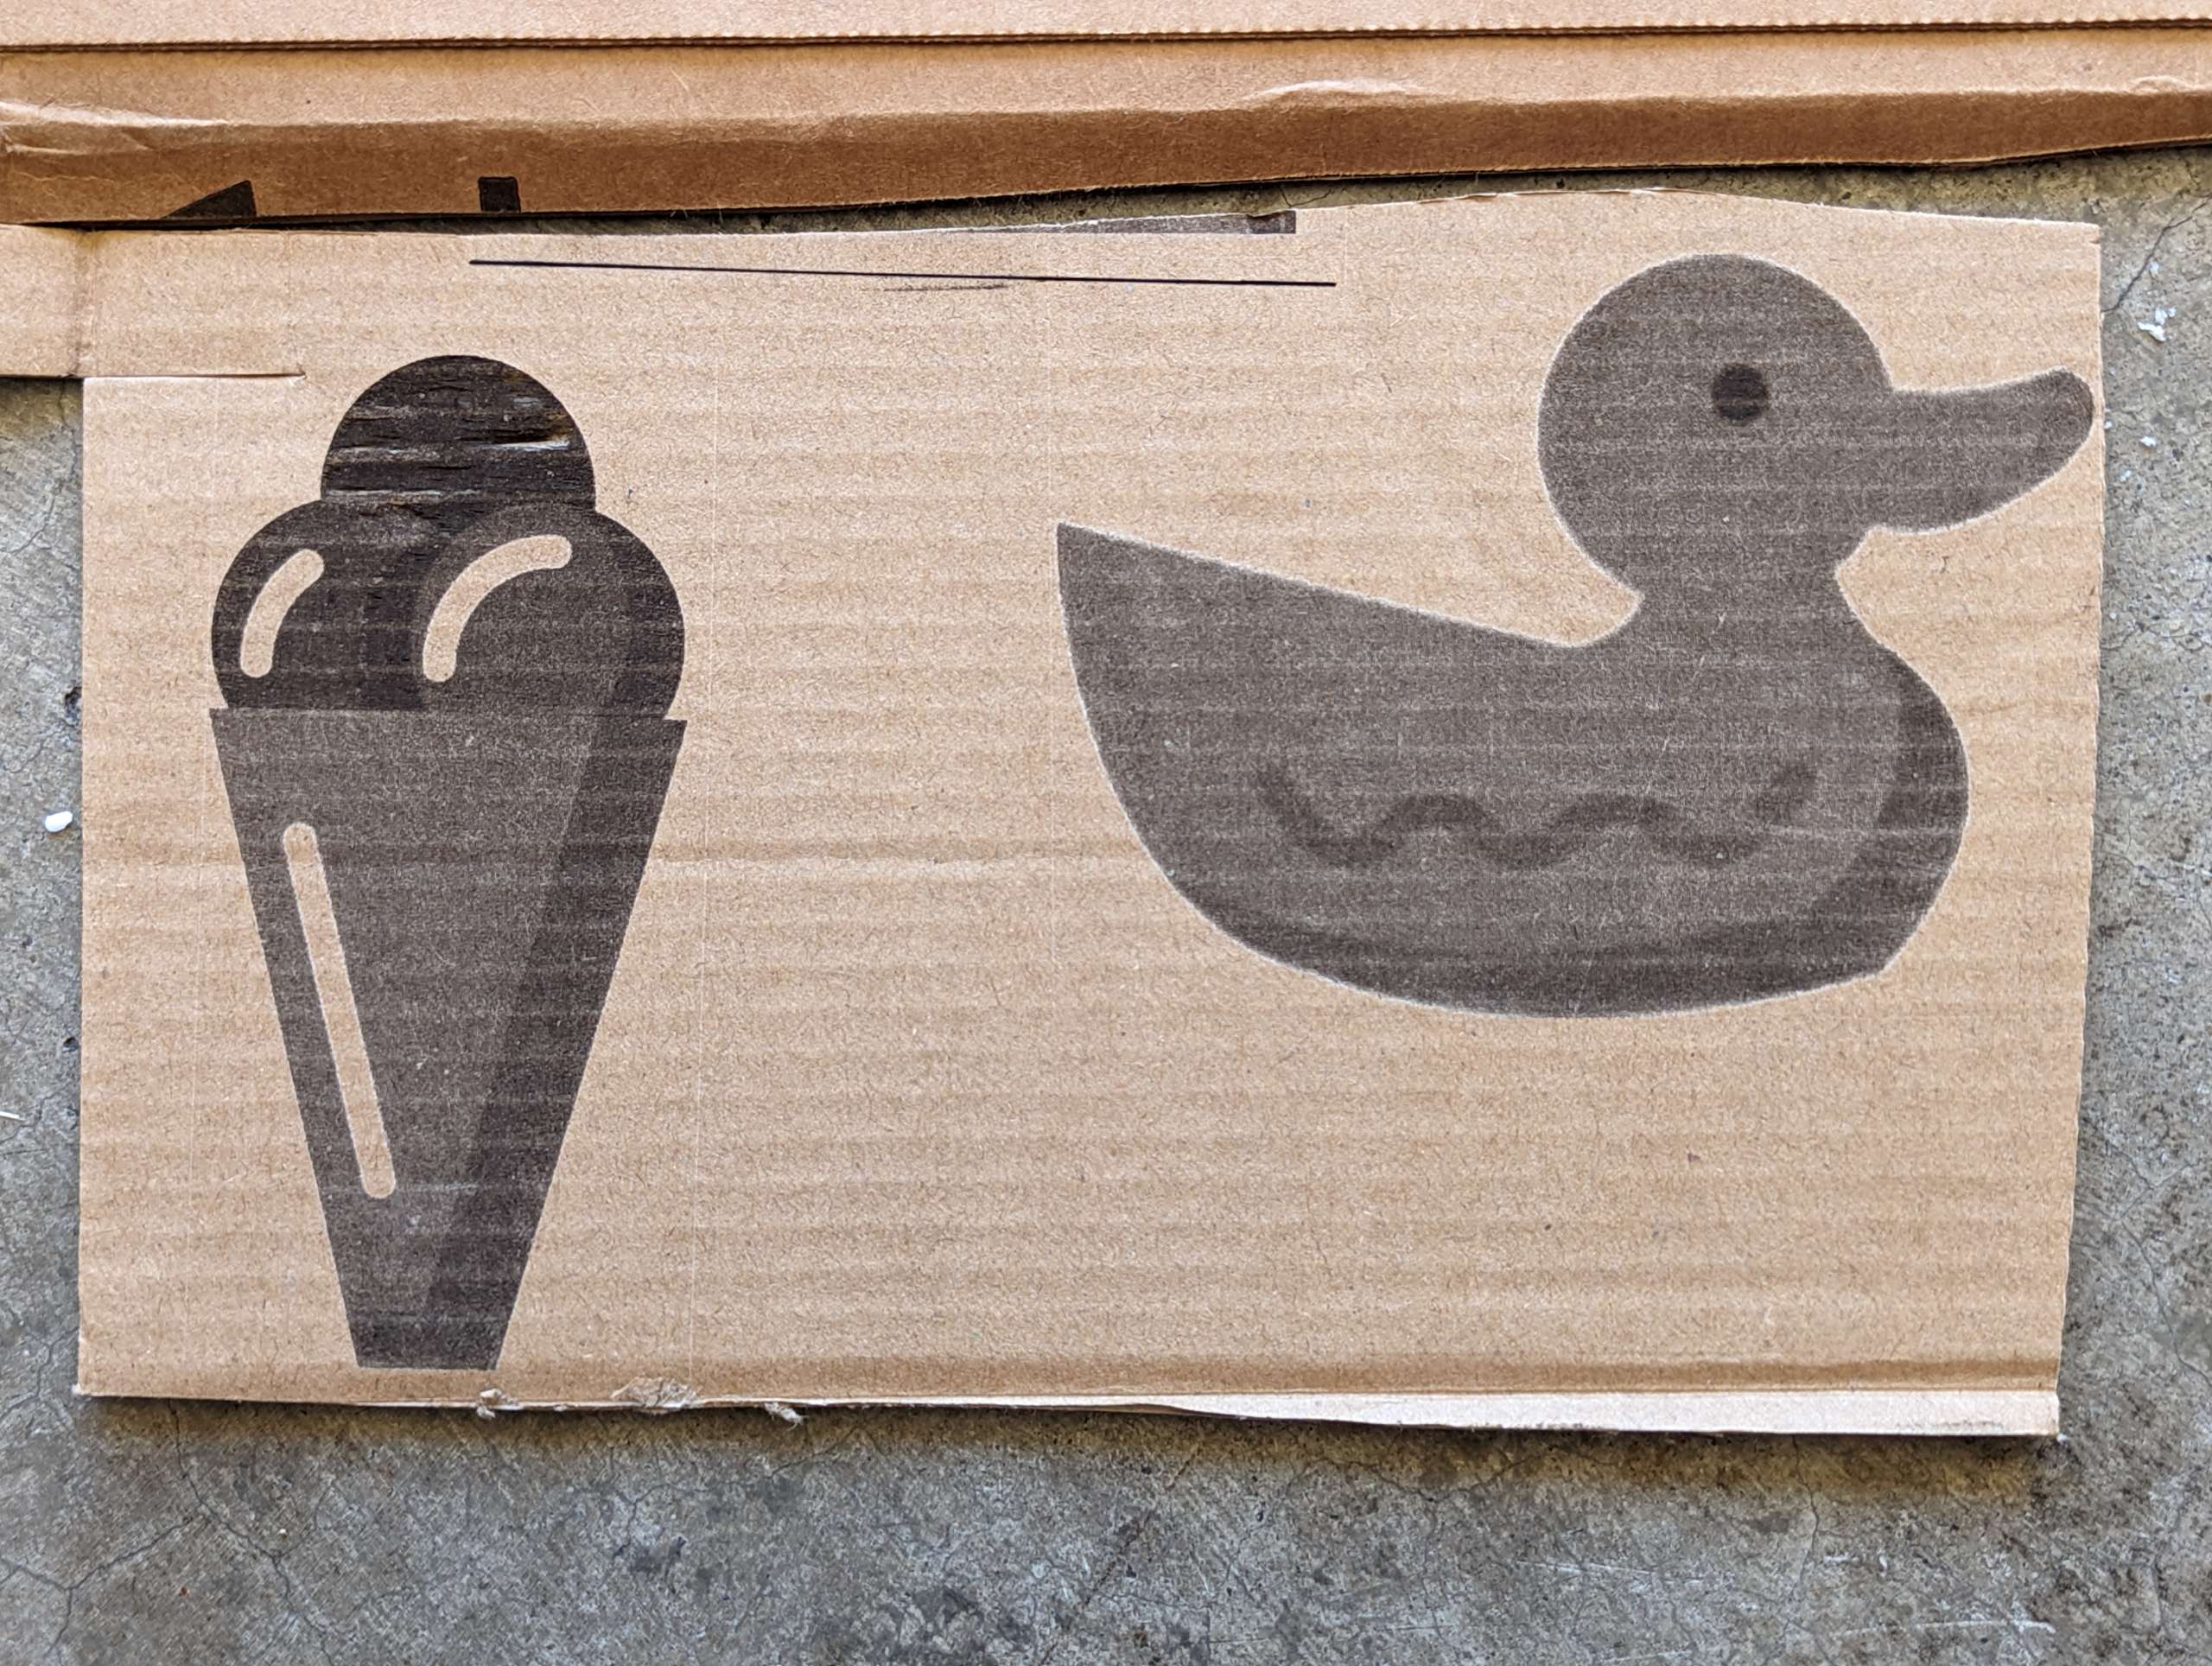
Once I updated the firmware and installed the Laser Explorer app on my phone, connecting to WiFi was relatively easy following the manual and I was able to connect and engrave some test pictures from the app including a duck and ice cream cone. The Laser Explorer app was actually the easiest interface to use compared to the PC based LaserGRBL and LightBurn. Being a total newbie to laser engraving the app gave me a good preview of the most common settings and functions to control the laser and it allowed me to easily print pictures I had taken on my phone.
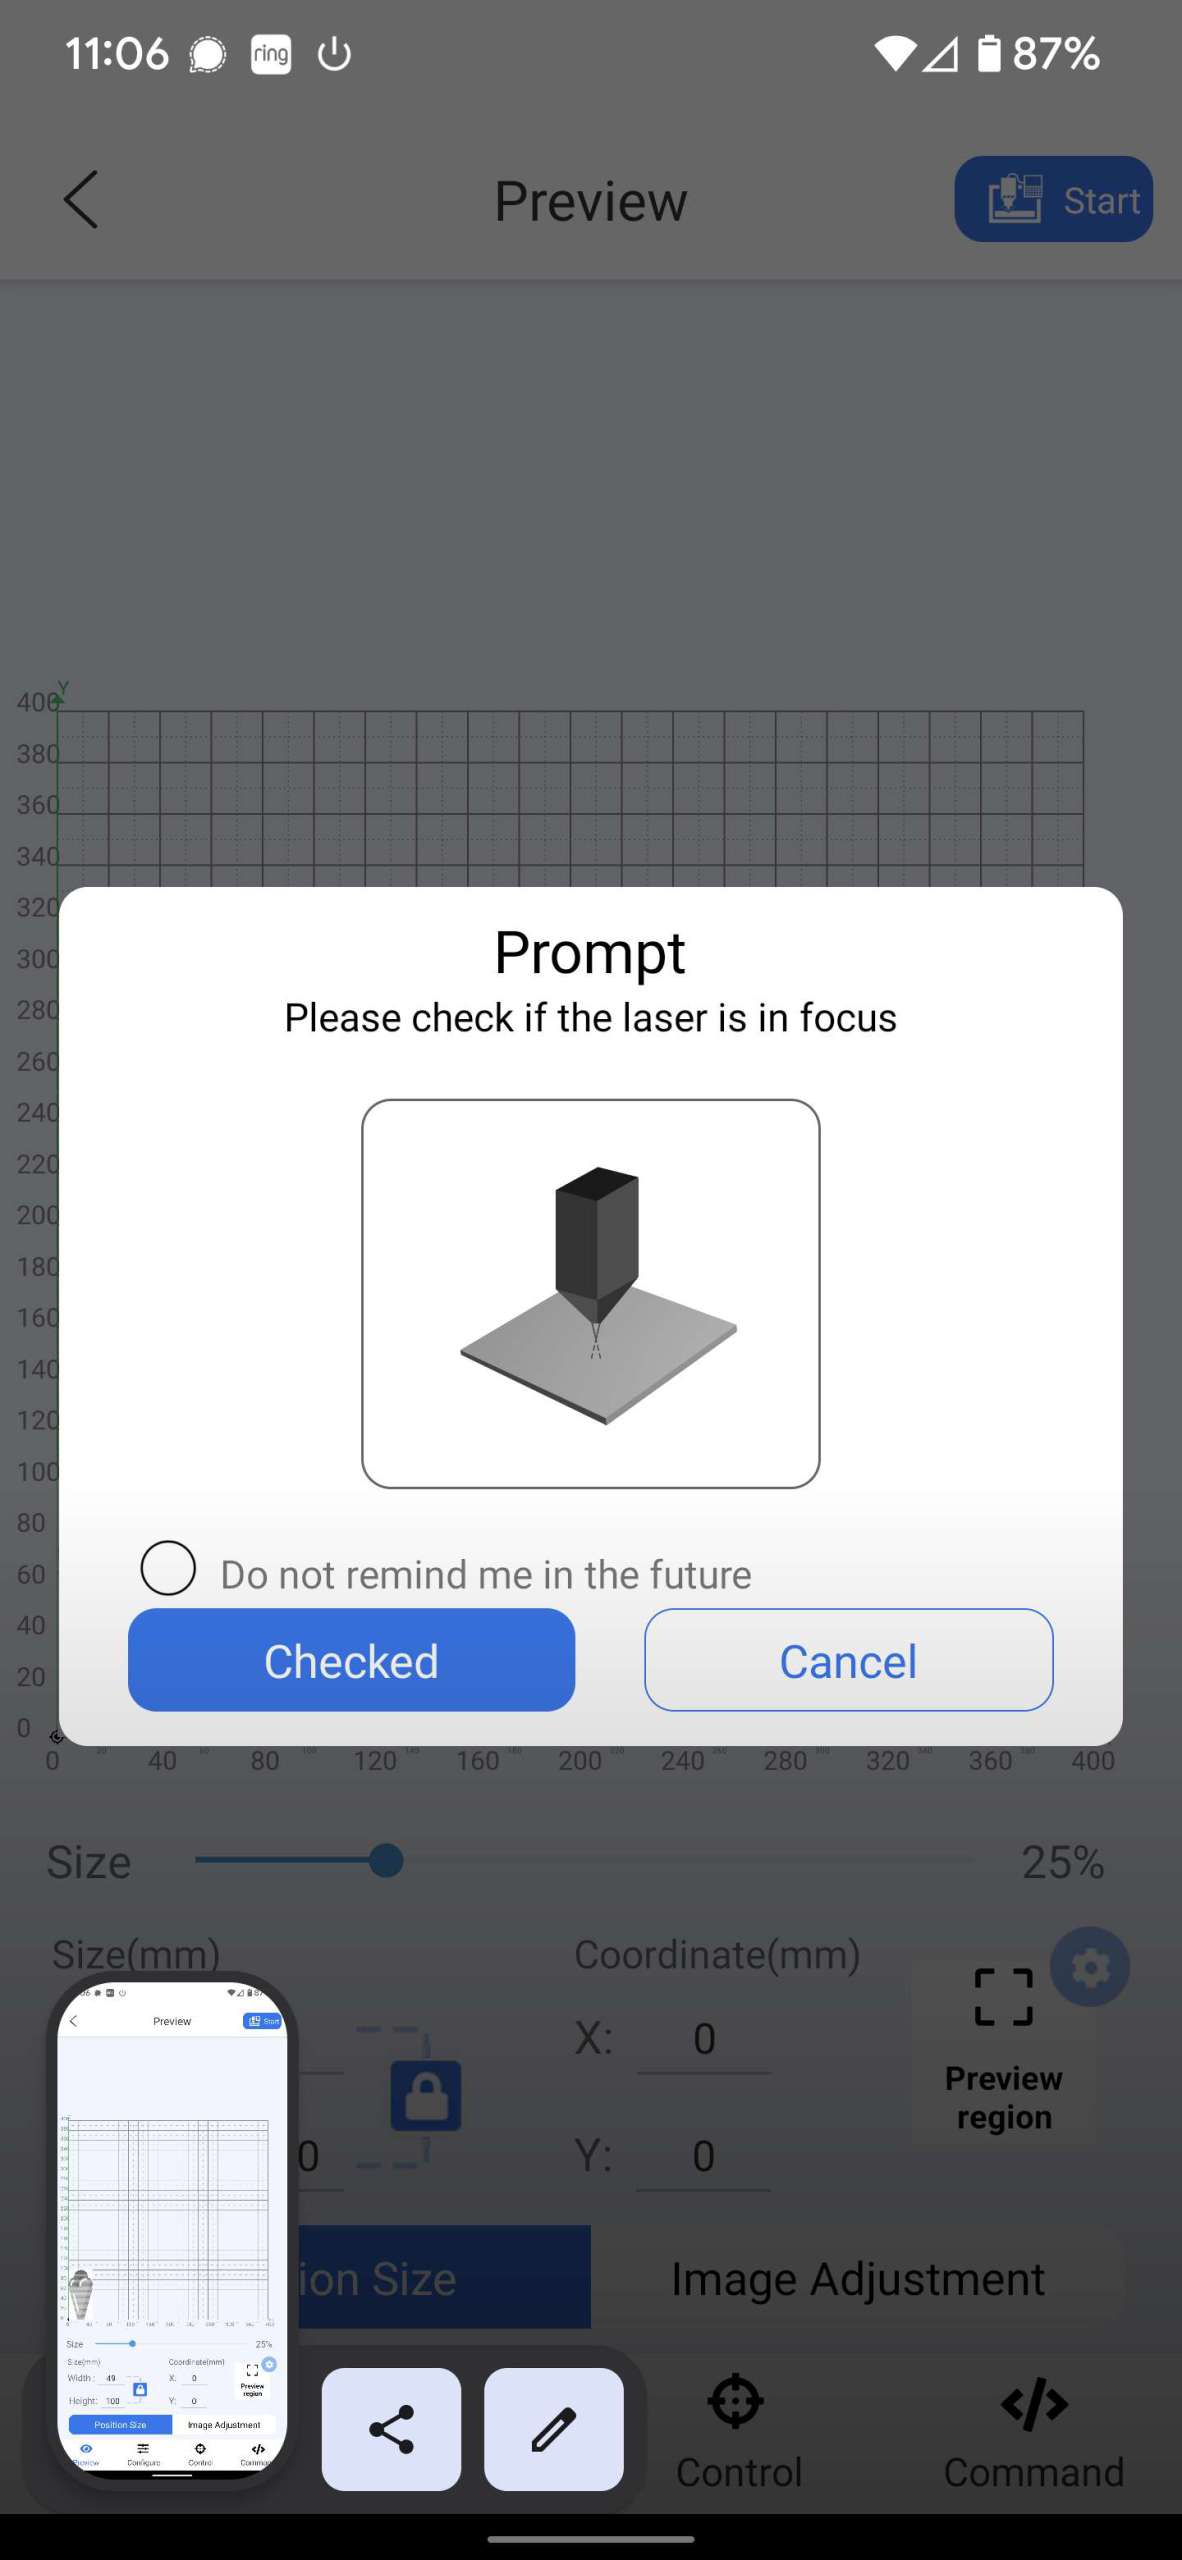
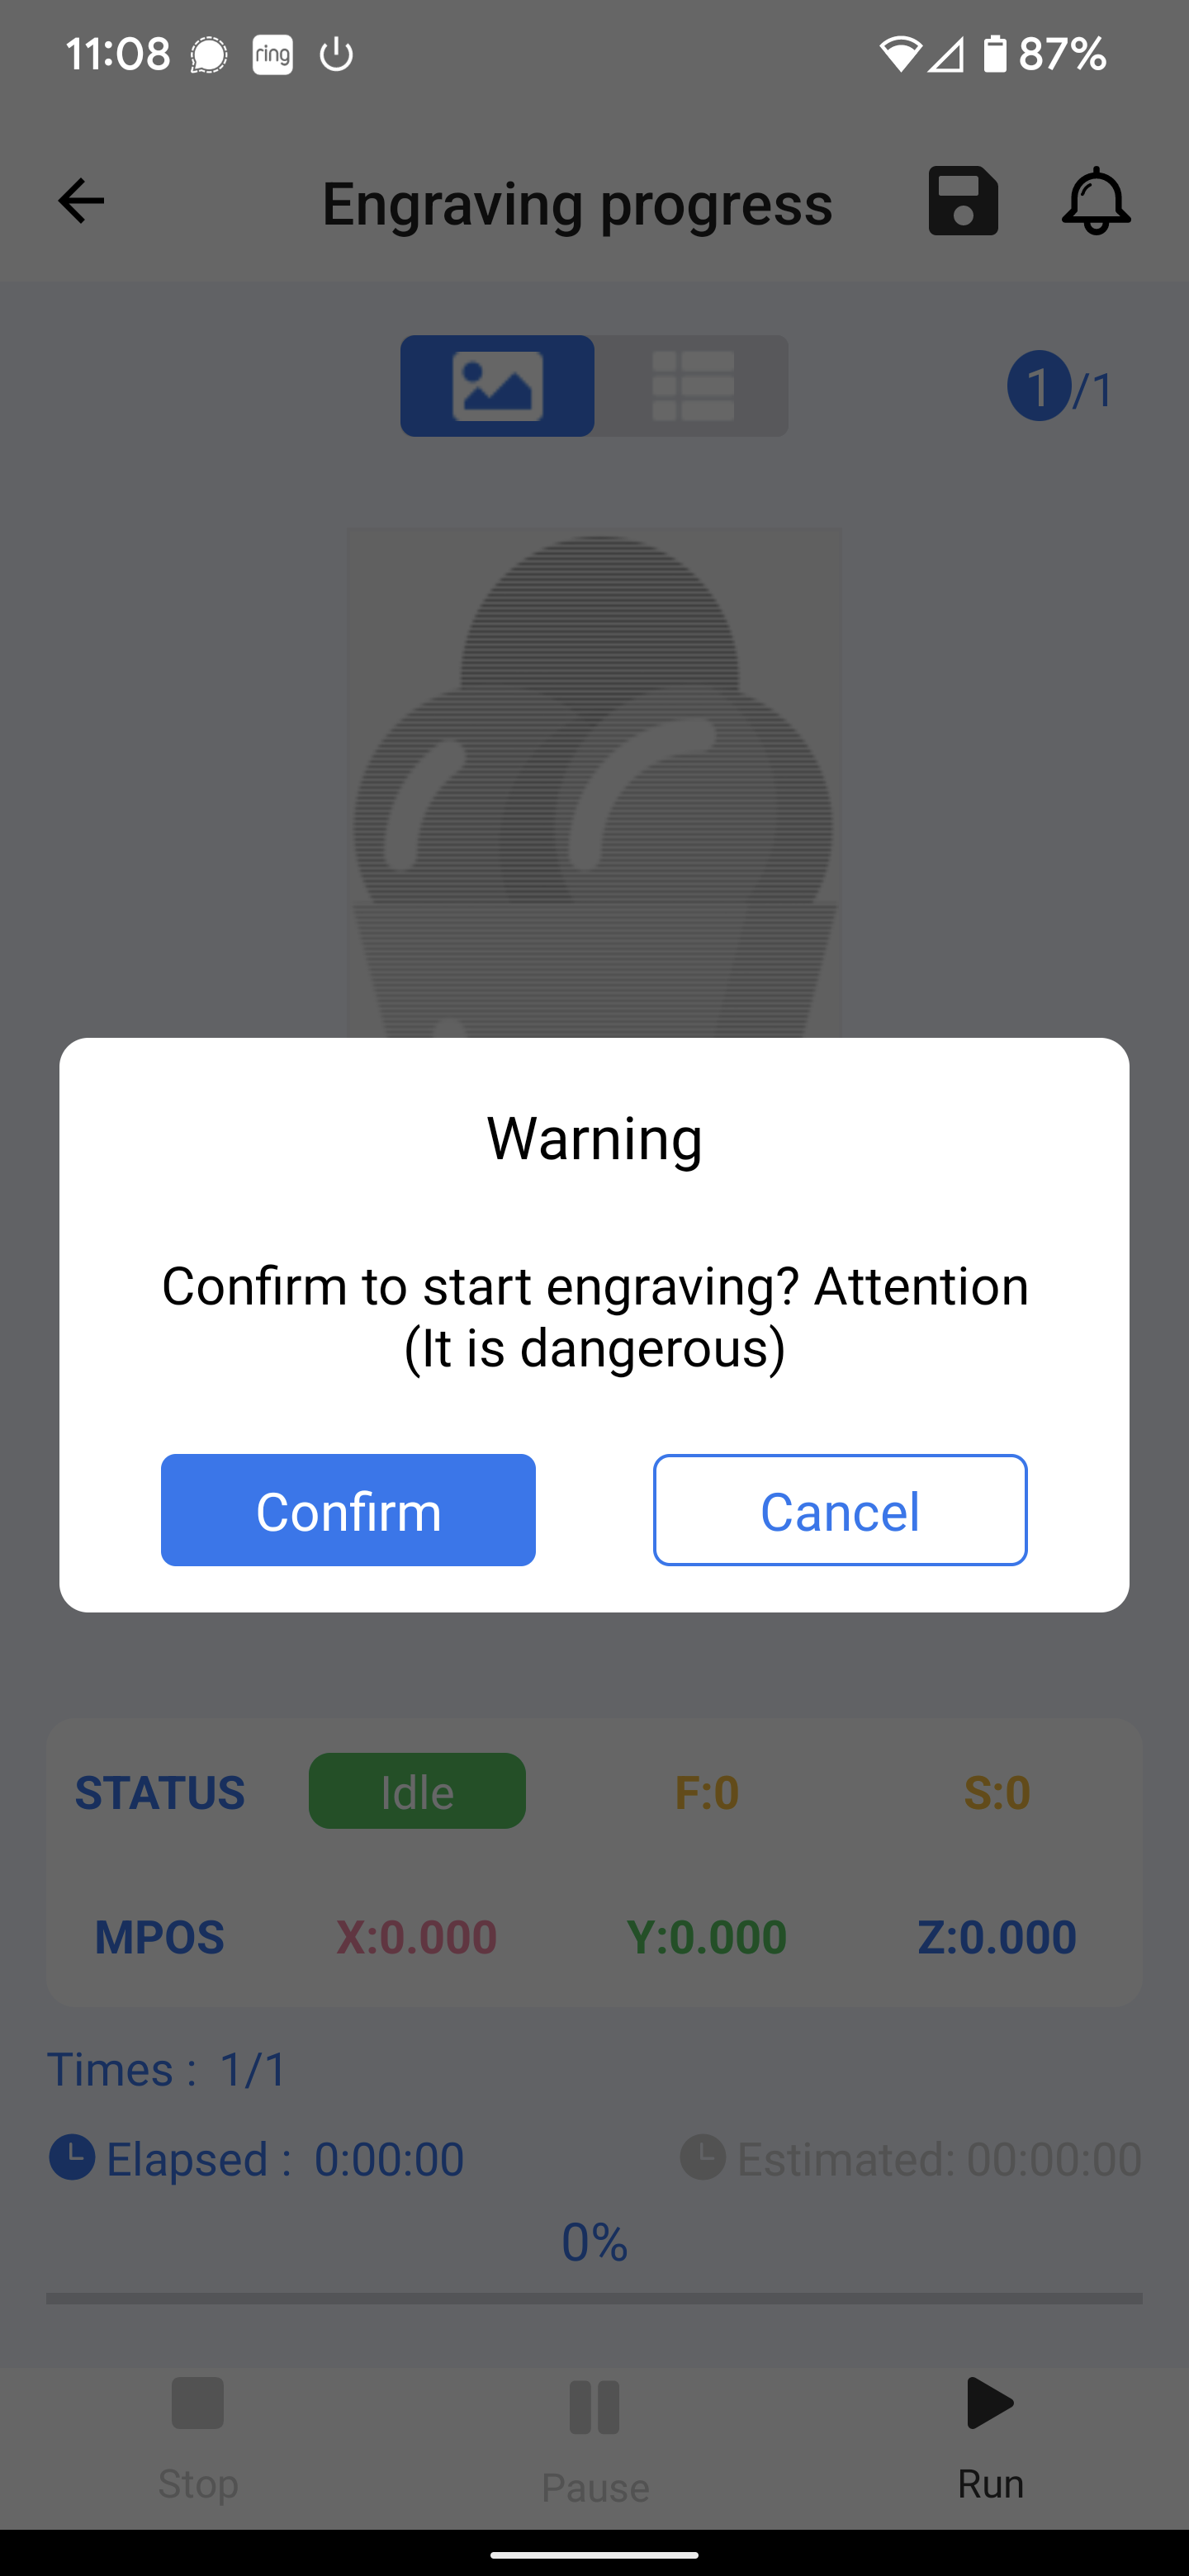
I found an additional helpful manual for the Laser Explorer app after the fact that was not included in the files on the SD card. Unlike 3D printers, you should never leave a laser operating unattended due to the fire hazard but the Ortur Laser Master 3 laser engraver has quite a few built-in safety features including a keyed safety lock to prevent unauthorized use, active position protection, tilt detection, exposure duration detection and limitation, and an emergency stop switch.

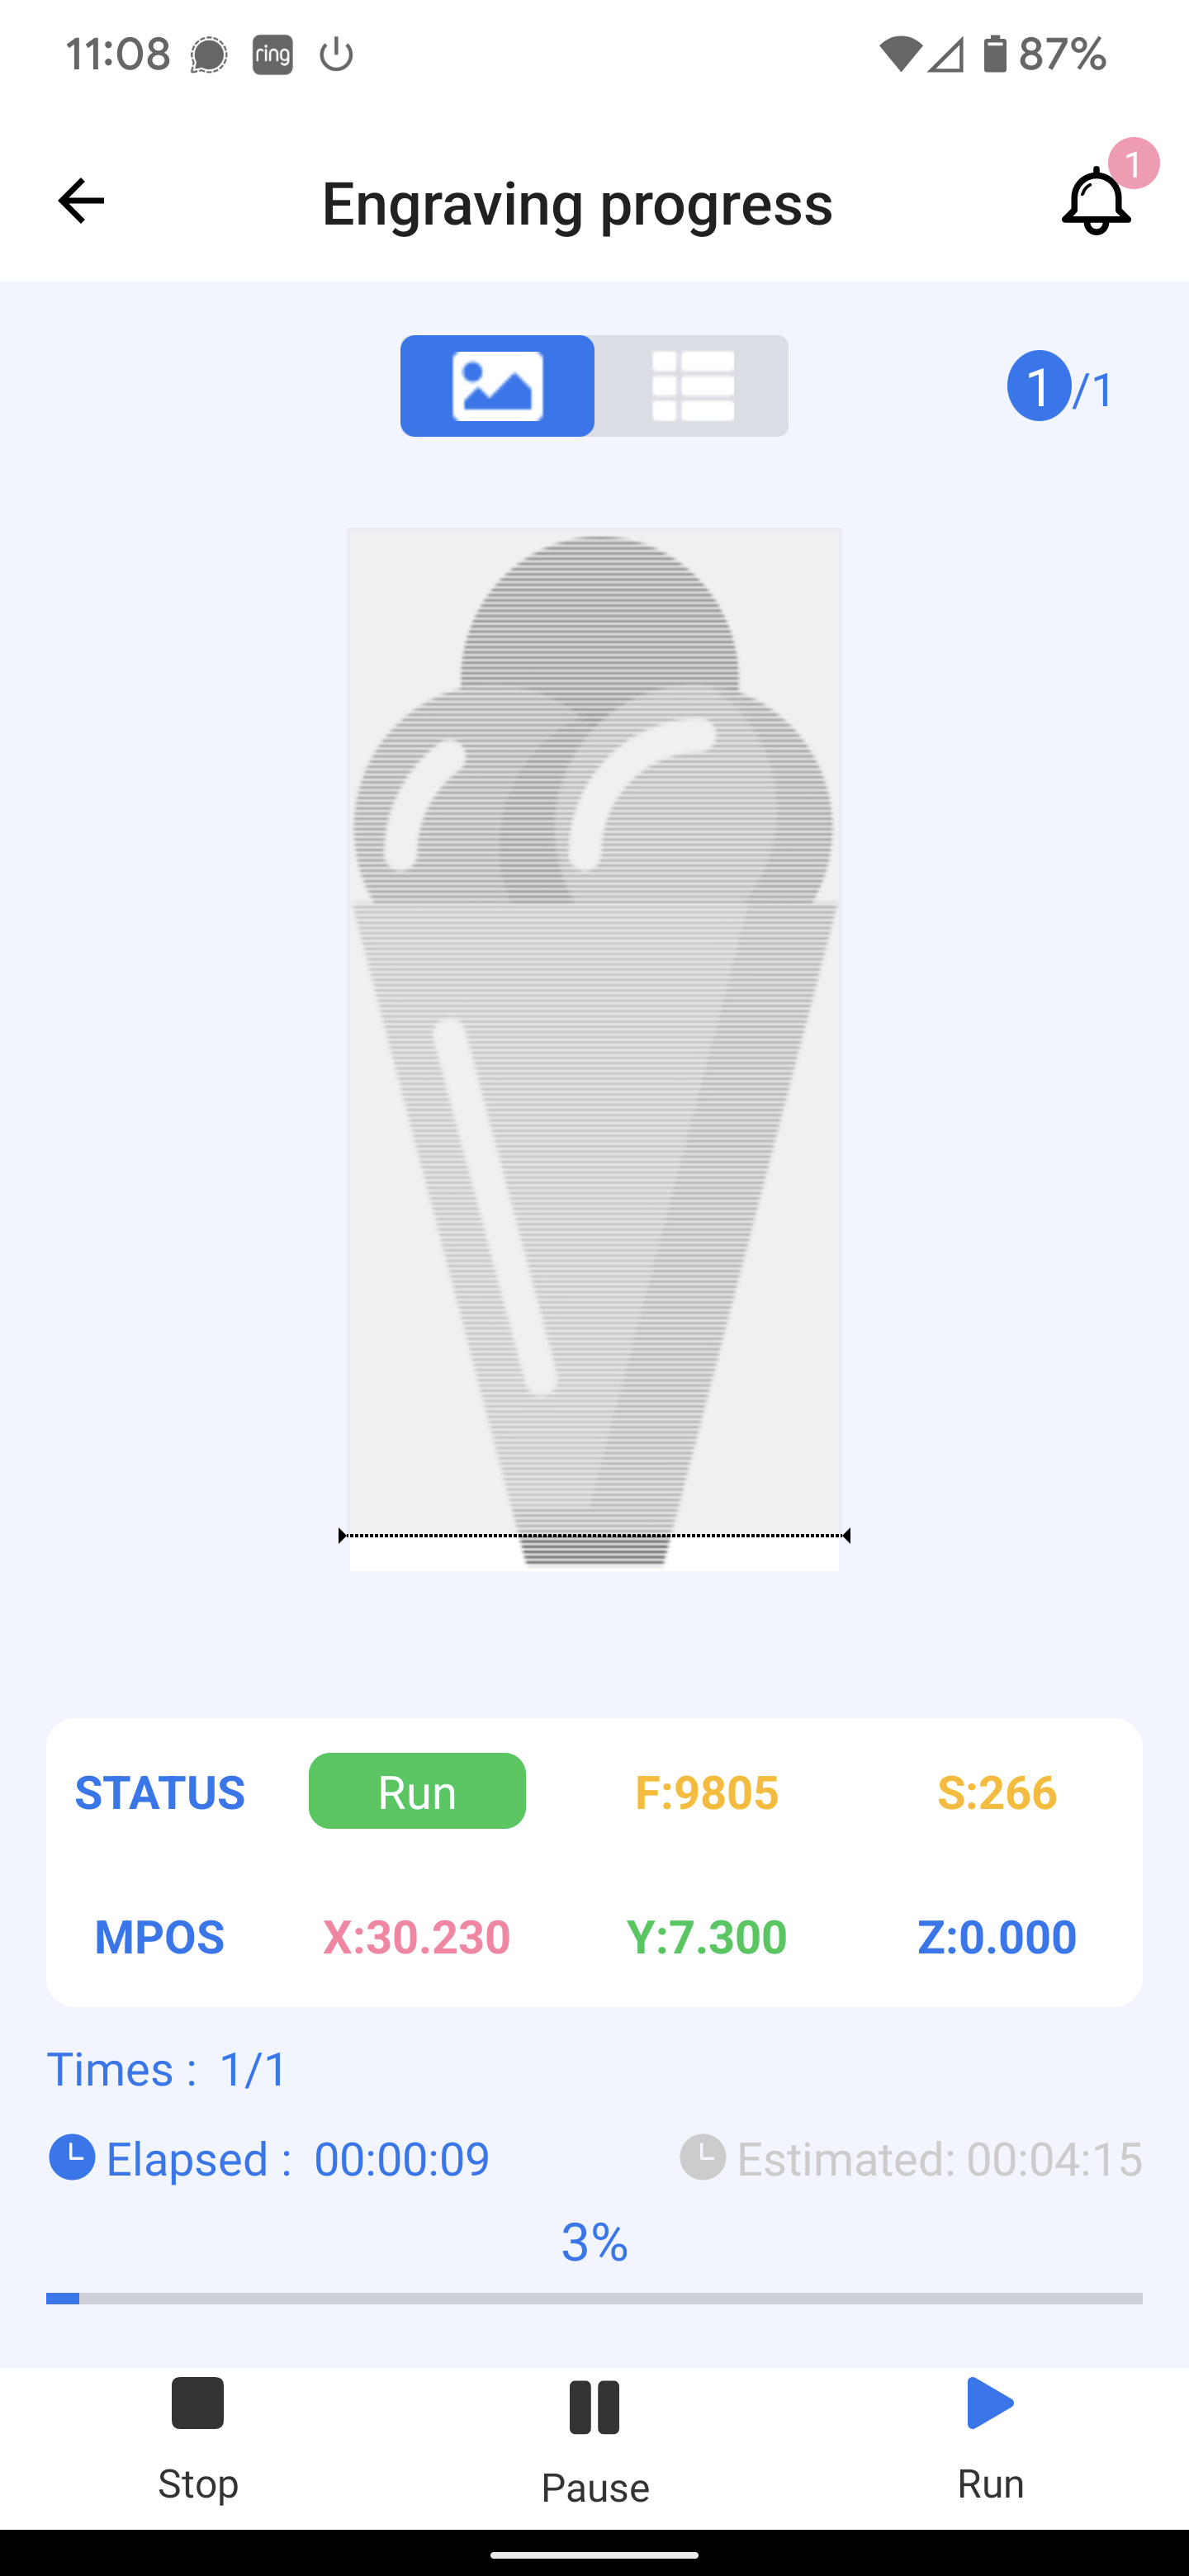
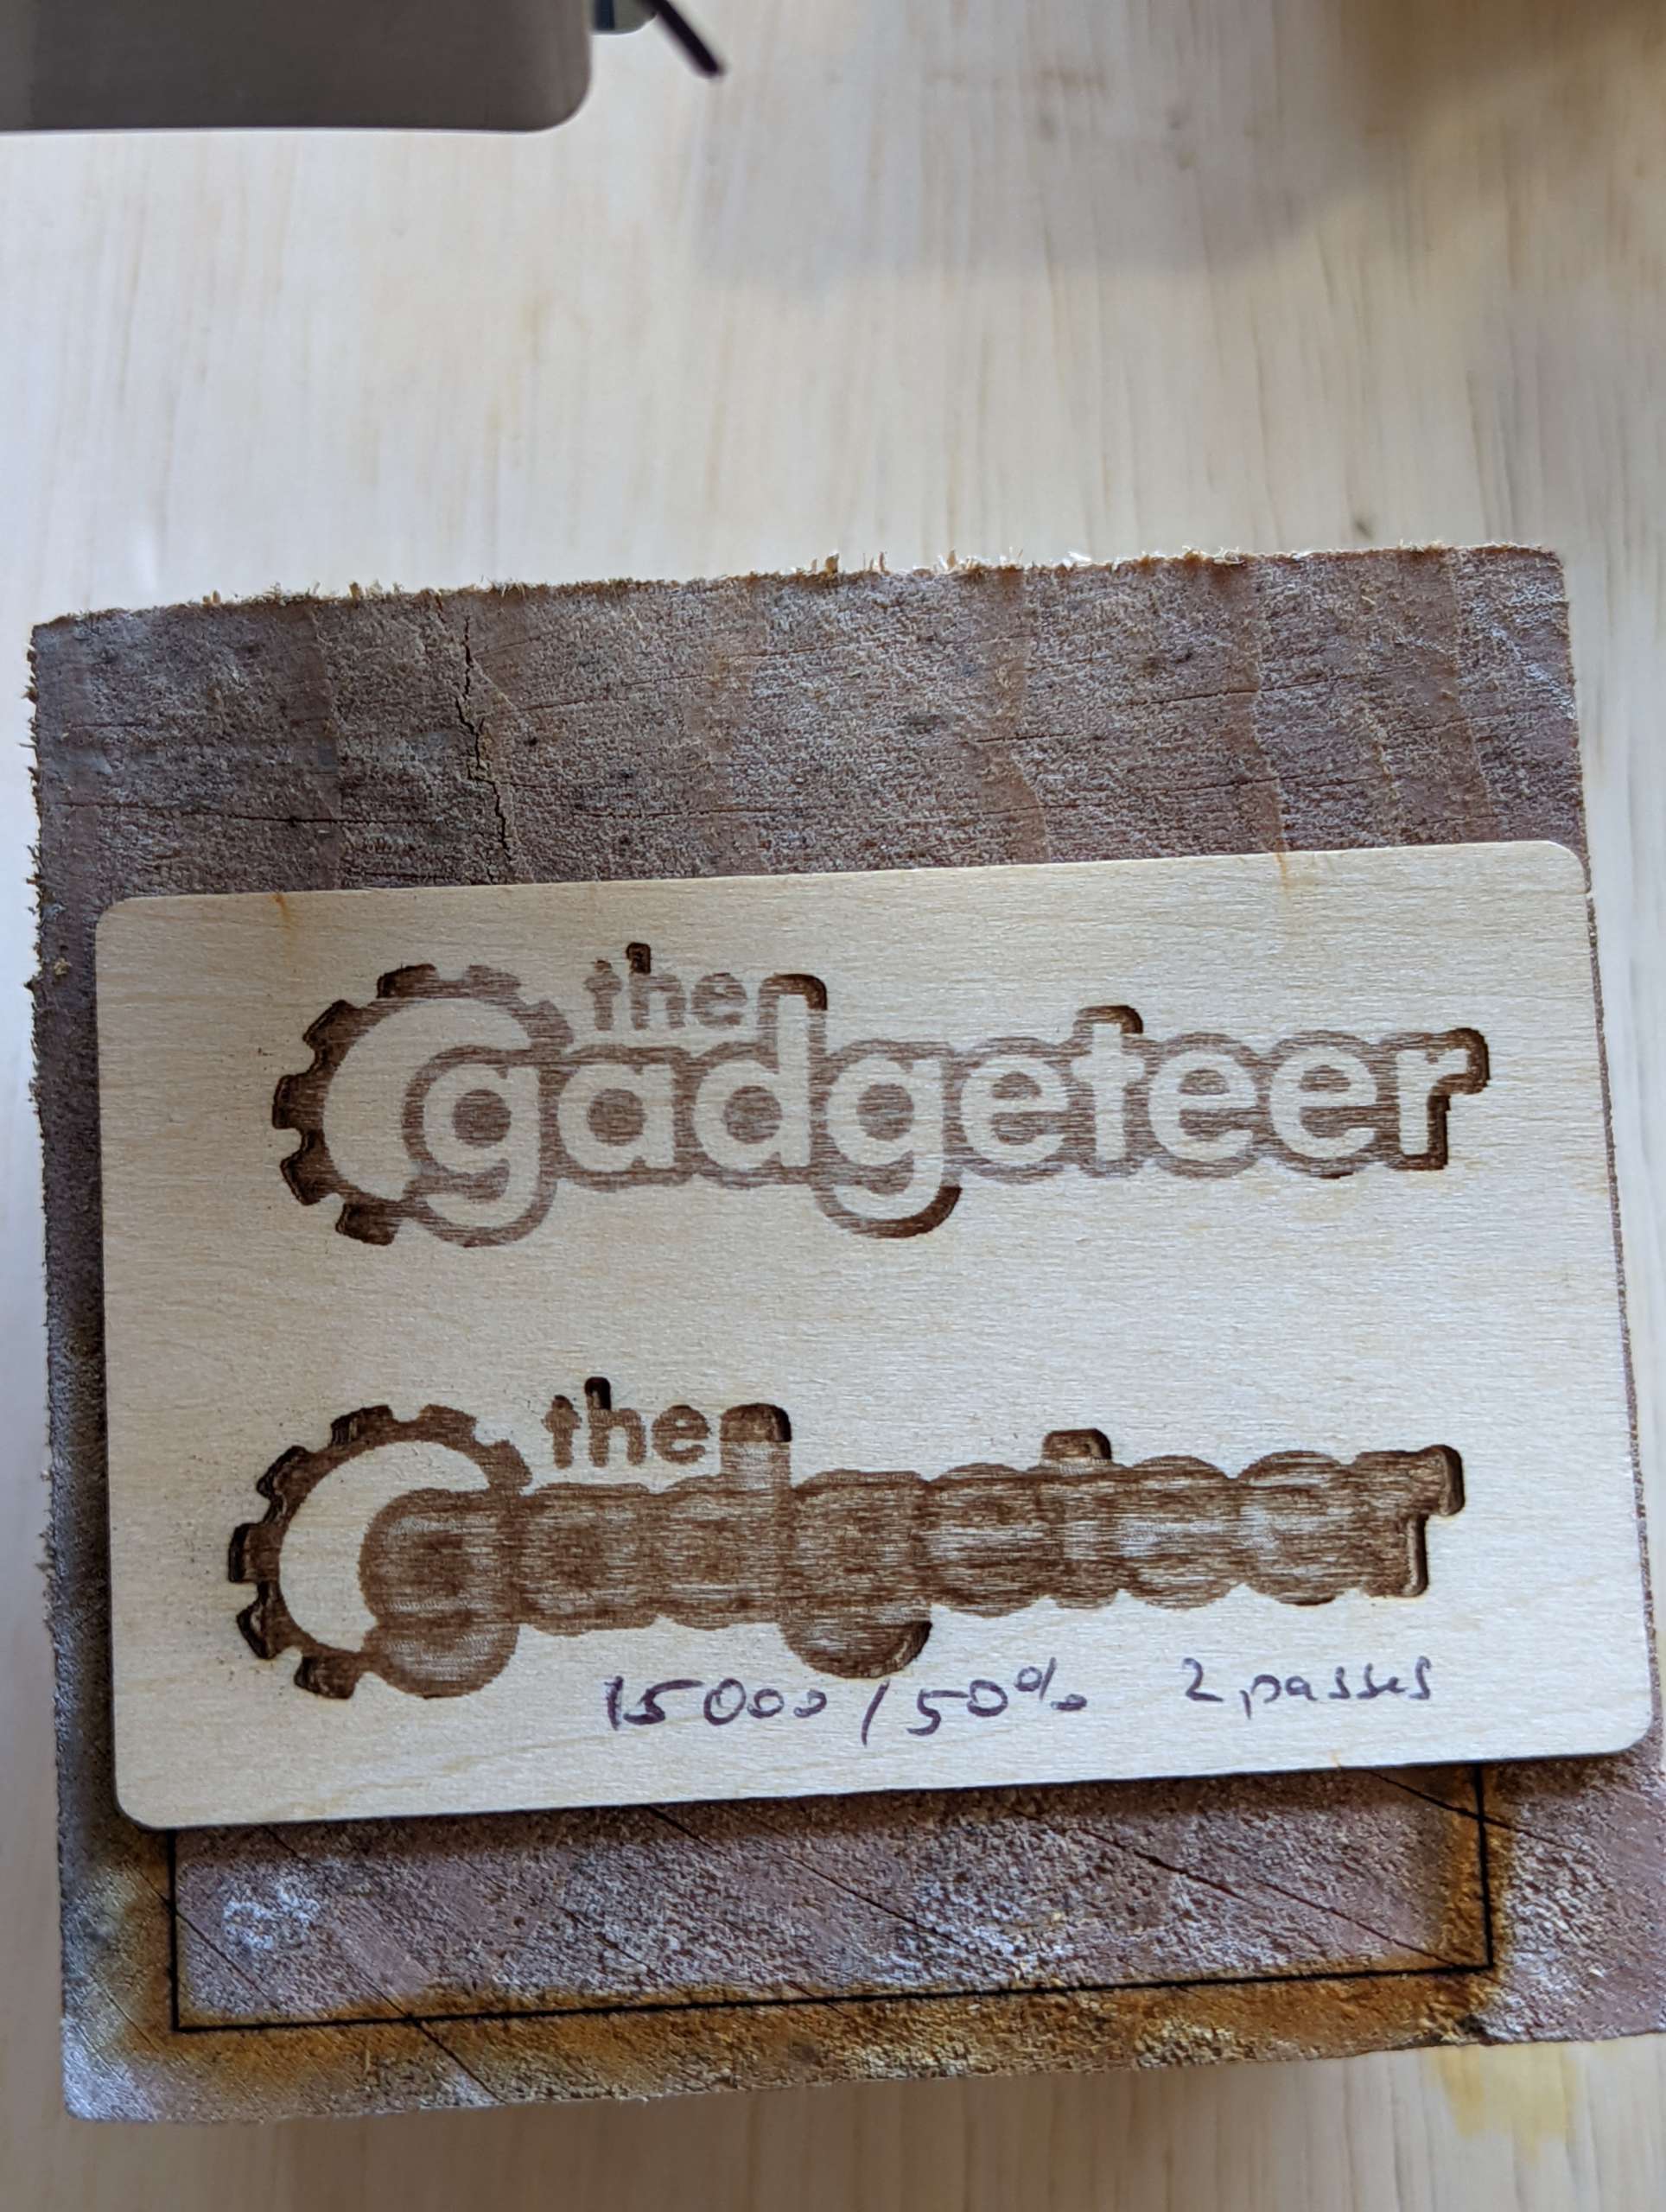
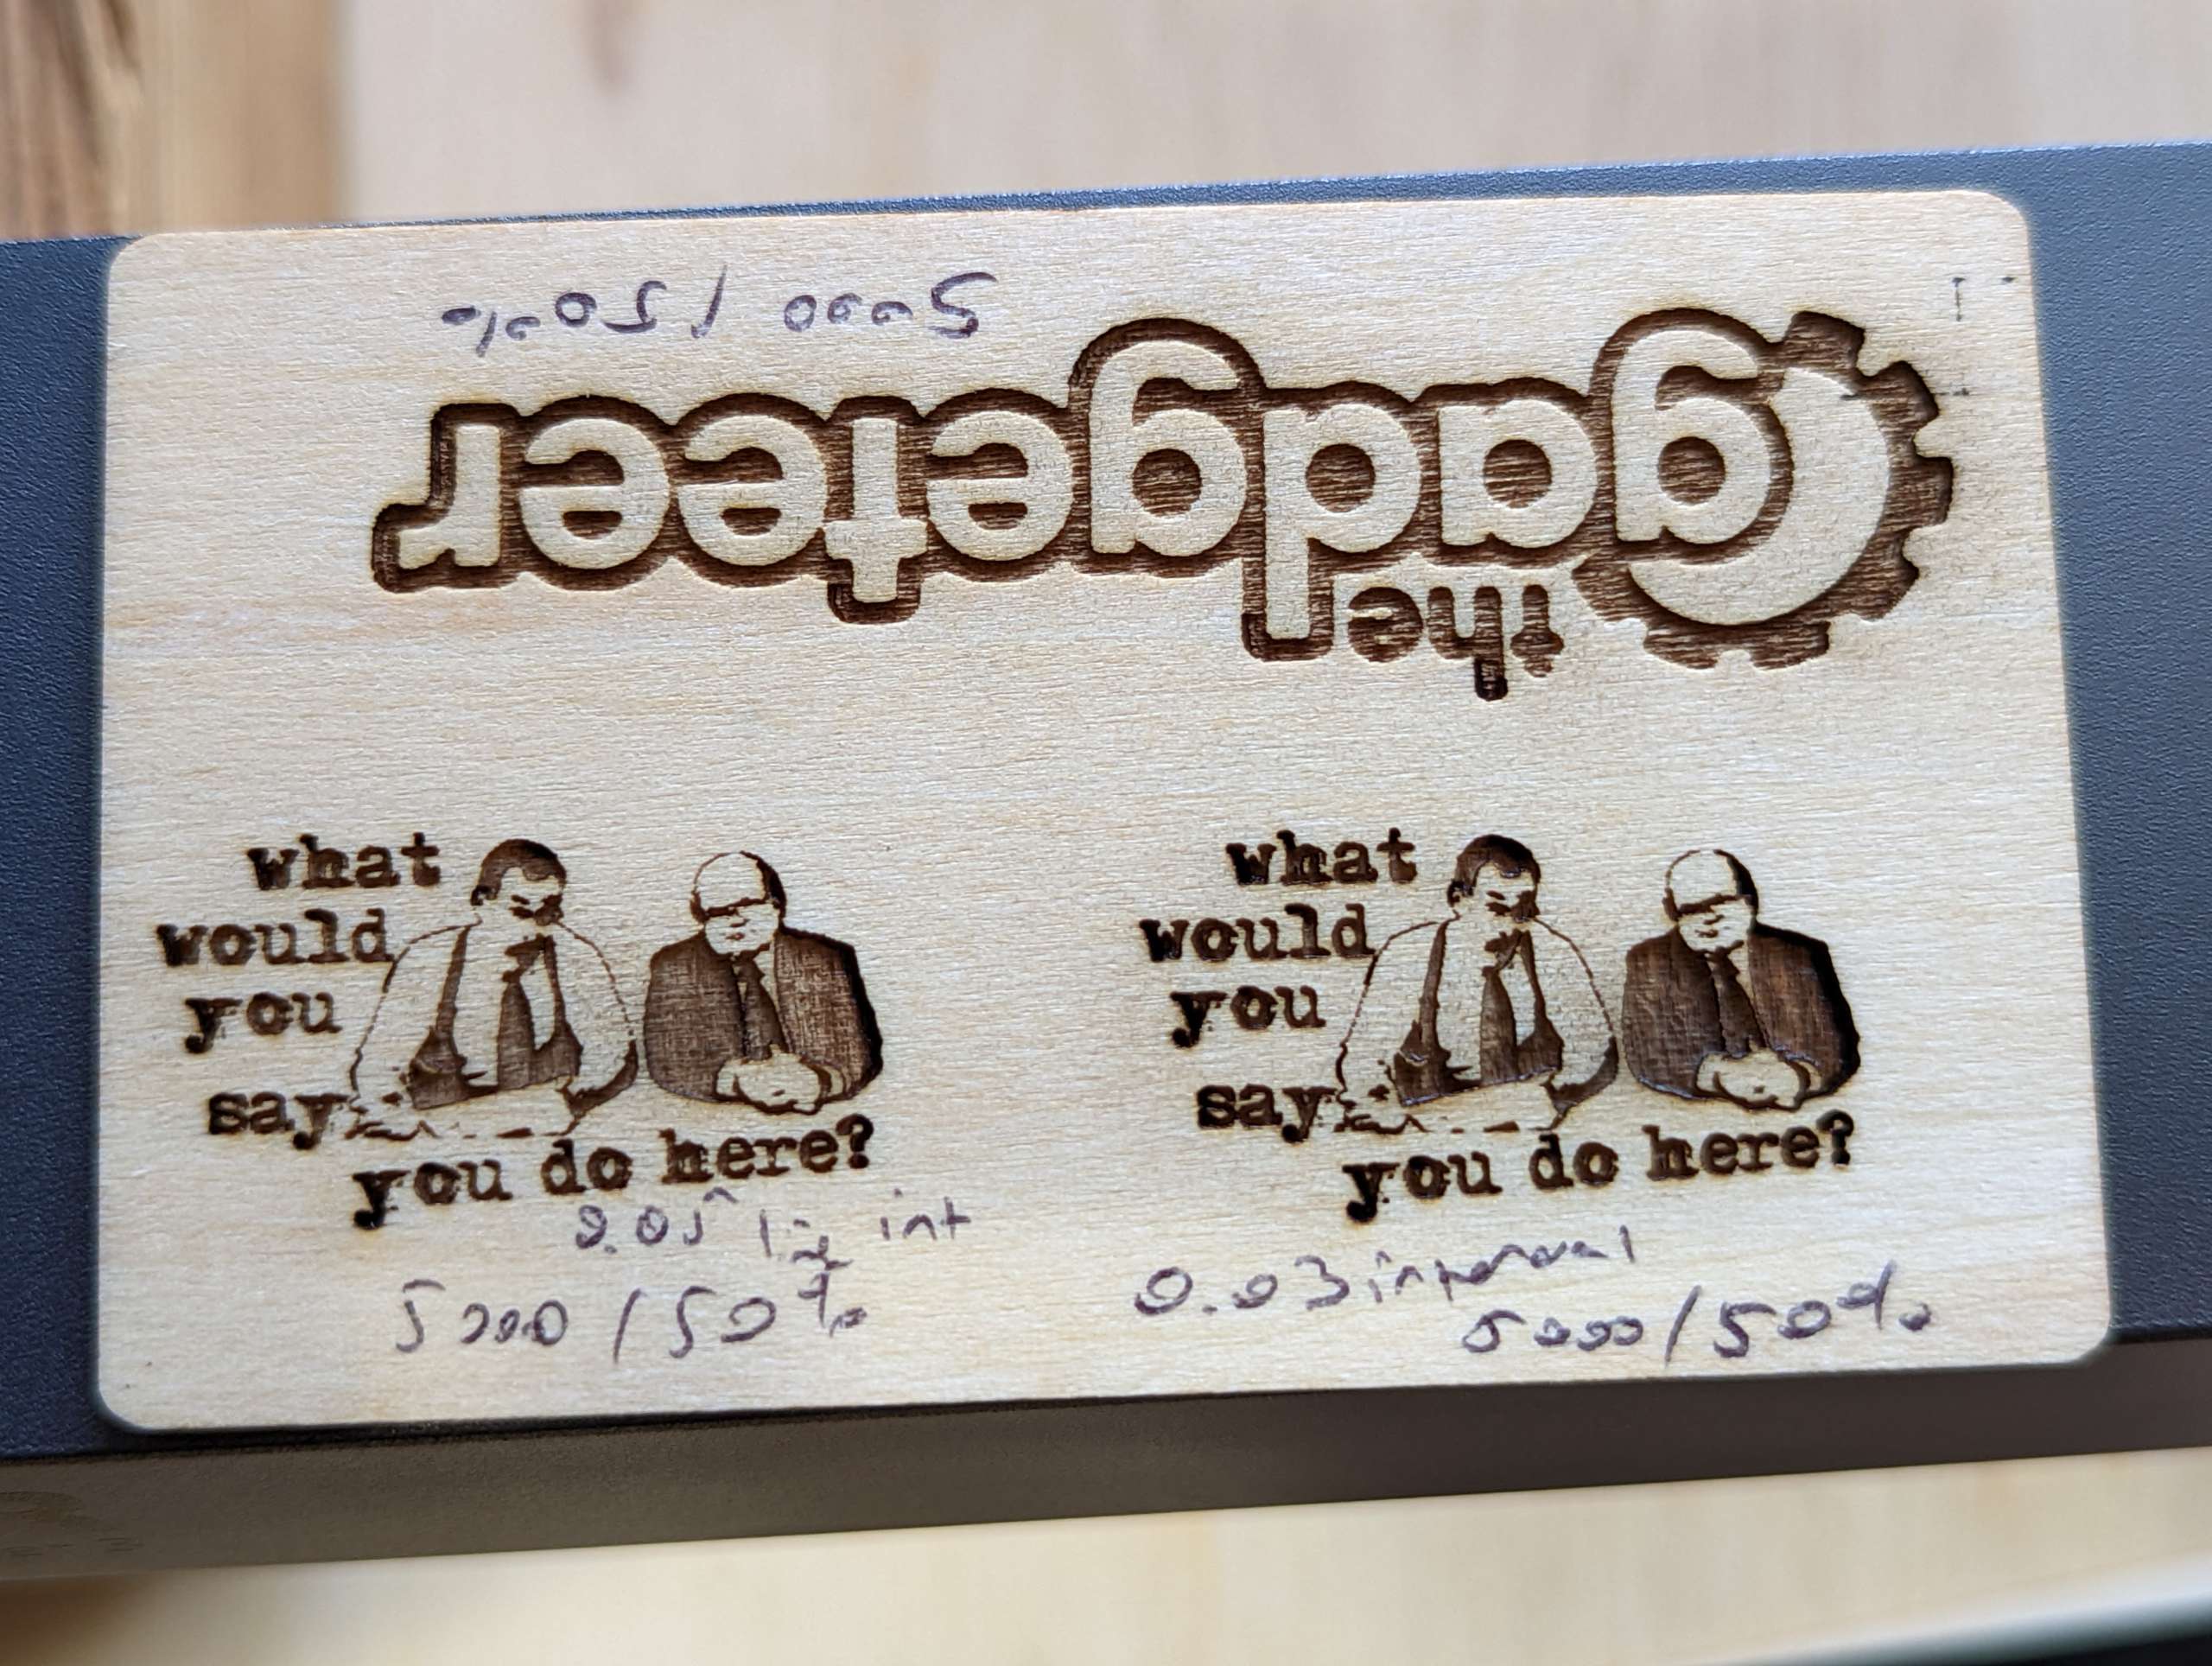
Overall performance was quite impressive and although this was the only laser engraver I have tried so far engraving simple designs up to very complicated pictures was no problem for the Laser Master 3 and I know I haven’t done enough testing to find optimized settings for every material but I was very impressed with the outcomes on most projects. One very helpful thing about the app is that a material database is preloaded for the Laser Master 3 and you can add your own settings to it as well. Since LaserGRBL and LightBurn are independent programs it would not be practical to maintain a materials database for every engraver made. Both programs do allow you to add your own and Ortur includes an excel sheet with material data on the SD card but you will have to input them into the program of your choice manually. When I was in doubt about what settings to use I just referenced the materials database and it usually produced very satisfactory results. Again, testing and experience will be required to truly fine tune the machine and the results.
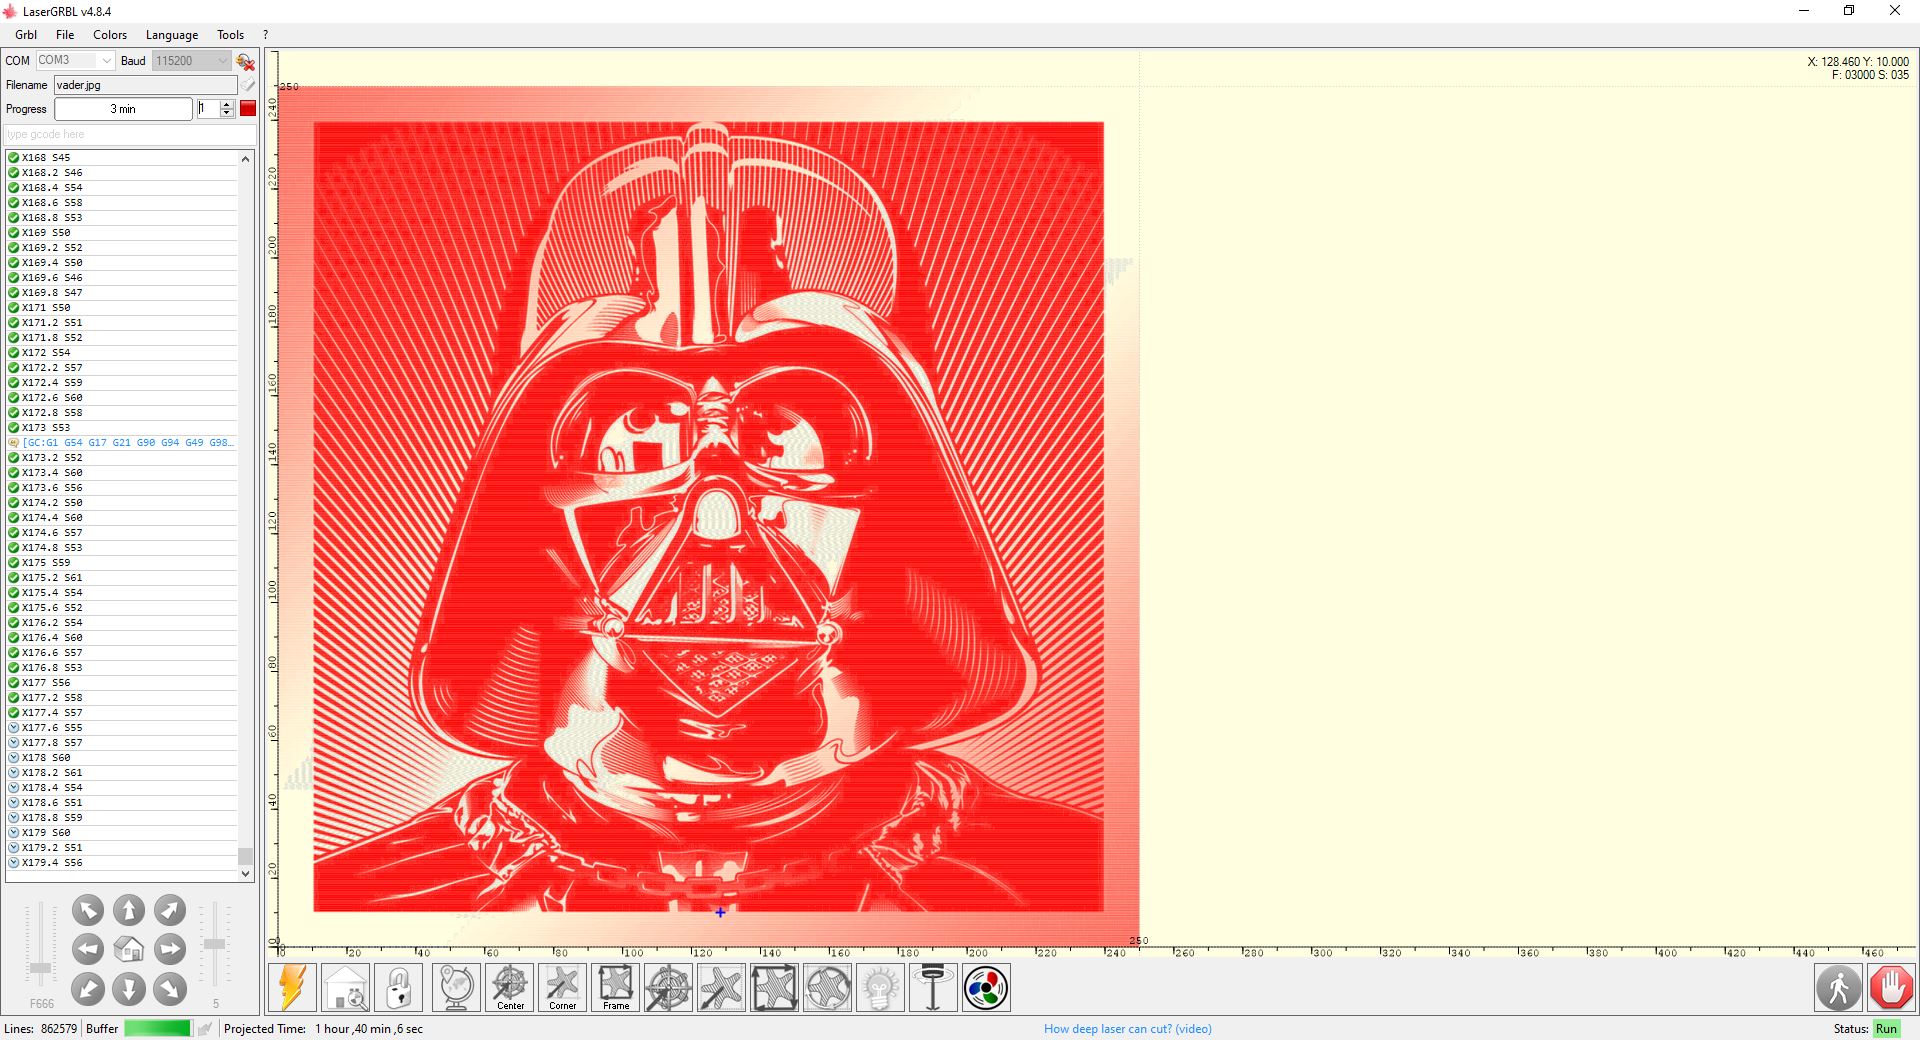
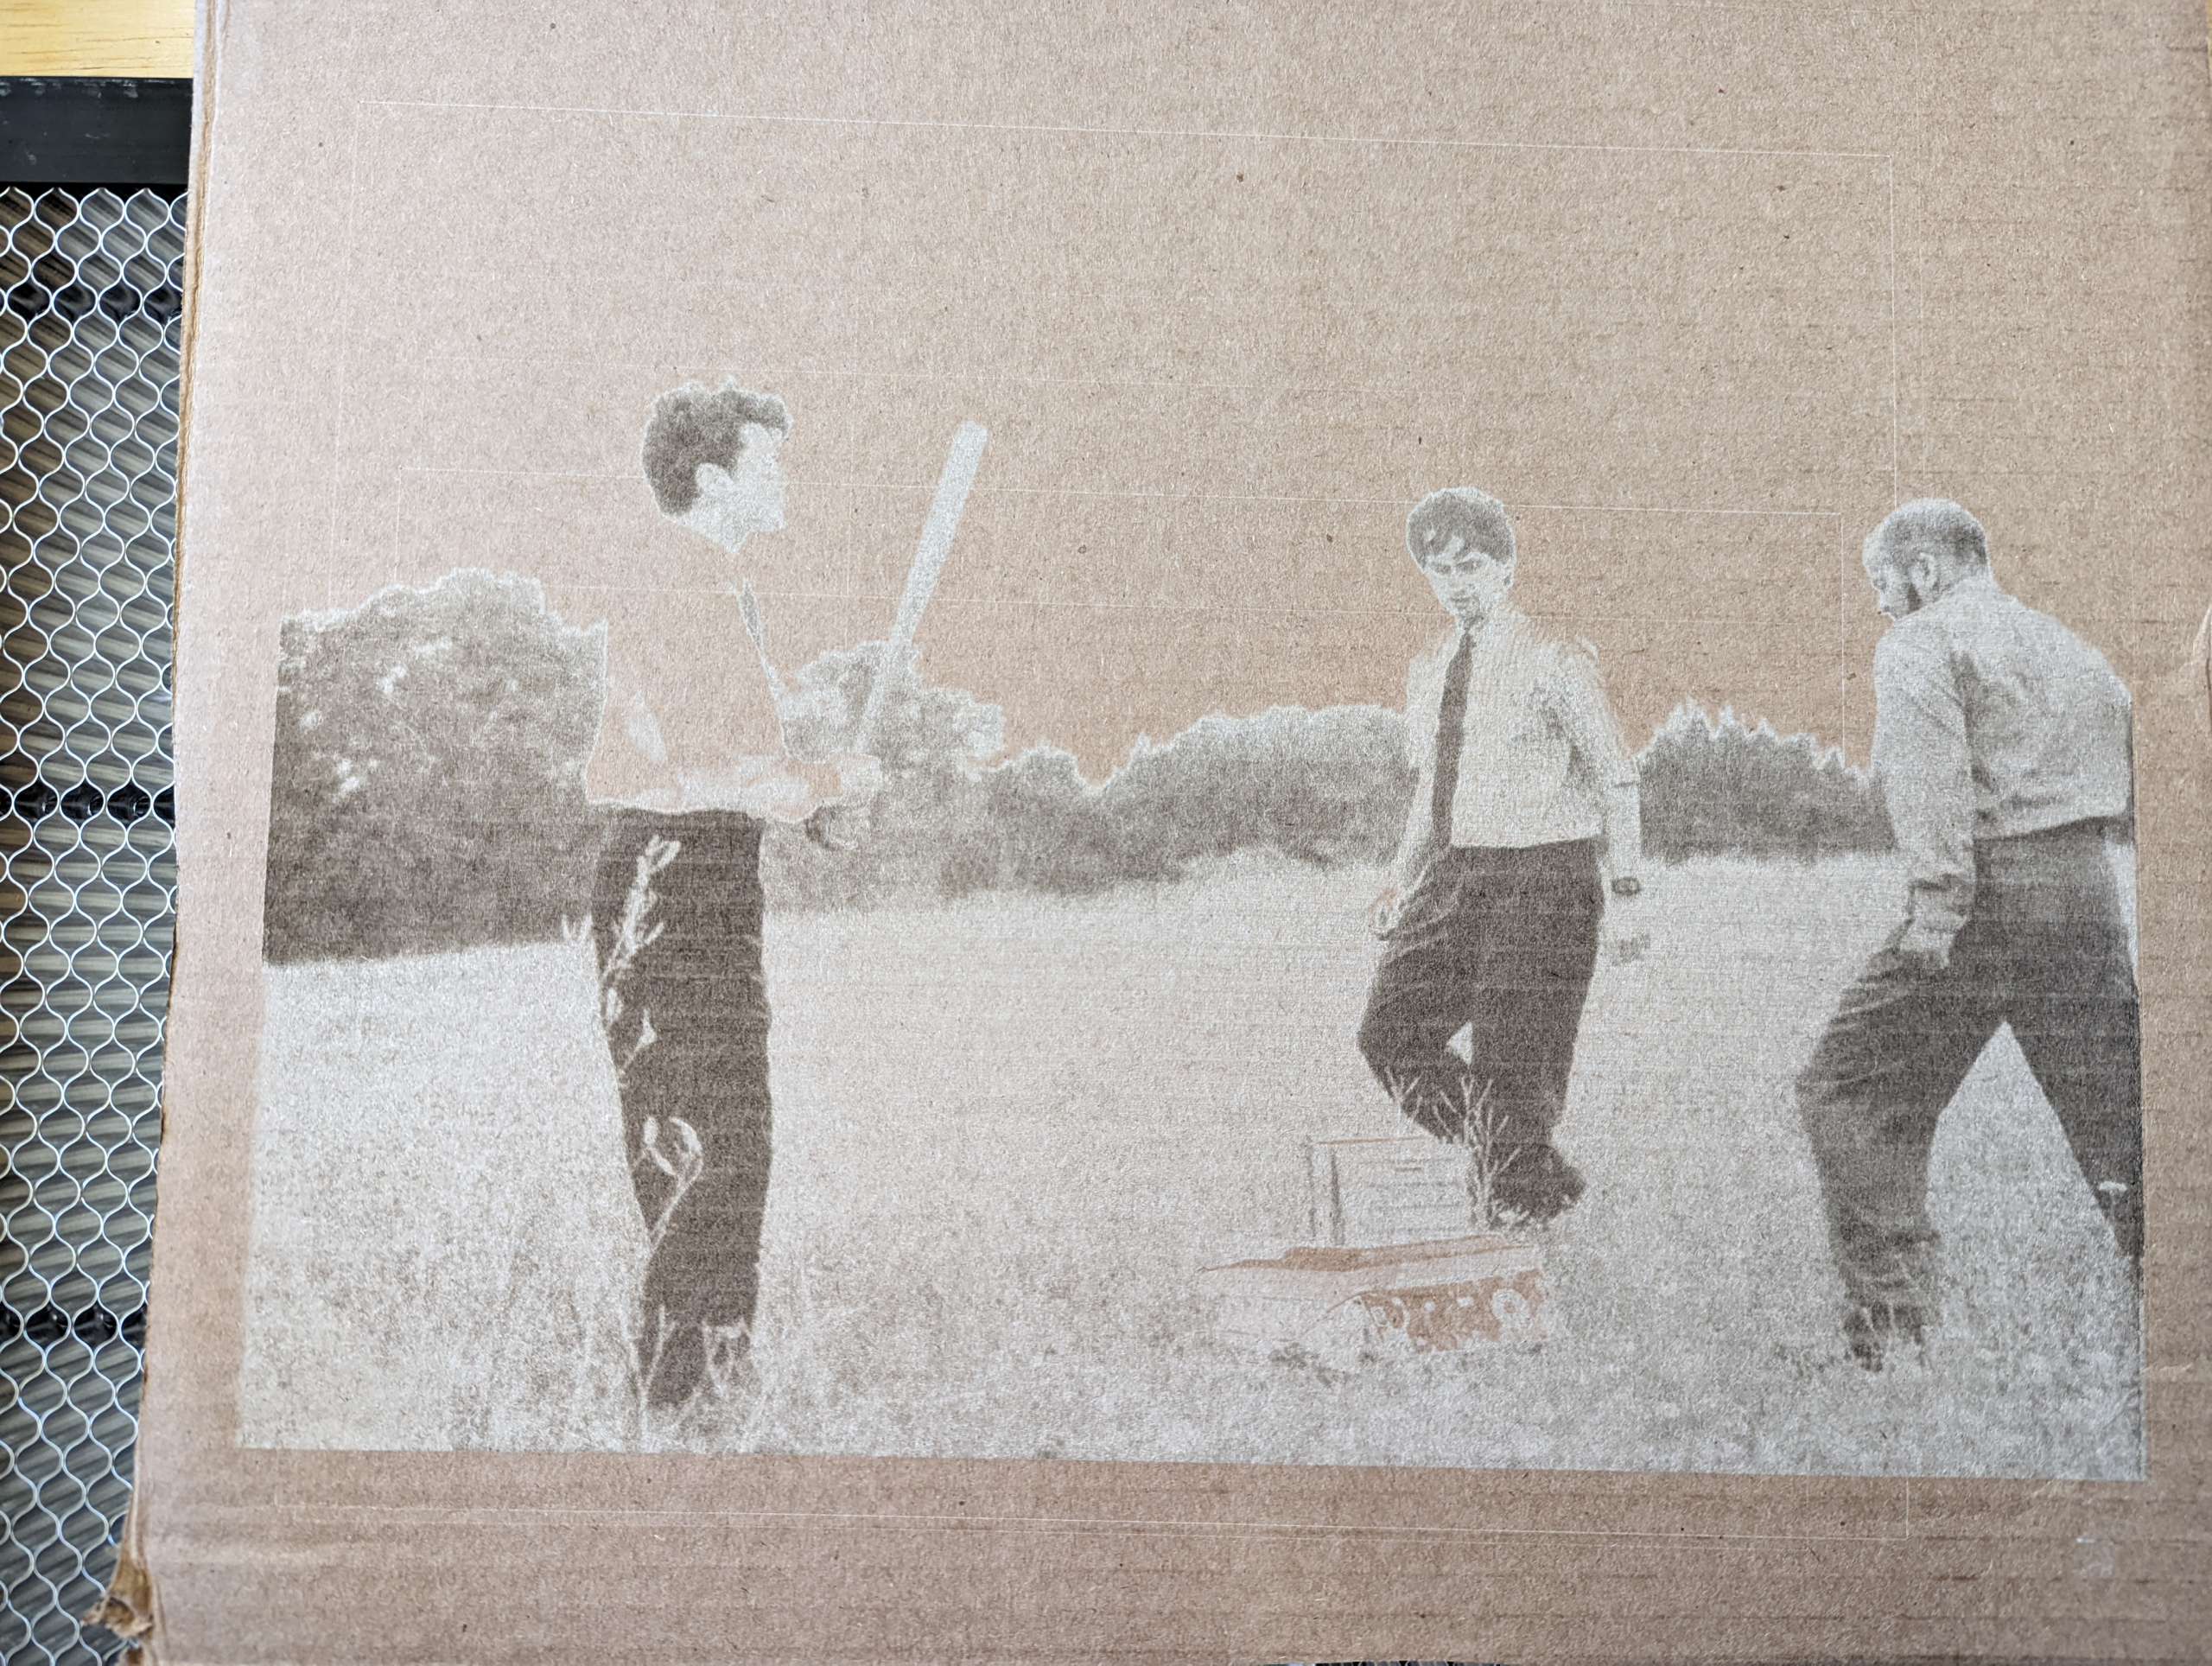
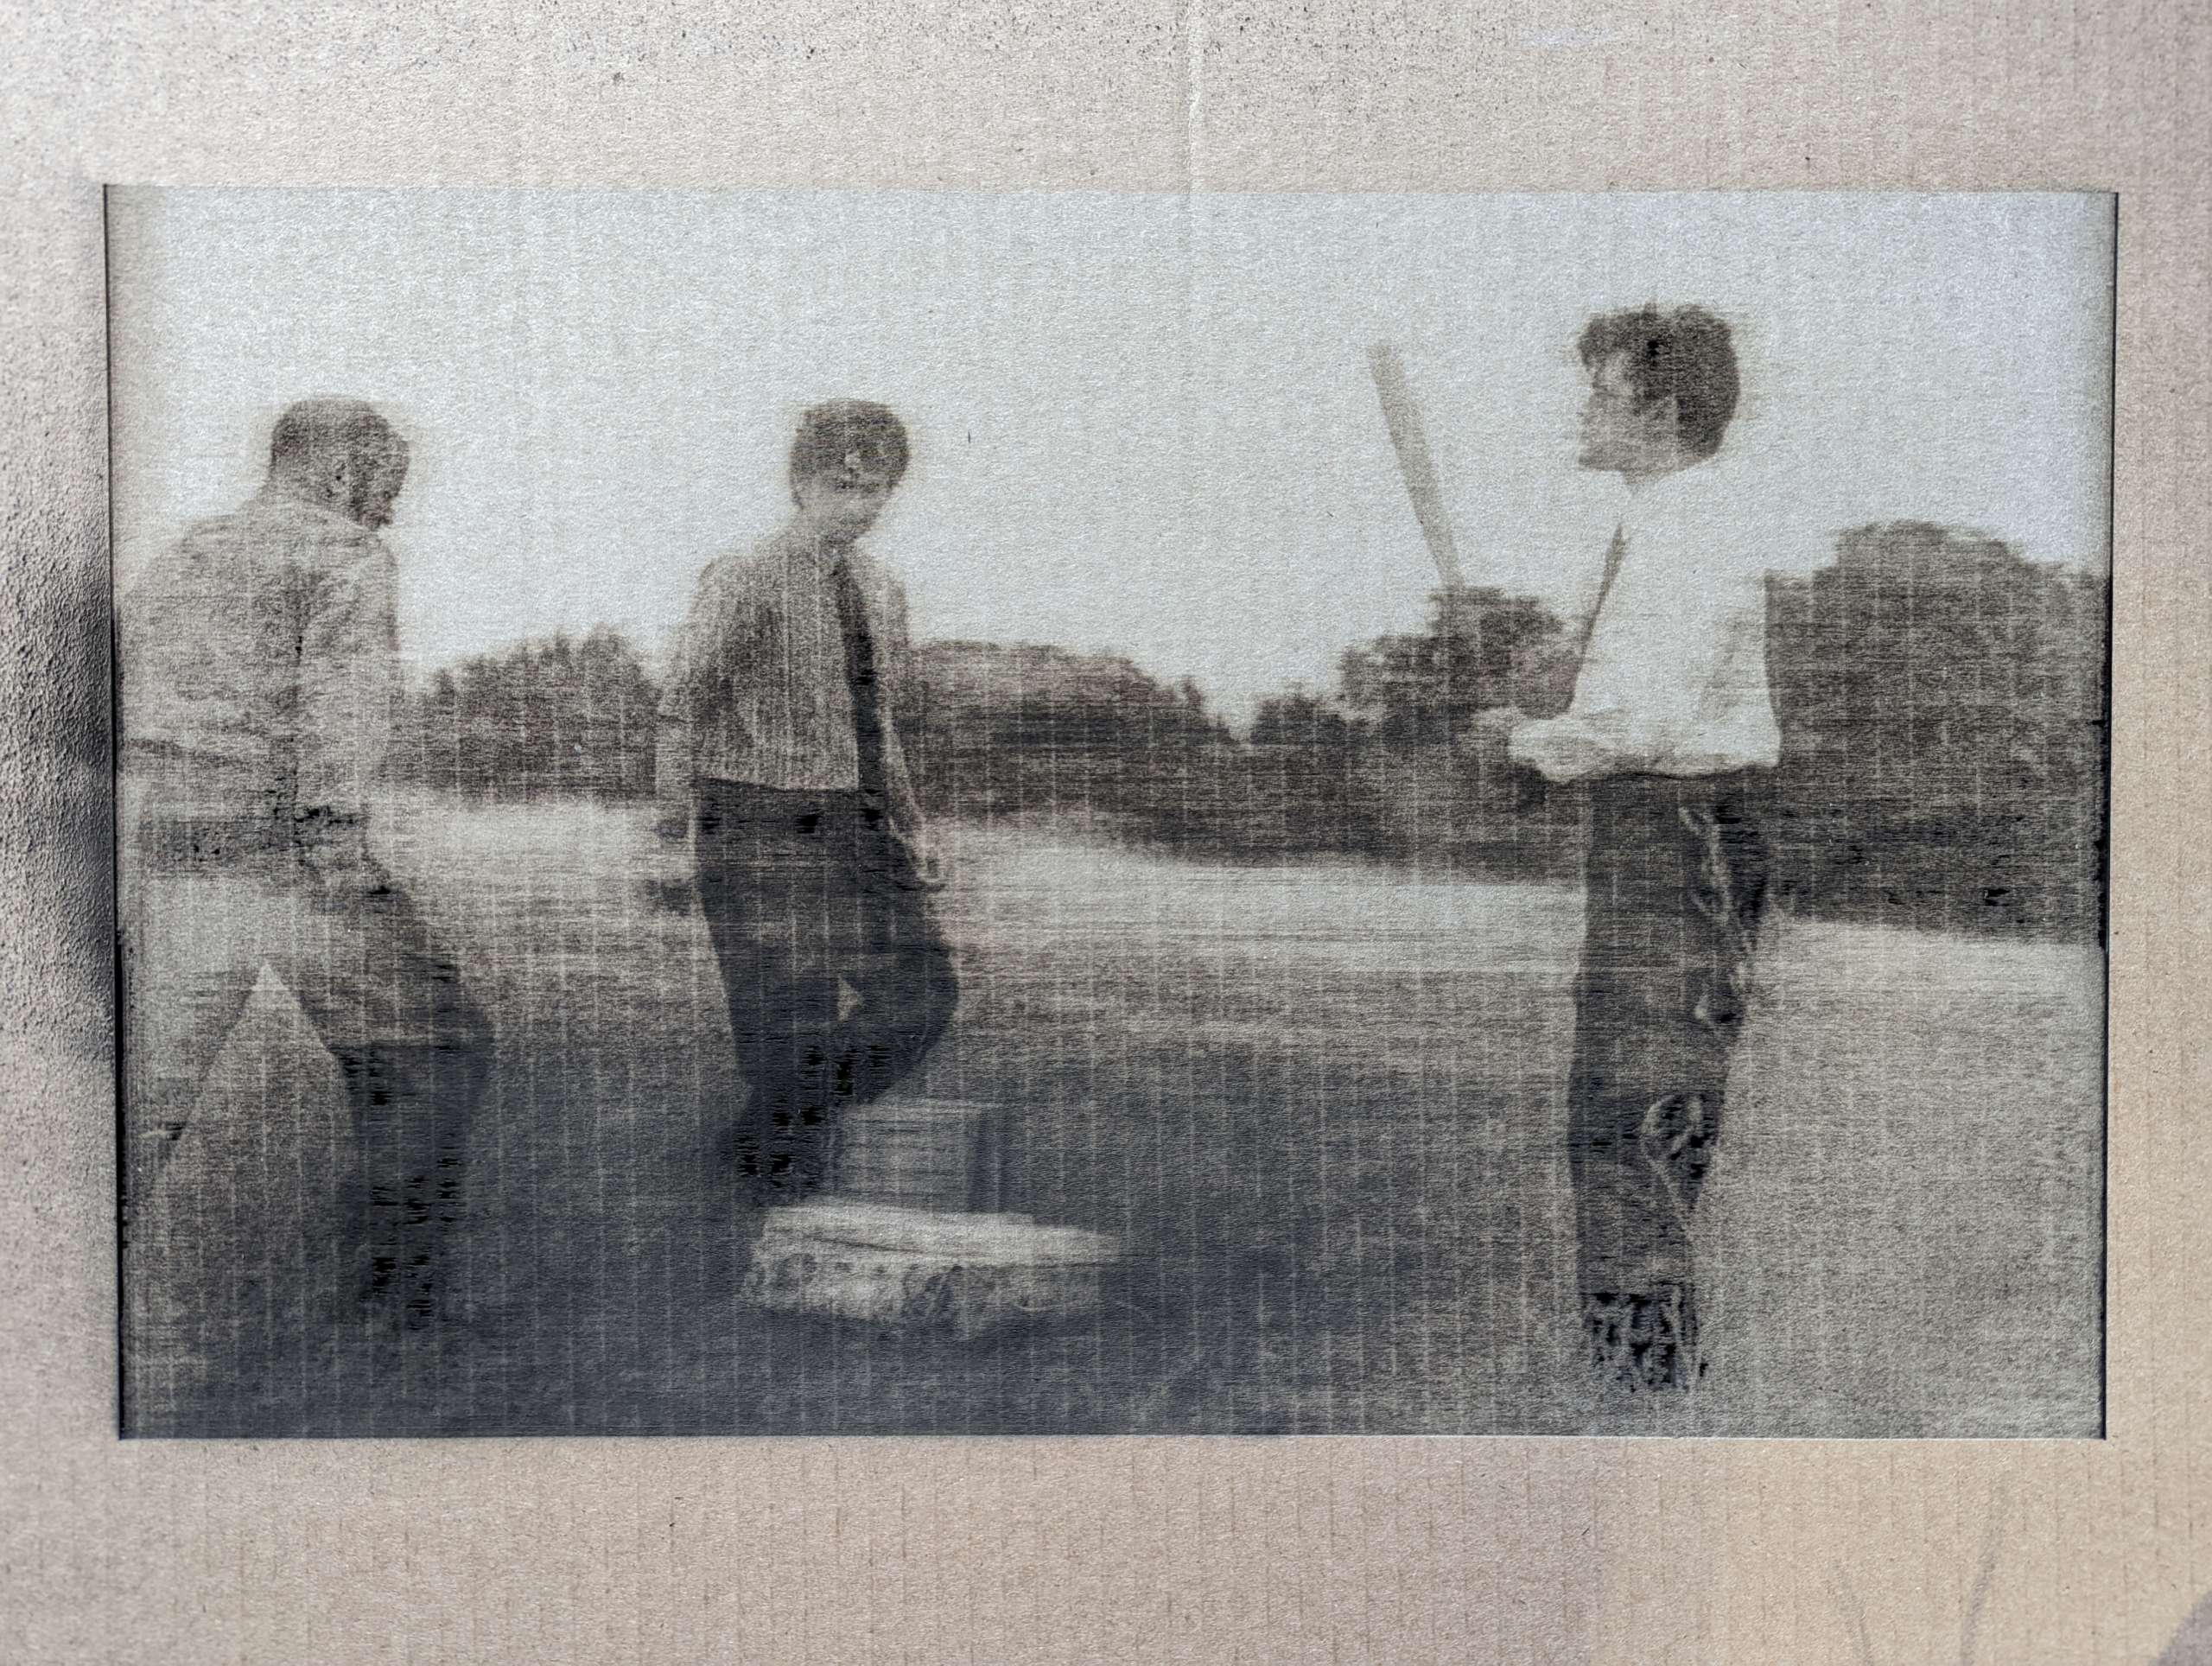
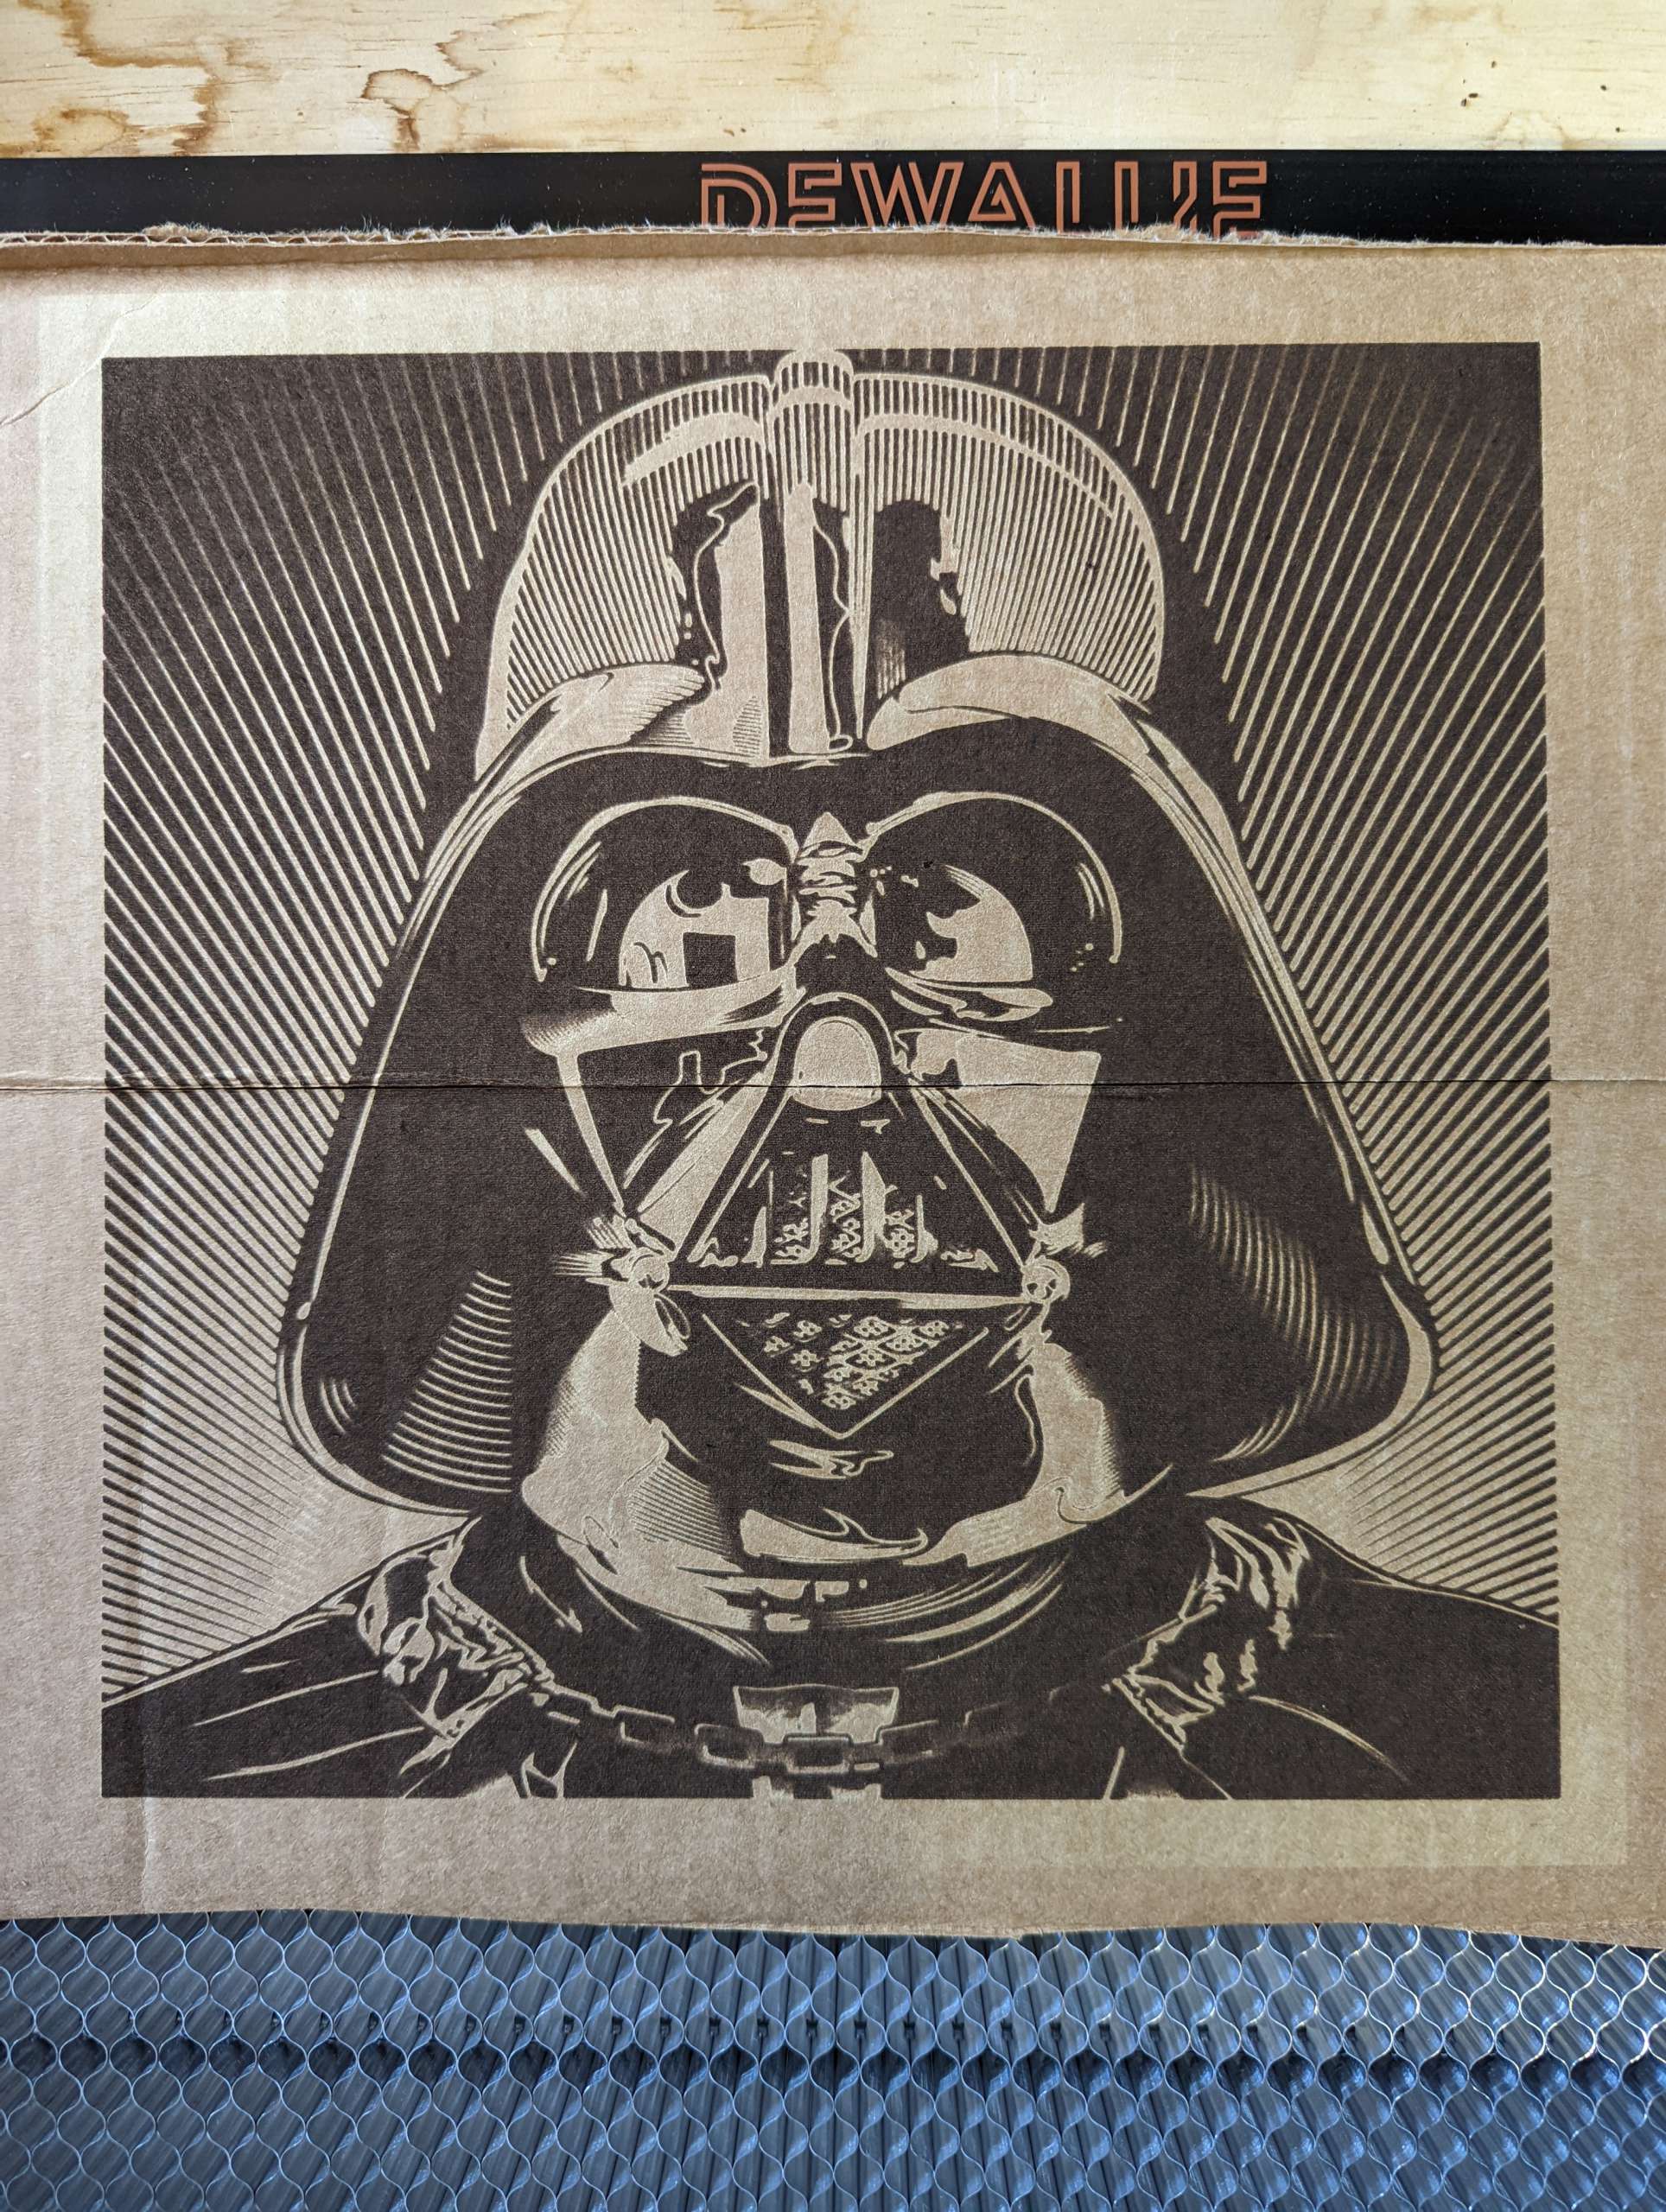
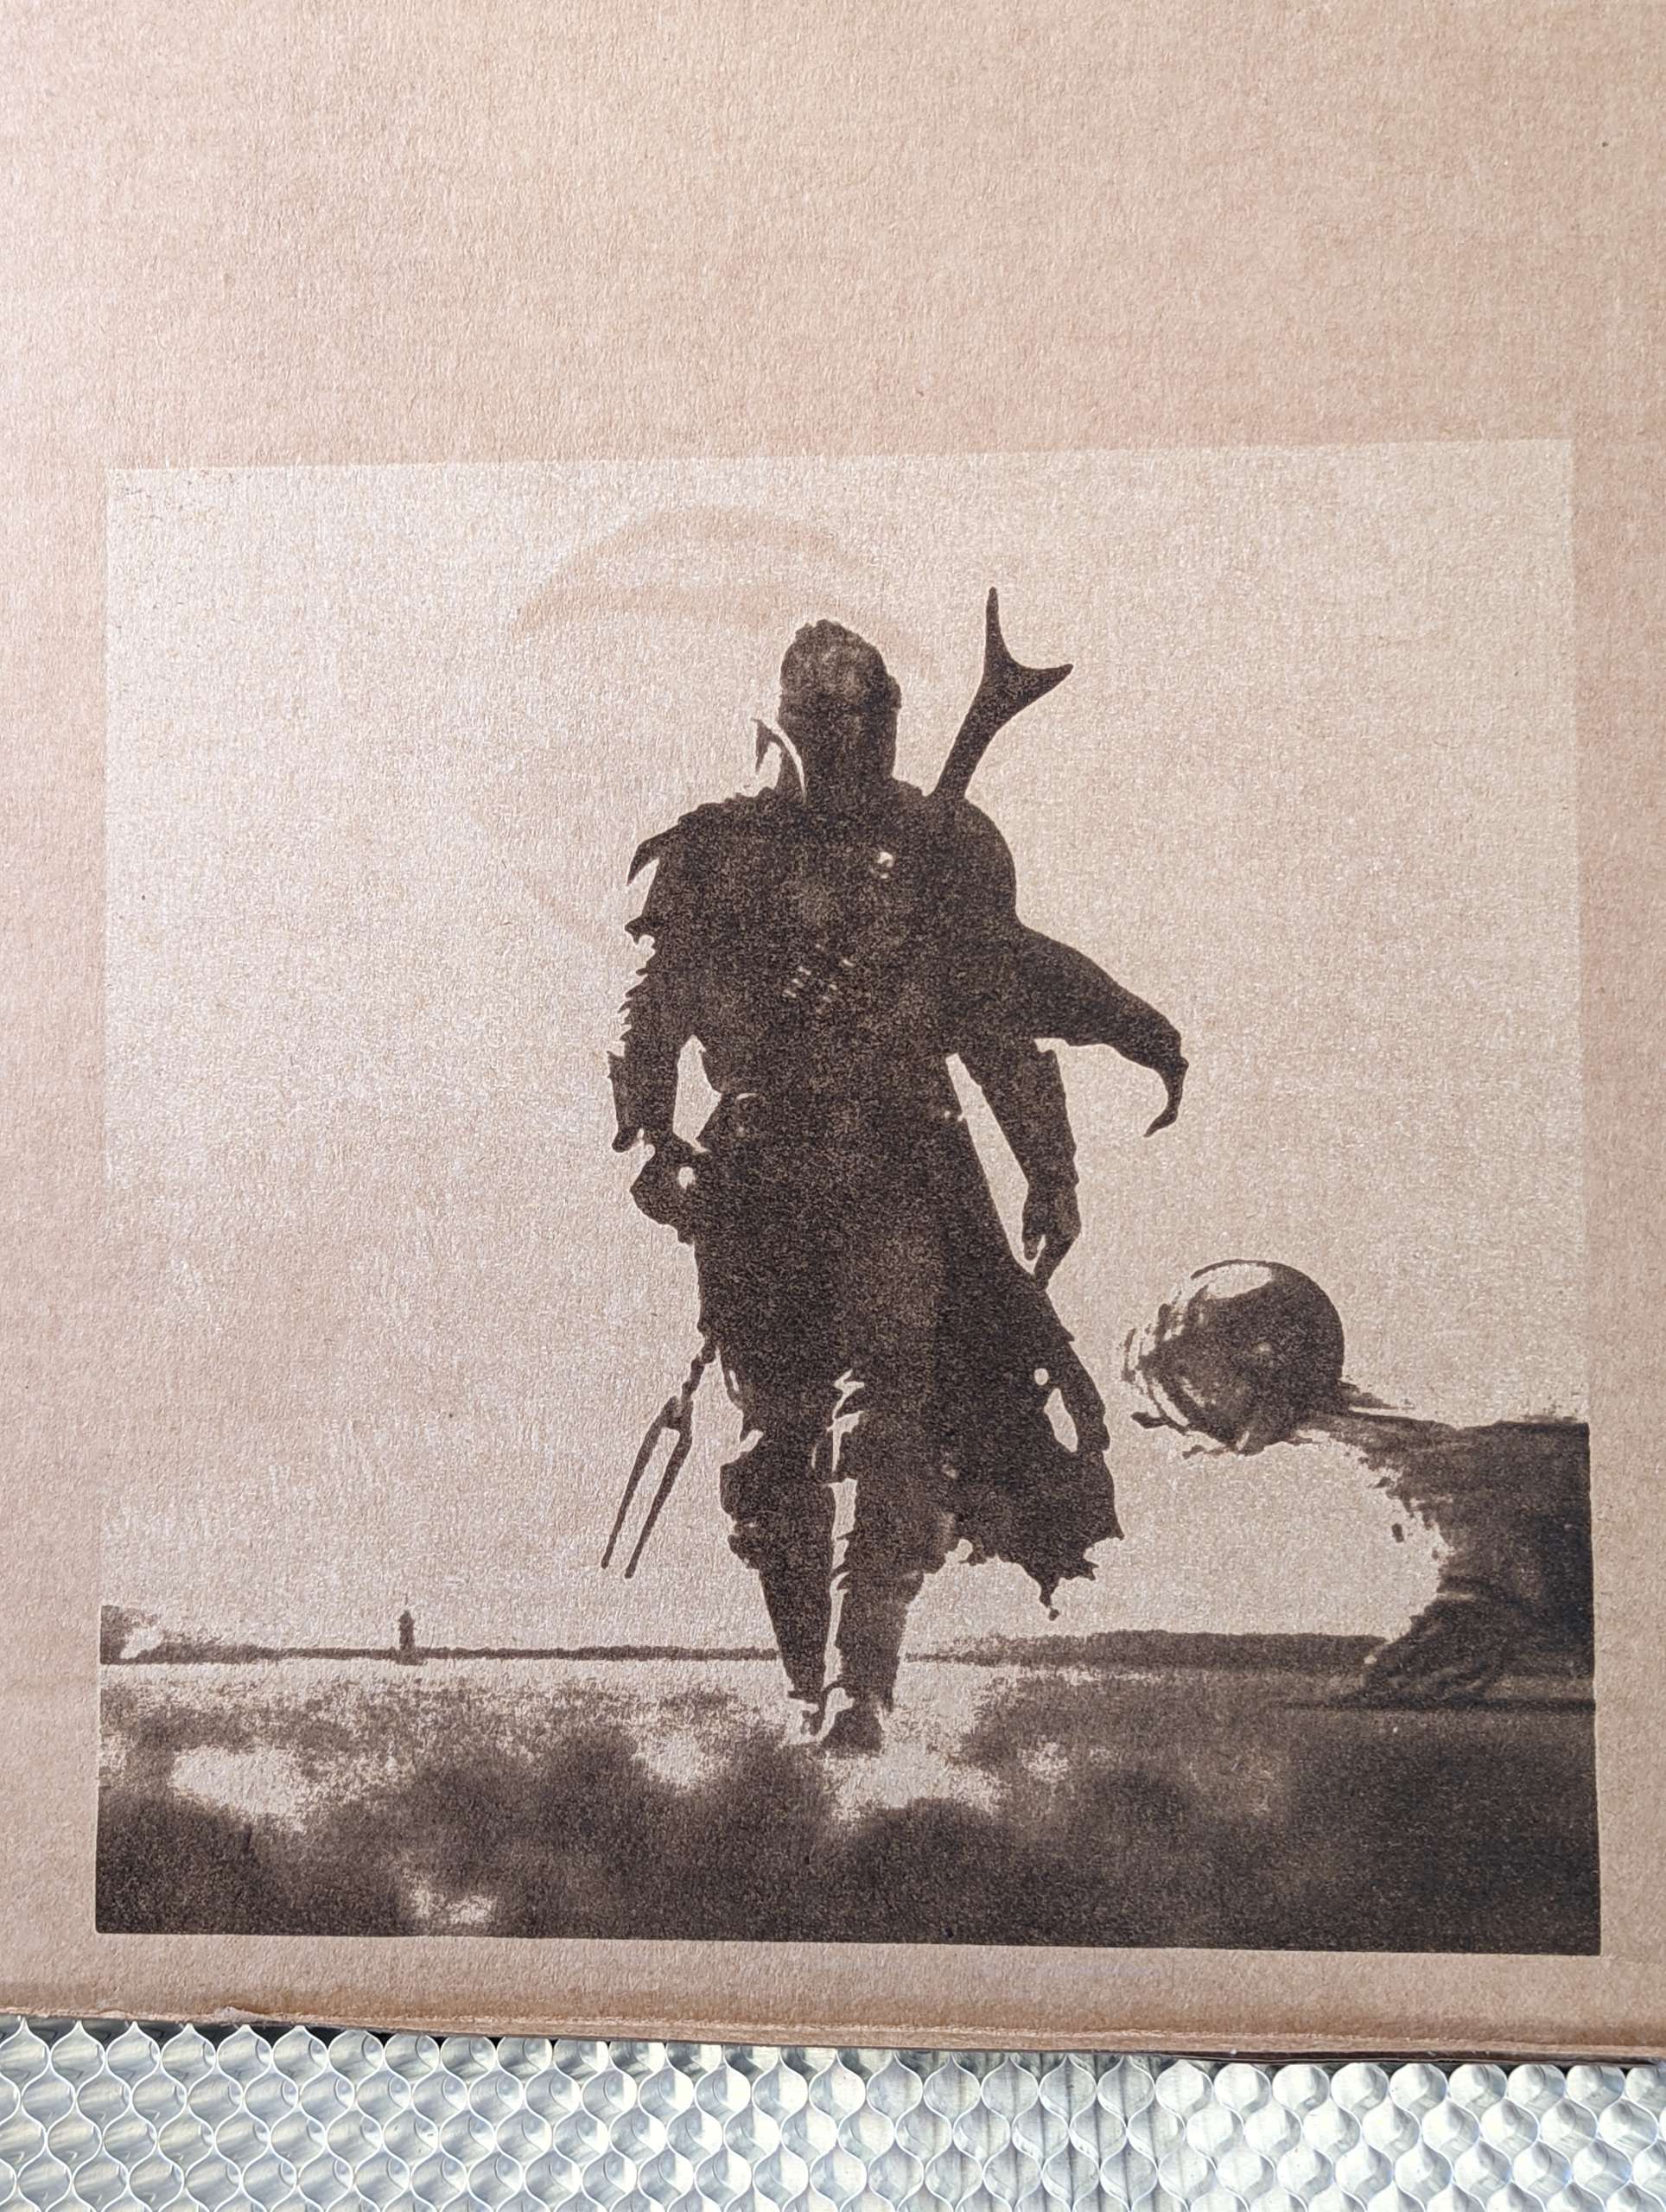
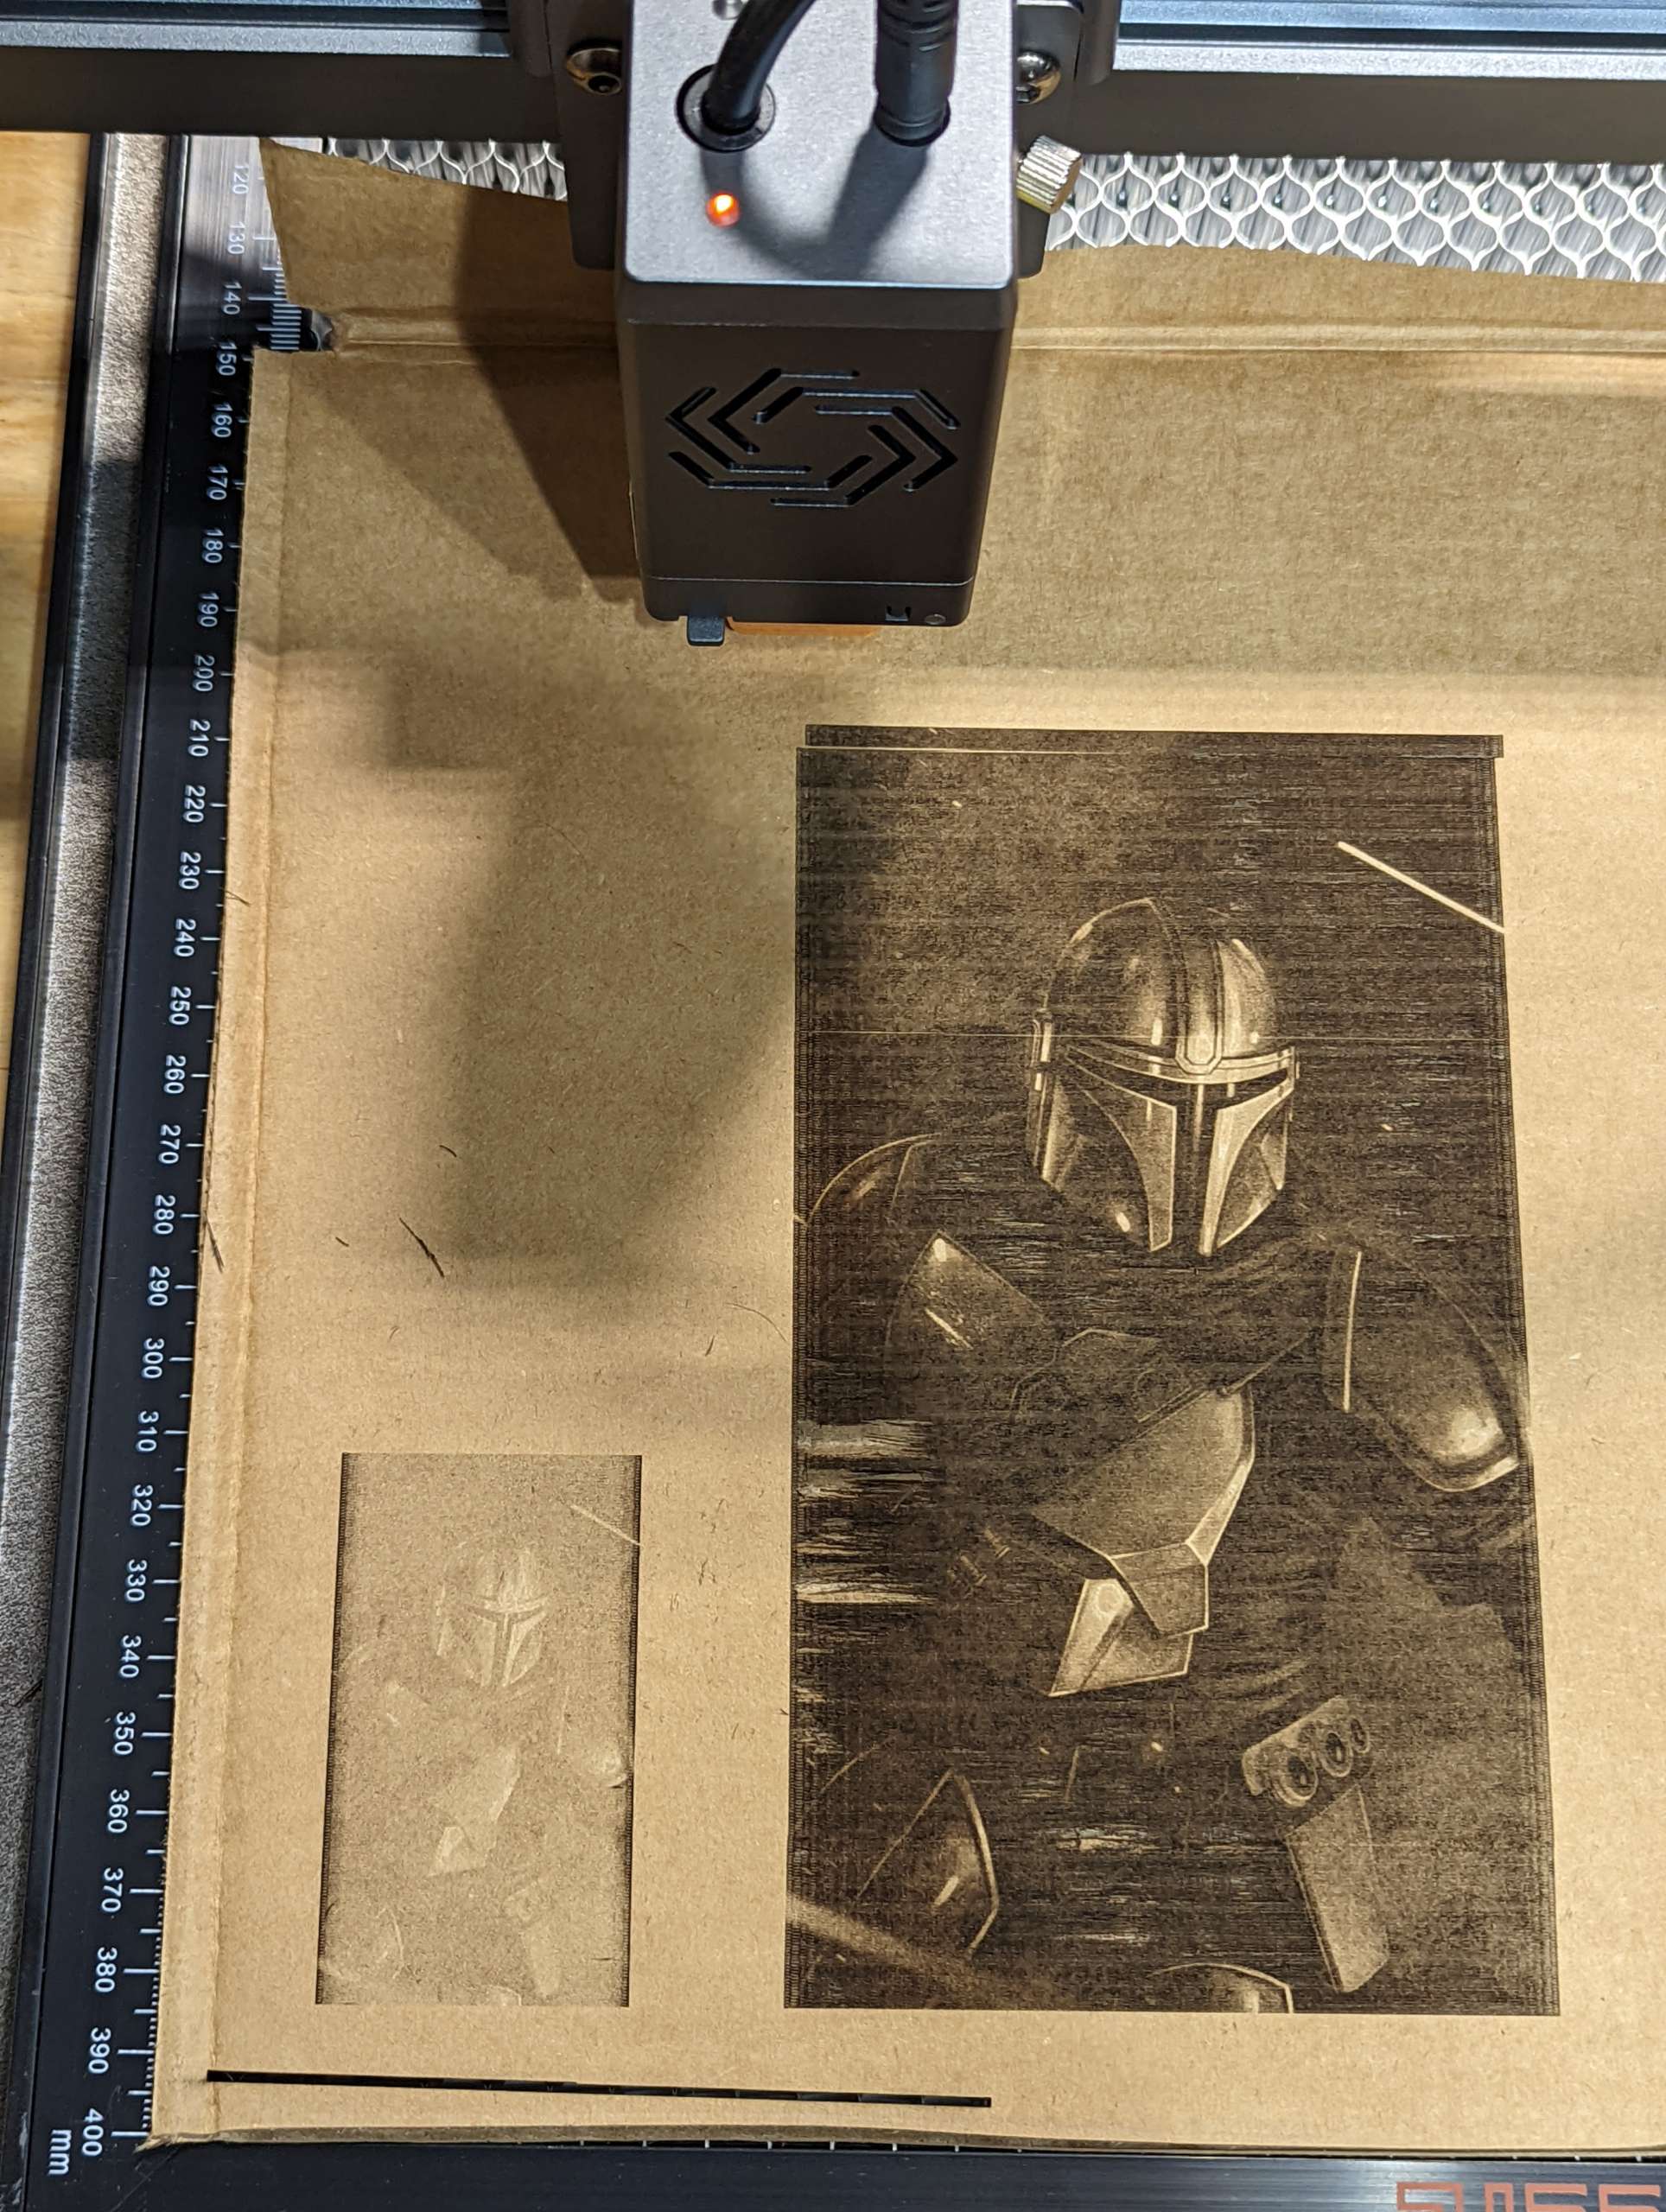
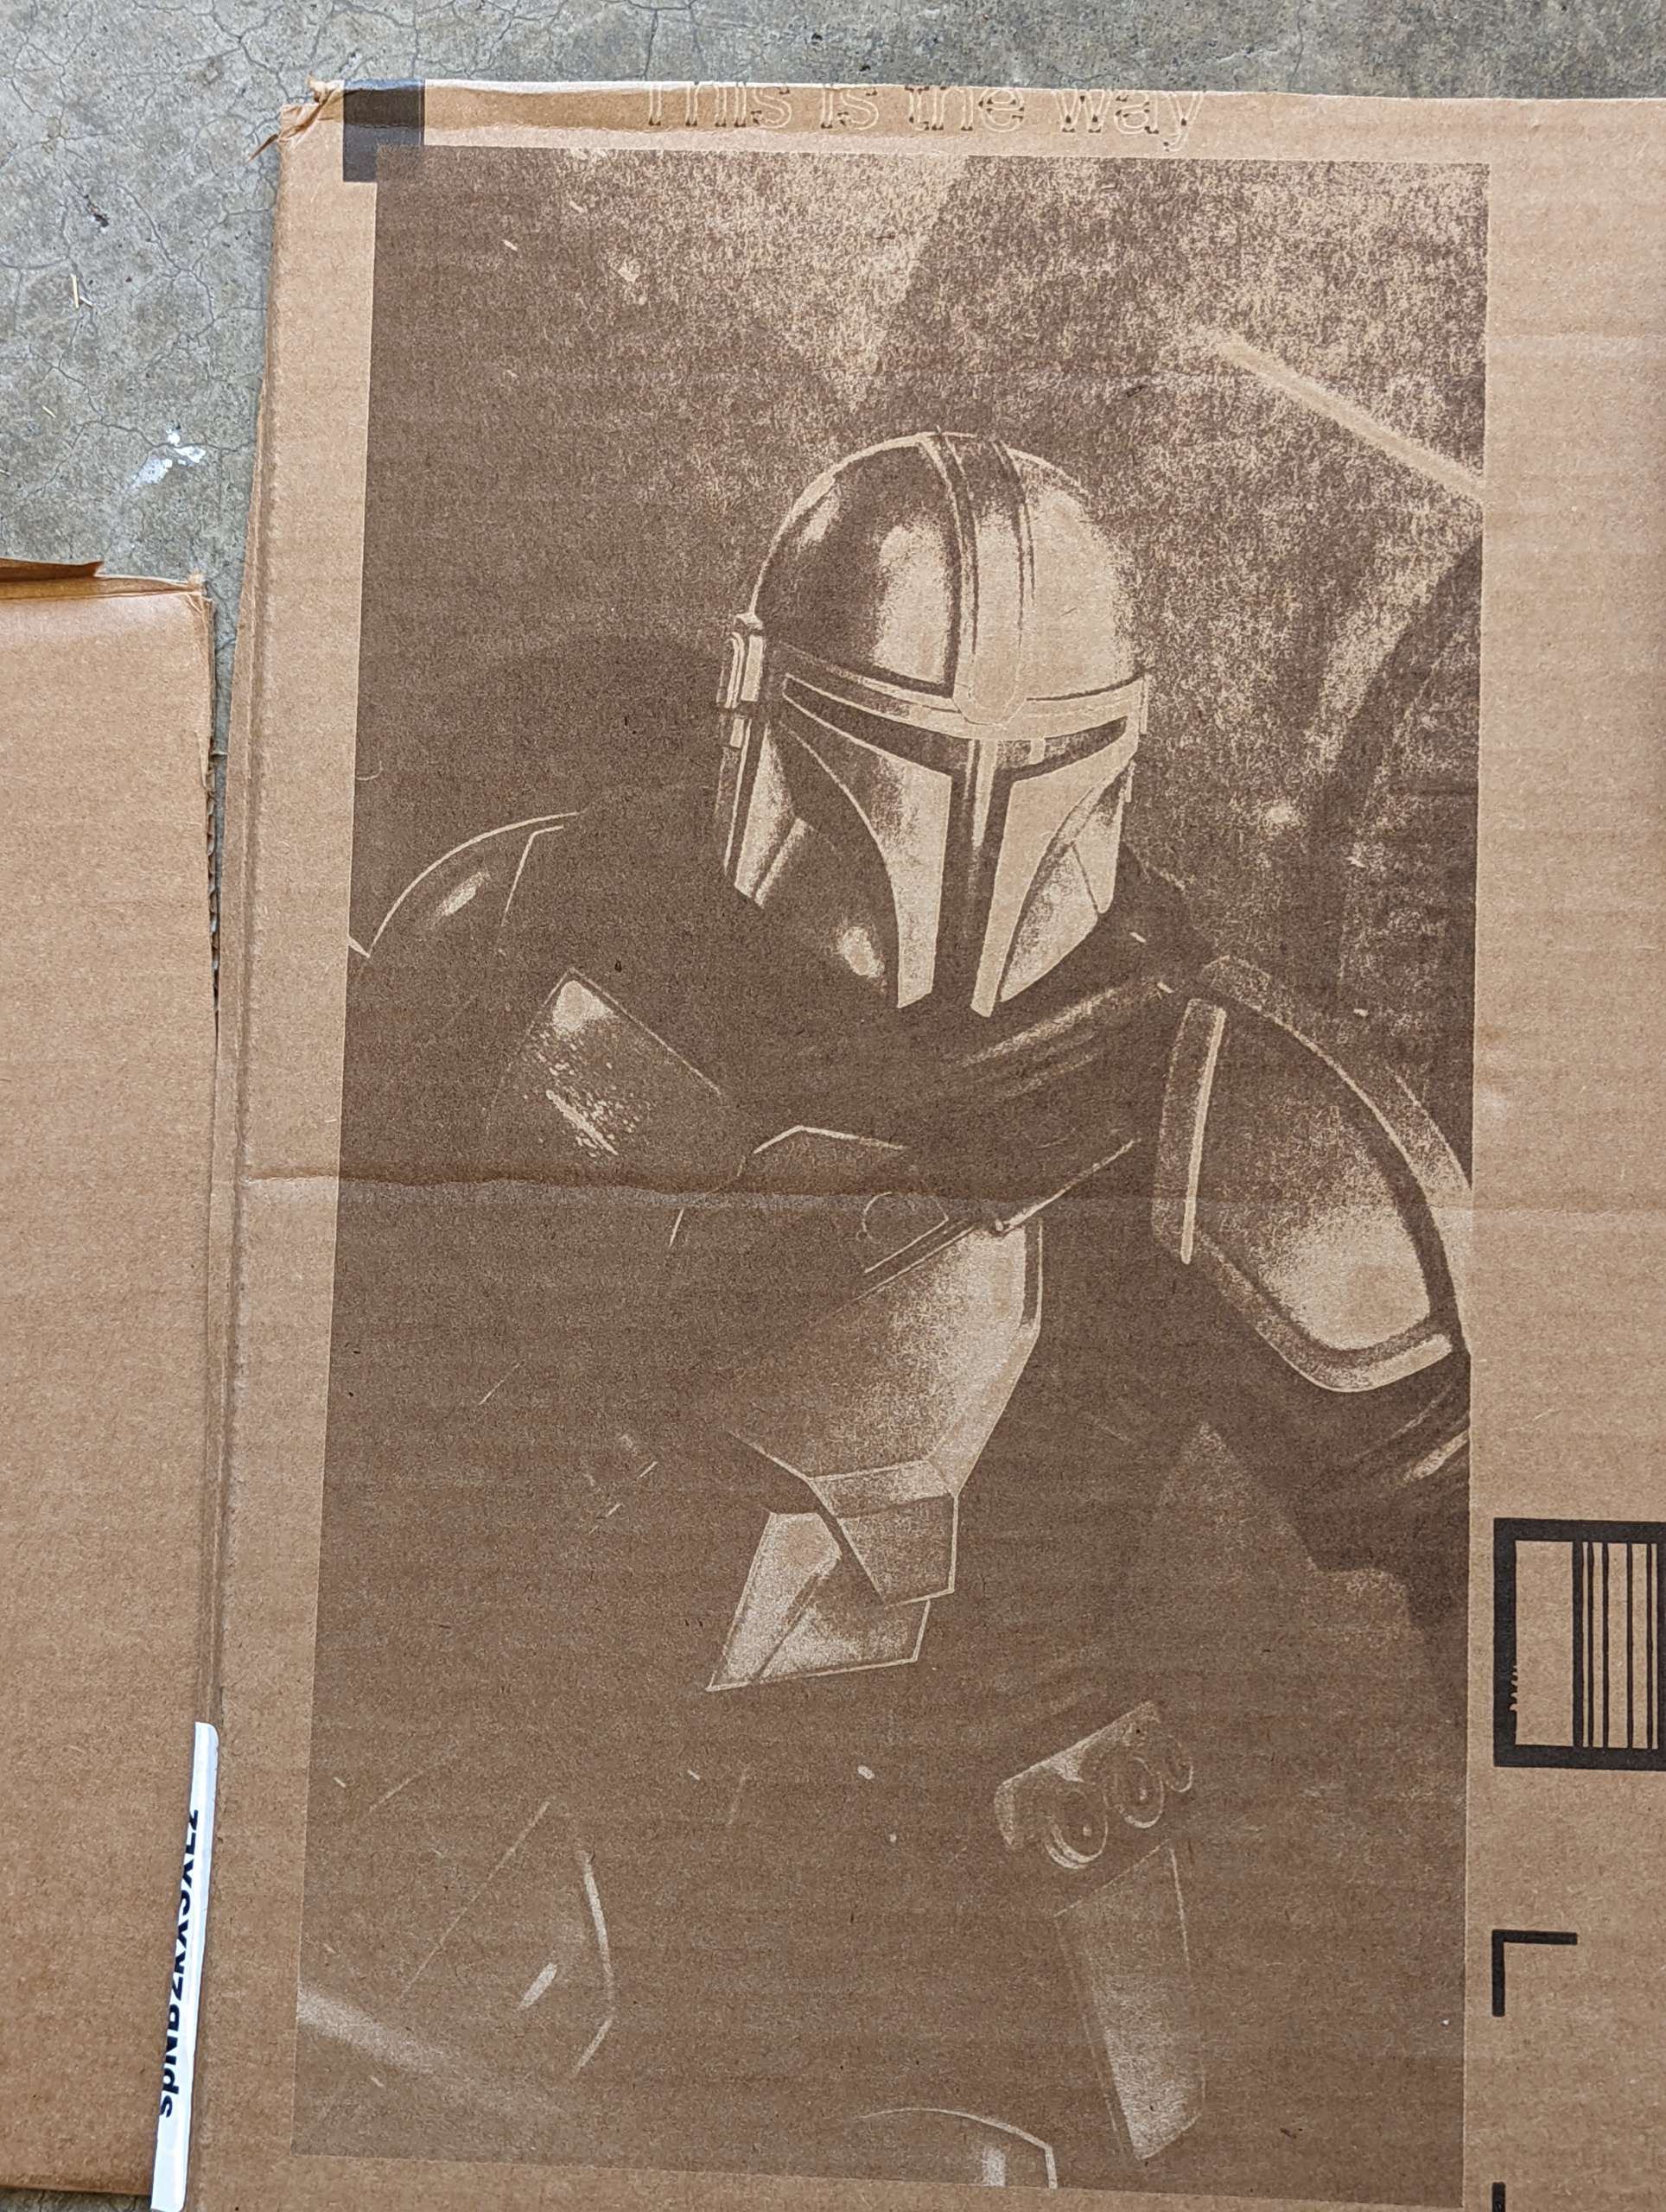
Since wood is pretty expensive right now I did most of my tests on cardboard. Depending on how thick the cardboard layers were some pictures came out better than others. Mr. Vader below came out really well and I might have to do it again on a canvas to put on the wall.
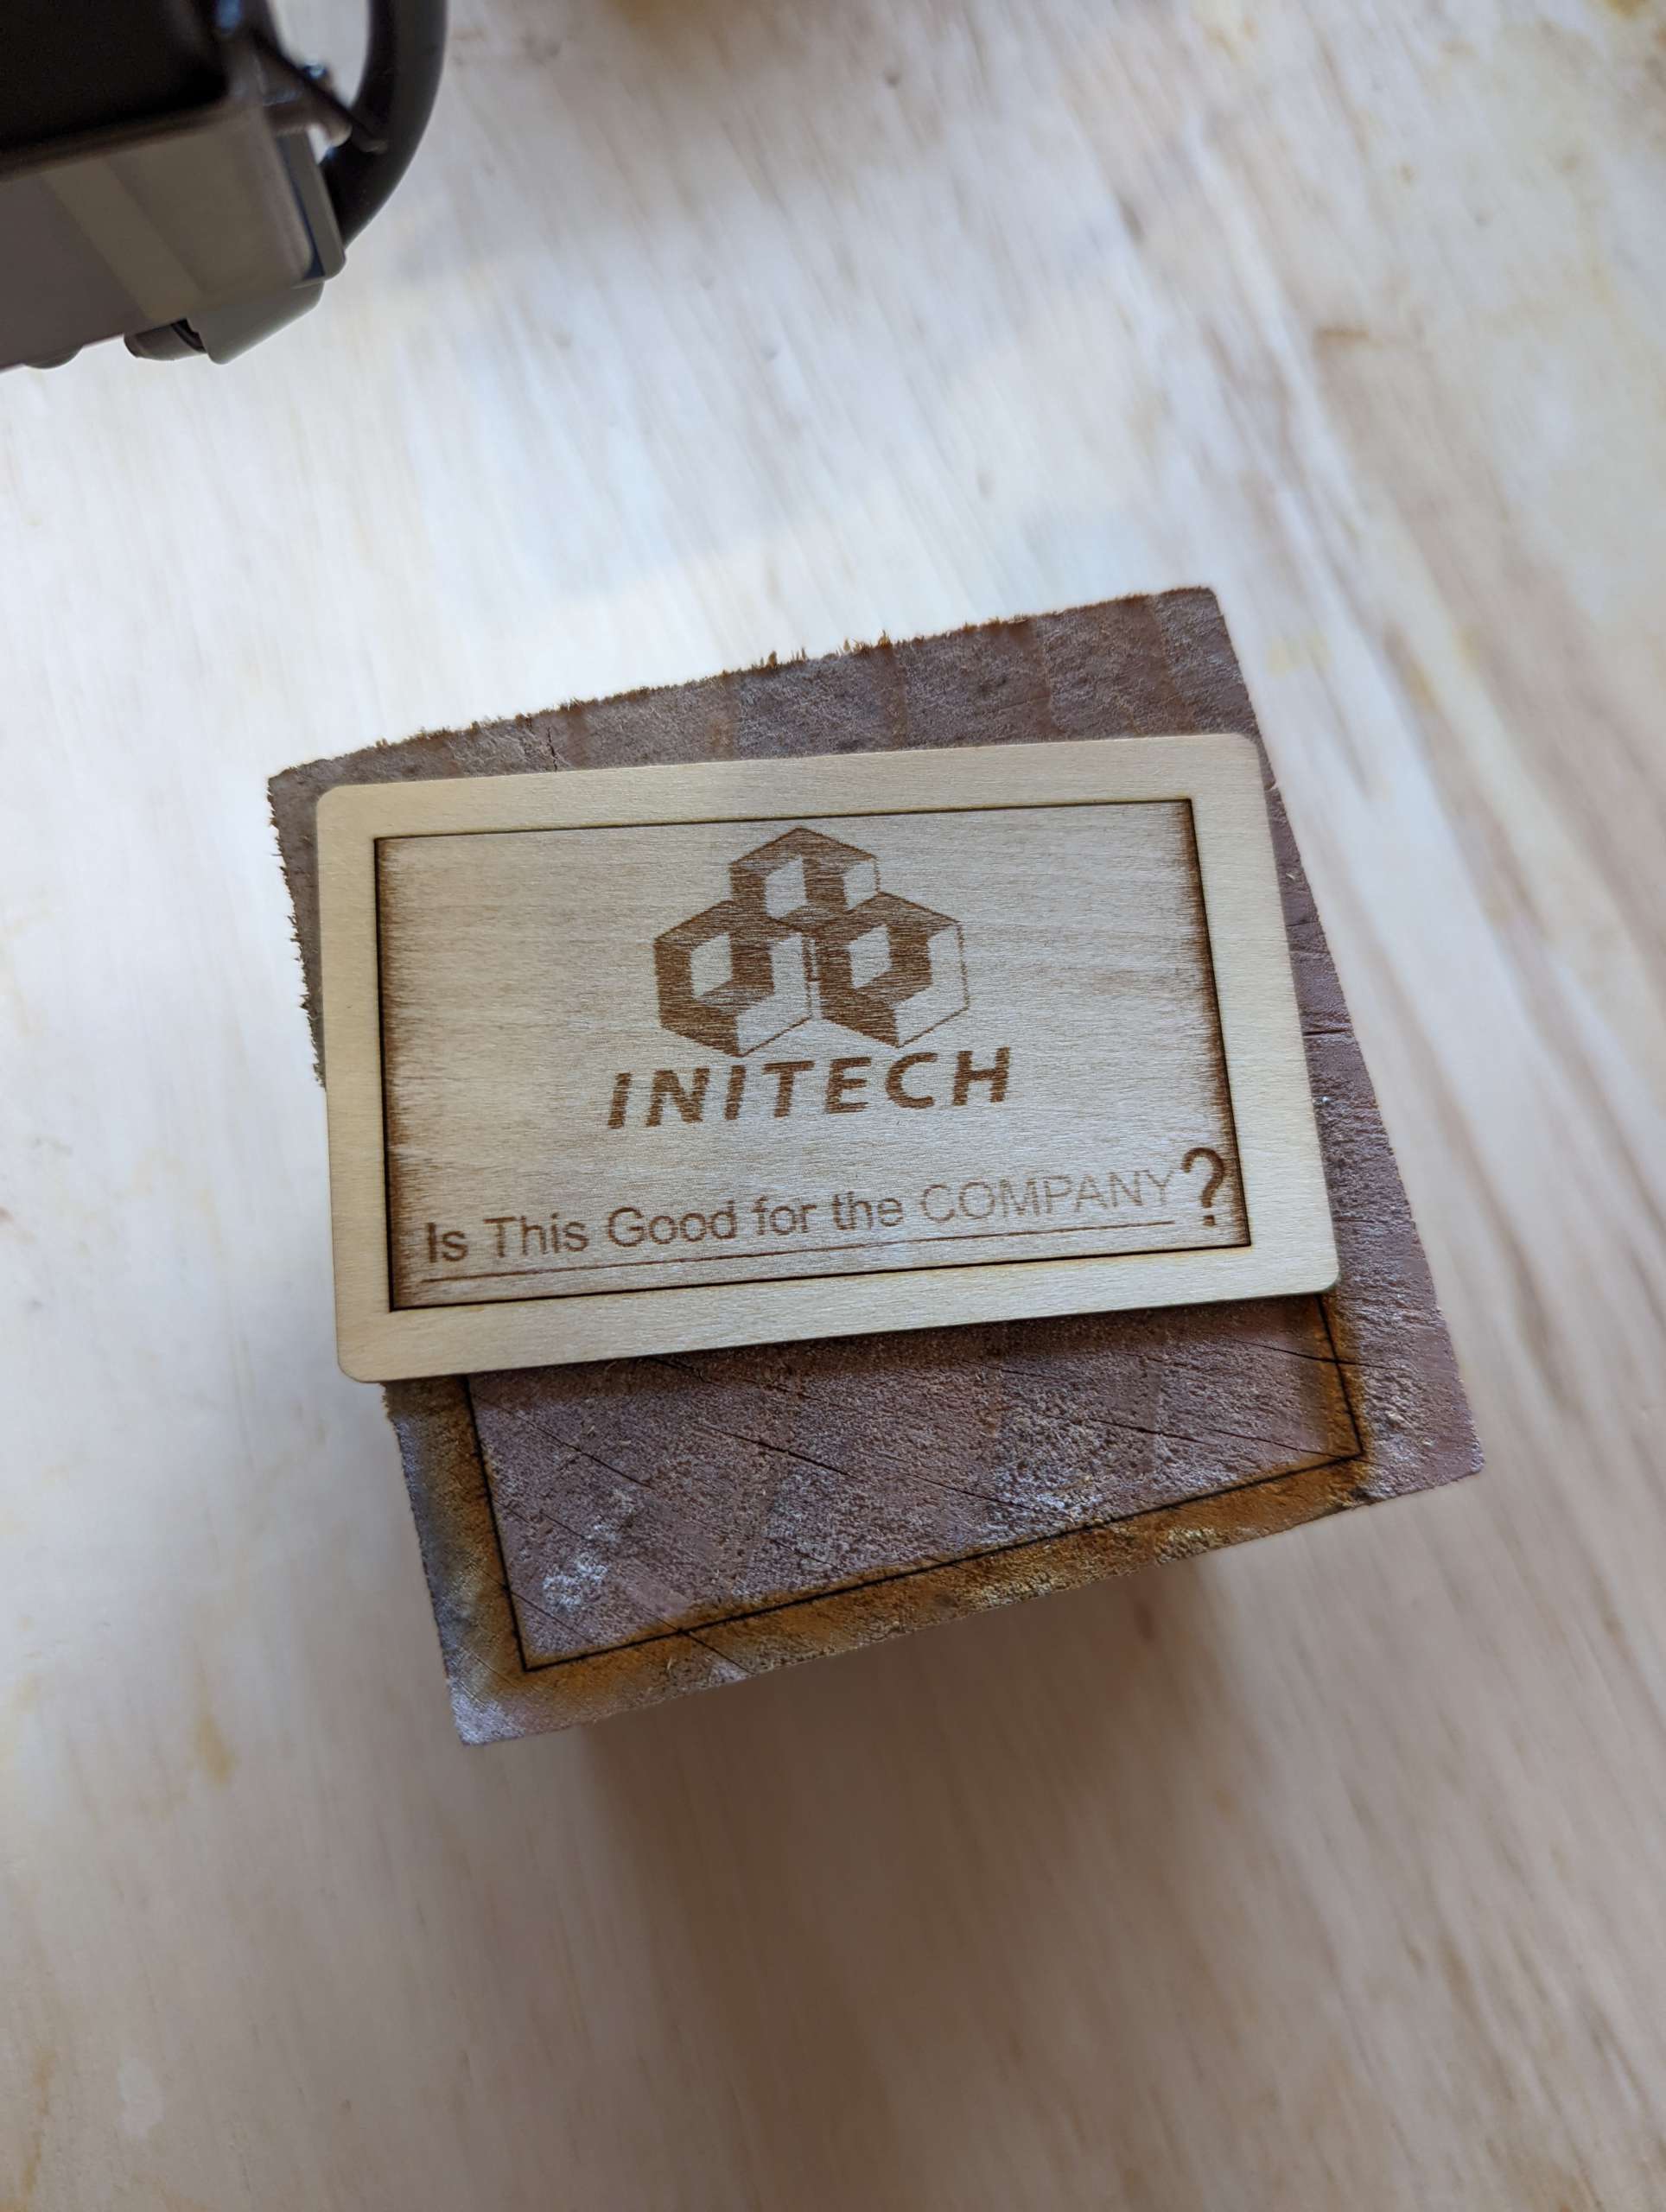
I did have some scrap plywood as well as some pine and oak pallet wood that I used and those produced the most consistent results just because the denser wood grain allowed for a higher resolution.
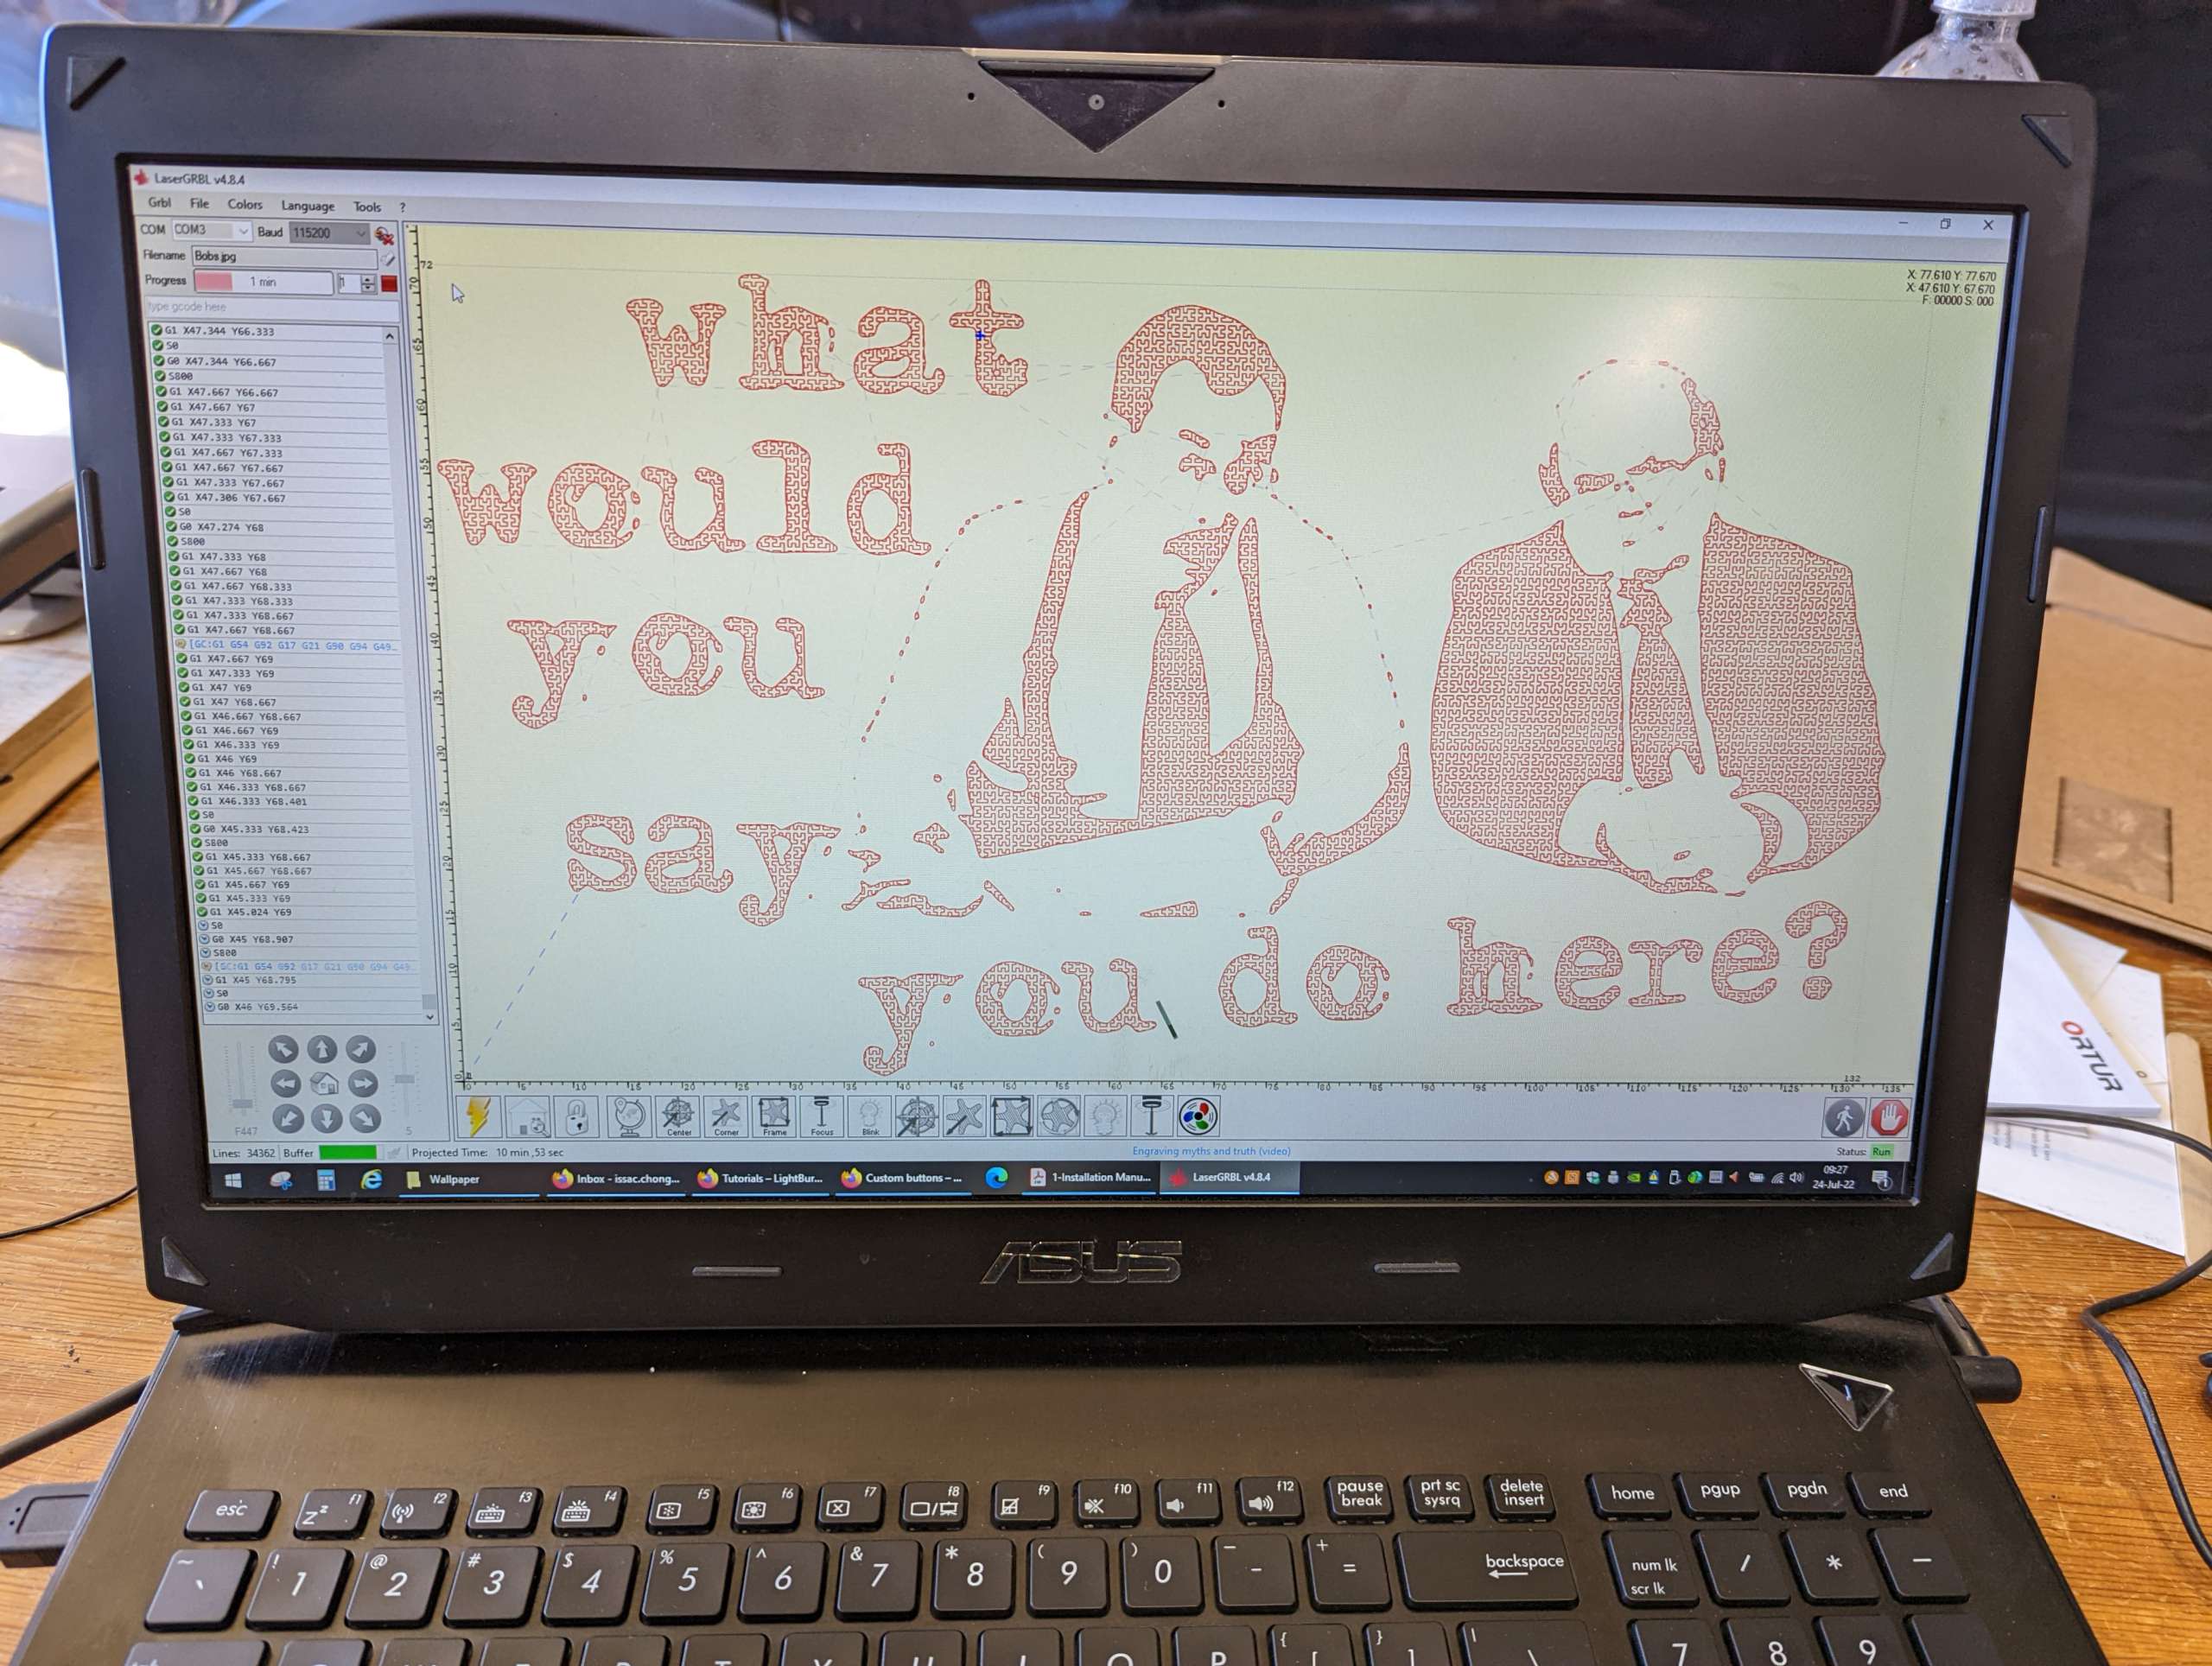
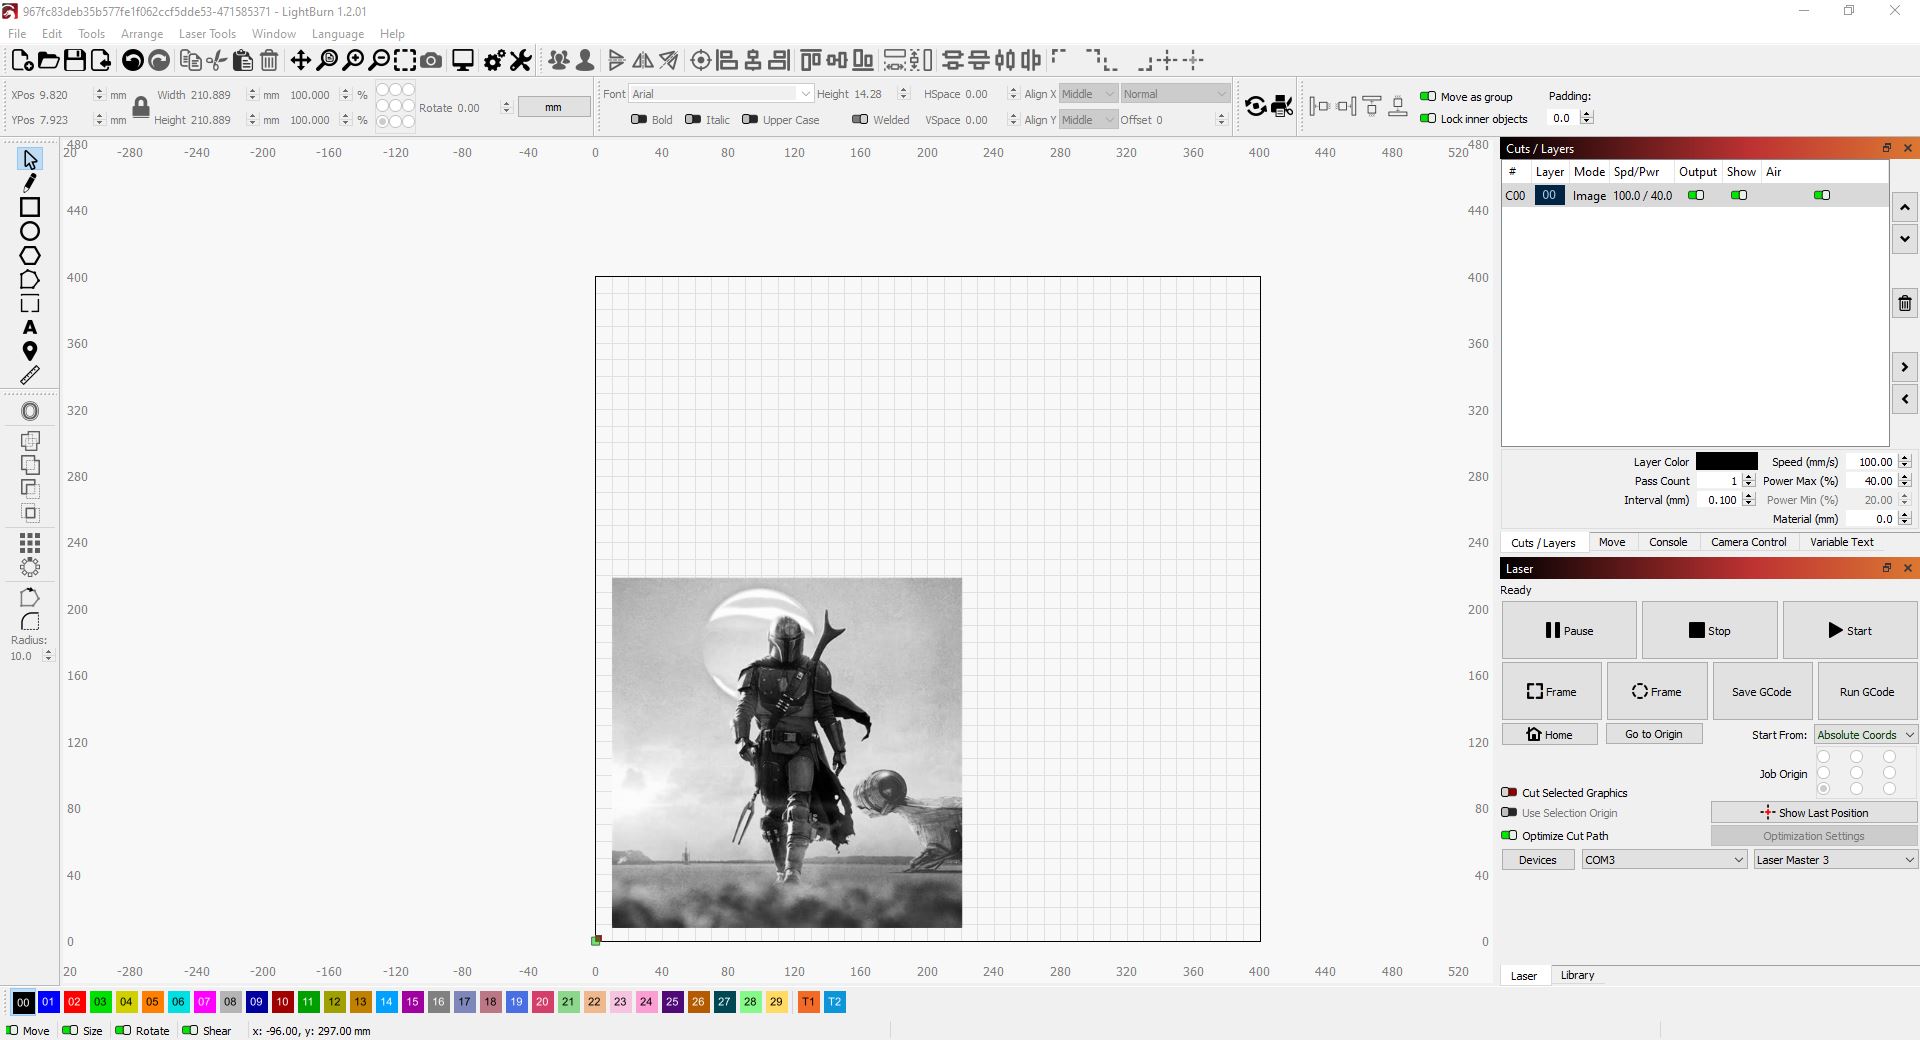
I then switched over to LightBurn which although costs $60 you do get a free 30 day trial of the full software before deciding whether to purchase it.
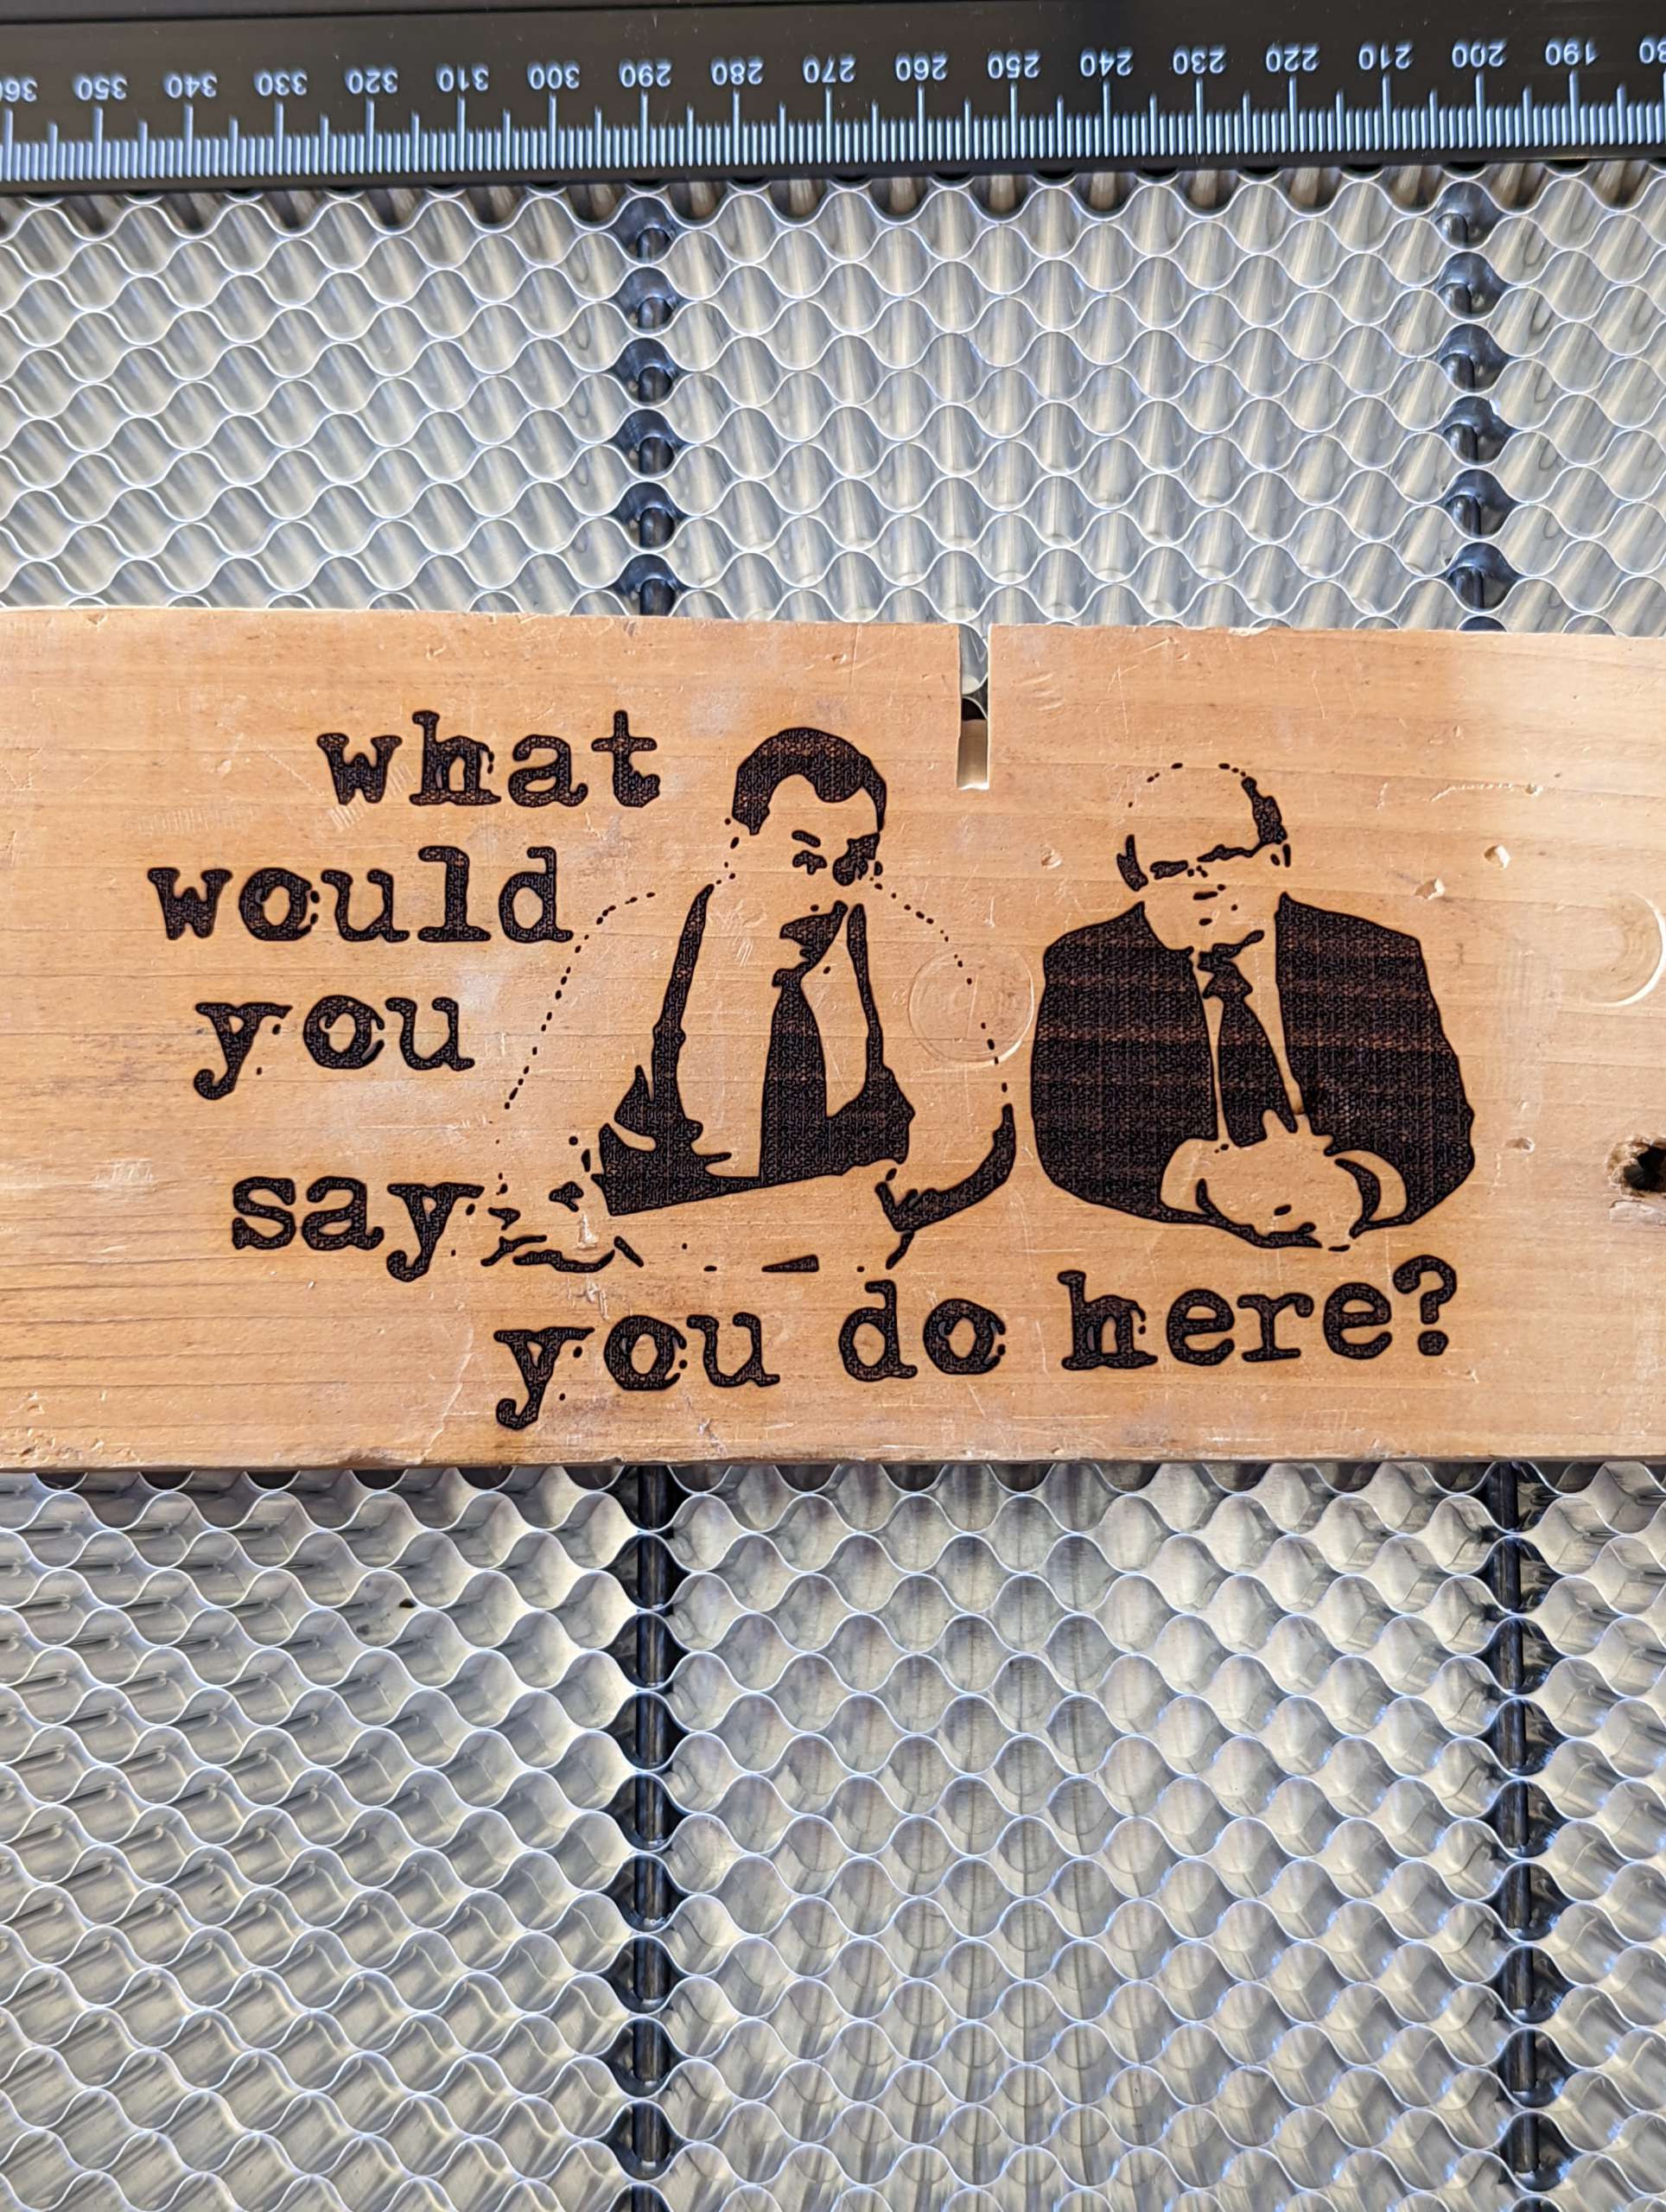
Harking back to memories of the movie Goldfinger and James Bond’s encounter with a laser I wanted to see if the Laser Master 3 could make an international man of mystery sweat. From the test, I think it can. I used the wood swatches that were included with the laser to run a few cuts and it was able to cut through very easily into the oak block below it so word of warning is do not place this laser directly on your dining room table when cutting.

Programs
The Laser Explorer app is made for Ortur lasers specifically and as previously mentioned was very user-friendly and simple to use. I liked that I didn’t have to lug my laptop down to the garage and plug it into the Laser Master 3 when I wanted to use it and I was able to print pictures directly from my phone. LaserGRBL is a free computer-based program (Windows PC only) designed by an Italian software designer. Lightburn is not free and at the time of this writing costs $60 but when you download it you get a free trial for 30 days of the full software so you can compare and see which you like better. Lightburn is available for Windows, Mac, and Linux systems. Both programs have very similar functions and features. You can’t really go wrong with either and at the end of the day, it comes down to user preference. I preferred Lightburn and once my trial ends I will purchase the full program as I think it is worth it and I liked the controls and layout a bit better.
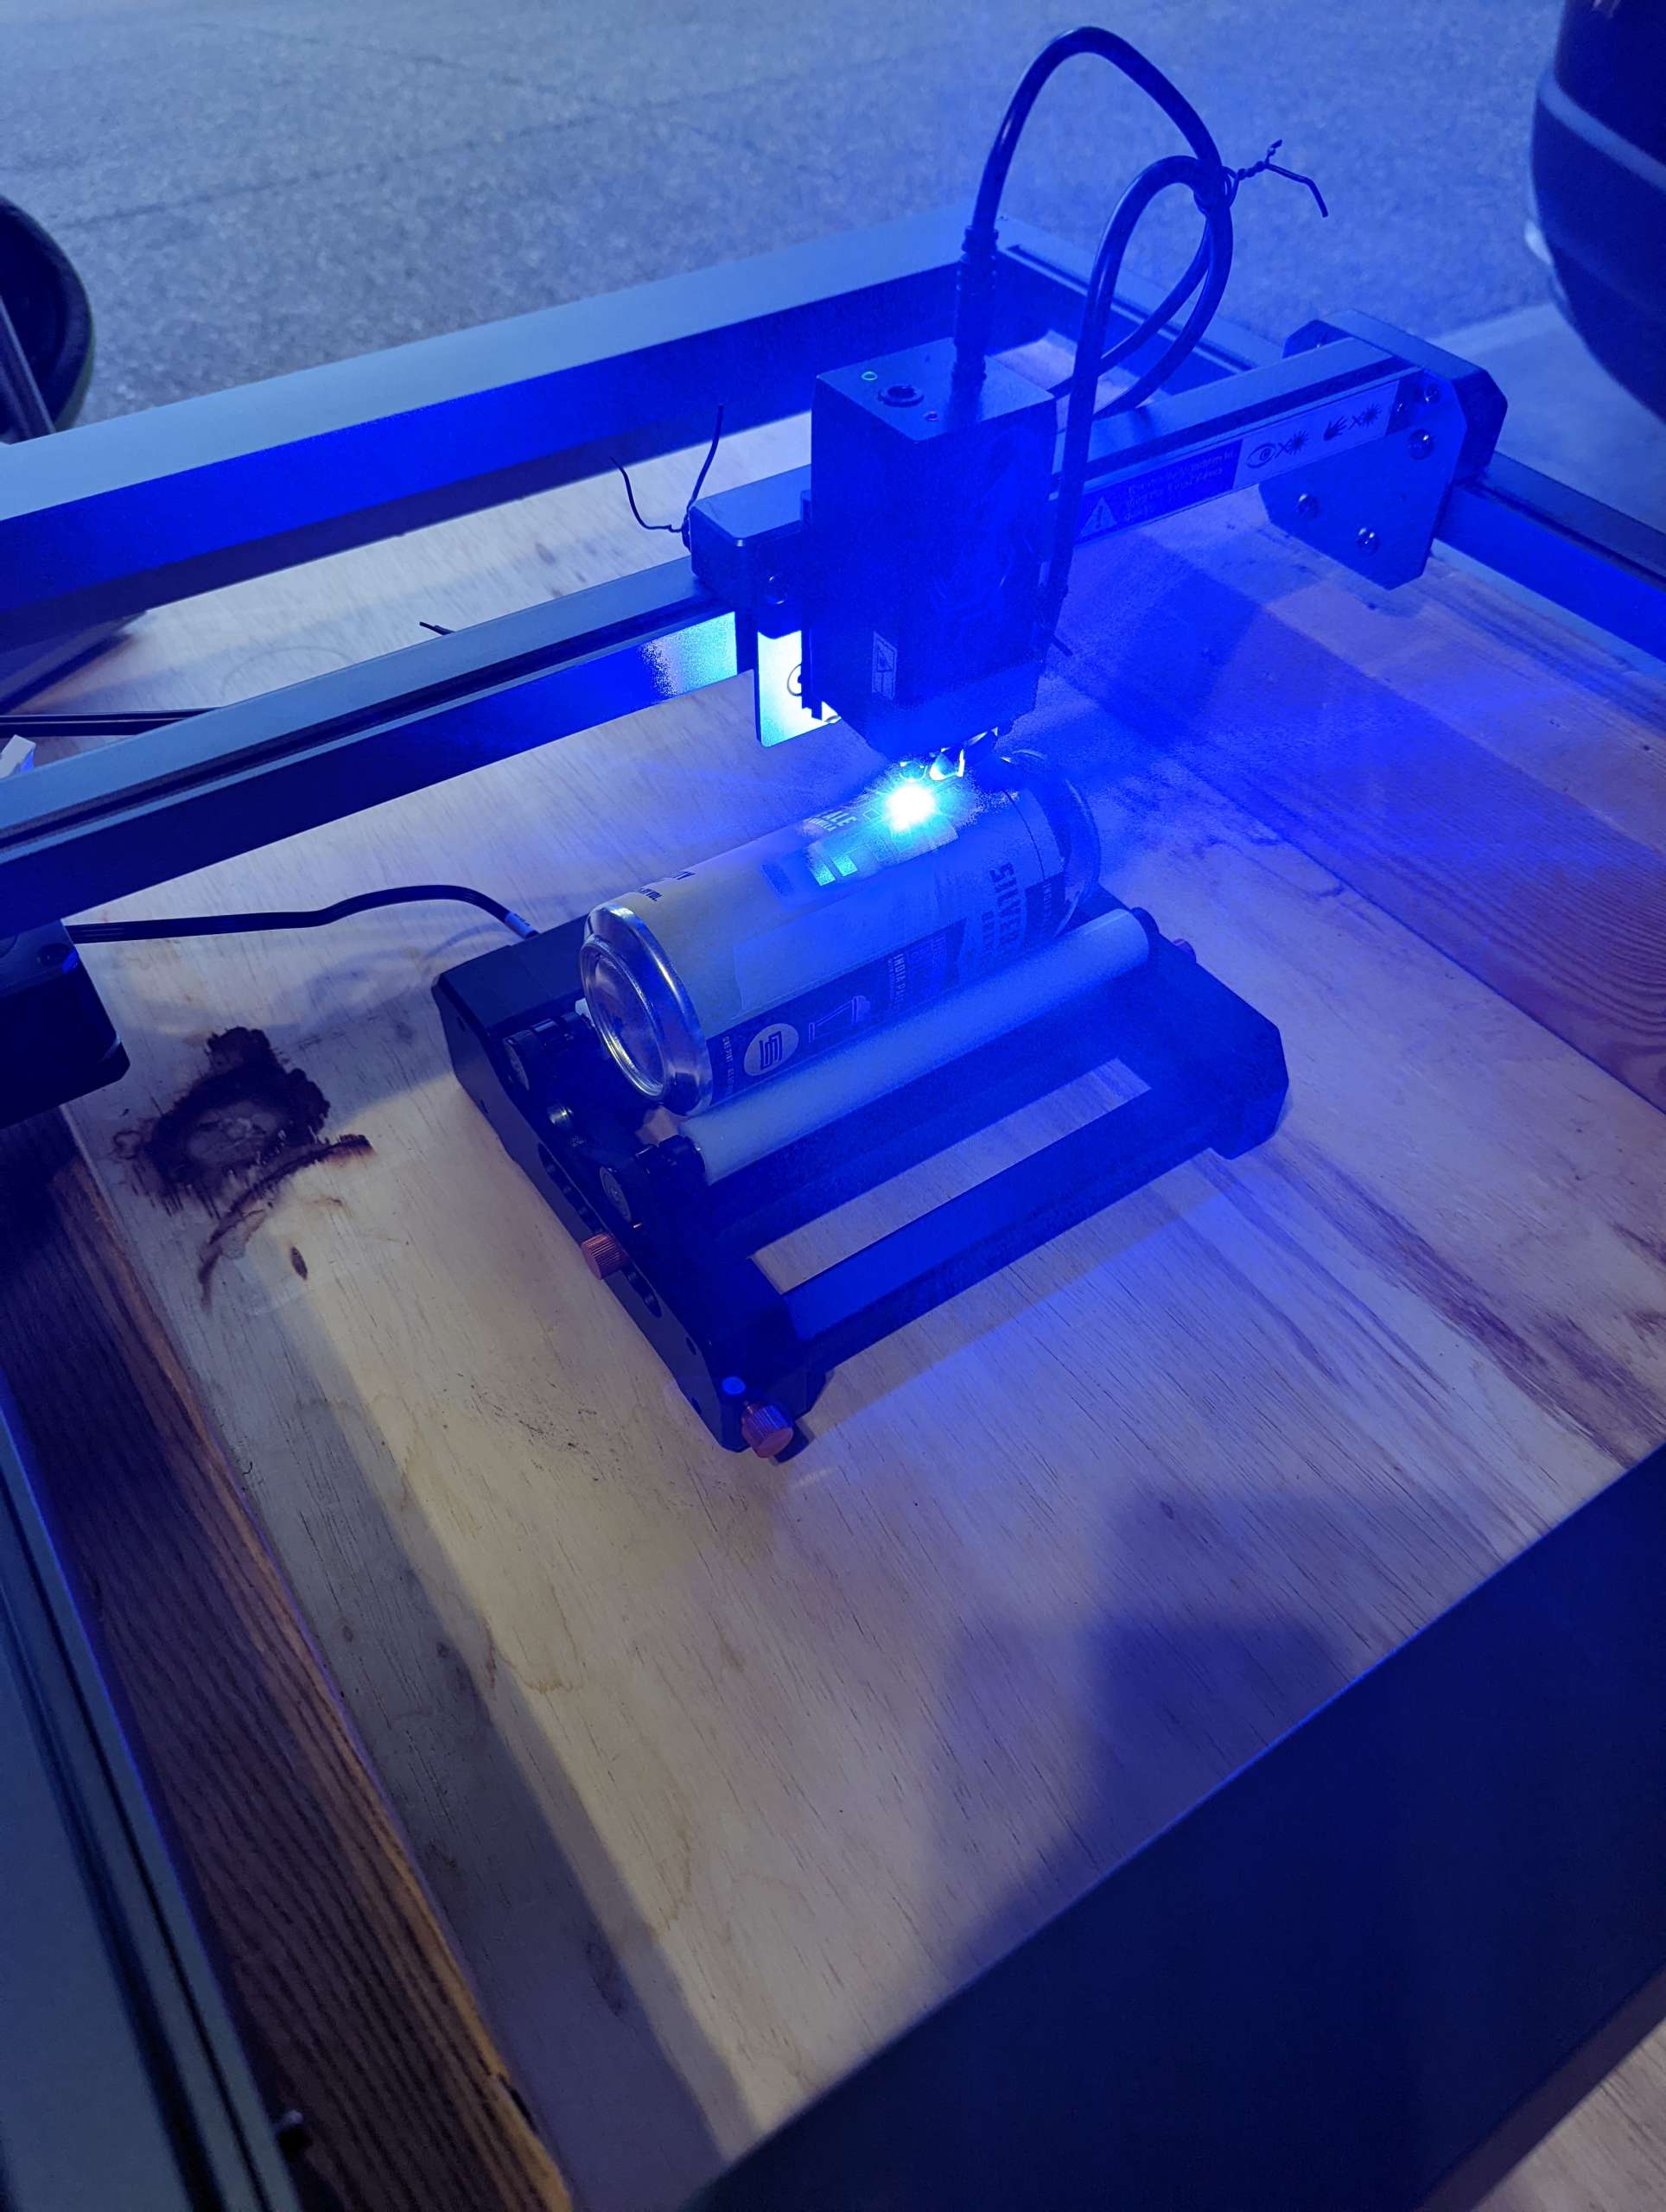
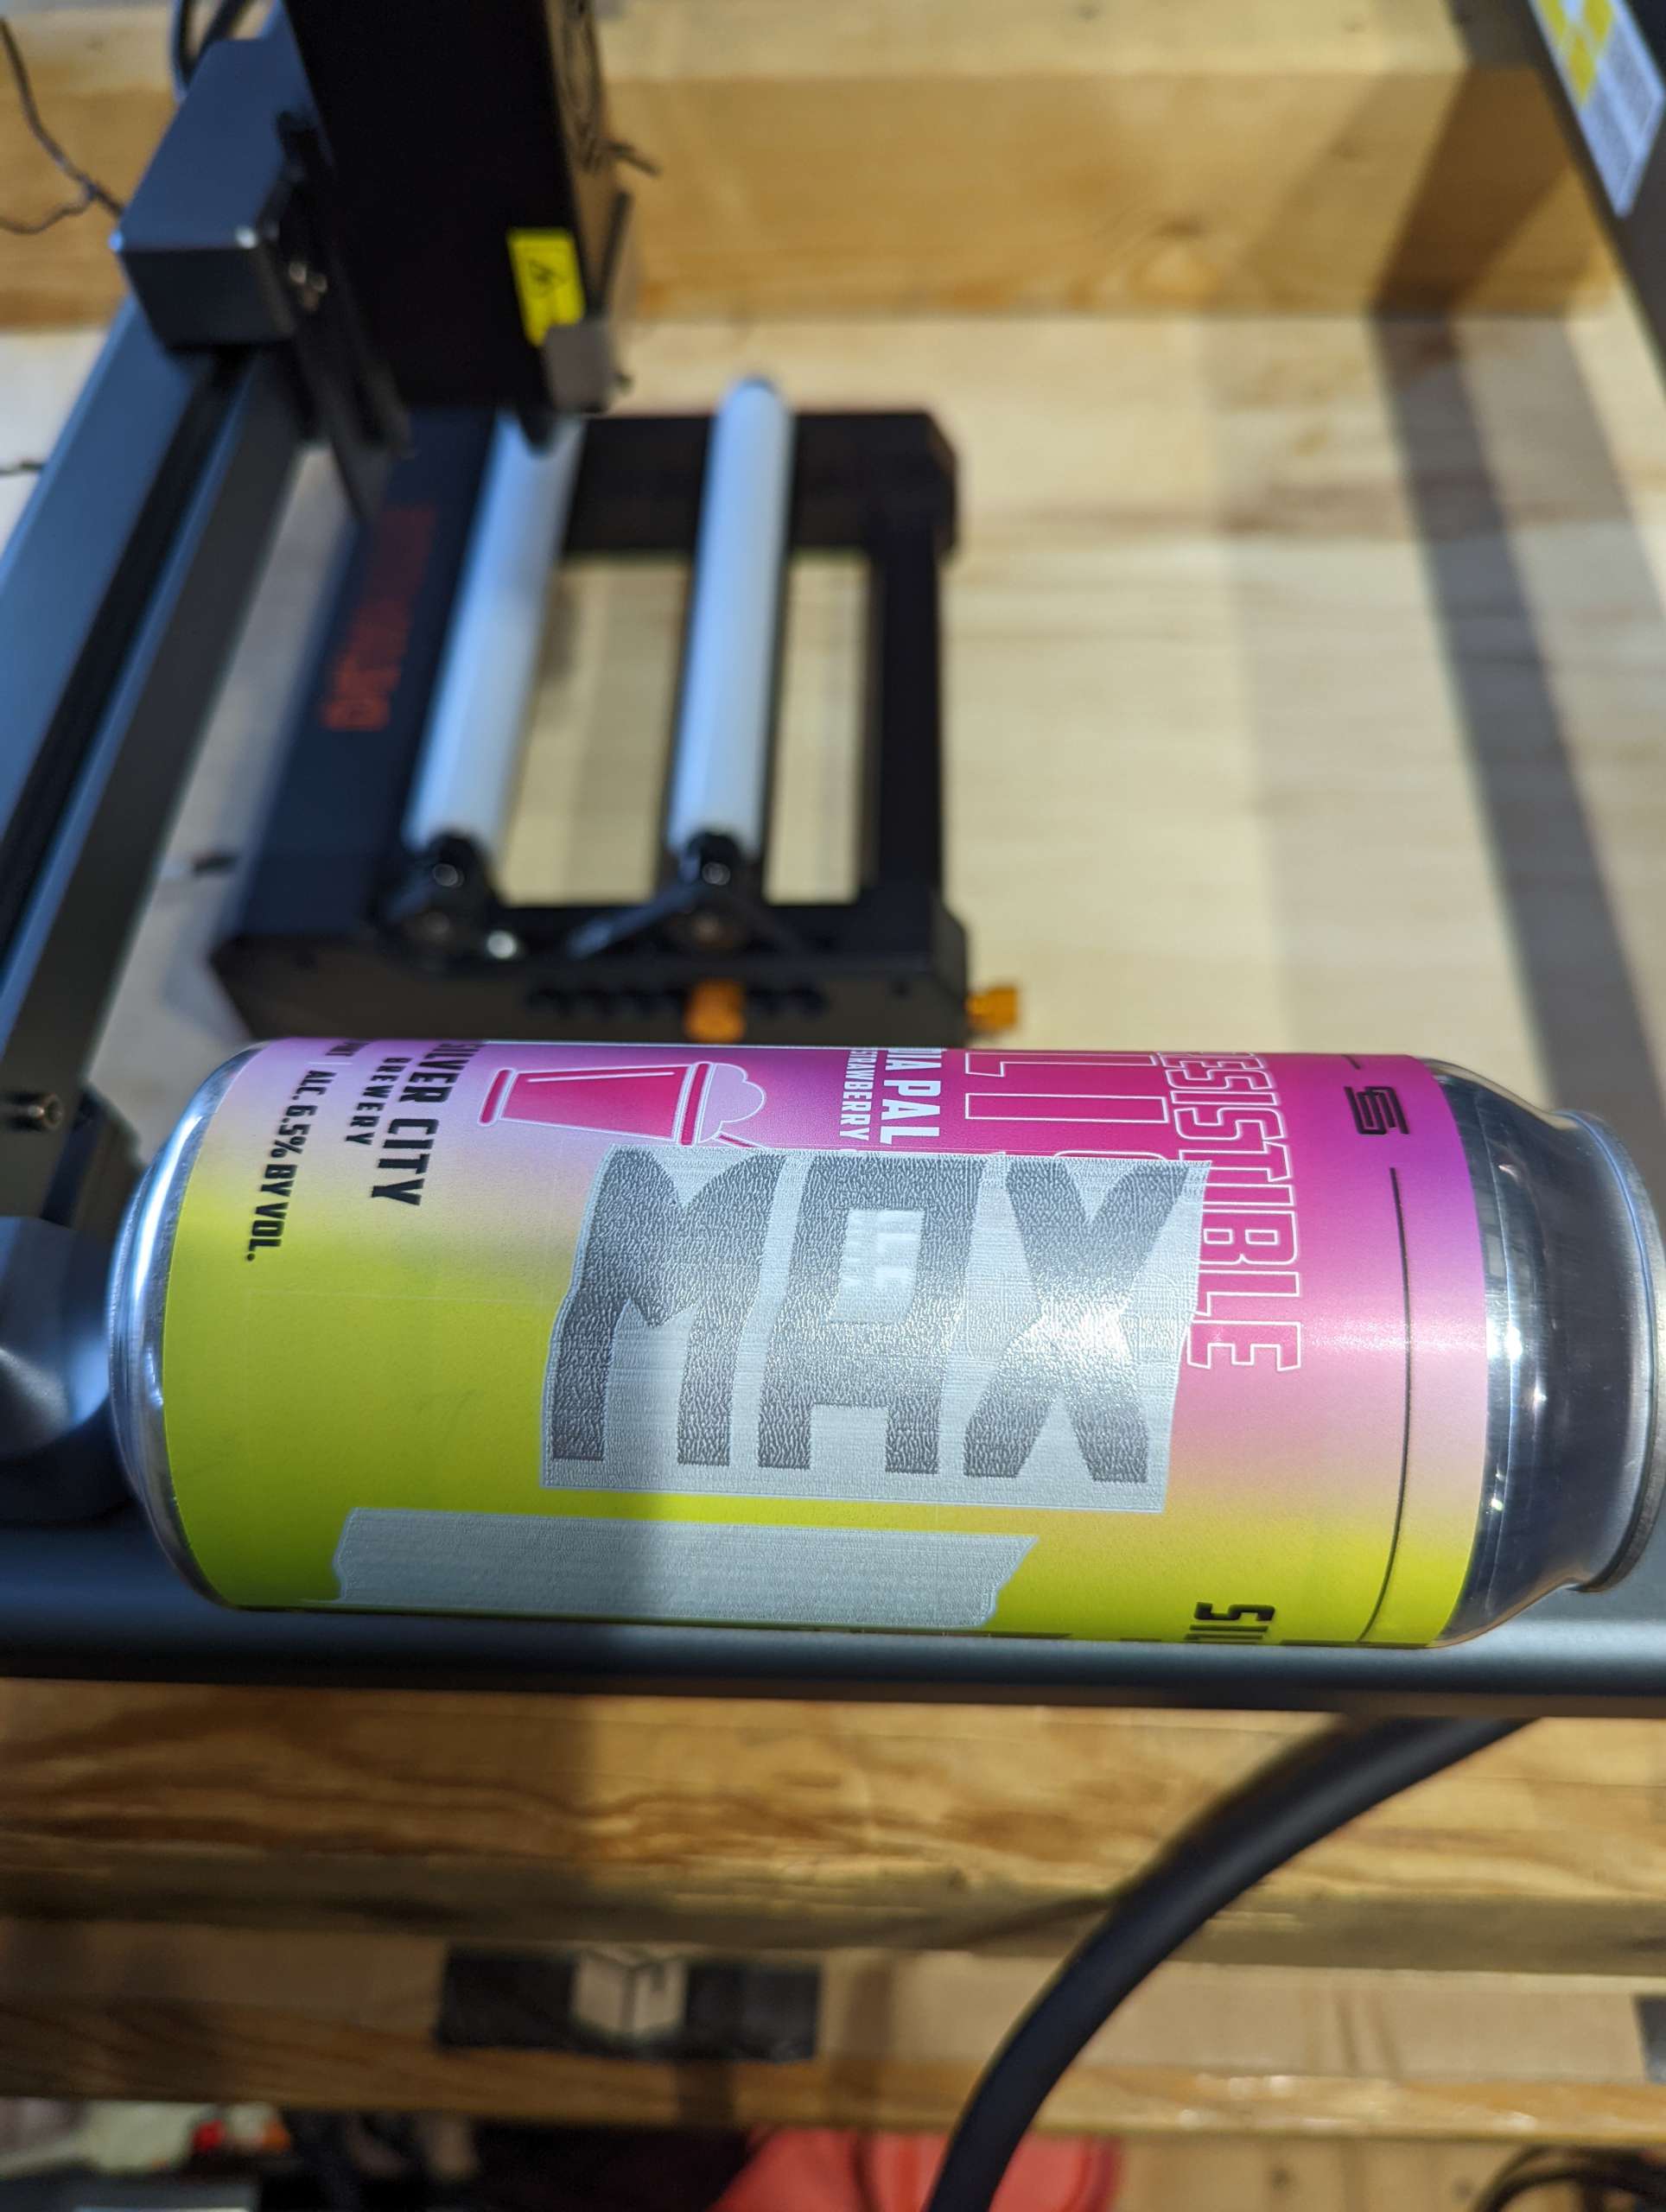
Ortur was kind enough to also send me a Dewallie blower fan which helped blow any smoke out of my garage as well as an external air pump which assisted in clearing the work area of any debris which helped produce better results and less material scorching. They also sent me a Dewallie honeycomb laser bed and a Dewallie Y-axis rotary roller which I was excited to use. If you have school-age children you probably know that water bottles disappear as regular as socks so I engraved my son’s name on a few water bottles and his metal sunscreen bottle. Could I just have written his name on them with a permanent marker, sure, but this was more fun. It was easy to convert to the roller by just plugging in the included YRR cable and flipping the switch on the machine then changing over to the rotary function in Lightburn. It worked well but like everything else will take some testing to get perfect.
What I like
- Quality construction and easy assembly
- Built-in folding focal gauge was convenient but would prefer it was made of metal instead of plastic
- Laser Engraver app is very capable and convenient
What I’d change
- Consolidate all the manuals into just one
- Add ruler markings on the frame like the Laser Master 2
- Better alarm integration in the app so it tells you exactly what the alarm is for without having to reference the manual
Final thoughts
The Ortur Laser Master 3 is a fantastic laser engraver but since I’m a newbie I have not tapped into its full potential. It’ll take me more time with the Laser Master 3 and more familiarity with LaserGRBL and LightBurn to fully test its capabilities but this means it’s a great laser for a beginner like me that I won’t have to upgrade when I get better at it. If you are an experienced engraver looking for a new machine the Ortur Laser Master 3 deserves a serious look due to its lightweight 10W laser module, spacious 400 x 400mm engraving area, and WiFi capabilities.
Price: $699.99
Where to buy: Made the Best (Use the coupon: LM3ZB100 to save $50) and Amazon Price: $699.99 with $50 coupon available
Dewallie Y-axis Rotary Roller
Made the Best Website Price: $79.99 and Amazon
DEWALLIE Honeycomb Laser Bed 440x440x22mm
Made the Best Website Price: $109.99 (Use the coupon: MTBFWB10 to save $10) and Amazon Price: $95.99 with $25 coupon available
Dewallie Air Assist Pump For All Cut Laser Engraving Machines
Made the Best Website Price: $89.99 Amazon Price: $79.99 with $10 coupon available
Dewallie 6 inch Blower Fan with Remote
Made the Best Website Price: $99.89 Amazon Price: $99.99
Source: The sample for this review was provided by Made the Best.
Gerber Gear 22-47162N Fast Draw Folding Assisted Opening Pocket Knife, Fine Edge, Black
(as of June 18, 2026 18:57 GMT -05:00 - More infoProduct prices and availability are accurate as of the date/time indicated and are subject to change. Any price and availability information displayed on [relevant Amazon Site(s), as applicable] at the time of purchase will apply to the purchase of this product.)
Gadgeteer Comment Policy - Please read before commenting
Do they have any warnings about toxic fumes when engraving plastic or reflected beam when engraving on metal?
Greetings John, I did not see any explicit warnings in the manual but when using the laser I wore the included safety goggles especially when I was engraving metal and I made sure I had good ventilation since when I was using the laser it did create some smoke and fumes depending on the material I used.
Something to be careful of. Big laser cutters usually have those protections built-in.
Gostei muito da postagem e explicação comprei uma e gostaria se saber como atualizar oi firmware pode me ajudar?
https://ortur.tech/latest-firmware/
Looks a nice bit of kit ,will the new laser head work on the ortur laser master 2 I’m thinking of the 20watt version as my old model is 20watt Ray
The connections are the same so it should work.