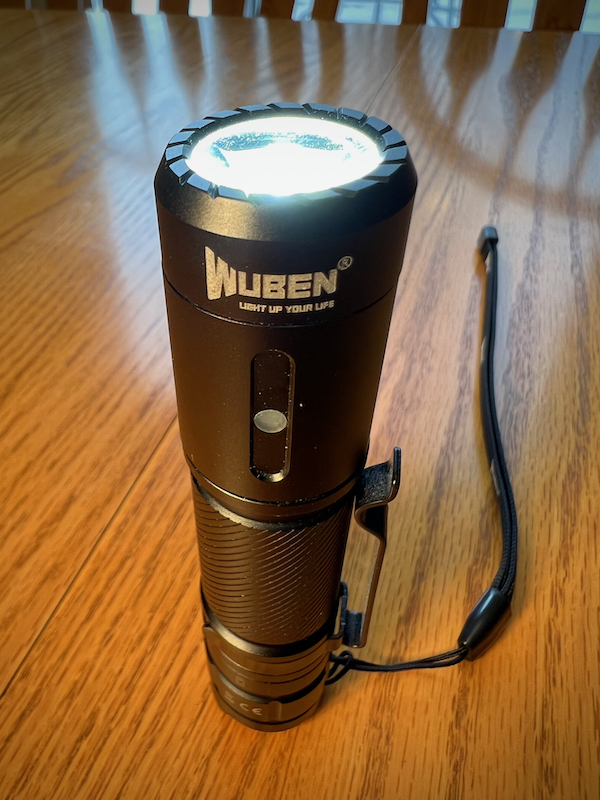
REVIEW – I’ve always had a fascination with flashlights. Since LEDs came along and have kept getting brighter and brighter they’ve caught my interest that much more. Wuben is a company I had heard of before but I’ve never used any of their flashlights. Today I have the opportunity to test the Wuben C3 everyday carry flashlight. Let’s see what it has to offer.
What is it?
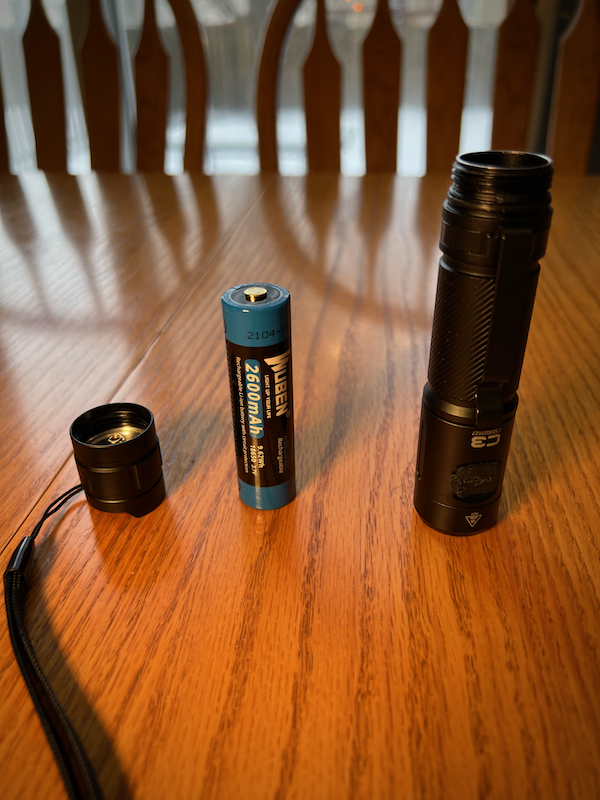
The Wuben C3 is a compact, lightweight everyday carry style flashlight, made from aluminum alloy coated in black, and powered by an internally rechargeable 18650 battery.
What’s in the box?
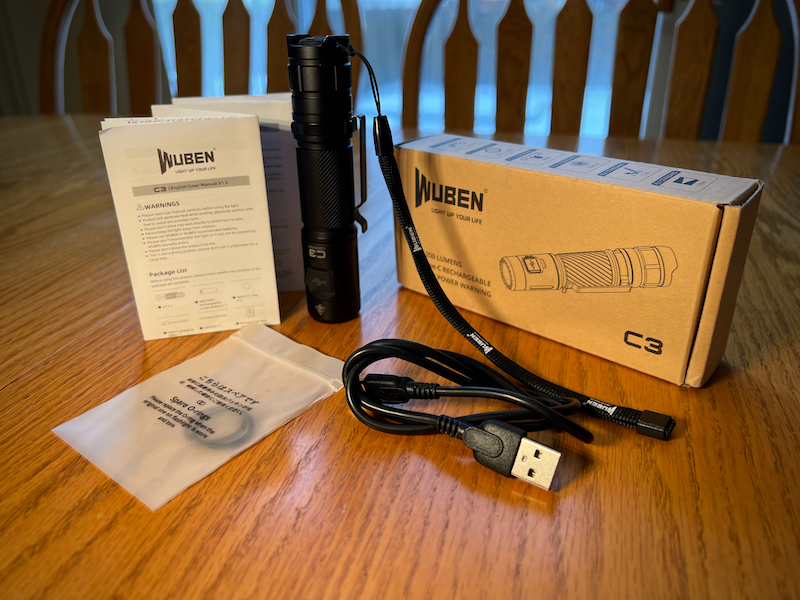
- C3 flashlight
- 2,600 mAh 18650 rechargeable battery
- Type-C charging cable
- Lanyard
- Spare waterproof rings
- User manual
Hardware specs
- OSRAM P9 LED
- 6 Adaptable Light Modes: High / Medium / Low / Eco / Strobe / SOS, up to 143 hours in Eco mode
- Type-C Fast Rechargeable
- Water Resistance: IP68 (2 meters under water for up to 1 hour)
- Brightness: 1,200 lumens (max)
- Beam Distance: 587 ft (179 m) (max)
- Weight: 4.34 oz with battery
- Dimensions: 4.78 in. x 1 in. (121.5 mm x 25.4 mm)
Design and features
Coming in at just under 5 inches long and an inch in diameter, the C3 is a compact flashlight that is easy to have on hand whenever you need it. With the integrated clip, it can be kept on a belt or it could be carried in a pocket or purse without adding much weight. There is also an optional holster if you don’t want to clip it on your belt.
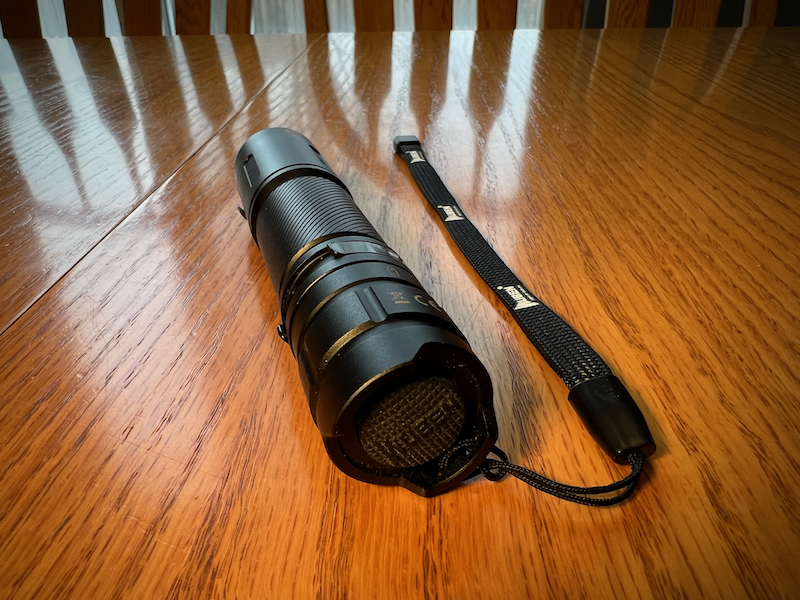
The light has a single OSRAM LED engine which features five different brightness levels: High – 1,200 lumens for 1 minute and 500 lumens for up to 2.5 hours; Medium at 400 lumens; Low at 80 lumens; and a 5 lumen Eco mode which can last up to 143 hours for reading or safety light while camping. There is also a 1,200 lumen strobe mode and a 200 lumen SOS mode. All of these modes are selected by the single tail cap switch. After turning the light on, “soft” pressing the switch (not clicking it in all the way) changes between the four main brightness levels. Double-tapping the switch turns on the strobe and triple-pressing it turns on SOS mode. The light has a memory mode to remember the last brightness setting when you turn it on each time.
The included 18650 battery can be recharged inside the flashlight with the integrated USB-C connector. The USB-A to USB-C charging cable allows you to charge it from any standard USB power source; there is no power brick in the package but you can use one from your cell phone or another similar charging brick. The battery includes reverse polarity protection circuitry but it can also be powered by a standard 18650 battery without the protection circuit as well as a pair of non-rechargeable CR123A batteries.
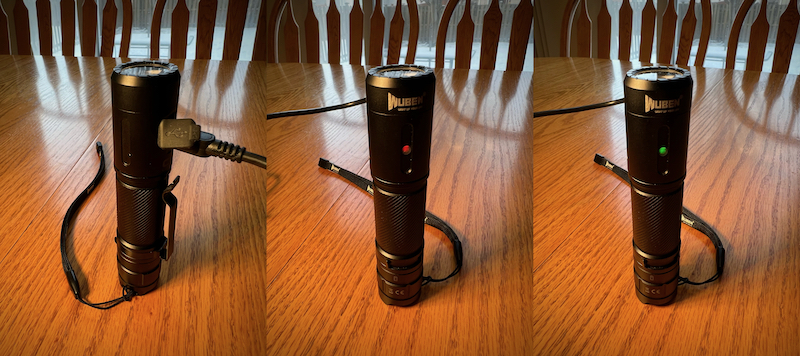
The C3 has an LED charging indicator which glows red while charging and green when it’s completely charged. This LED also indicates the remaining power level of the battery each time the light is turned on. Solid green means there is 90% – 100% charge, flashing green is 40% – 90%, solid red is 15% – 40%, and flashing red means there’s less than 15% charge remaining. This is a quick, convenient way to know how much battery level you have remaining each time you go to use the light.
Installation and setup
The light comes in the package with the battery already installed. There is a small piece of plastic inserted between the battery and the tail cap to make sure it doesn’t accidentally activate during shipping. Other than making sure the battery has sufficient charge, taking this piece out is the only thing that needs to be done to get the light ready to be used. The pocket clip also comes pre-installed so the only other thing to do is to attach the lanyard if you choose to use it. Since I’m often working off of ladders or lifts at work I decided to put on the lanyard to help me make sure I don’t drop this light and damage it or hurt someone with it.
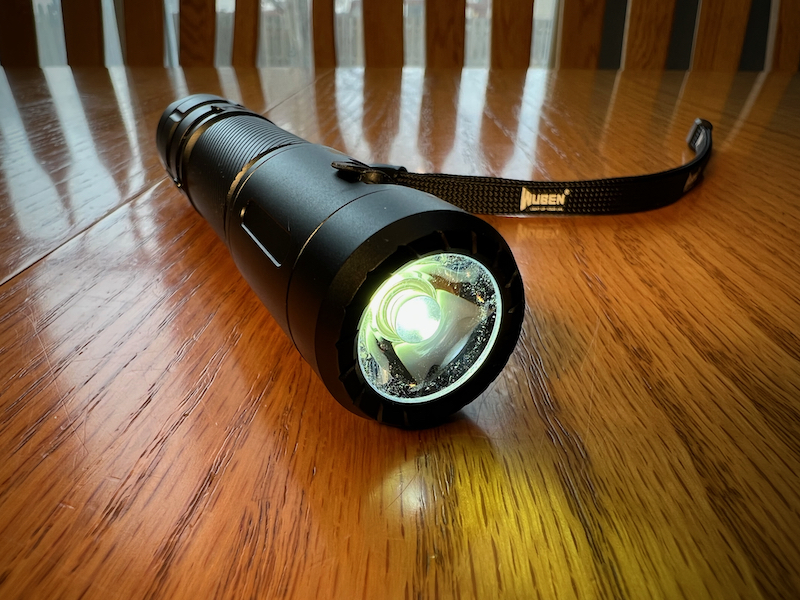
Wuben says it takes up to 3 hours to fully charge the battery. As with many other things your mileage will vary depending on the starting level of the battery and the power source you charge it with.
In Use
Using the Wuben C3 flashlight couldn’t be easier. With only one switch to control all settings, all you need to do is make sure you have sufficient battery level and it’s ready to go. I decided to compare this flashlight to the one that has been my everyday carry light for the last five years – the Fenix PD32. The Fenix is very similar in design, shape, size, and brightness at 900 vs the 1,200 lumens of the C3. This light quickly became my everyday carry flashlight, and I’ve been using it regularly for the last several weeks. I use my flashlight dozens of times at work some days and with this light being almost half an inch shorter than the Fenix it fits even better in my belt pouch.
Knowing that this light will return to the same brightness level I used last time is convenient but when I do want to make it brighter or dimmer I just have to press the button at the back a few times and set it to where I want it.
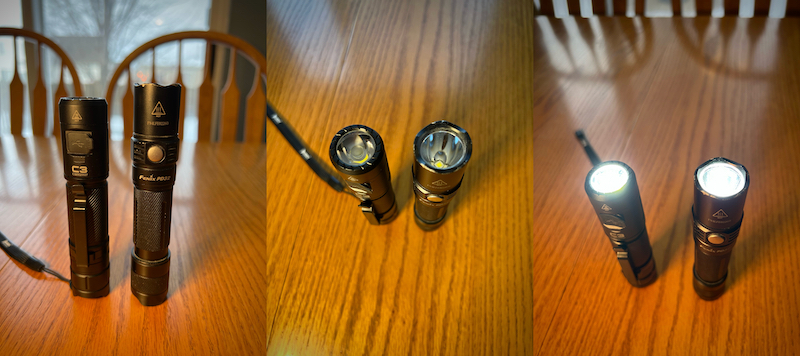
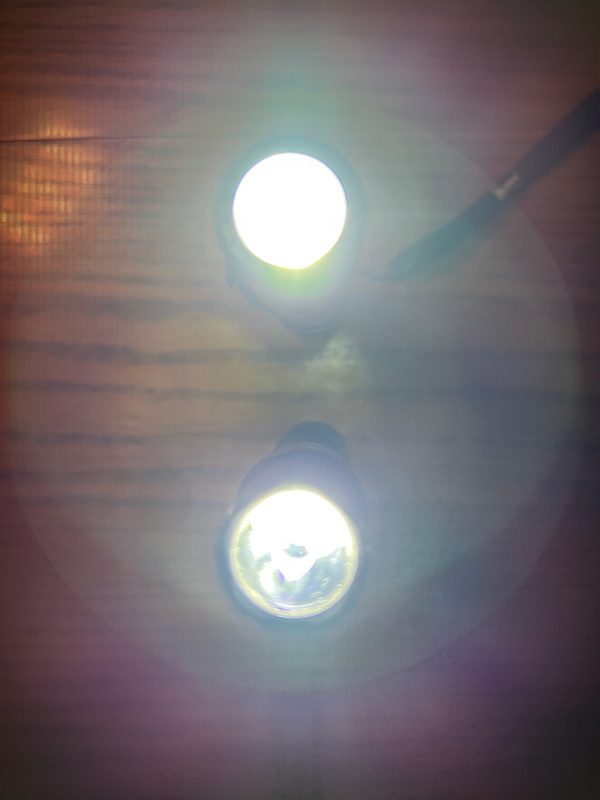
In a side-by-side comparison between these two lights, the Fenix looks brighter at first glance, but that comes down to the PD32 having a tighter beam so it’s more concentrated on the wall in the comparison photos I took. The Fenix can illuminate up to 787 feet (240 meters) vs. 587 feet (179 meters) on the C3. This one set of numbers could potentially make the PD32 seem like a better light than the C3 but it depends on your use case. If you need something that can throw further something like the PD32 might be a better choice, but the wider beam angle of the C3 illuminates more of the area around you, which can help see what’s directly in front of you while camping or walking in the dark better than a light with a tighter beam.
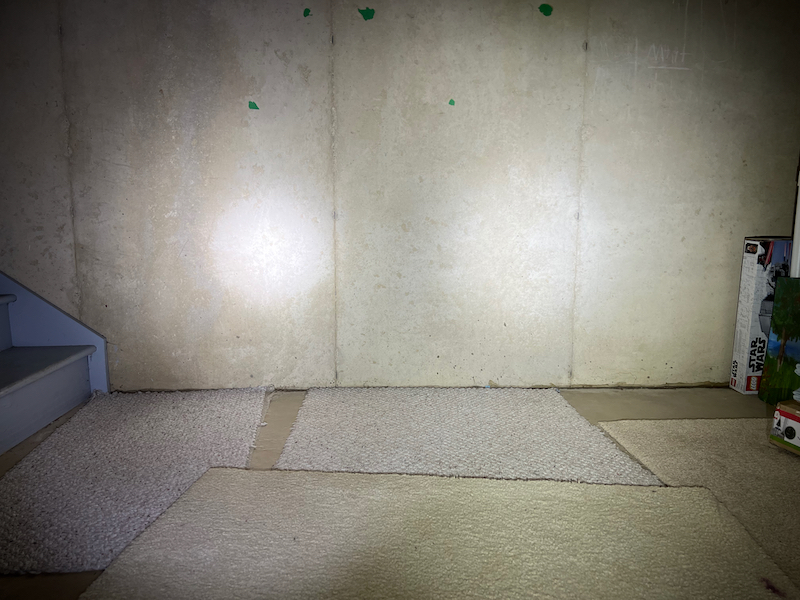
In general, the beam angle of the C3 has been more convenient for me as, although I do need to see a good distance sometimes, I more often need to see the immediate area around me better so this light works out for me in the long run. Plus with the extra brightness, I can still see as far as I need to for general use.
Overall I’m very impressed with the build quality, the feature set, the solid feel of the aluminum case, and the value for the low price.
What I like
- USB-C rechargeable without removing the battery
- Long battery life
- Affordable
- Single switch operation
- Brightness memory feature
What I’d change
- Include the optional holster in the package
Final thoughts
There are brighter flashlights available, but not much at this price level. Typically for the cost of the Wuben C3 flashlight, you’ll get a cheaply made light or one that doesn’t get bright enough for the task at hand but the C3 is a great combination of everything I need in an EDC flashlight.
Price: $29.99
Where to buy: wubenlight.com (save 20% when you use the code GAD20 which does not expire)
Source: The sample for this review was provided by Wuben. For more information visit their site.


Gadgeteer Comment Policy - Please read before commenting
The Fenix range is huge now with a lot of choices. Agree, they might not be at the cost but the build quality, longevity and the output is excellent. Thanks for a good review, i’ll try Wuben for sure…
Agreed, I’ve always liked Fenix flashlights. Wuben is a nice new addition to the game for me and for now I’m going to make it my regular flashlight. I definitely hope to own more Fenix products in the future, though.
Can you use a flat top battery to replace the Wuben battery. Used the flashlight during the summer (just purchased) but now it doesn’t want to charge although the green light comes on when plugged in to a charger. I think I saw a YouTube video and possibly a guy using a pink Samsung battery. I am going to try another 3 hour charging session and see what happens. You’d think the battery would last longer than that. Thank you!
Yes, you should be able to use a flat top battery, since the Wuben C3 has two springs. Make sure to use a cell with built in protection.
Before you dispose the original battery, try if you can test it elsewhere. It could also be a failure in the flashlights charging circuit.
I don’t know, I guess I missed those. According to the manual it’s 3.5 hours for 400 lumens and 20 hours for 80 lumens. Thank you for your question. I hope that helps.
Oops, I replied to the wrong comment 😳
Why didn’t you give the time duration for the 400 lm and the 80 lm setting?
I don’t know, I guess I missed those. According to the manual it’s 3.5 hours for 400 lumens and 20 hours for 80 lumens. Thank you for your question. I hope that helps.
What’s the diameter of the middle grooved section? I’m looking to mount this and hoping it’s a standard size.