 Well, it has been a long time since I have written a review for Julie. I fear I may have forgotten how it is done!
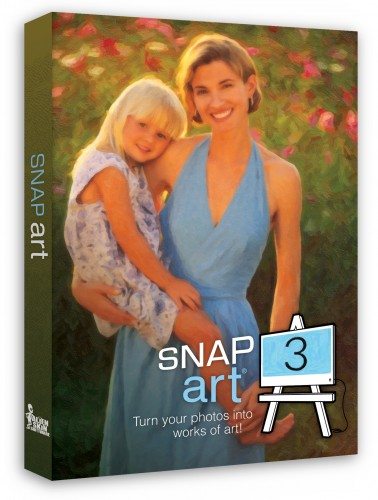
Shabria, at Alien Skin, asked Julie if she would be interested in reviewing Snap Art 3 — their latest version of the Photoshop plugin that converts photographs into drawings and paintings. Here is Shabria’s description of the product:
Snap art 3 quickly turns photos into paintings and features new intelligent stroke placement creates clean edges and natural stroke patterns. You make the creative choices while Snap Art takes care of all the tedious work of drawing brush strokes. Snap Art can render hundreds of styles and media, such as oil paint, watercolor, pencil sketch, and newly added ones like crayon.
Sounds pretty impressive, eh? Since I reviewed the previous version (Snap Art 2) for Julie back in 2009, she asked me if I would like to review the new version. Since I love Photoshop, and by extension, Photoshop plugins, this was an easy decision.
Yes, please.
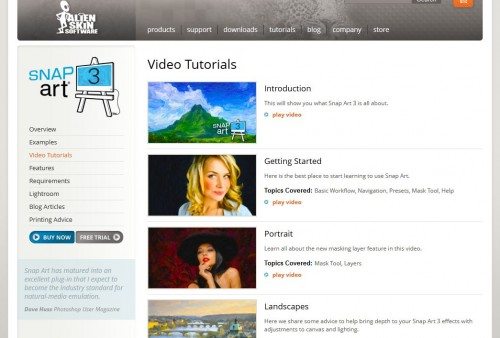
After installing the software I took a look at a few of the online tutorials offered by Alien Skin.
Alien Skin offers short, concise tutorials for all of their products. They don’t get bogged down in a lot of unnecessary details, just a quick look at the specific settings for the topic. The tutorials quickly brought me up to speed on the new Snap Art 3 interface and explained some of the enhancements.
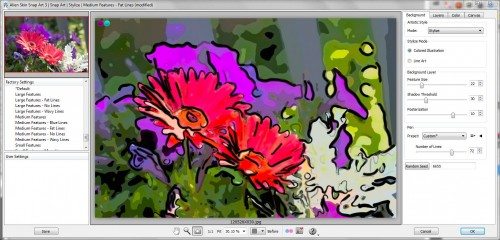
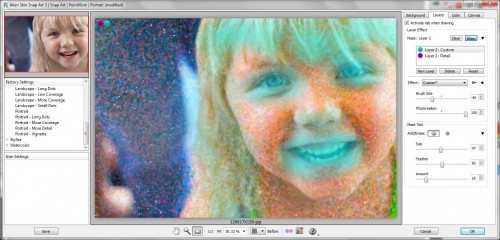
Next I loaded up a photo in Photoshop and launched the Snap Art 3 plugin. The dialog box looks like this:
The left side contains a long list of factory presets for all the various drawing and painting effects available in the latest version of Snap Art. These include: Color Pencil, Comics, Crayon, Impasto, Oil Paint, Pastel, Pen & Ink, Pencil Sketch, Pointillism, Stylize, and Watercolor. I tried all of these out and they are significantly improved from Snap Art 2. Since Snap Art 2 was the best plugin for this type of thing out of many I have tried, I guess that makes Snap Art 3 the new go-to plugin when I need this kind of conversion.
On the right side are the tabs for Background, Layers, Color, and Canvas with a clean, well-designed interface to tweak the setting for each.
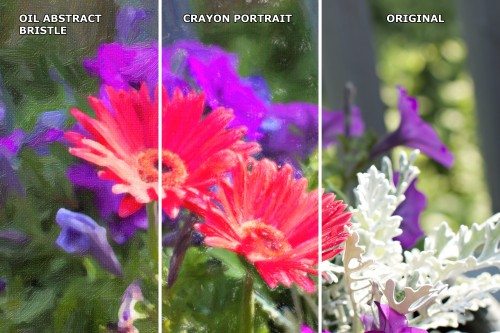
Let’s take a look at some conversions.
For a full resolution look at the sample above, just click on the photo. This is true for all of the examples in this review. To see the whole photo with the effect applied, rather than split into original and one or two effects as shown here, visit this external SmugMug gallery where you can look at larger resolution versions on screen or download full-resolution files to your computer for a more detailed examination. This sample photograph shows the factory defaults for Oil Paint — Abstract Bristle and Crayon — Portrait. I applied both presents without tweaks or modifications.
Lets take a look at what I consider to be the most powerful single feature of Snap Art 3 — the Layers Tab.
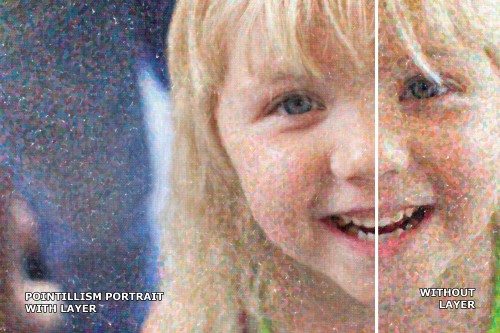
The Layers Tab allows you to quickly and easily select areas of the photo for tweaked settings. In the dialog above I selected eyes, hair, and mouth to apply settings to better preserve details in these areas. This is a big improvement and more controlled approach than the regions method used in Snap Art 2.
Even in this low resolution sample you can easily see how applying alternate settings using layers in Snap Art 3 better preserves the detail around her facial features.
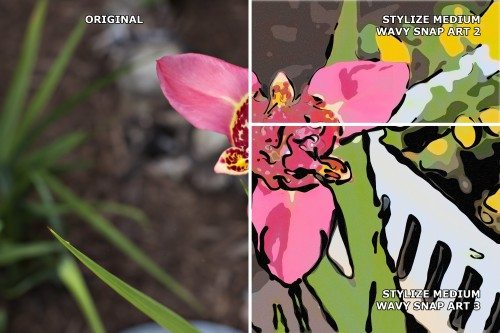
In the sample above I processed the same photo using the Stylize — Medium Wavy factory presets in both Snap Art 2 and Snap Art 3. Notice the bolder and more dramatic effect produced in Snap Art 3. A closer examination will reveal a result that looks more realistic — similar to something drawn by hand. Snap Art 3 even produces lines that look as if they were created with multiple brush strokes.
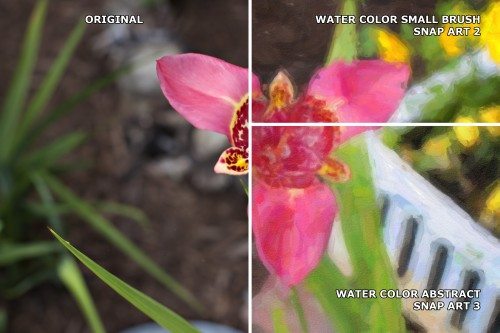
Here is the same photo that I used in the Stylize sample previously, but this time I applied Water Color presets. In this case, the names of the presets didn’t match up, so I selected similar settings from Snap Art 2 and 3. In this particular case I didn’t see a clear winner, but the brush strokes in Snap Art 3 do look more like they were drawn by hand.
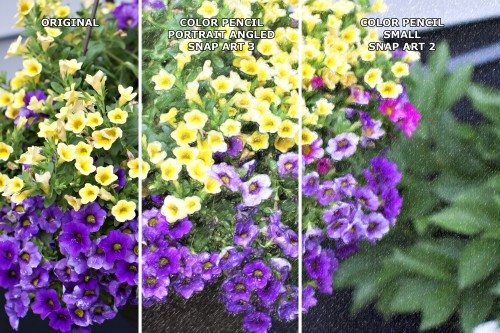
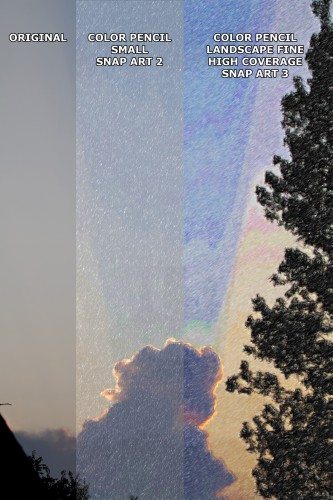
The Color Pencil effect in Snap Art 3 is a clear winner over the previous version. The way the pencil strokes form the edges looks very realistic. The same applied in Snap Art 2 using a similar preset looks more like random strokes applied over the color of the photograph. The Snap Art 3 version almost has a three dimensional appearance like something done by a talented artist.
This is another Color Pencil comparison between the two versions of Snap Art. Again, the Snap Art 3 conversion looks more like an actual pencil drawing. This particular preset also did a nice job of boosting the saturation and contrast from the original photograph to make the image more dramatic.
Enough with the comparisons to Snap Art 2. Snap Art 3 has more factory presets, a better organized and more extensive set of tools to make your own adjustments, and a much more lifelike application of pencil and brush strokes. Let me show you some more samples.
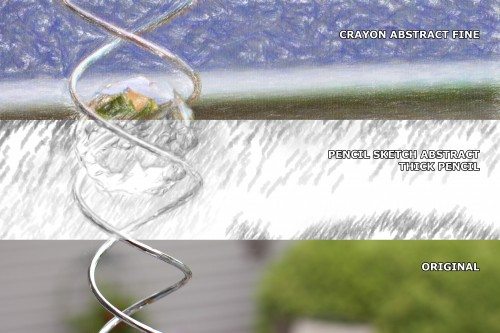
In this sample I show two different effects applied to the same photograph. I really like the Crayon — Abstract Fine factory preset and the Pencil Sketch effect also provides an interesting and strikingly different interpretation of the same image.
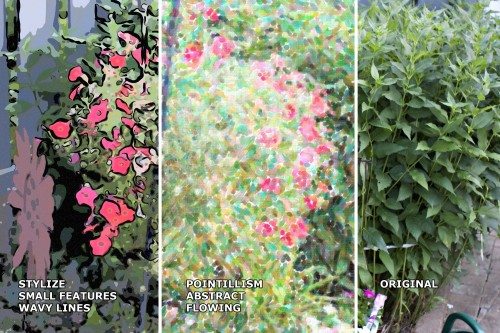
The sample above again shows how you can get a dramatically different look from the same photo by simply changing the factory preset. There really is an infinite number of possibilities — particularly if you wade into the tabs on the right side of the Snap Art 3 dialog box. For the purposes of this review, I primarily used factory presets.
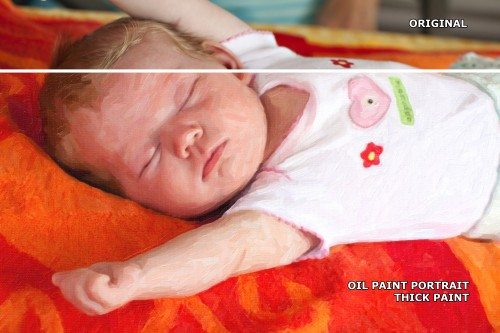
In the above photo of my youngest grandchild trying to wake up, I applied the Oil Paint — Portrait Thick factory preset. I love the way the brush strokes form the edges.
Cute kid, too.
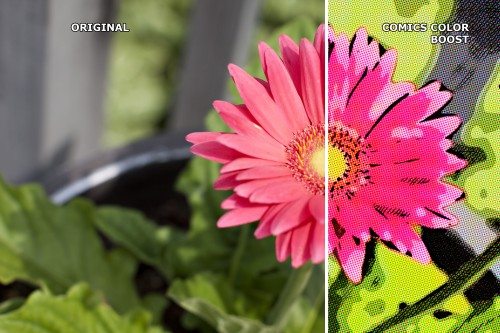
I love the abstract dramatic look I get from this photo when I apply the Comics — Color Boost factory preset.
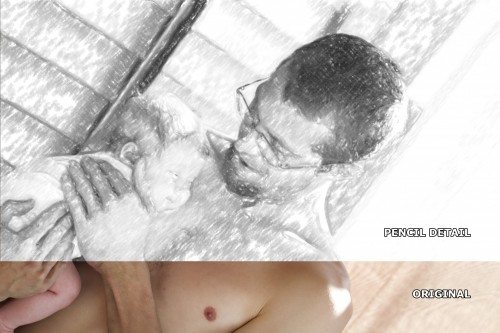
This conversion would have been better served if I had applied a layer to preserve a Little more detail in my granddaughter’s face. I love the way her dad’s hands came out and the emotion in his facial expression carried over very well, too.
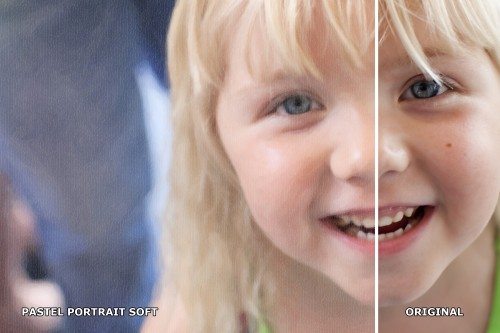
In this, the last sample for my review, I used the Pastel — Portrait Soft preset. It quickly and easily produces a pleasing soft portrait look with pretty good detail preservation using the default setting. A lot more samples can be found on the Snap Art 3 Examples page on Alien Skin’s website.
Snap Art 3 is a polished, well designed plugin for Photoshop. It is a significant improvement over the previous version and better than any other drawing conversion plugin I have tried.
KAMRUI Pinova P2 Mini PC 16GB RAM 512GB SSD, AMD Ryzen 4300U(Beats 10110U/3500U/N150/N95,Up to 3.7 GHz)Mini Computers,Triple 4K Display/HDMI+DP+Type-C/WiFi/BT for Home/Business Mini Desktop Computers
(as of March 24, 2026 11:03 GMT -05:00 - More infoProduct prices and availability are accurate as of the date/time indicated and are subject to change. Any price and availability information displayed on [relevant Amazon Site(s), as applicable] at the time of purchase will apply to the purchase of this product.)KAMRUI Pinova P1 Mini PC Computer, AMD Ryzen 4300U (Beats i3-10110U/3500U), 16GB RAM 256GB SSD, Mini Desktop Computer Support Triple 4K, USB-C, WiFi, Bluetooth, Ethernet for Business, Education, Home
(as of March 24, 2026 14:44 GMT -05:00 - More infoProduct prices and availability are accurate as of the date/time indicated and are subject to change. Any price and availability information displayed on [relevant Amazon Site(s), as applicable] at the time of purchase will apply to the purchase of this product.)Product Information
| Price: | $199 for new license; $99 upgrade from Snap Art or Snap Art 2 |
| Manufacturer: | Alien Skin |
| Pros: |
|
| Cons: |
|



Gadgeteer Comment Policy - Please read before commenting
I have the complete Alien Skin plugin collection and these guys rock! Exposure is my go-to plugin. I use it everyday.
Awesome review – never even knew about the Alien Skin Snap Art plugin but I definitely am considering purchasing it. The samples you did are really helpful. I especially like the Comics Color Boost and the Pencil Detail.
Thanks for the comment, Bill. I was using a lot of the Alien Skin plugins back in CS3, but when I upgraded to CS5 they quit working. I shifted over to NIK for color and bw tweaking. I also love NIK’s HDR Efex plugin. Might have to revisit the Alien Skin product line again.