
Growing up, my parents had a pair of floor standing speakers connected to a reciever with a tape deck and (eventually) CD player. I loved listening to music through those speakers, and when I got a house, I purchased a pair of speakers like theirs. I bought a cheap little amp and Bluetooth adapter, but the sound quality was sub-par. JustBoom came along with their DAC (Digital to Analog Converter), Amp, and DAC HAT for Raspberry Pi to review, and I thought they would go great with our old style speaker system and new age sound bar.
JustBoom had several audio products to choose from, and I chose the DAC standalone, the DAC HAT that goes with a Raspberry Pi system, and the Amp, which can be used with either. The Amp was necessary due to my old style speakers still using speaker wire.
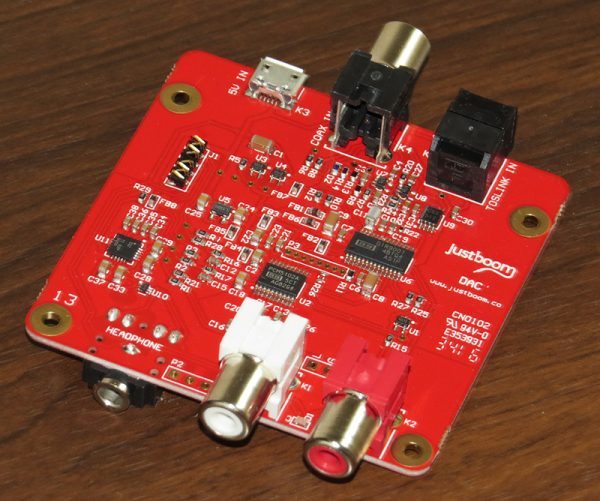
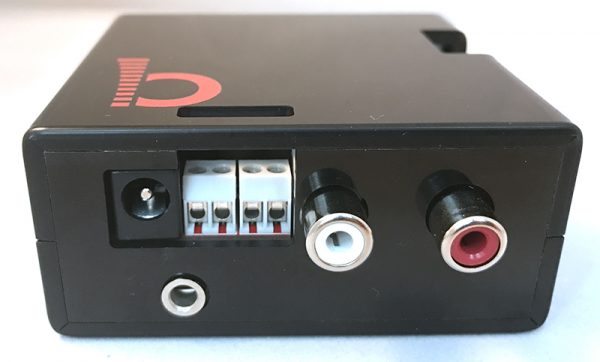
I’ll start with the standalone DAC with Amp, since that is what I started with initially. The DAC comes without a power supply, but it uses a Micro-USB power supply, which most people have sitting around at home anyway. The case is sold separately for this unit. The above picture is of the DAC unit.
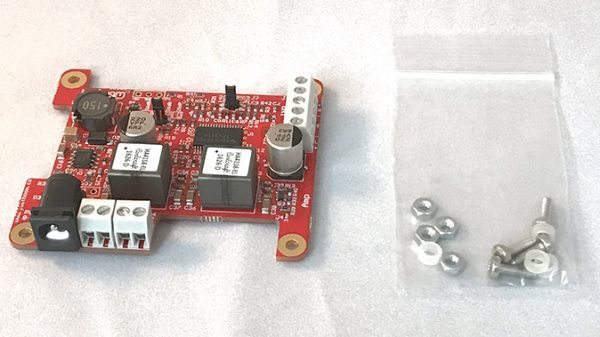
Since I was using the DAC and Amp together, I screwed in the two indicated screws, placed it in the DAC enclosure (that is compatible with or without the Amp) and viola, it was finished. Putting this together was the easy part. Having to open the enclosure again was a pain. At least I know it is very secure inside of the enclosure! JustBoom has guides for assembling their products on their website if you get confused. The above picture is of the Amp.
Once I figured out which ports were what, and got everything hooked up how I needed it was actually really simple to use. There are no volume controls, no buttons to push; it just runs and you use it when you want. Simple as that.
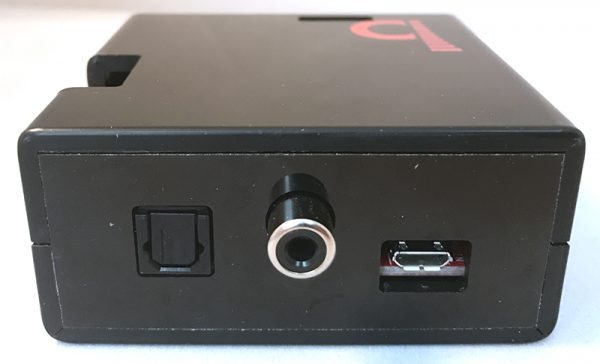
Since this is a digital to analog converter, the input needed to be either a component cable or optical cable. I used optical for my testing. When I connected it directly to my TV via optical, I could not change the volume. In order to change the volume, I had to use my old amp, but since the volume without the amp was at a medium volume, I preferred to use it without so I could have the best sound available. I read online that some TVs may be smart enough to allow you to change the volume, and if I used the sound bar, I could of course change the volume through there. So your experience may vary depending on your set up.
The quality of sound coming through the DAC / Amp was great. There was a huge difference between the old amp I used and the DAC / Amp combo. This was especially noticeable in the mid to high ranges. I honestly cannot go back to the old amp, simply because it sounds so muffled now.
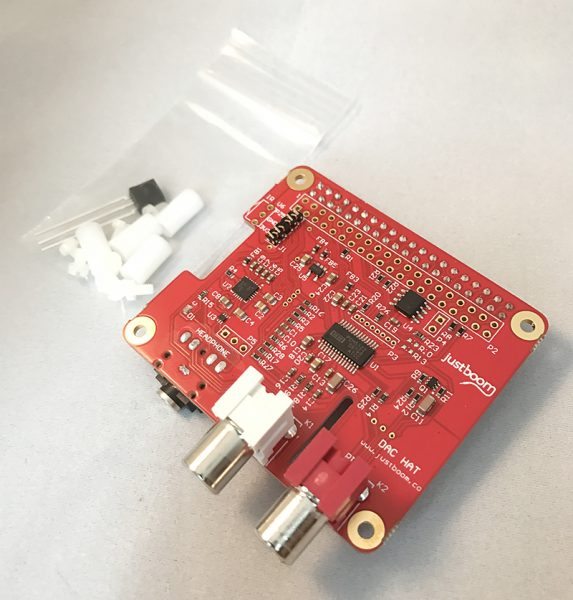
The DAC HAT is also a digital to analog converter, but this ties in with a Raspberry Pi system. If you know nothing about Raspberry Pi, you should look it up on the internet, as it is crazy how much you can do with that ecosystem.
I was sent the DAC HAT Kit, which comes with everything you need to plug and play and includes the JustBoom DAC HAT, case, Raspberry Pi 3 system, power supply, Max2Play image, and RCA cable.
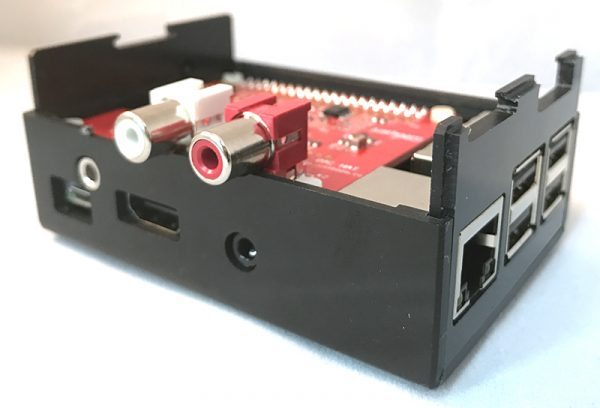
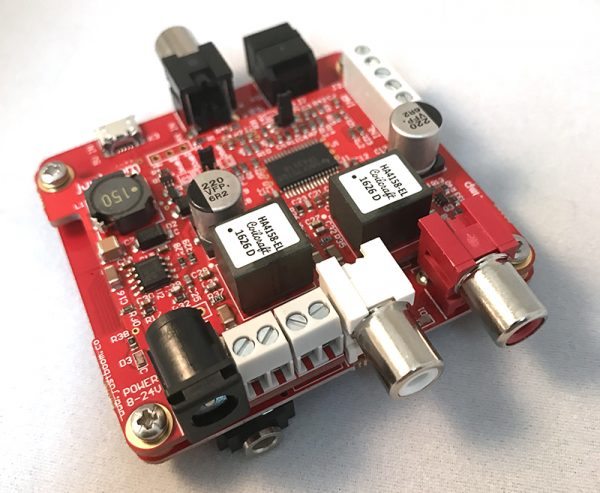
I followed the instructions and screwed the DAC HAT onto the Raspberry Pi system, connecting them together, and also the Amp on top of the DAC HAT. All three of these fit nicely inside of the DAC HAT case, and this case was easy to put together and also open, if necessary.

Next I had to configure the Max2Play for Raspberry Pi. For this, I definitely needed to use the online guide. This involved connecting the system via internet, inserting the included Micro-SD card into the Pi system, and going to the indicated website in the instructions for setup. In the setup I could register Max2Play, name my unit, and choose from three different types of audio setups. I ended up using the Airplay setup most, since we are an Apple ecosystem here, and all of our devices could connect to it to play music. All of this could be done via a computer or your smartphone.
For review purposes, I named my device ‘Gadgeteer’ and all I had to do to modify settings on the device was point my browser to http://gadgeteer. This can be modified to whatever name you desire. This is where you can change your settings, connect to WiFi, and more.
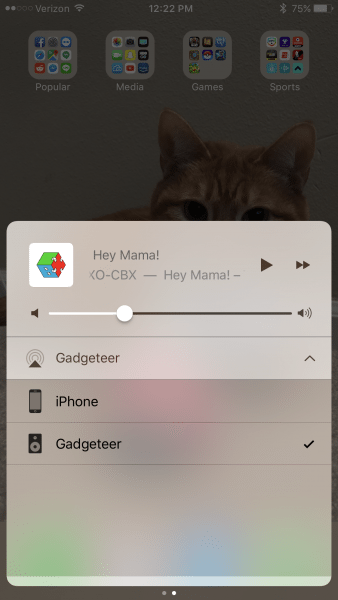
So, once I was set up, I checked my phone and I could already see the ‘Gadgeteer’ as a choice for my music. Well, that was easy. I chose a song, started playing it, and switched over to the JustBoom setup and after a few seconds of delay, my music started playing!
The difference between the sound quality of my old set up and this new set up was night and day. Like I mentioned before, the quality of the old was muffled, where the sound coming through the speakers was crisp and clean with the JustBoom system. Christmas music sounded phenomenal through them, and when I connected the soundbar with it’s massive sub-woofer, it was breathtaking. I sat on my couch in front of the speakers just in awe of the difference in quality. When I showed it to my sister and roommate, they spent a good fifteen minutes checking different songs and marveling at the quality.
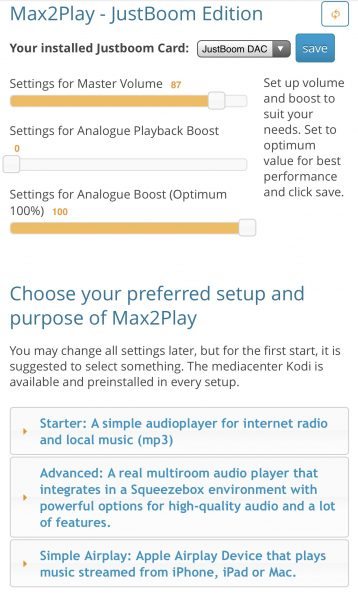
The quality of the DAC HAT and DAC standalone were similar, though with the DAC HAT system, you could go in and modify the analog playback boost and analog boost. This worked well on my PC browser, but it was stubborn and would not save my settings at times on my iPhone.
If I were to have to choose between buying the JustBoom DAC or DAC HAT kit, I would choose the DAC HAT kit and the Amp to go along with it. I feel you get so much more out of it, and while it may seem intimidating at first if you’ve never delved into the Raspberry Pi ecosystem, it can be very simple to use. As you become more familiar with the system, you can customize your experience further. The JustBoom DAC is definitely a good option if you just want a standalone unit and nothing fancy, and the sound quality is very good coming from that as well. While the final choice comes down to preference, the sound from either unit is excellent and can be a worthy upgrade to your audio system.
Source: The sample for this review was provided by JustBoom. Please visit their site for more information.
Product Information
| Price: | DAC - $46 Amp - $80 DAC HAT kit - $153 |
| Manufacturer: | JustBoom |
| Pros: |
|
| Cons: |
|
Gadgeteer Comment Policy - Please read before commenting
Hey Ryan!
Nice to read your review.
I have a question that i hope you’ll be able to answer.
I was thinking about setting up a system with JustBoom, but im having trouble figuring out weather it’s going to put some unwanted limitations to my setup.
What i’d like to hear is, if it is possible to have multiple inputs to the JustBoom standalone amp. It might sound a bit ridiculous, but i like to be able to connect my vinyl player after i run it through a preamp. If you dont know about vinyl players it’s basically like wanting to connect a CD-player as an alternative input to the system.
What im thinking is, regarding my digital music collection, i’d be able to run a raspberry pi with the dacHAT and then run the sigal through the standalone JustBoom amp.
Then regarding the vinylplayer i’d run it through a preamp and then into the same JustBoom standalone amp.
Do you know if its possible to have two inputs like this through the standalone amp?
What i found is, that the JustBoom ampHAT only takes inputs from the raspberry pi, so that’s why im thinking of buying the standalone. This is only an option is theres a possibility of mutiple inputs.
I really hope that you’ll be able to answer my question or maybe come with an indea of an alternate solution.
Best regards Elias.
Geez, this is a tough one.
The only ports on the amp are for power, one input, and one output. When I attached the standalone DAC to it, I was given two more digital inputs (optical and coaxial)
I would think that it would work, but I have no way to test it to be sure. The important part is to first check and make sure you can use the inputs. The outputs may be standard red/white RCA, but the inputs are not and are either speaker wire type or digital.
Hi Ryan an thanks you for the quick answer.
What i understand is, that when you attach the DAC, you’ll have one input directly going into the amp, but also two inputs (the digital ones) into the DAC and through the amp right?
Do you have any idea wether its possible to use the input on the amp and the input of the DAC simultaineously? Is there any way to switch between which input you want use on the amp, as in either from the dac or directly from the amps own input?
Its difficult to explain in text this stuff, but i hope that it is understandable.
Thanks once again for even trying to answer my questions. I appreciate it alot!
Regards Elias
Can you vinyl player play through sub? Mine is pretty cheap, and although the default is the orca connectors it also has a sub for recording to he. Plug the sub and you’re ready to go.
J
I would think if you have an auxiliary out (or at least, a headphone port) on the vinyl player that you could plug it in. If not, an adapter probably is somewhere on the market!