
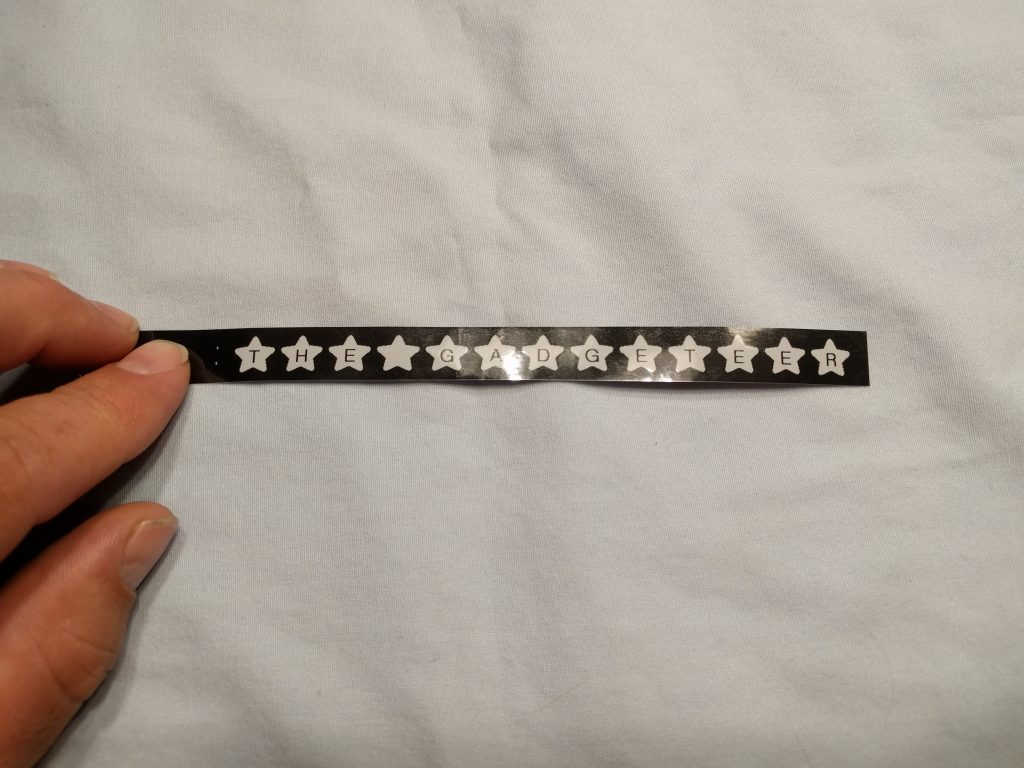
Being part of the Gadgeteer team has been absolutely awesome. Having the opportunity to test cool, new gadgets has been the experience of a lifetime. However, as great as it is being part of the team, it does come with one big problem….clutter.
I was never a terribly organized person before, but now it looks like a tech hurricane hit my house. I have gadgets, boxes, cords, manuals, etc., scattered all over. I was in desperate need of help when the Brother P-Touch PT-D210 label maker landed on my very unorganized desk.
In the box
- Brother PT-D210 label maker
- One 12mm x 4mm black on white laminated “TZe” starter tape
- User manual
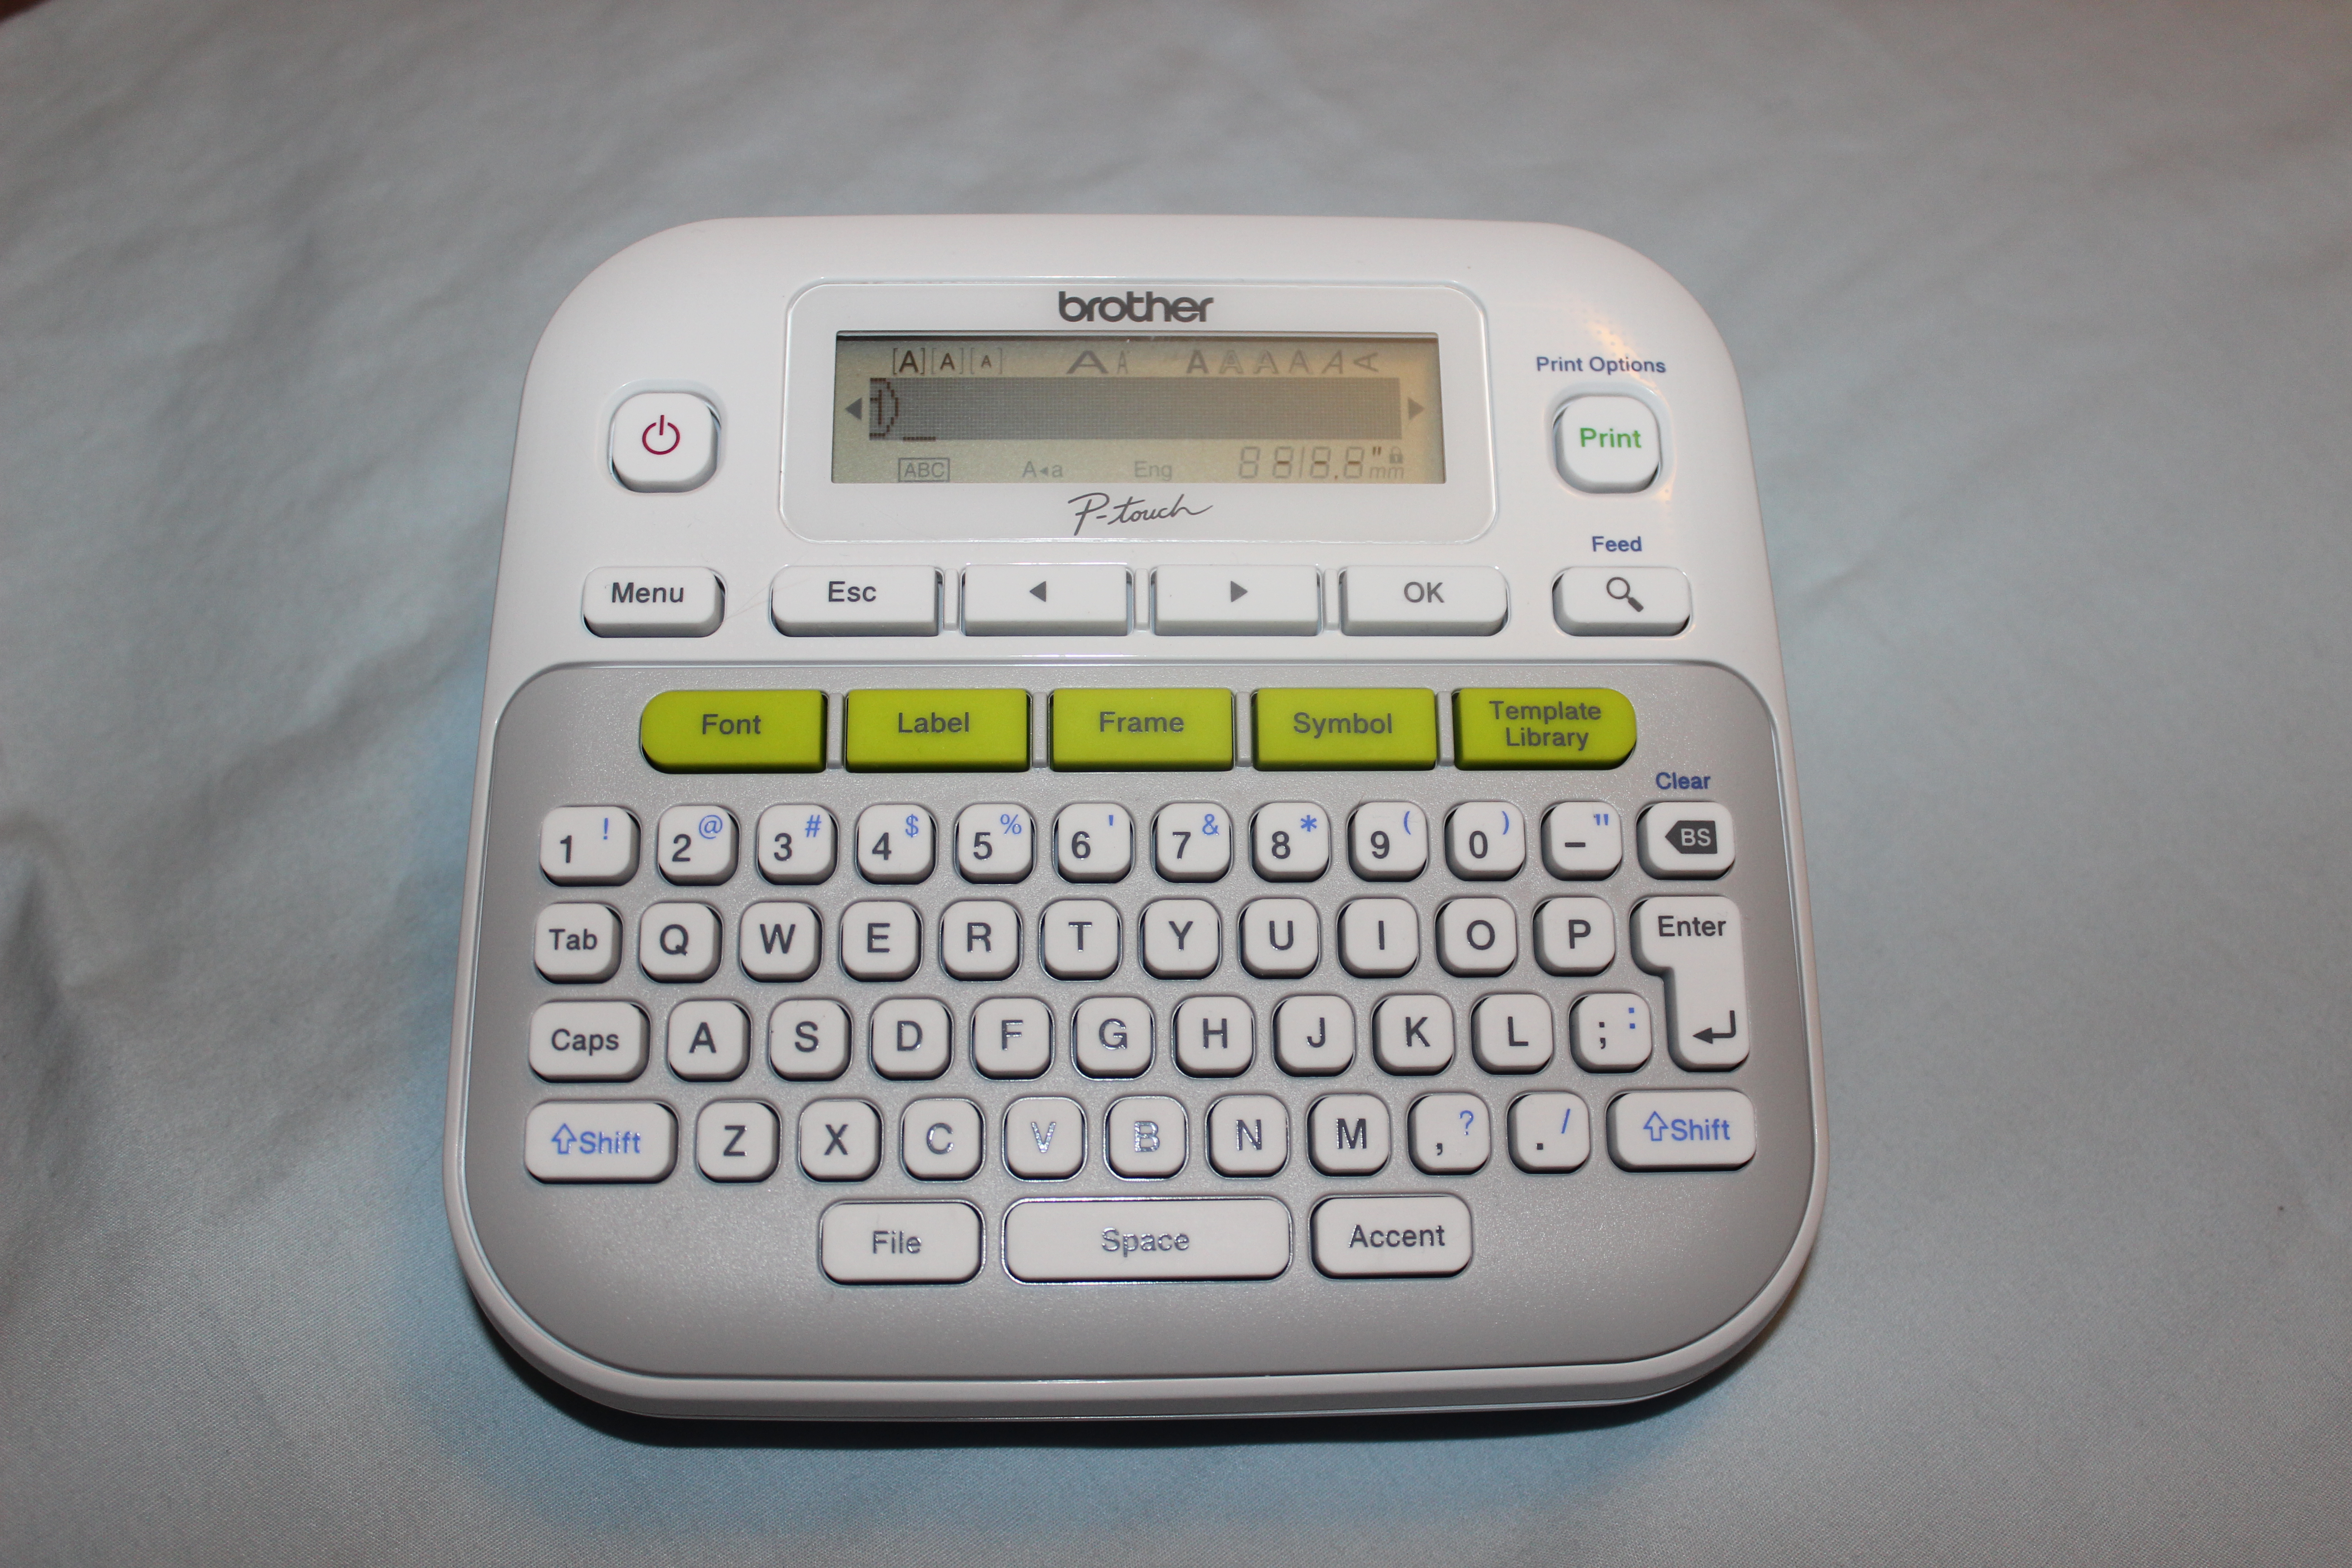
The label maker itself is pretty standard. The top contains the display, power button, function buttons, and keyboard.
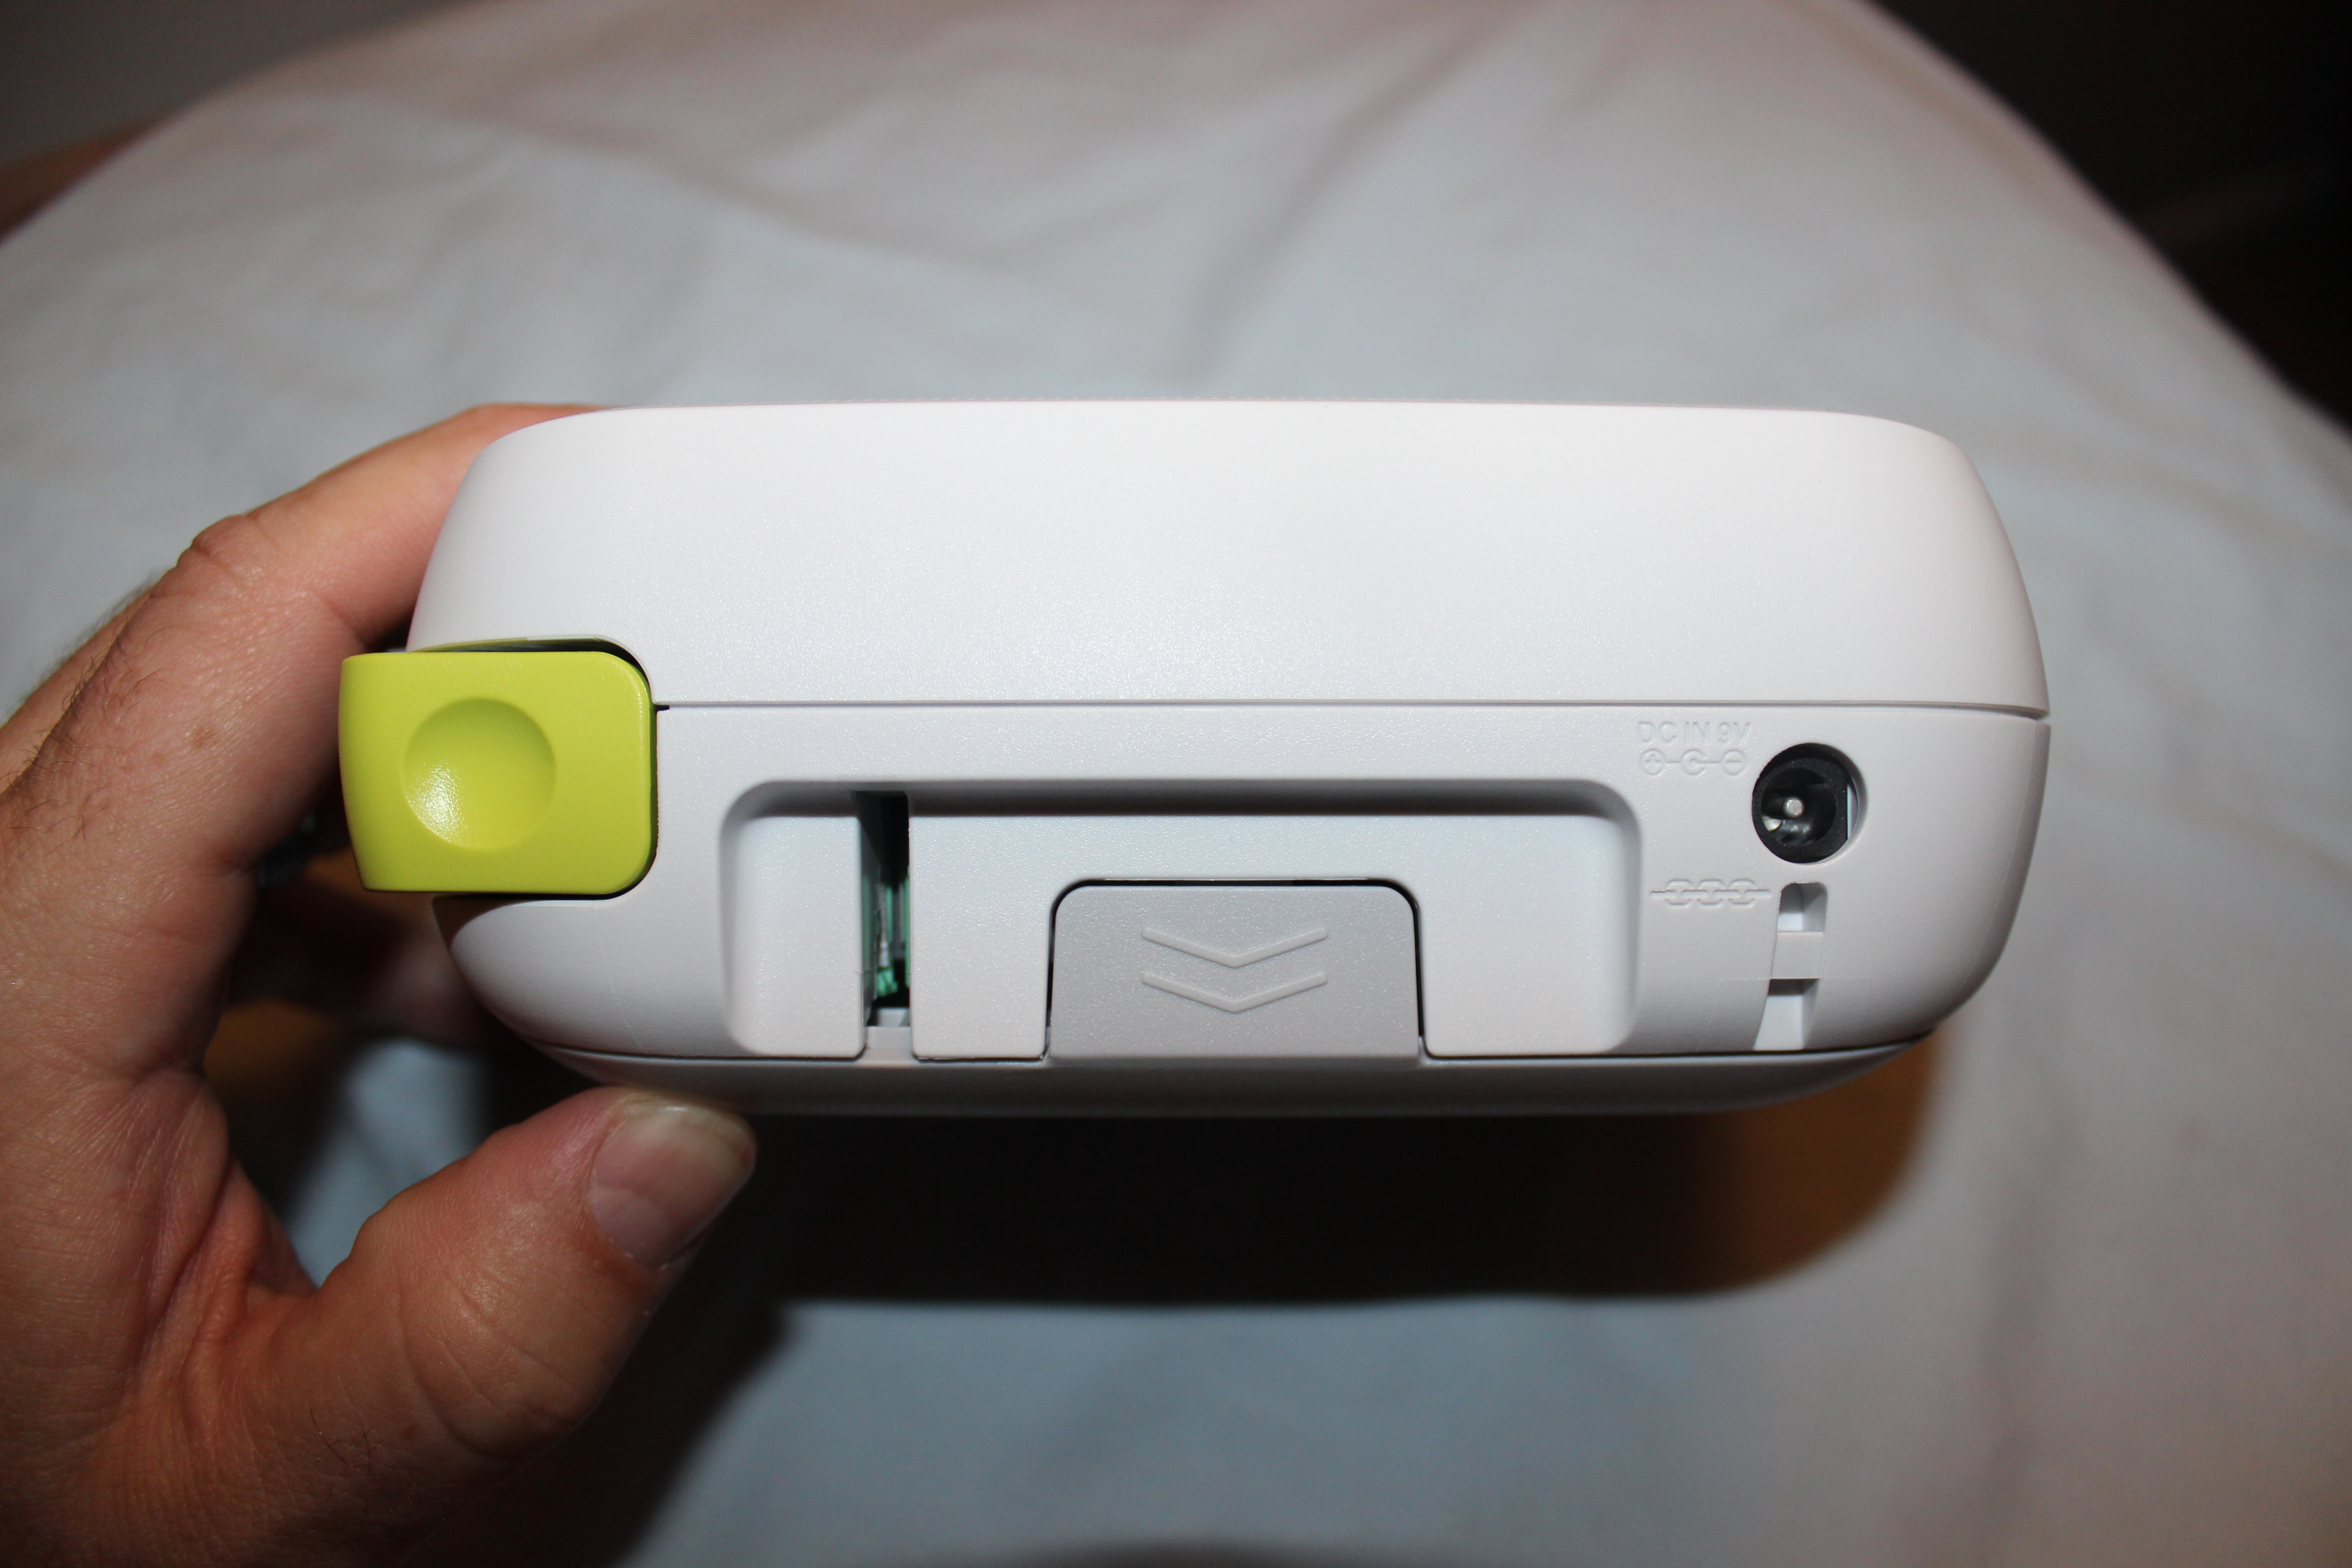
The back contains the tape cutter, an A/C power port, and the area you press to open the bottom.
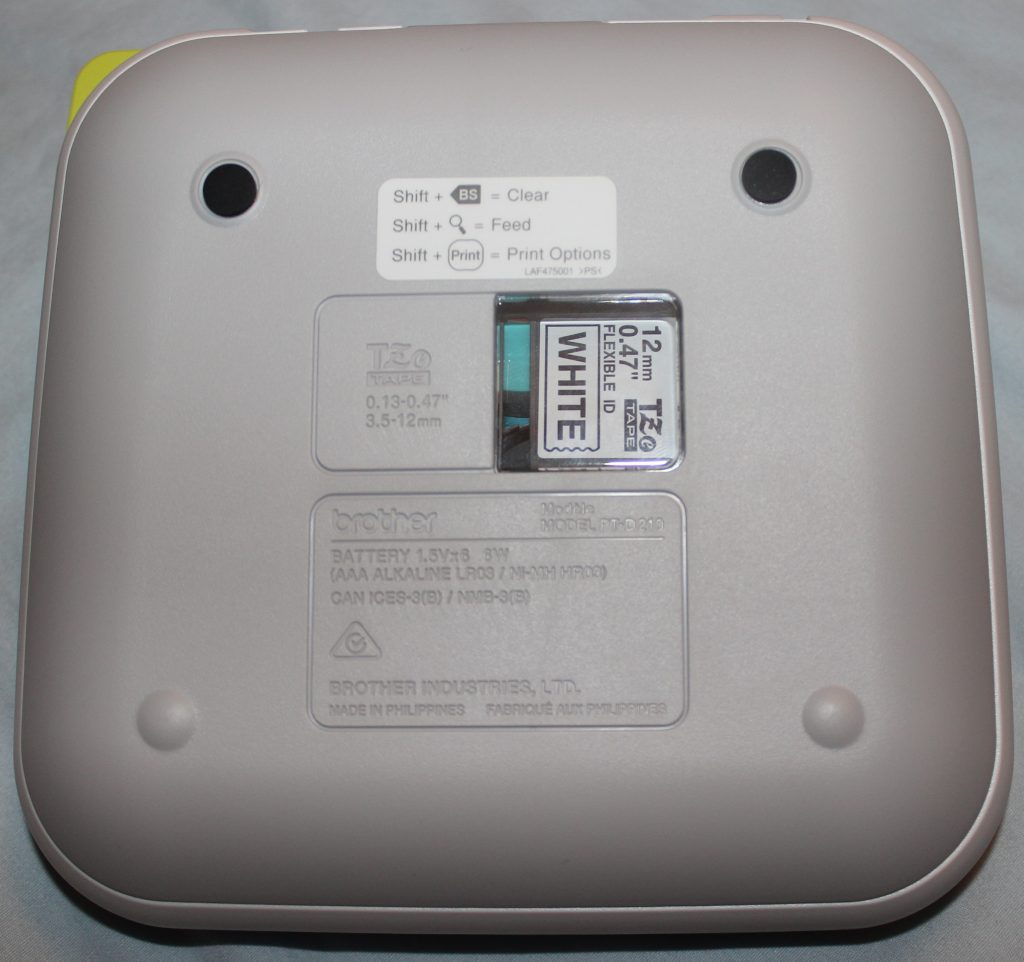
The bottom contains a clear window which displays what type of tape is installed, a sticker listing shortcuts, and the model information.
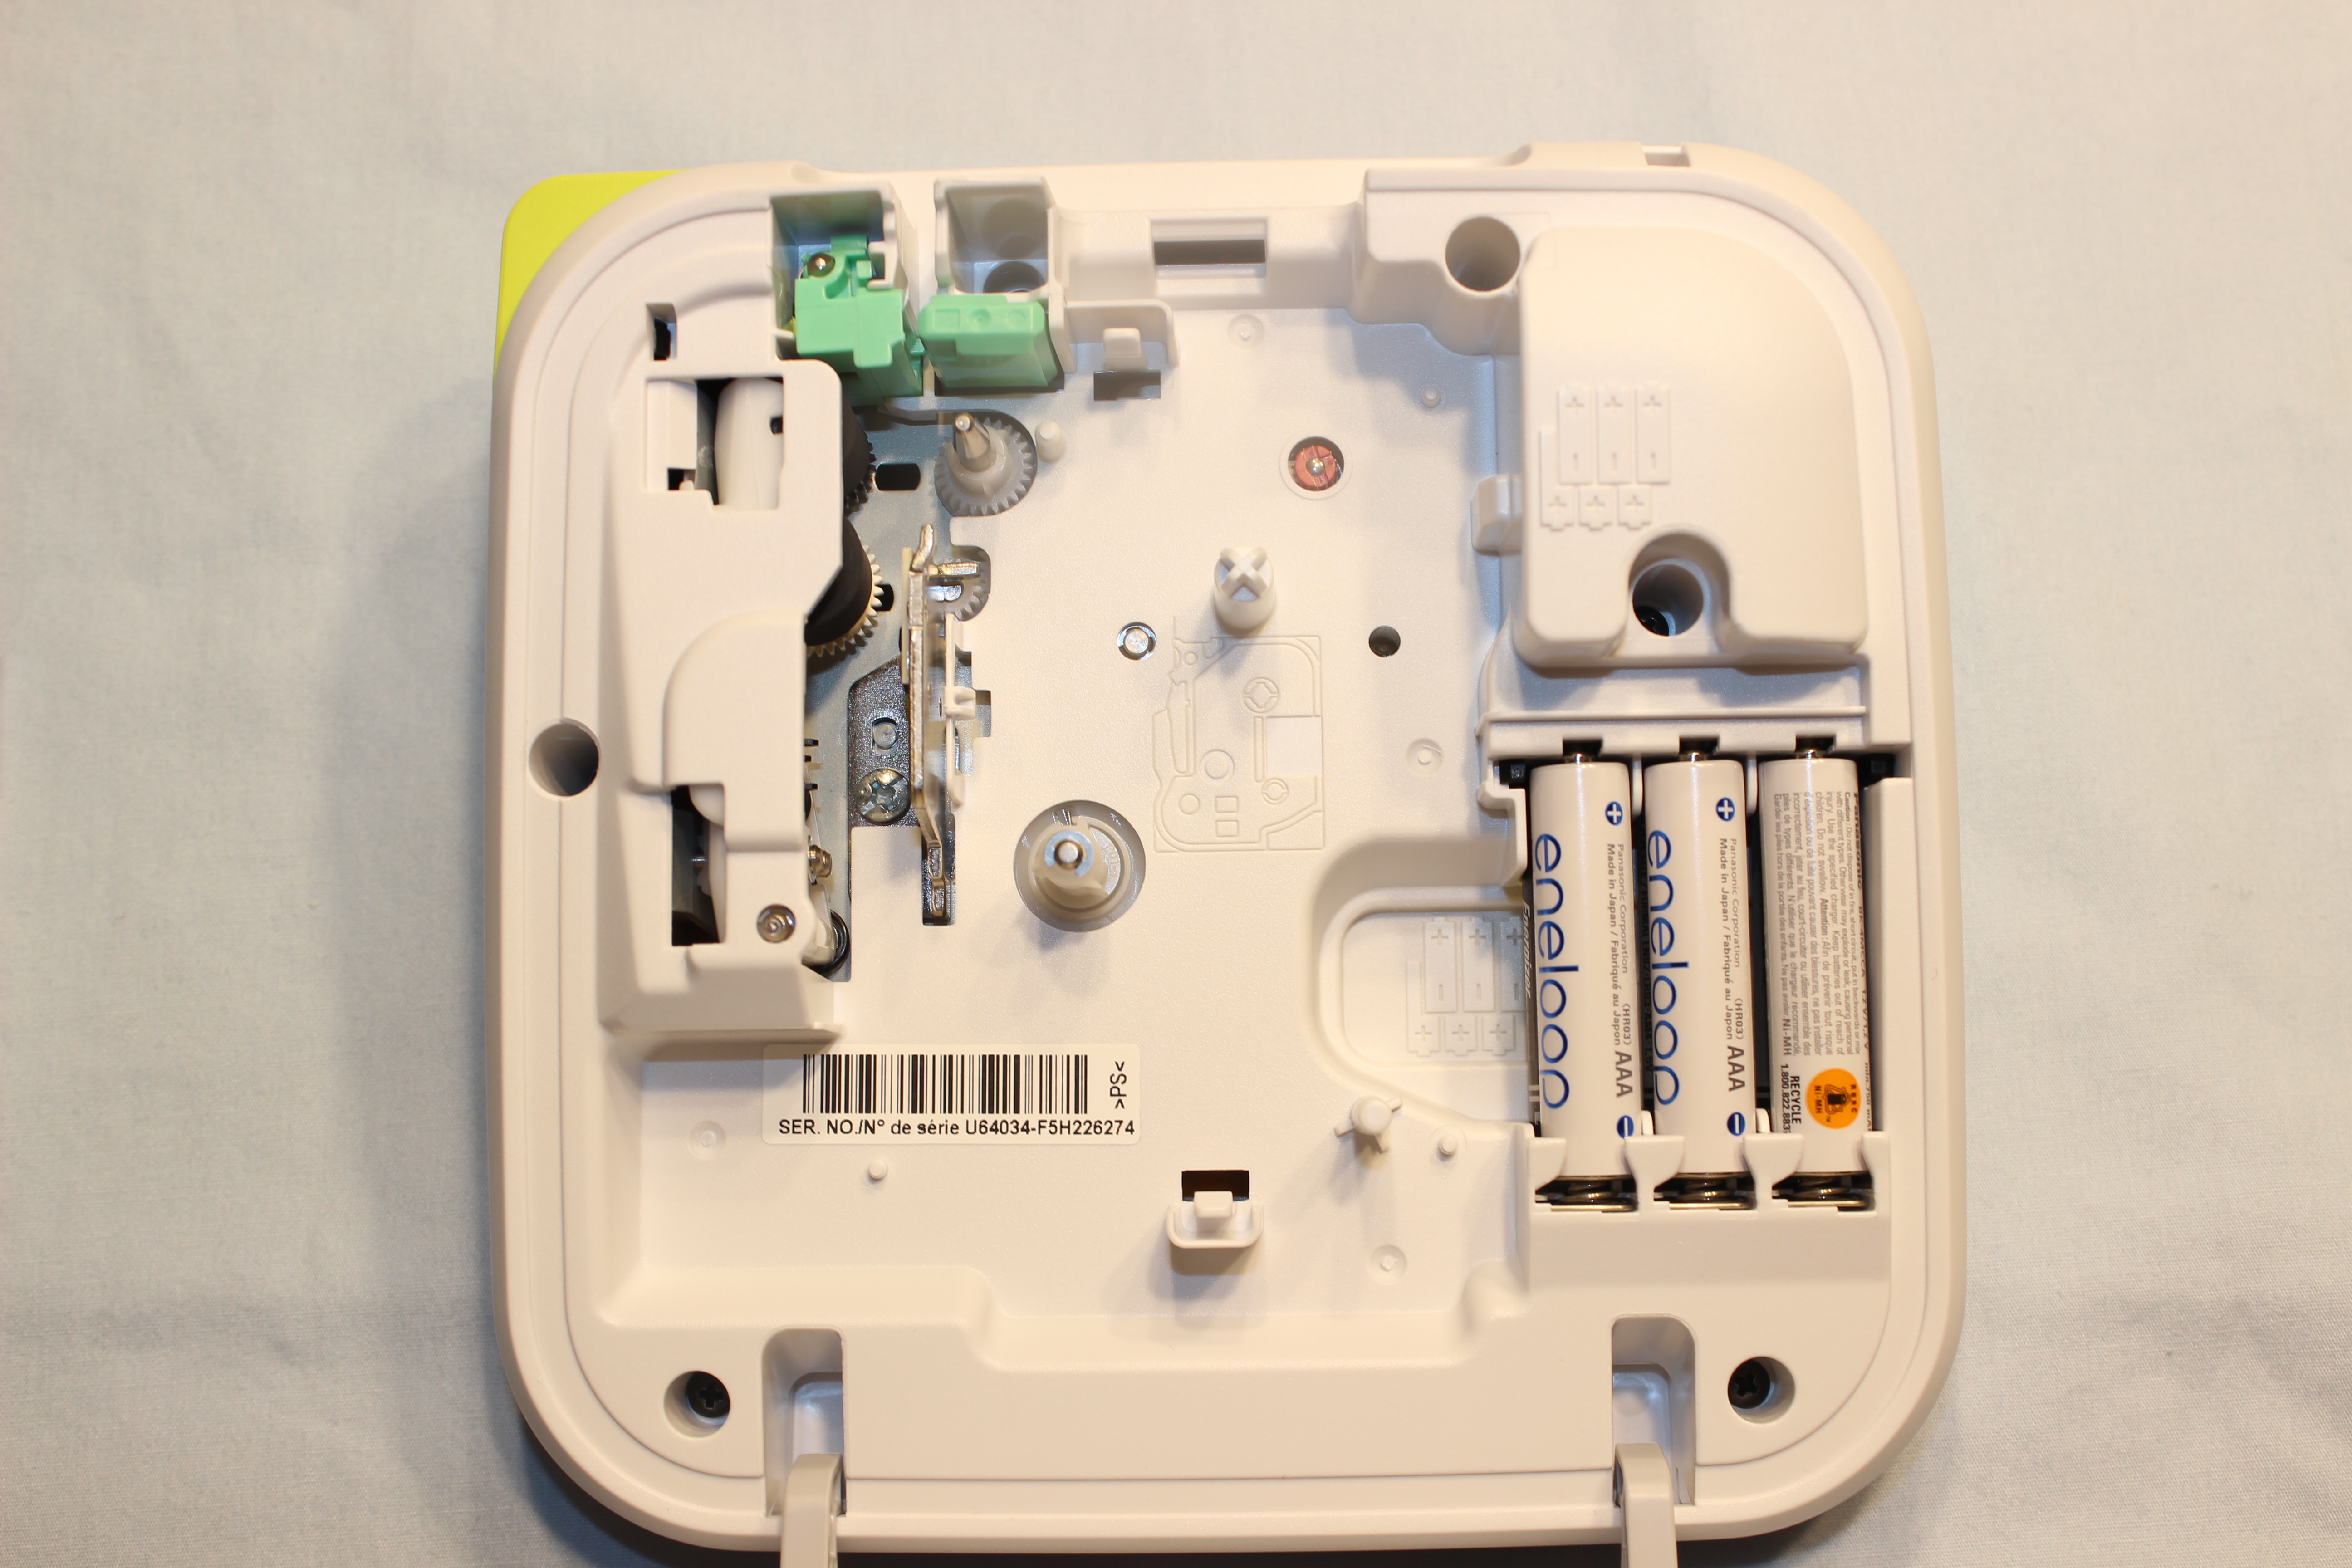
Before being able to use the label maker, you open the bottom and insert six AAA batteries.
The label maker can also be used with an A/C adapter, but that wasn’t included with the sample I was sent.
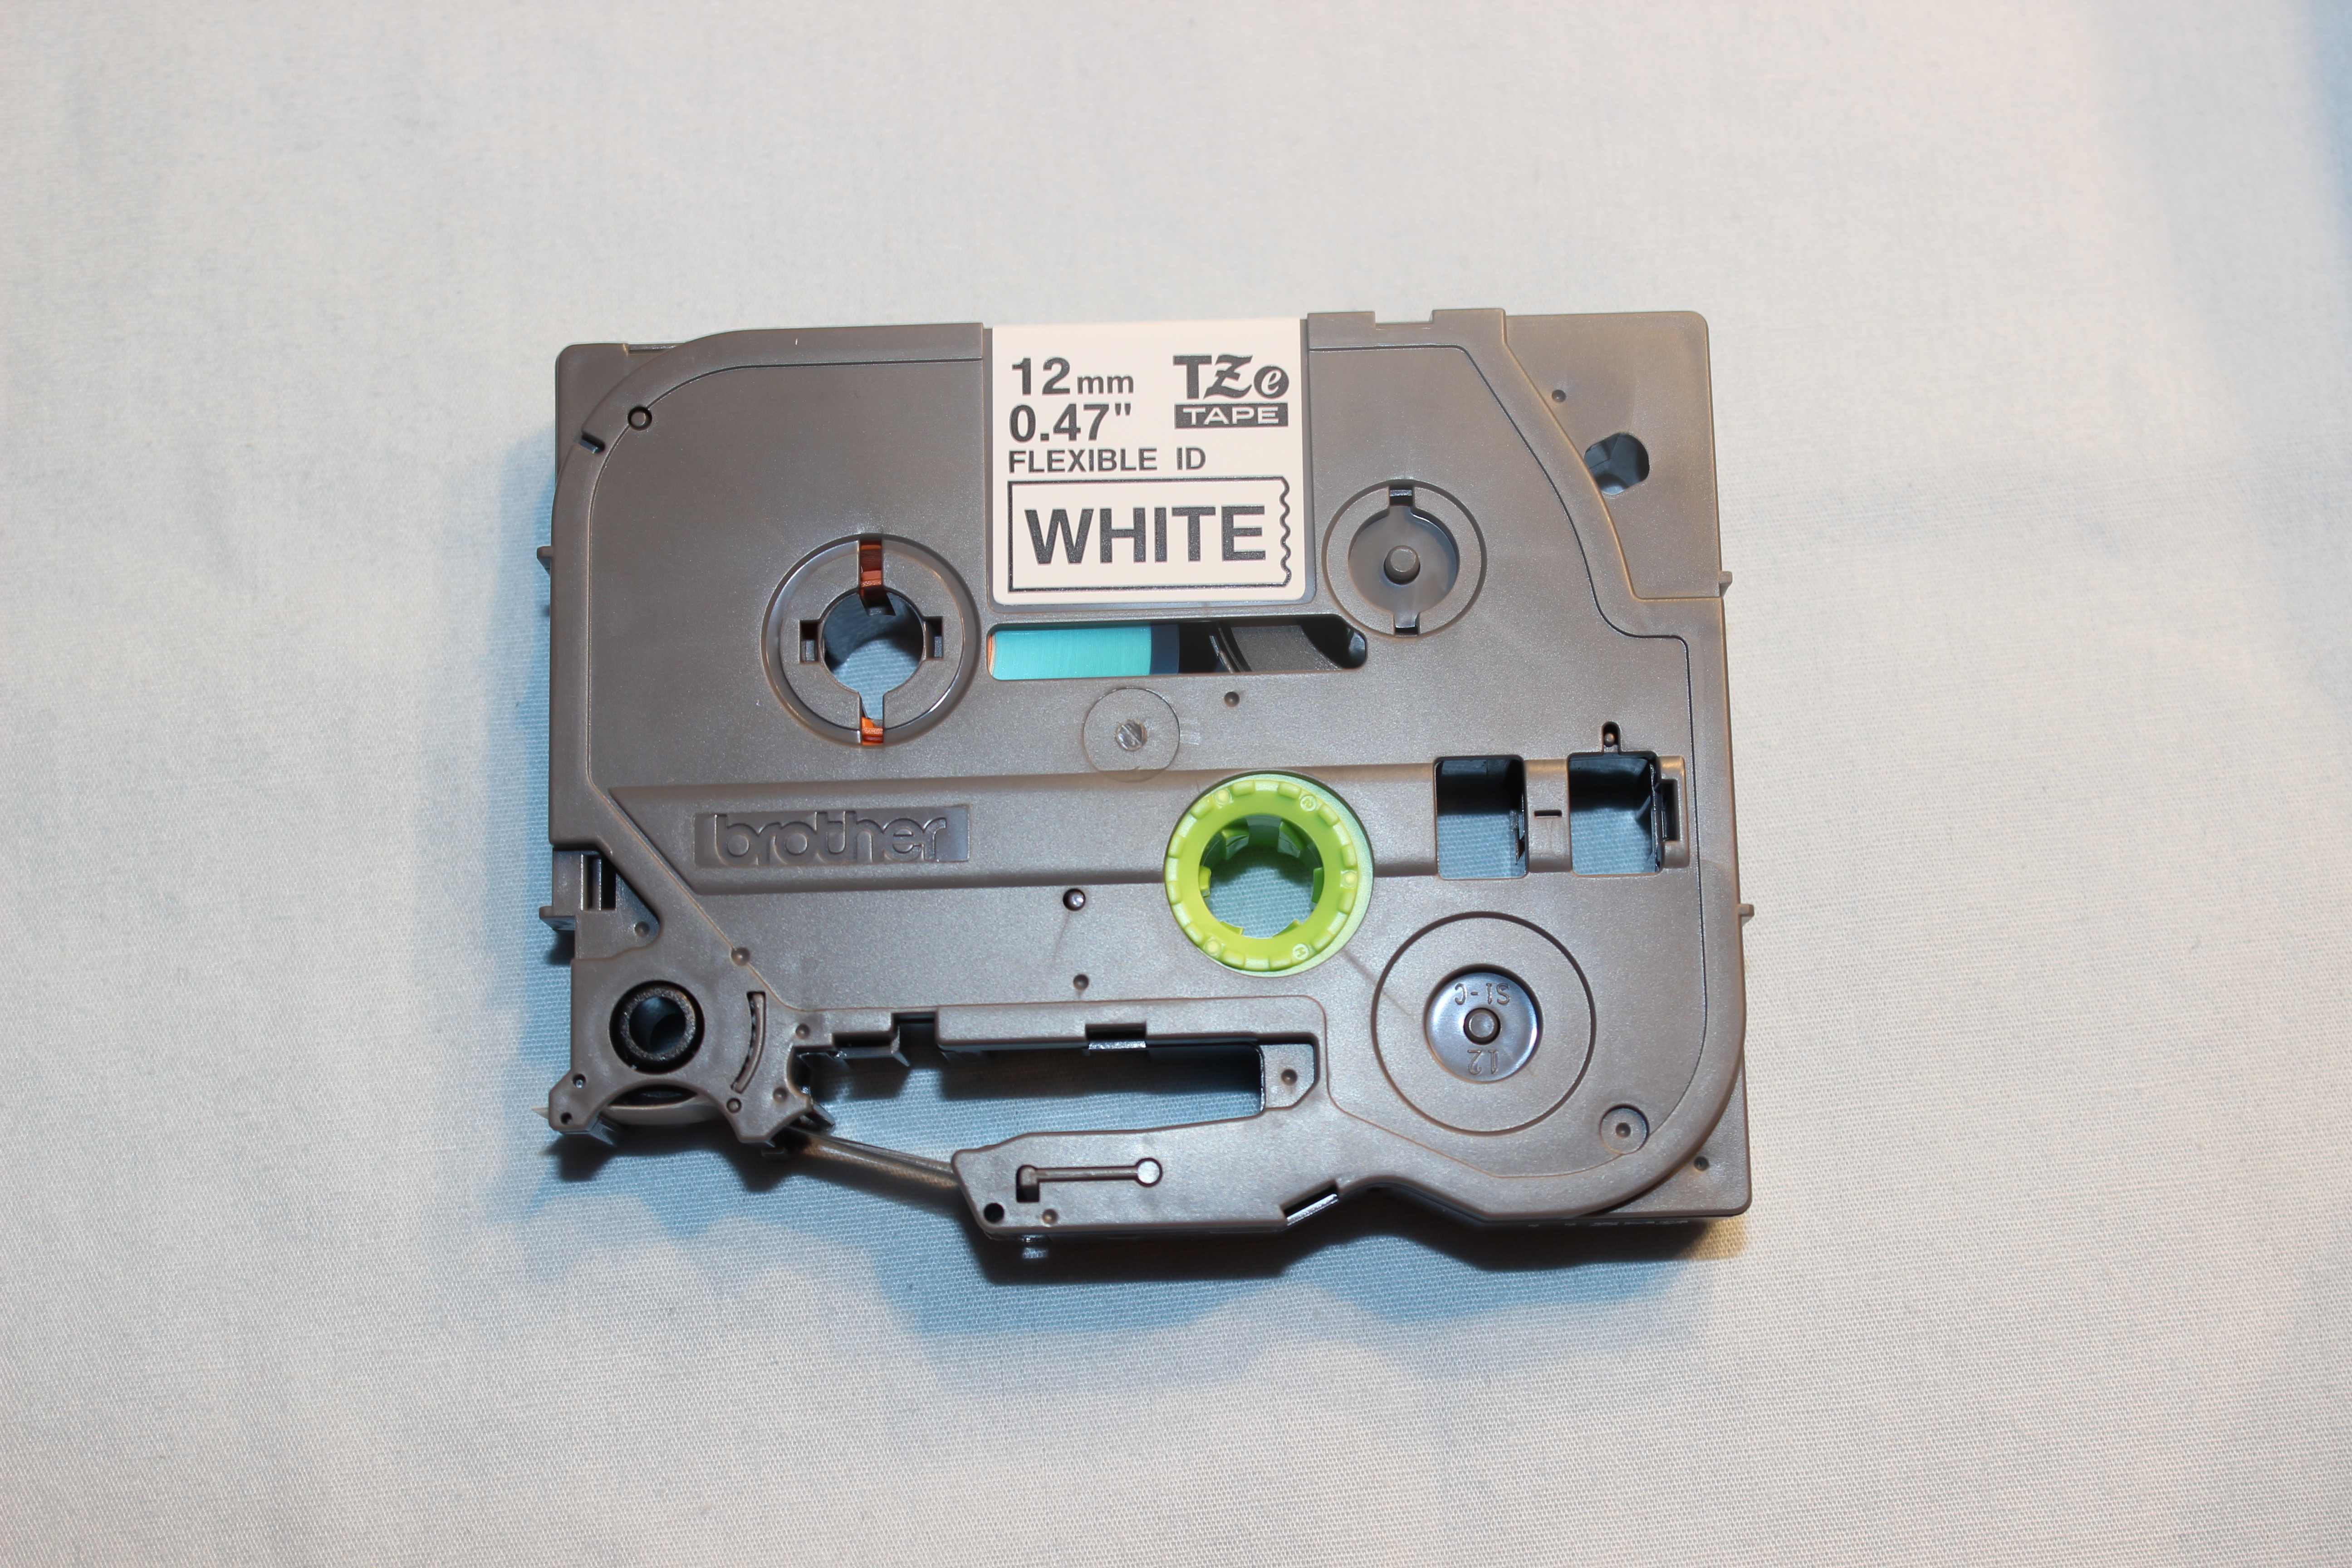
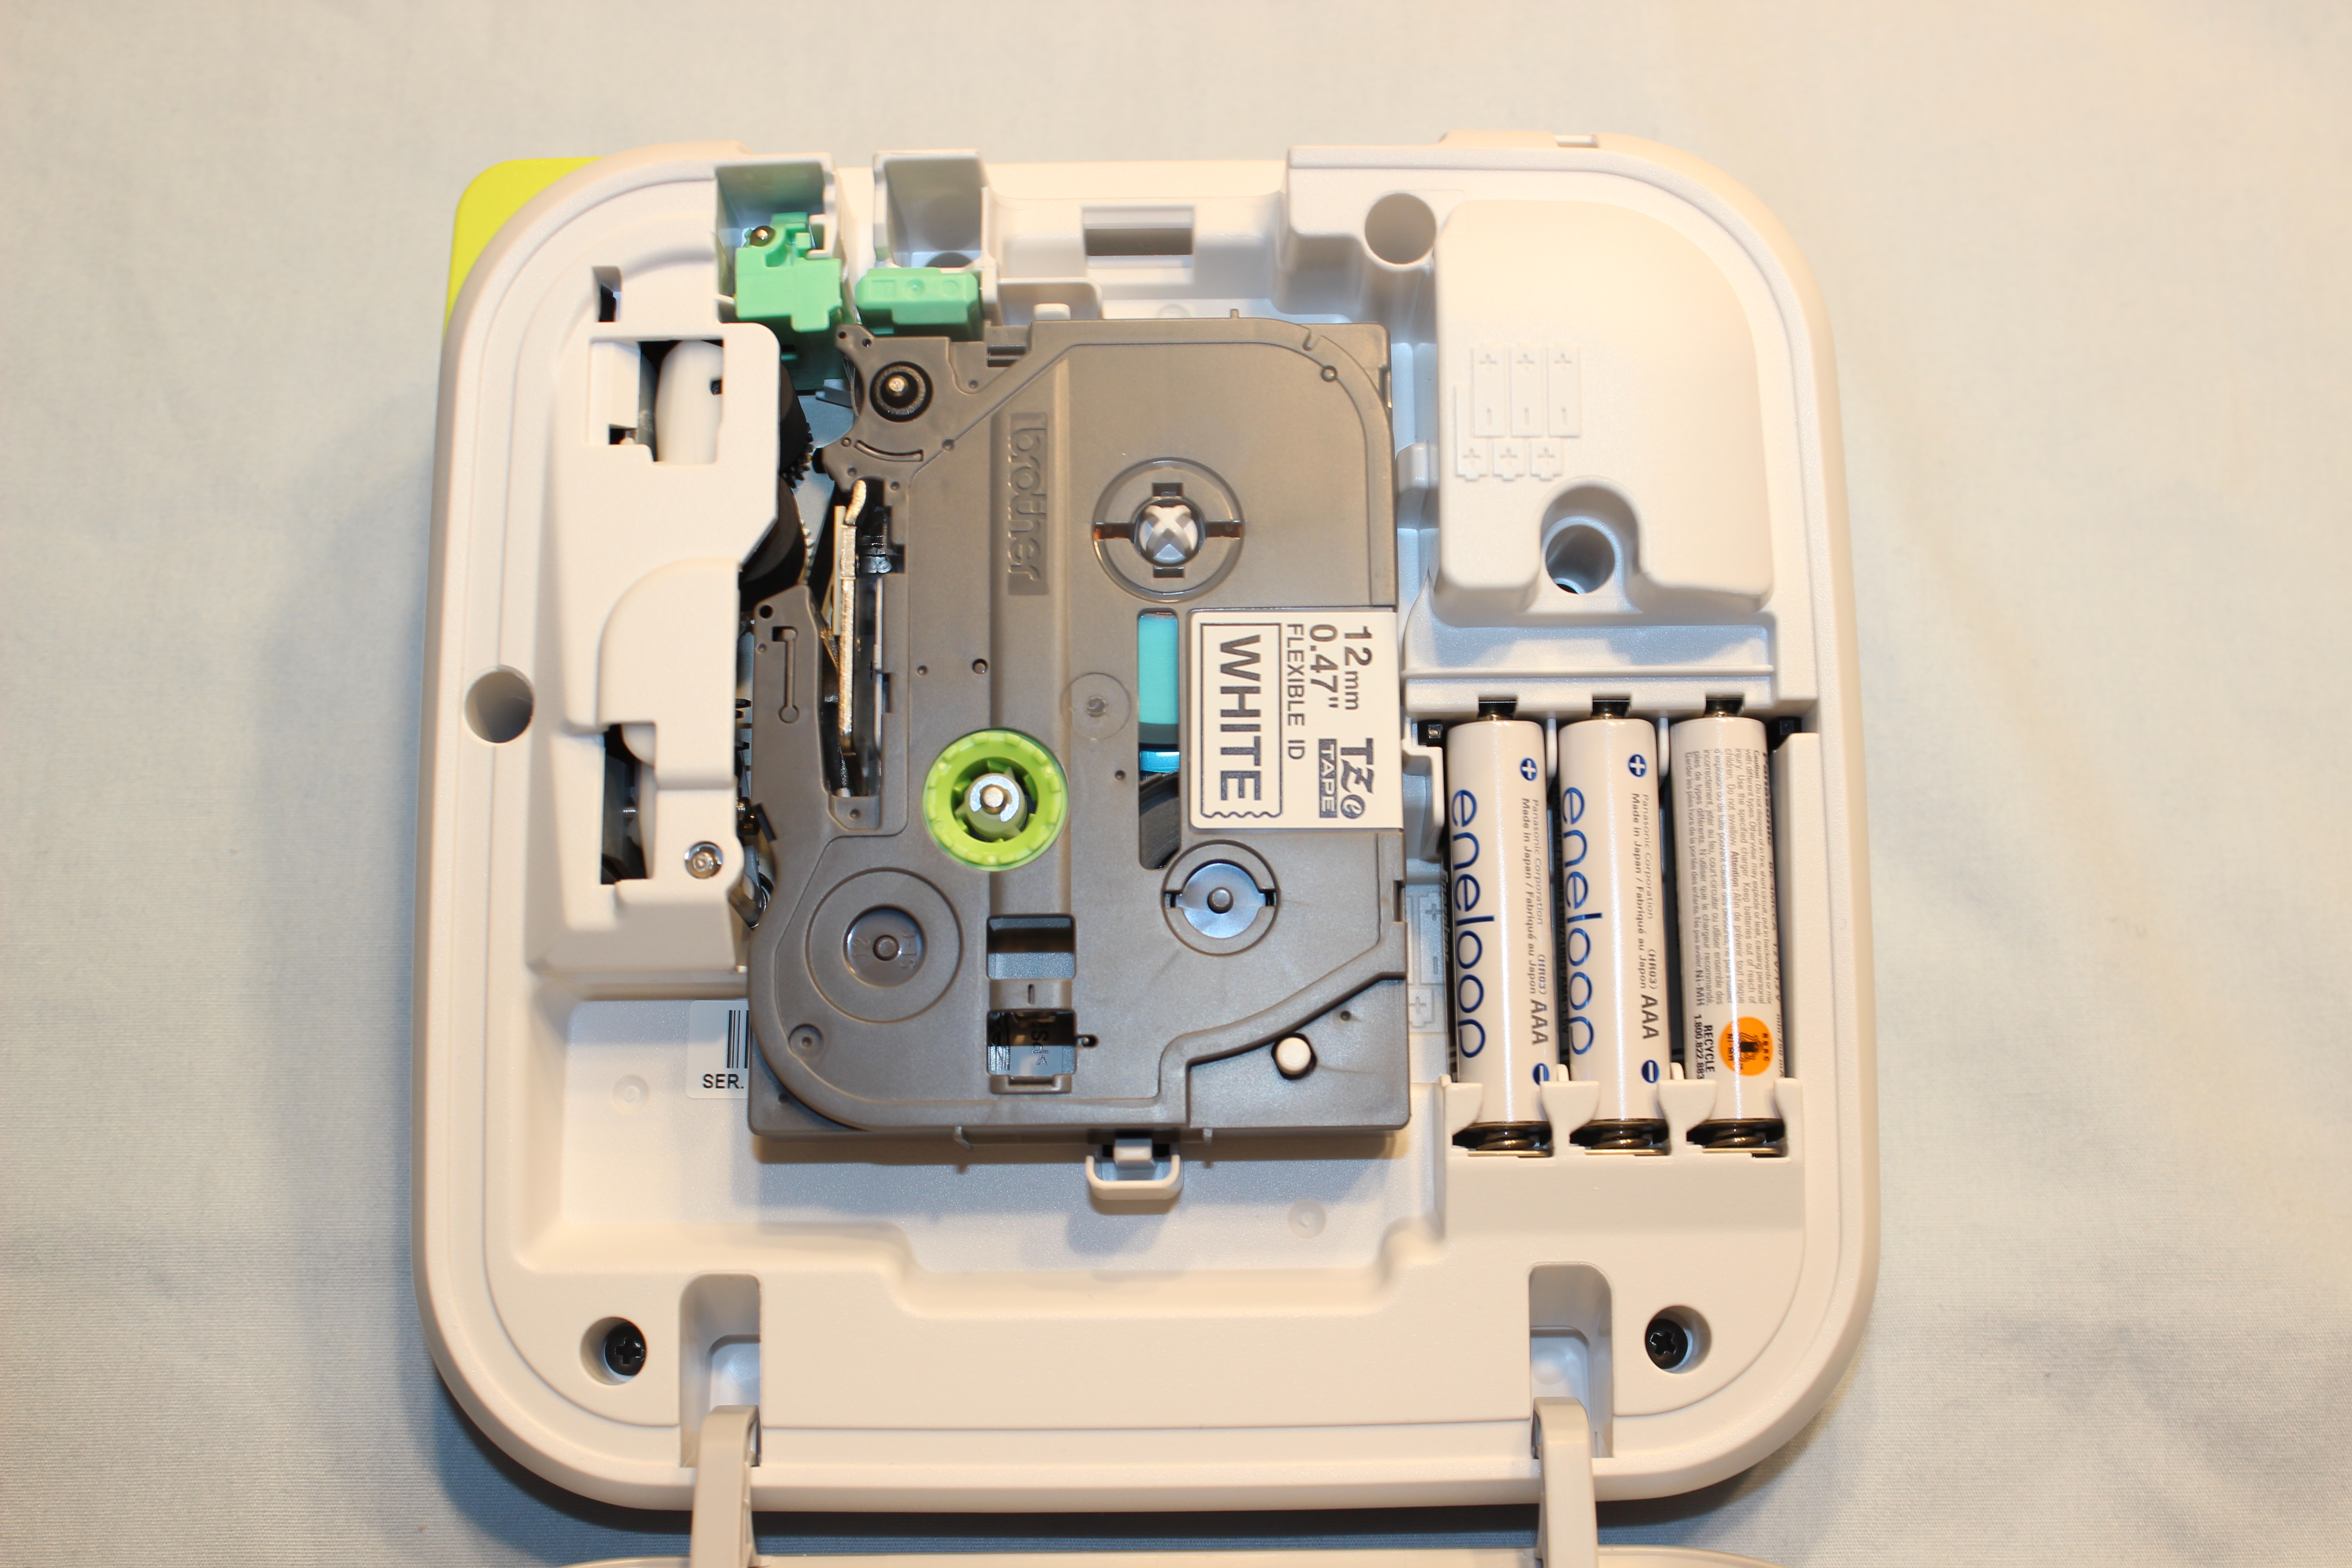
Once the label maker has power, you take the tape cartridge and place it into the label maker. This was a painless process. Although I’m dating myself, it’s reminiscent of putting a cassette into a stereo.
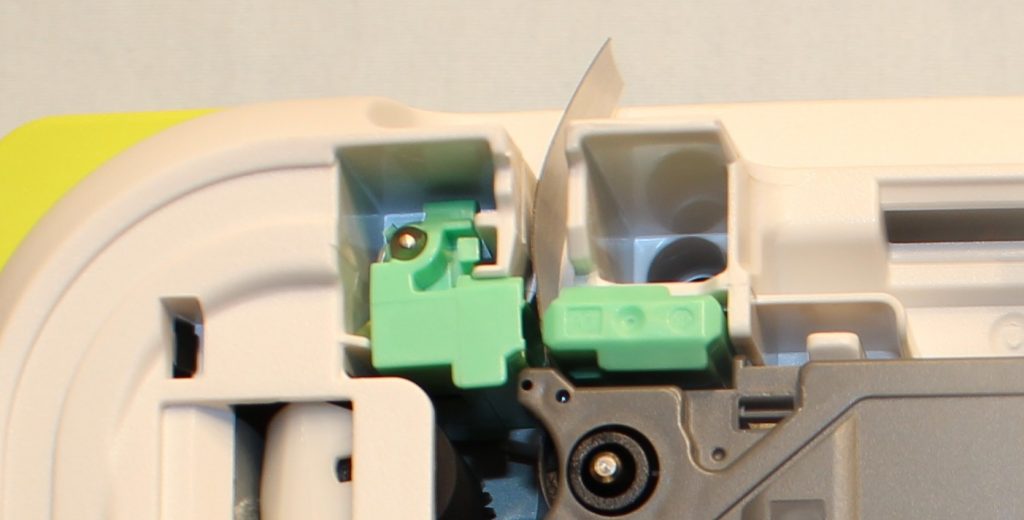
Keep in mind, when inserting the cartridge that you have to make sure the tape feeds through the green guides.
After the tape is installed you are ready to make labels.
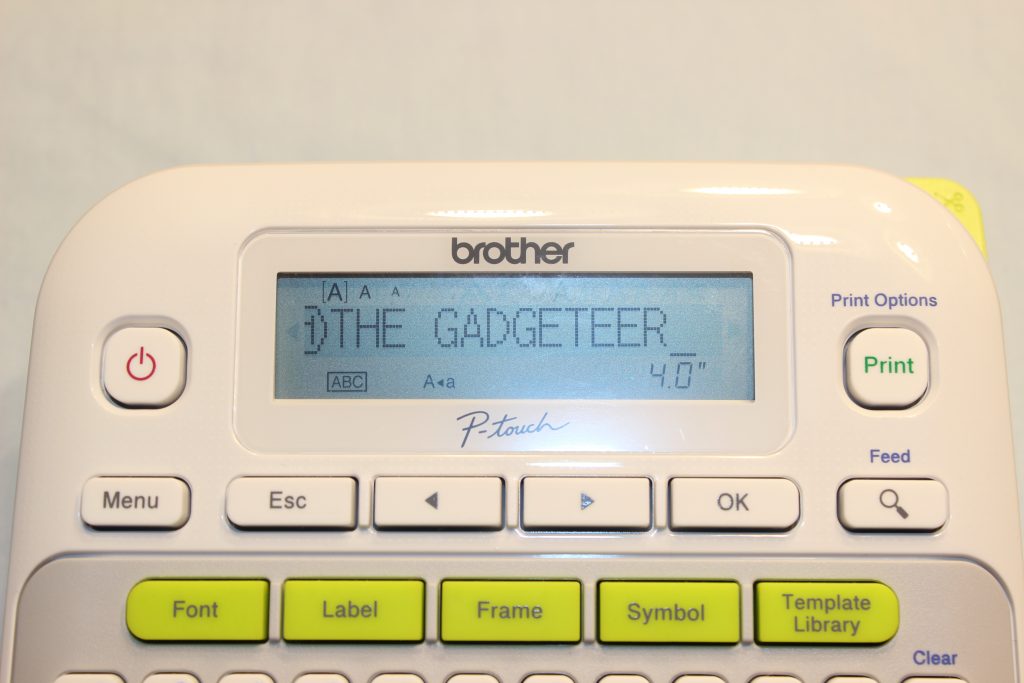
Making a label is simple, you just type what you want the label to say and hit print.
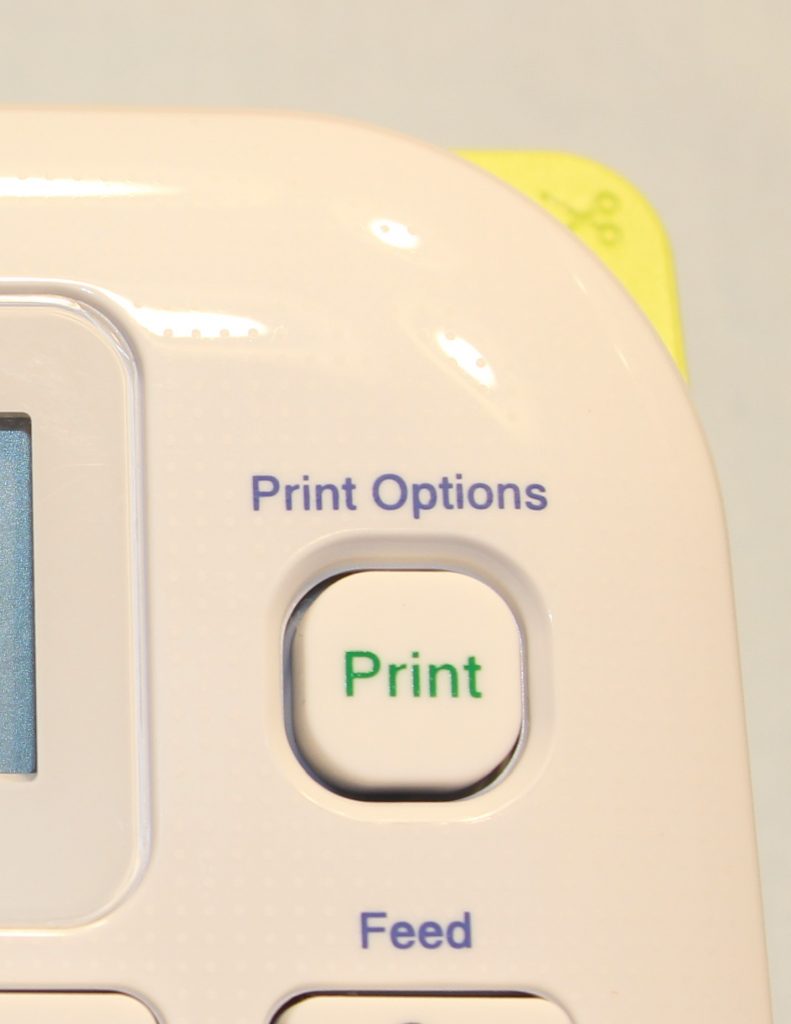
After the label prints out, you cut it by pressing the yellow scissor button in the right corner.
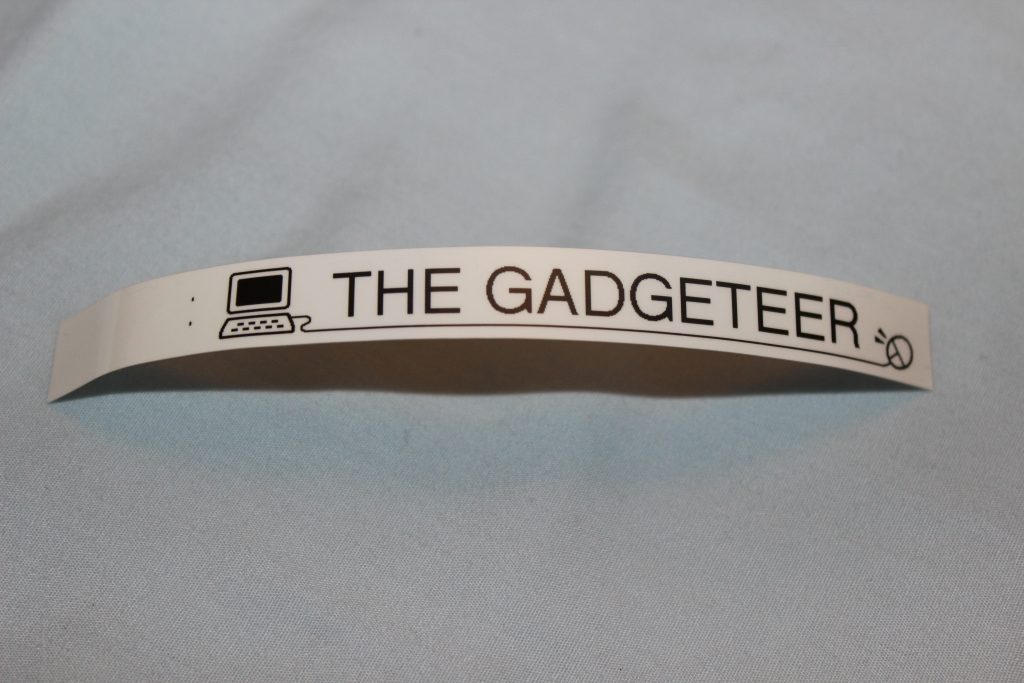
The two dots on the left of the label indicate where to cut to ensure both margins are the same size.
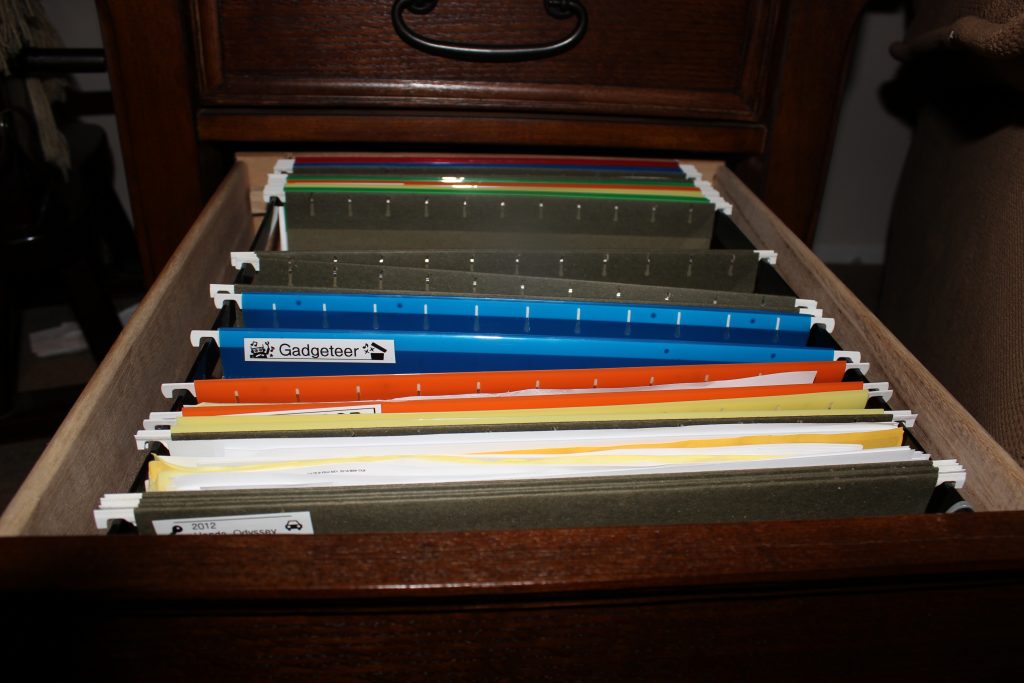

The first thing I did after receiving the label maker was create a Gadgeteer file folder. I use it to hold all the instruction manuals for the gadgets I’m currently reviewing.
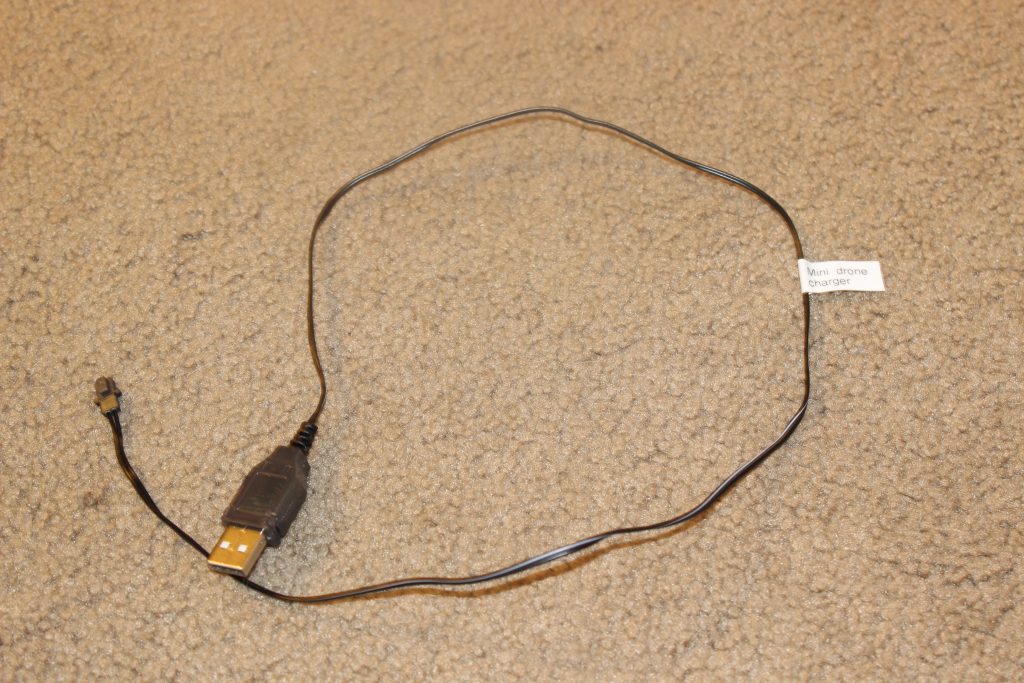
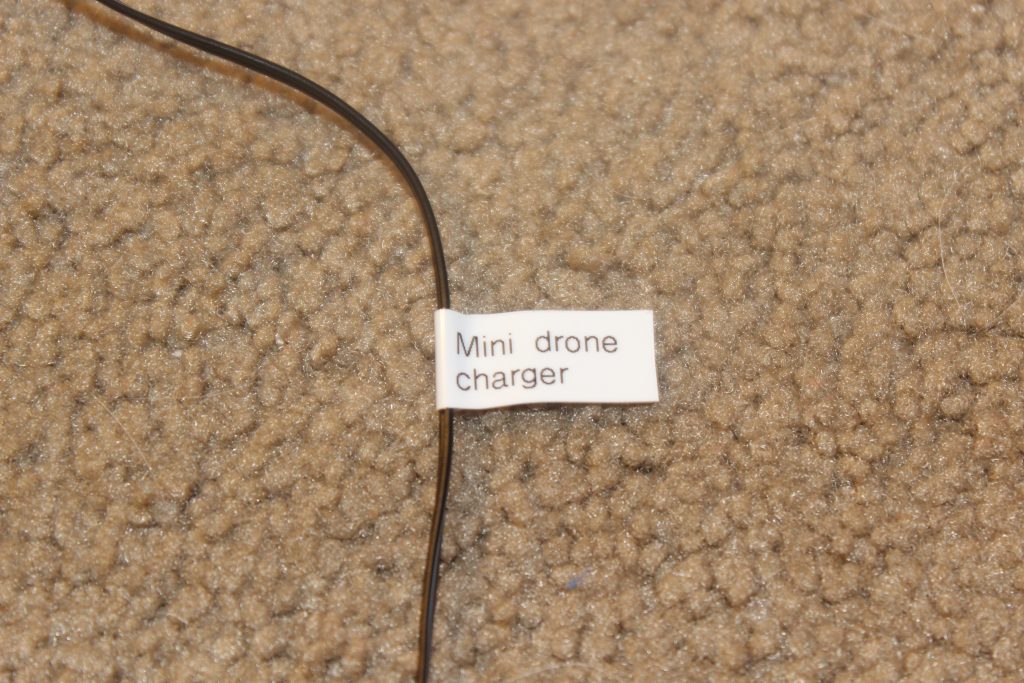
Most things I review use a microUSB power cord, but occasionally I get a cord with a distinct plug. To make it easier to distinguish the cords, I placed a label on them.
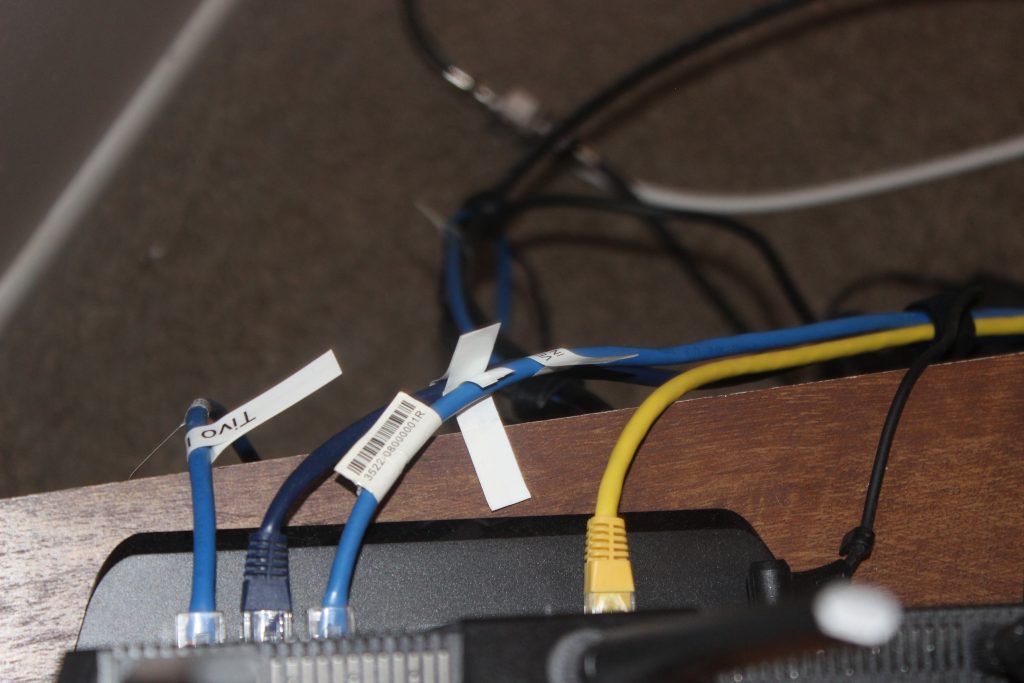
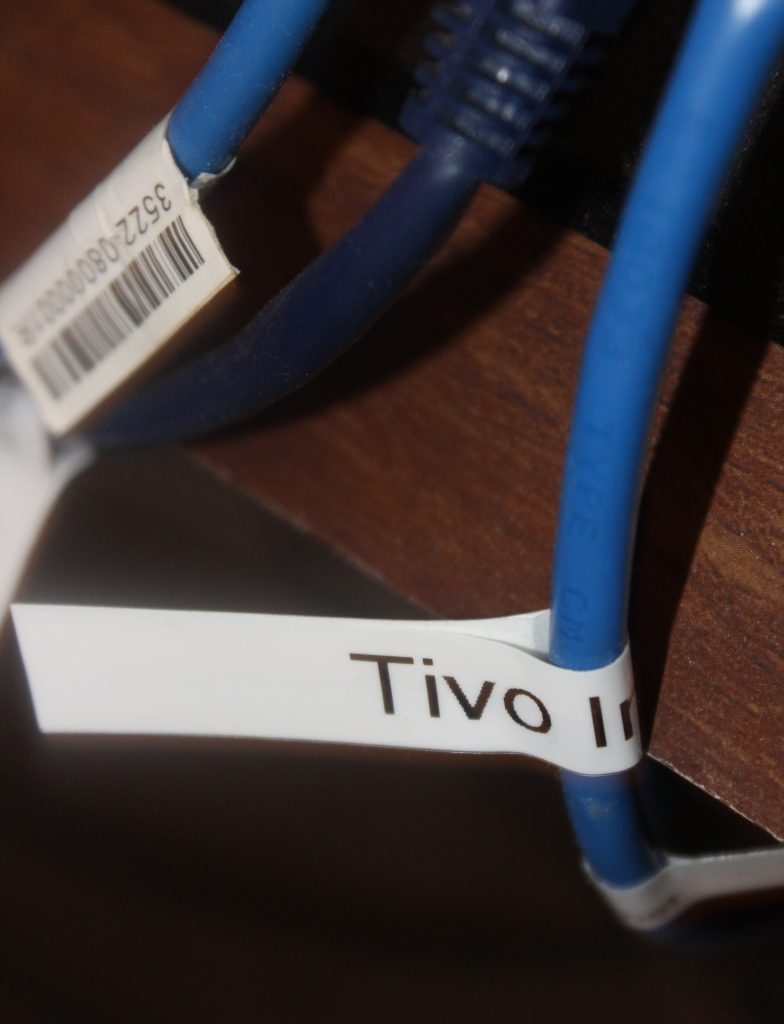
The back of my entertainment center is a jungle of cords. I often have to swap one cord out for another, but have to guess which cord belongs to which device. To try and make things a little easier in the future, I labeled all the Ethernet, HDMI, and power cords behind my entertainment center.
Aside from printing plain text, the label maker has several formatting and text options for you to choose from.
You can select from 99 different frames to surround the text.
You can also choose from 17 text templates that display the fonts in various symbols or in special designs.
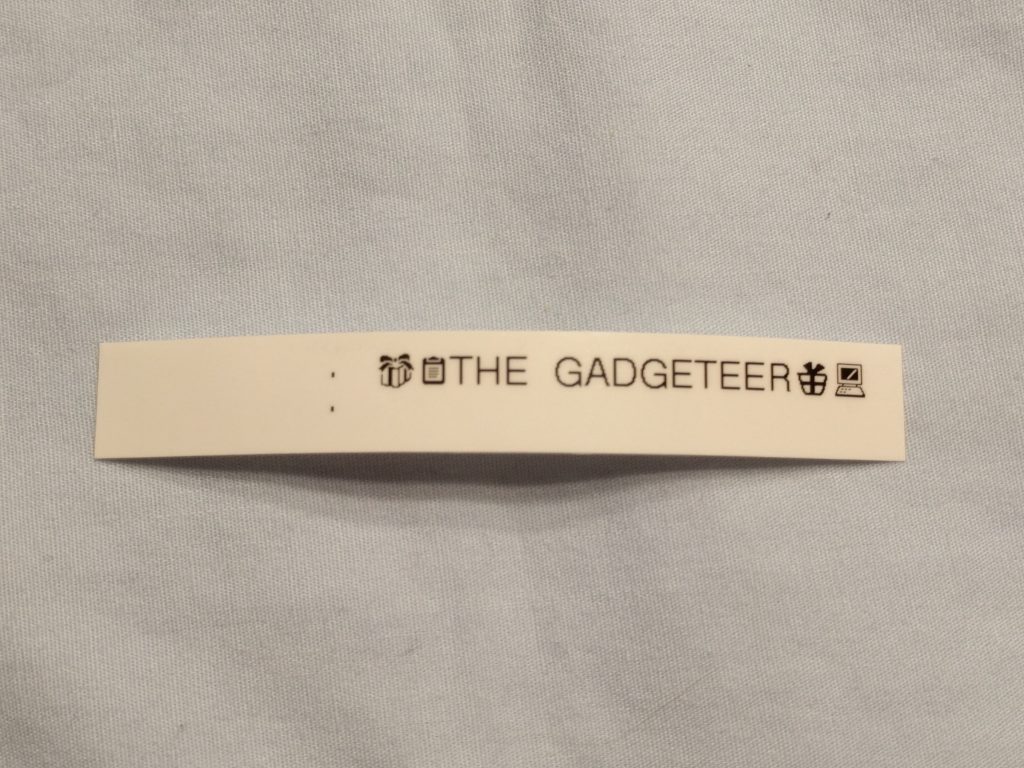
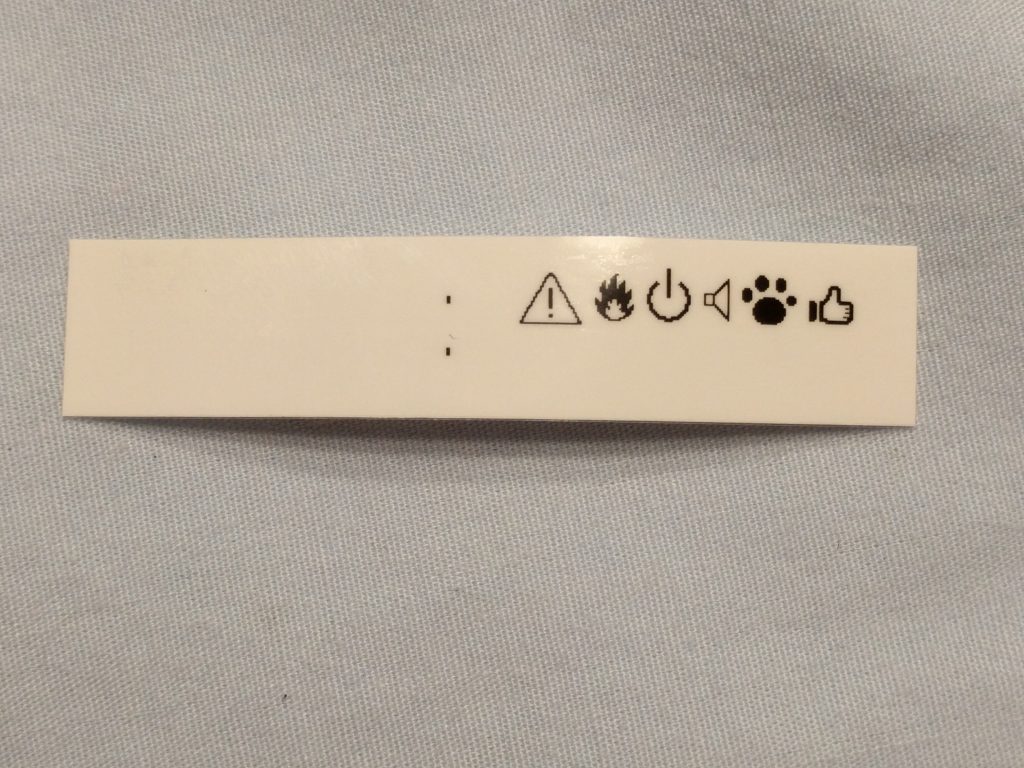
There are also dozens of symbols that can be used in conjunction with text or alone.
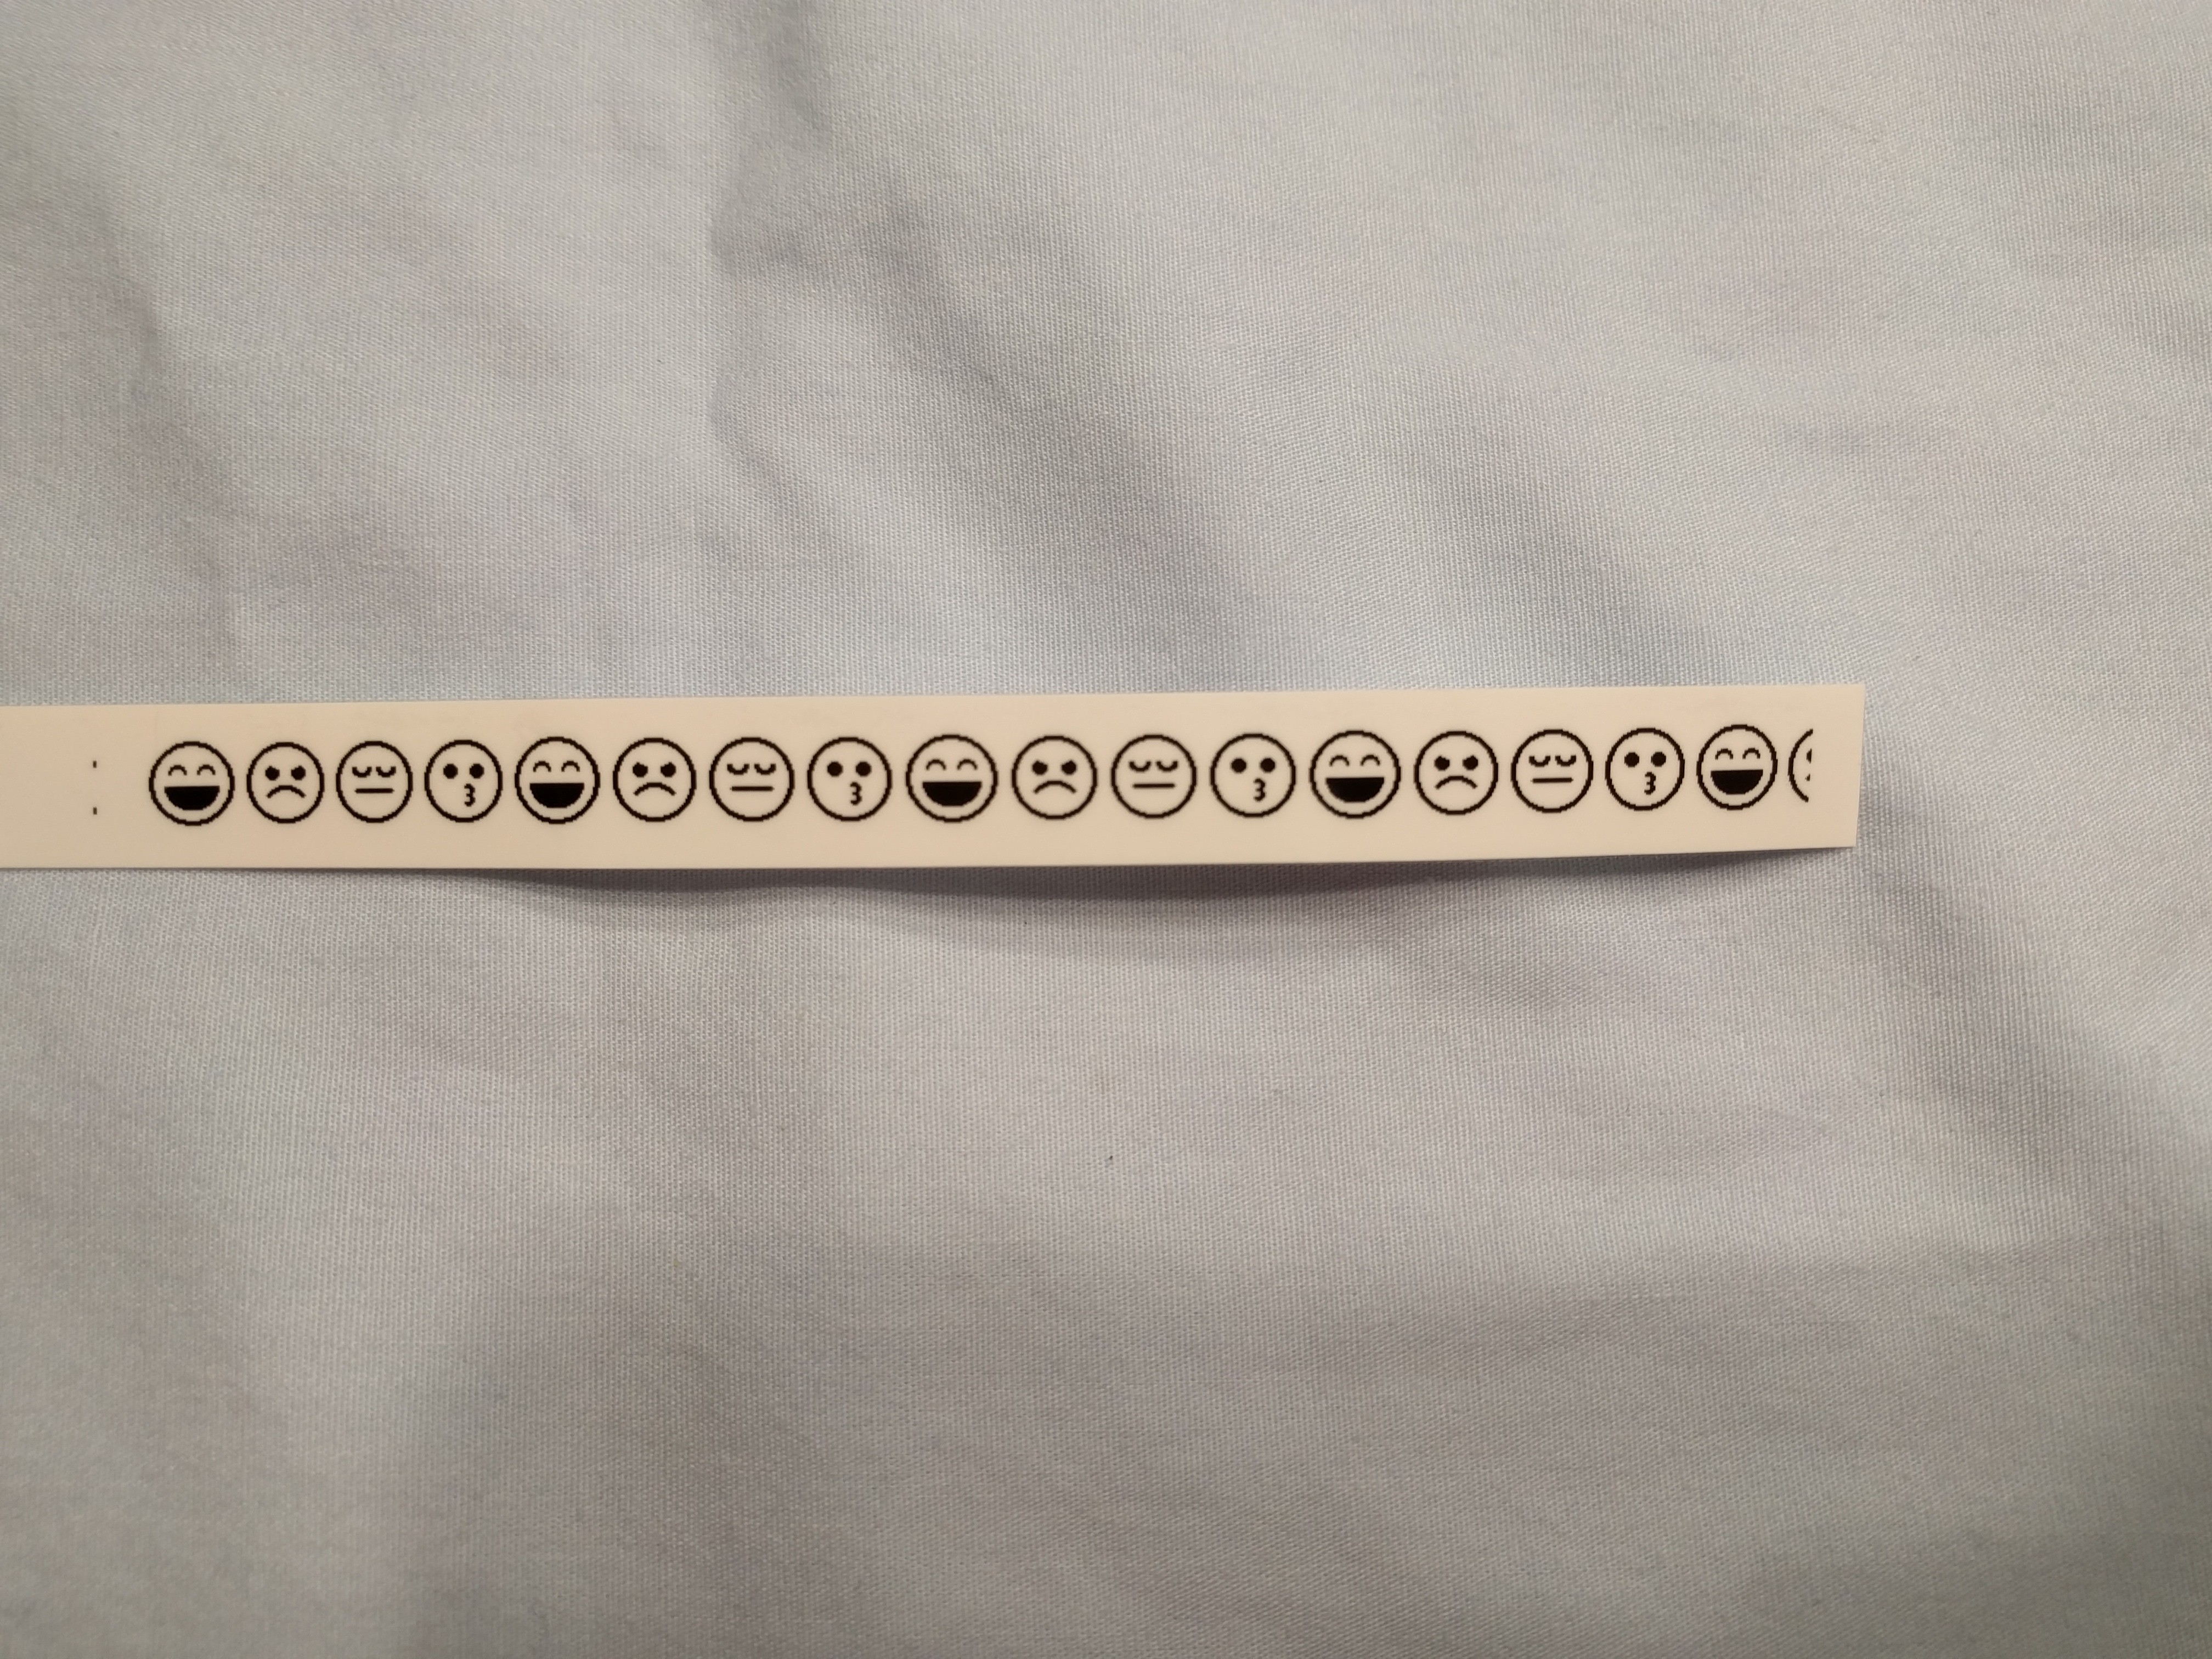
Additionally, there are 10 different repeating pattern templates for you to use.
Along with the above features, you can choose different fonts, sizes, and accented characters. You can also save 30 different labels for repeated use. There is also a plethora of tape cartridges available in different colors and types, including iron-on tape and extra strength adhesive.
While it’s pretty easy to get excited over playing with a new drone or rocking out with a new set of headphones, most people don’t scream woo-hoo at the thought of using a label maker to get organized. However, with the various frames, templates, and symbols at your disposal, the Brother PT-D210 can make organizing a bit more fun. It’s a relatively simple device that only does one thing, but it does that one thing really well.
The Brother P-Touch PT-D210 label maker is a really great label maker with a lot of great features. At $39.99, the PT-D210 falls between the cheapest models and the high end models. It is definitely something worth investing in if you need a bit of assistance organizing your life. Personally, I plan to label everything in my house that has a suitable surface.
Source: The sample for this review was provided by Brother. Please visit their site for more information and Amazon to order one.
Gadgeteer Comment Policy - Please read before commenting
For cables, there is a better solution. They sell a special kind of tape TZeFX that can stick to itself, and is extra flexible. You just wrap it around the ends of the cable (at least one reasonably thick like a USB or Ethernet cable), it’s easier and much more tidy than flags.
Here’s a closeup on some cables on my switch:
https://majid.info/images/FullSizeRender.jpg
Few Brother label-makers have that function, however. It’s easiest with a PC-connectable label maker.
I have an older model of this, and can’t recommend it highly enough! Having things like unique charger cables, adapters, and wall warts (Dremel, StringTrimmer, Work Light, WD Hard drive…..) just makes life less stressful. My wife uses it for everything from her travel cables and bottles to grains and spices in the kitchen. She’s never worried about taking her identical coffee mug into her unit at work, since she has her name on all the pieces. And I don’t worry when I take my identical iPad video adapter out at a meeting.
@Fazad, we had one of those cable markers at the last place I worked, and it was great, but didn’t work for really tiny cables like earphones and chargers.
I have a similar Dymo machine. It gives the option to insert the current date on the label. It also gives the option to save the 10 most common labels. However, they don’t work together! If you insert date and save it as a template, it doesn’t save it as “current date” but just saves the text string of whatever happened to be the date at the time. Does the Brother have these features and are they correctly implemented there? I would trade my Dymo for a Brother if it works.
I think I remember having a label maker that didn’t waste so much label like all the newer ones that I have used. Are there any that have the print head closer to the cutter so that this issue is nonexistent? I understand it’s good business to waste label as well as its limitations based on the design of the device.
Still, hoping that a manufacturer figured this one out.
Oh, they have figured it out all right. Tape is expensive and they want you to waste as much of it as possible.
Obviously chain printing and printing multiple labels with just plain spaces between the text helps but the best response is to buy compatible non-branded tapes online. They can be bought on ebay and you can pay about $20 for 5 tapes. Compare that with about $25 for one, yes one (!), Brother-branded tape at Officeworks.
The off-brand ones work perfectly and only a madman would buy the Brother ones.
Have same problem as Steven notes on Dec. 6, 2015, but see no answer. Please advise how to correct incredible waste of tape between labels in simple plain English. Also please supply phone number for customer service. Very important and urgent.
There is a setting to adjust the margins to an extent, but you will still be limited by the gap between the cartridge and the cutter. If you need customer service help your best bet would be to contact Brother. A link to their website is at the bottom of this review.
I find the LED display very hard to read, it is so dark no matter what adjustment you make to the brightness level.