Sitting all day in front of a computer is both monotonous and unhealthy. That’s why sit-stand desks are gaining in popularity. The ability to quickly switch from sitting to standing is a great way to burn a few extra calories, improve circulation, help with back problems and more. Last month I reviewed my first standing desk, the Varidesk Pro Plus, and today I’m going to tell you about the Ergo Desktop Kangaroo Pro standing desk.
Note: Images can be clicked to view a larger size.
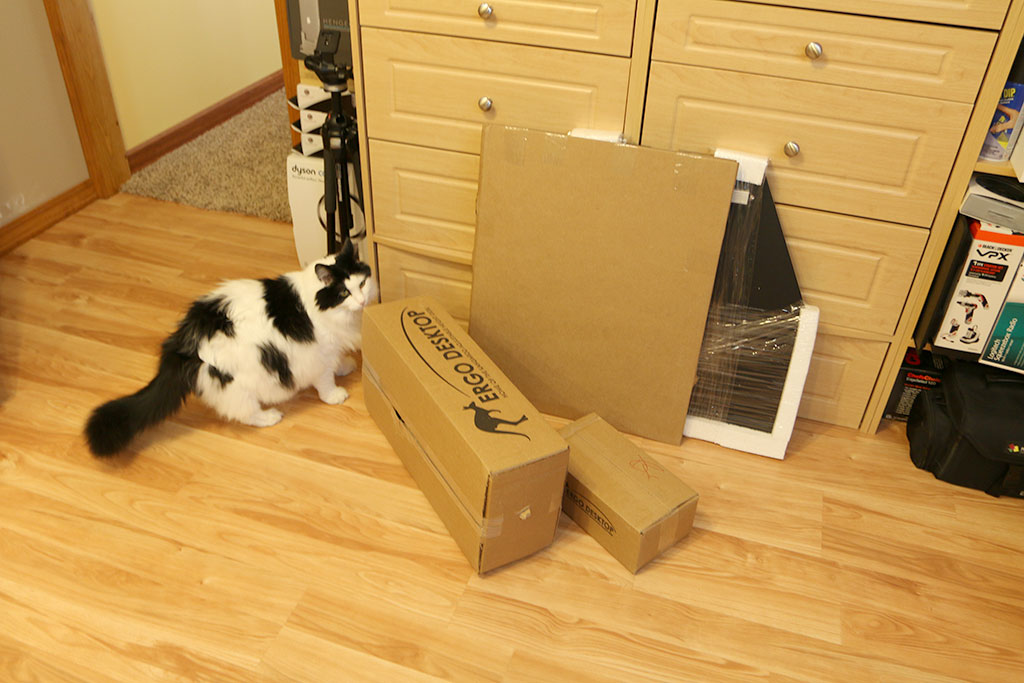
Although there are free-standing standing desks on the market, I don’t have room for one. I prefer desks like this one that can be placed on top of an existing desk without any drilling or clamping to the original surface. But unlike the first desk that I reviewed which was came pre-assembled, the Ergo Desktop Kangaroo Pro standing desk arrived disassembled. At first I was like ugh… because I didn’t know I’d have to put it together… But it really wasn’t that big of a deal so don’t be frightened off that assembly is required.
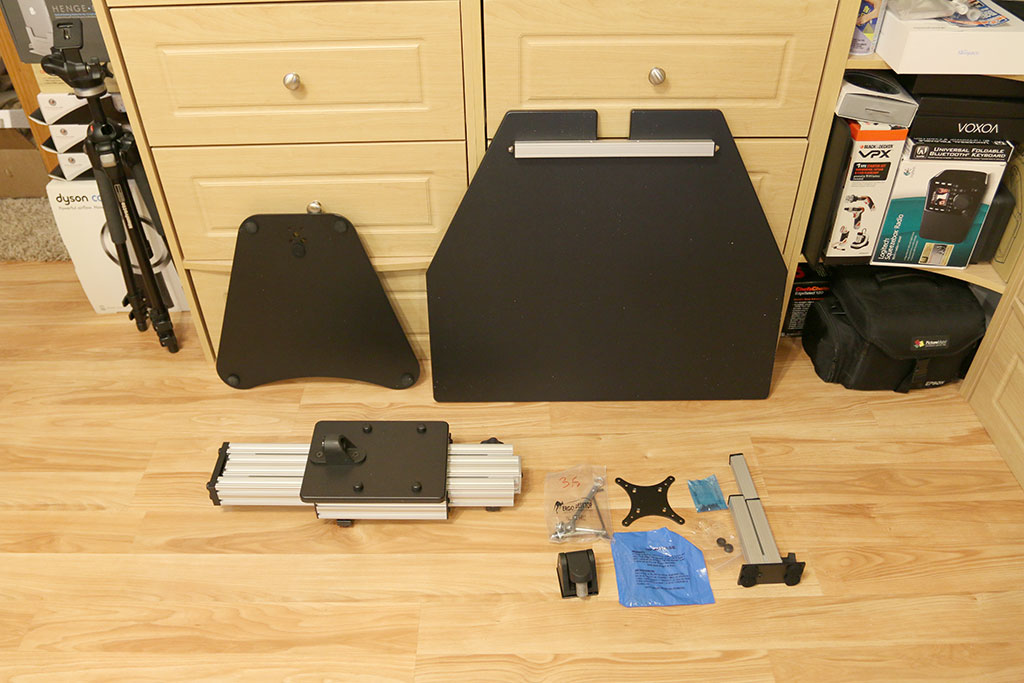
Package contents
Steel base plate
Work surface
Lift mechanism
Stabilization leg
Hardware
Tools
Instructions
The nice thing is that all the tools (except for a screwdriver) are included with the desk, so you can open the box and start putting it together right away. The first step is to attach the steel base plate to the lifting assembly using the included screws and allen wrench.
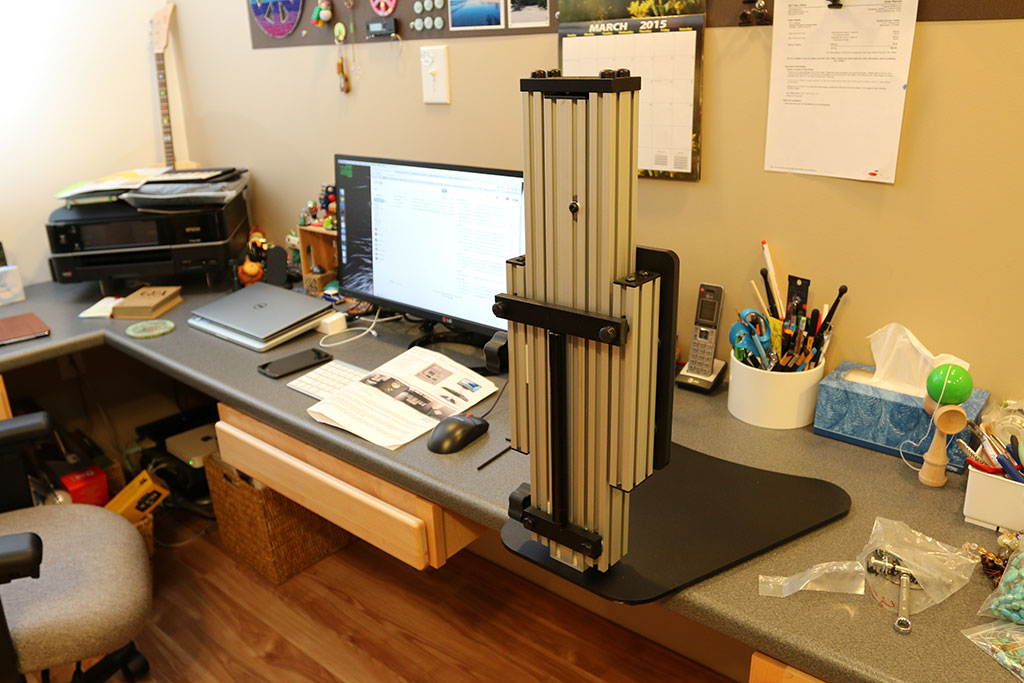
So far so good! In the next step you attach the work surface.
Ergo Desktop offers this desk in four different finishes. There’s the black version that you see here, light maple, cherry and putty. The work surface is not slick, it has a slight texture to it.
At 28″ wide by 24″ deep I was a little concerned about the size of the work surface because the front edge hangs over the desk a few inches.
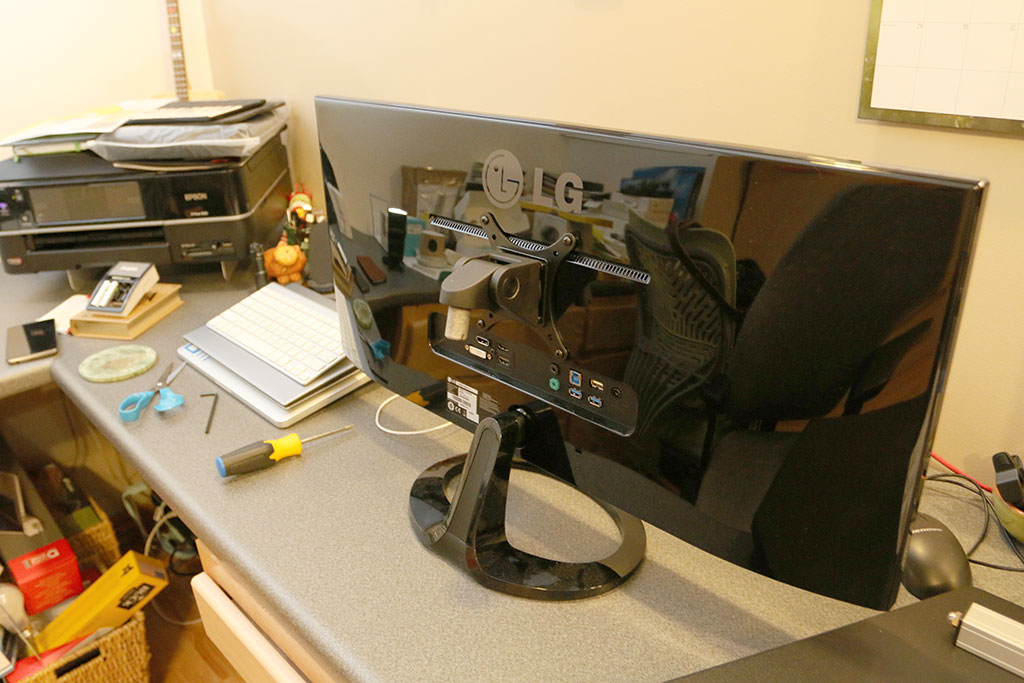
The desk is able to accommodate a monitor with a weight of up to 15 lbs. Unlike the first standing desk that I reviewed, this one is designed so that you have to attach your monitor directly to the desk. To do this you have to attach the included VESA bracket to the back of the monitor and then remove the monitor’s desk stand. The majority of monitors have four screw holes in the back for VESA brackets, so attaching the hardware is a snap.
At this point, it really helps to have an extra set of hands, something I did not have when I was assembling the desk. It was pretty awkward to attach the monitor to the desk and adjust the angle of the display with just my two hands, but somehow I managed it. The bracket allows the monitor to rotate. It will also allow you to tilt the display, but you’ll have to loosen and retighten a screen once you get the angle you desire.
Presto! Total assembly time was about 30 minutes, but that’s only because I had trouble attaching the monitor by myself. My initial concern about the overall work surface size being too large was minimized once I was able to position the Ergo Desktop Kangaroo Pro standing desk in the desired location on top of my existing work area. I really like that the desk is easy to move if you need to slide it out of the way. Felt pads on the bottom of the base plate ensure that the original work surface doesn’t scratch.
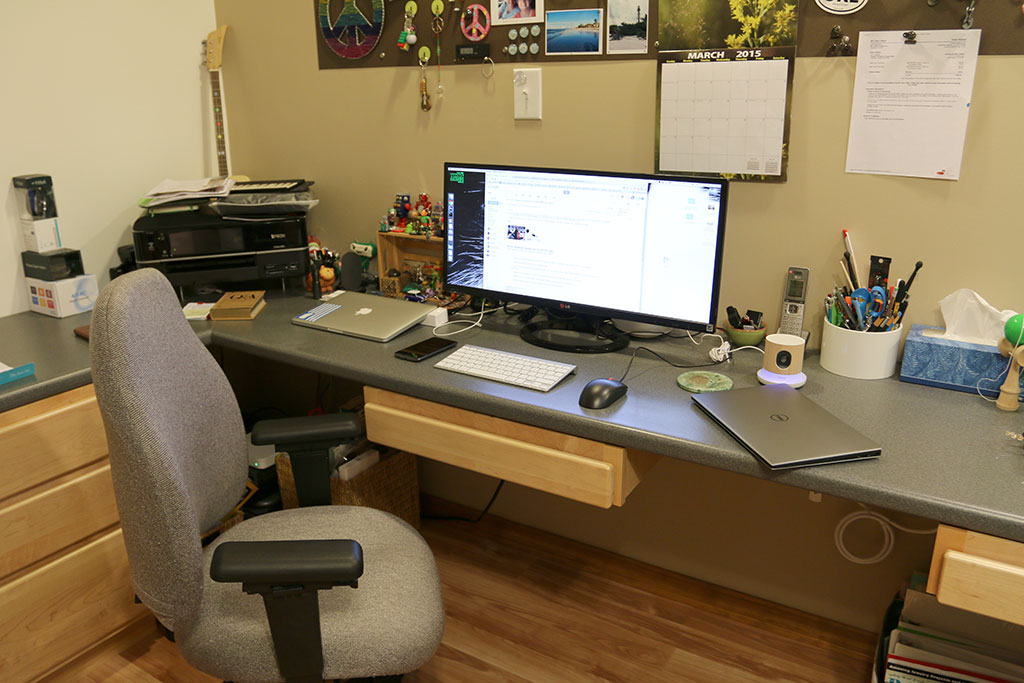
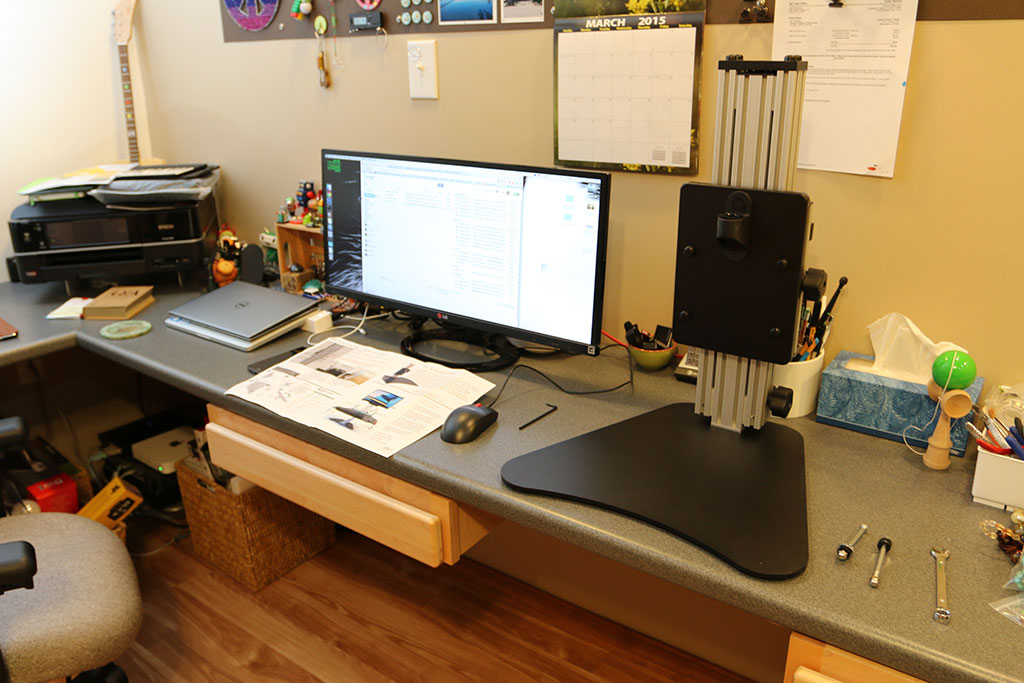
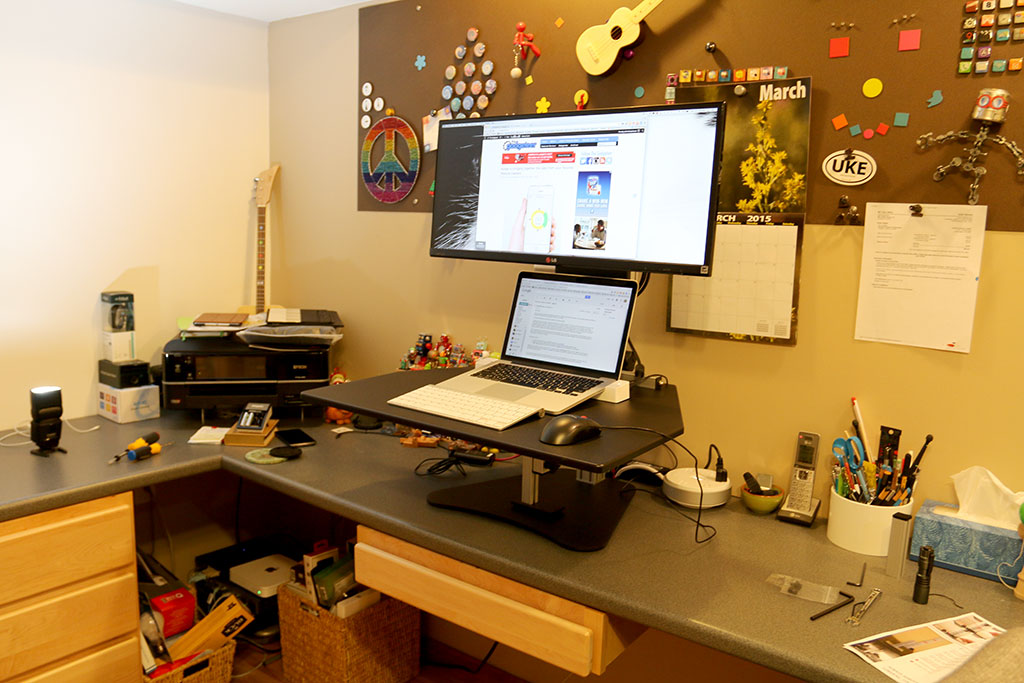
Here are a couple before images of my desk setup. I use a 29 inch LG monitor and a 13″ MacBook Pro in a LandingZone DOCK.
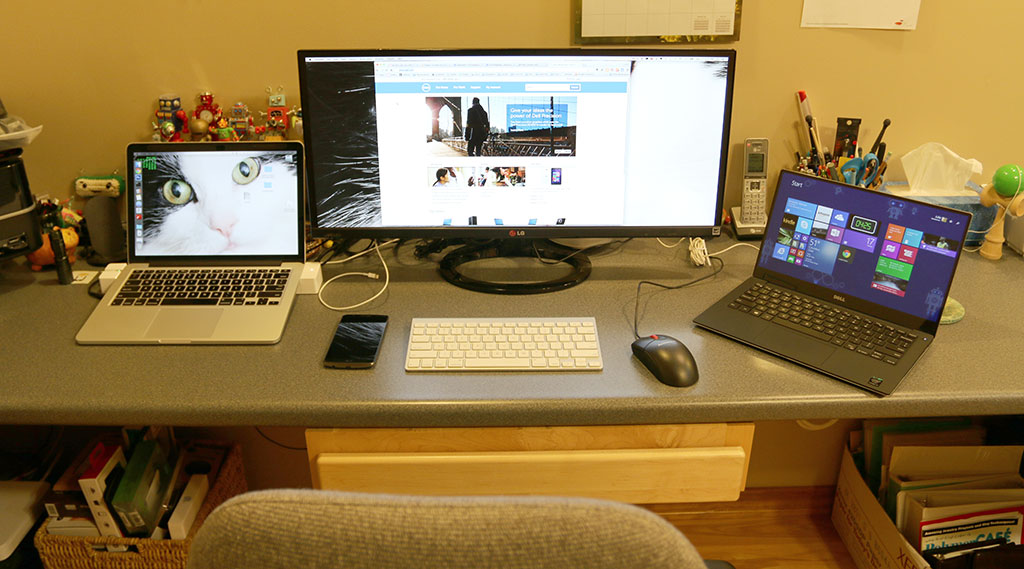
Sometimes I have three displays going at once. Four if you count my phone!

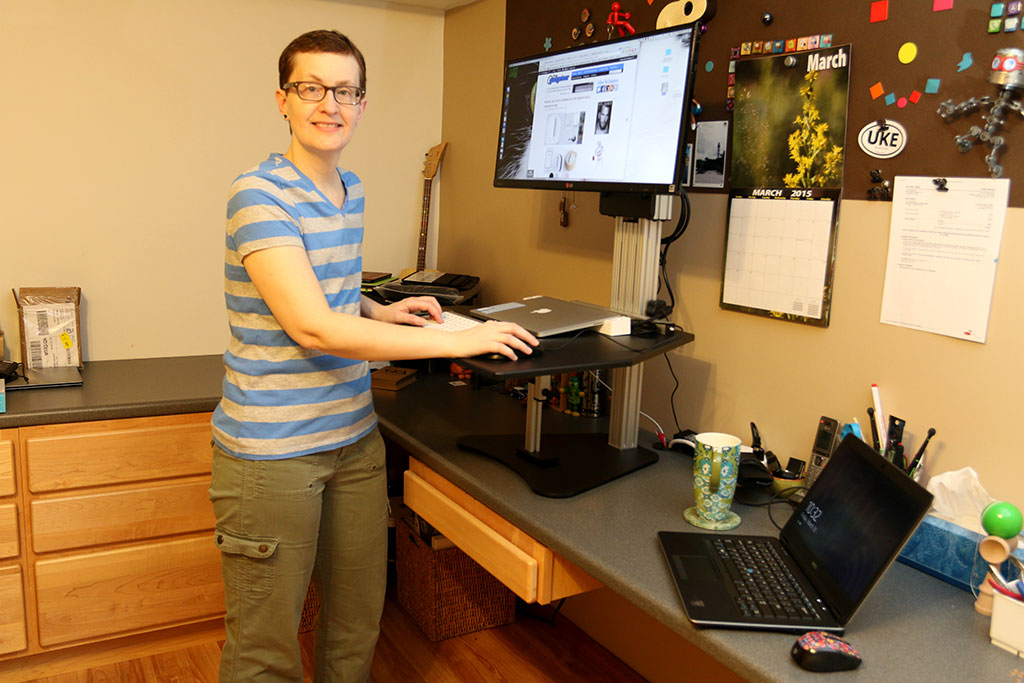
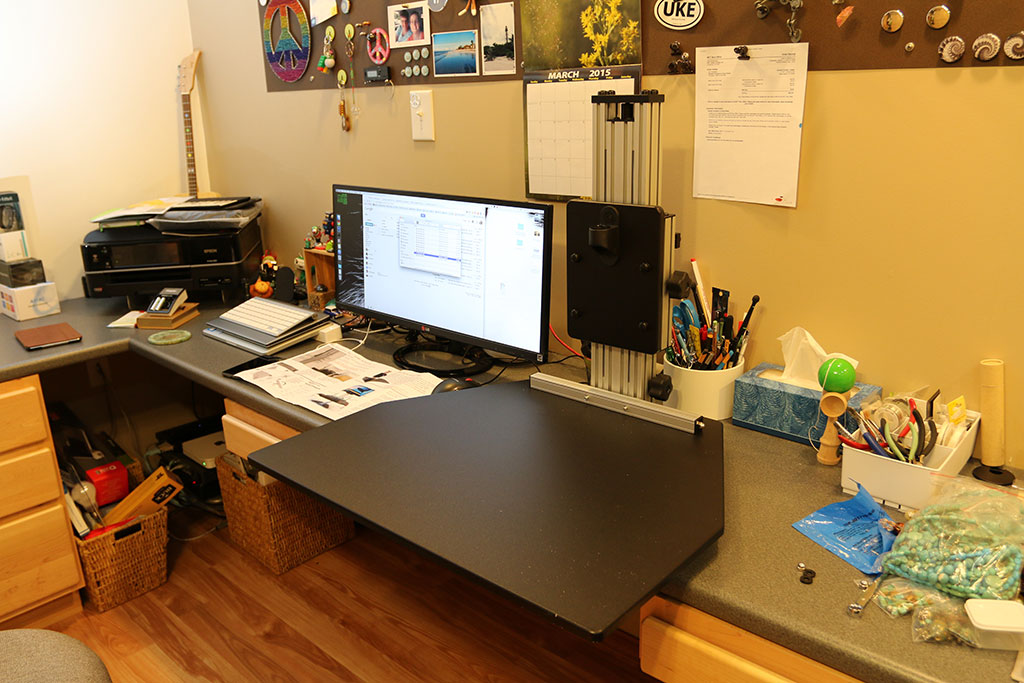
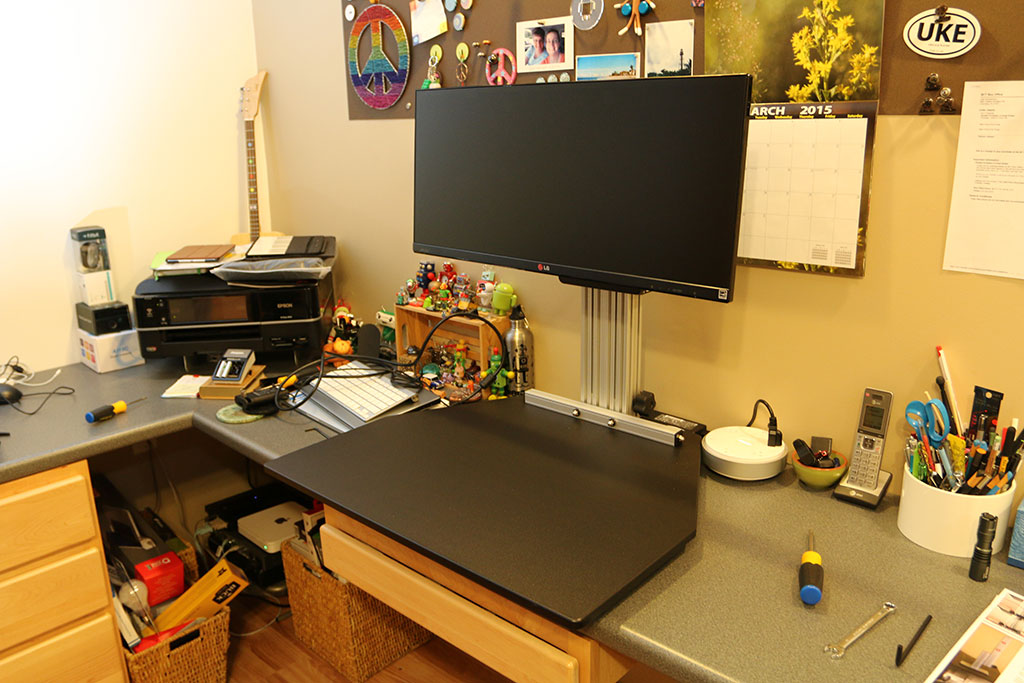
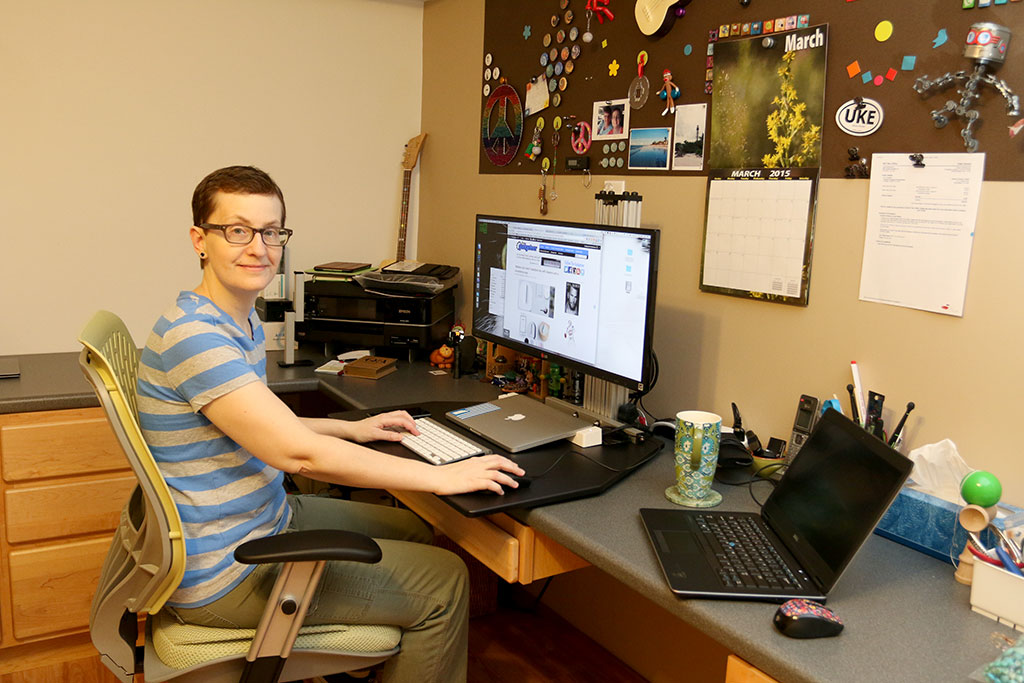
Here’s an after shot. With the Ergo Desktop Kangaroo Pro standing desk assembled, I feel like I have more desk space than before because I can place the MacBook Pro and docking station along with an Apple wireless keyboard and mouse right on the Kangaroo Pro’s work surface. Ergo also sells work surface extenders that you can attach to the sides of the work surface to add even more area when the desk is in the standing position.
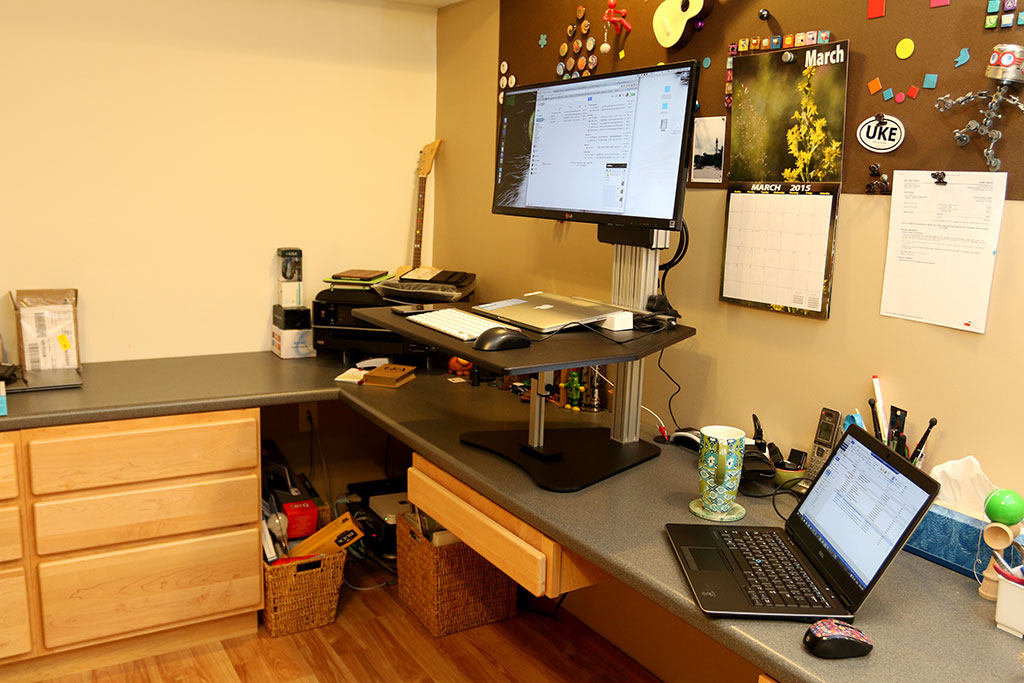
This is the way the desk looks when it’s in the standing position. The work surface is adjustable up to 16.5 inches above your desk and the monitor can be independently raised up to 6.5 inches above the work surface.
I even have room to use the MacBook Pro as a second display.
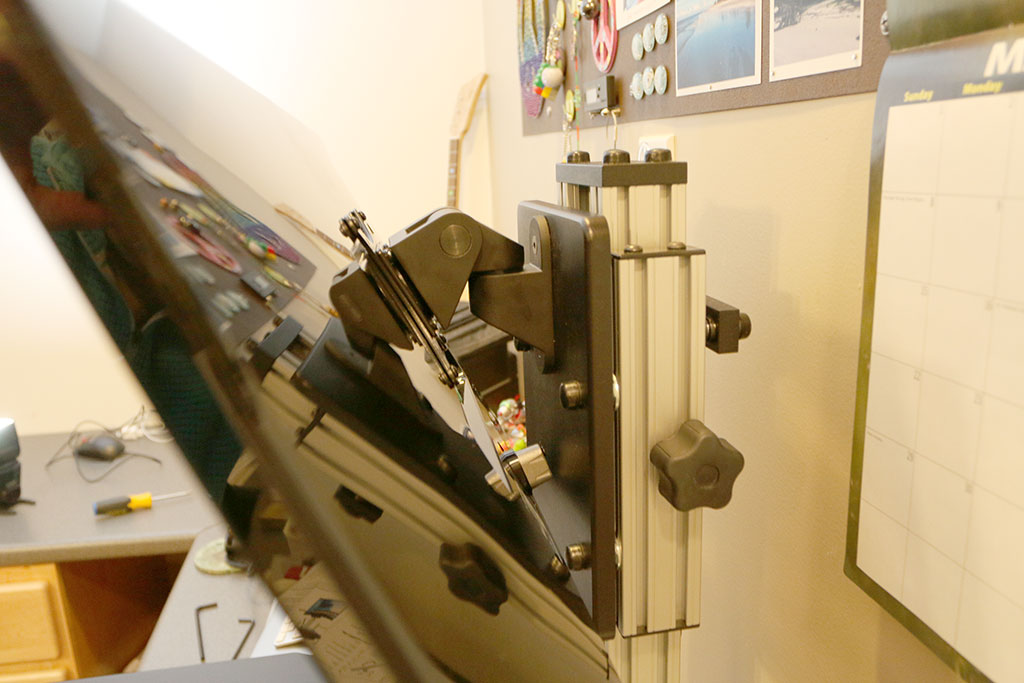
There are two knobs that control the lifting mechanism. One for the work surface and one for the monitor. Adjusting the height of the desk or monitor is not difficult and requires little to no strength given the hydraulic lifting mechanism.
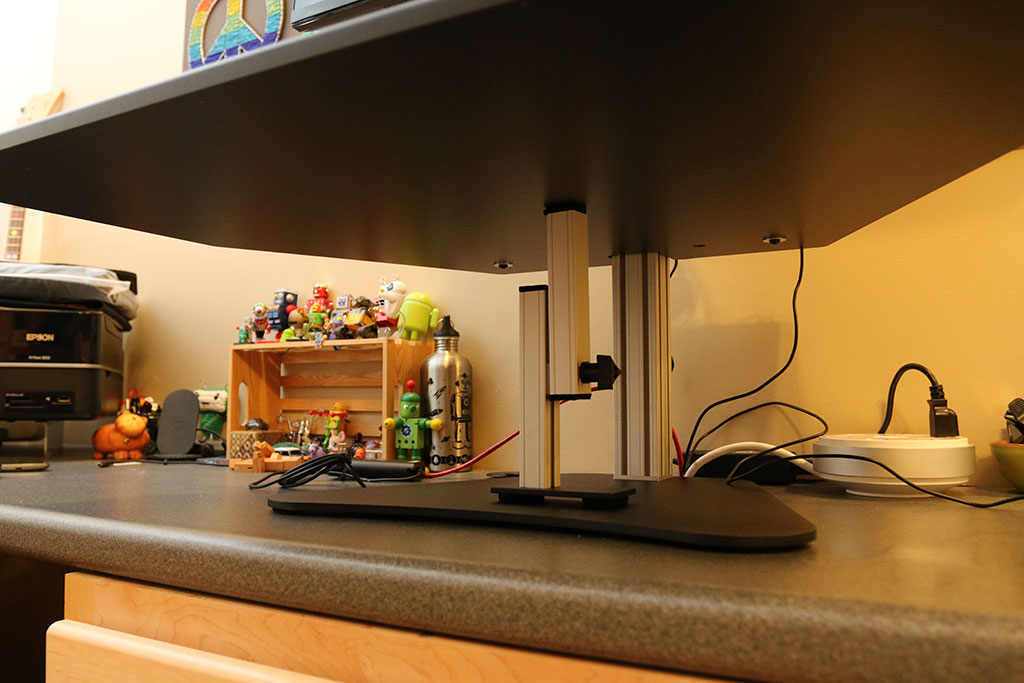
You’ll notice in the images above that there’s an adjustable stabilization leg under the work surface.
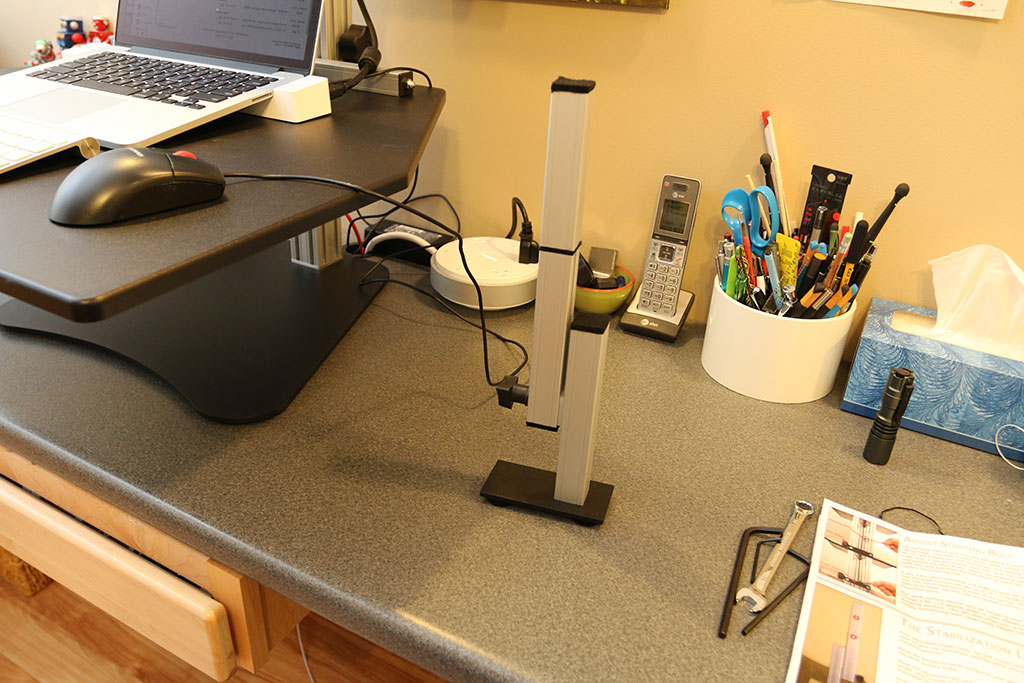
The stabilization leg is included with the desk and helps to provide a firm work surface when the desk is in the standing position.
With this in place and the desk raised, I didn’t notice any problems with the desk jiggling or feeling unstable while I was typing. Of course you have to remember to remove it when you want to convert the desk back into the sitting position. On numerous occasions I’ve tried to push the desk down only to wonder why it was stuck and wouldn’t move – duh 😉
Working with the desk in standing position is very comfortable. I really like that the monitor can be raised and lowered independent of the desk surface.
The desk is setup to accommodate someone who is 6’2″ tall with a 30″ high desk. I’m only 5’6″ tall, so I had to make some adjustments using the stopping bolt on the back of the lifting mechanism. The instructions included with the desk explain how to make these adjustments.
After about a month using this desk, I can tell you that so far it is my favorite sit-stand desk. It is very well made, looks great, is easy to adjust both the work surface height and the monitor height. I also like that the desk is made here in the USA. This desk is expensive, but for someone shopping for an easy to use sit-stand desk that installs easily on top of an existing desk, the Ergo Desktop Kangaroo Pro standing desk is money well spent.
Updates 06/17/15
I have continued to use the Ergo Desktop Kangaroo Pro standing test in my home office. I love the fact that it gives me better control over my monitor height and that it adds some extra desktop space. But to be perfectly honest, I rarely use it in the standing position. Why? I just don’t think about raising the desk and when I do, I find that I don’t really care to stand and work. I think better with my rear firmly planted in my desk chair.
Update 11/04/15
Although this is my favorite standing desk, I found that I wasn’t using it in the standing position. I also started wishing that the monitor could be positioned couple inches lower than allowed by the VESA mount. A friend at work said that he would help me create an adapter to lower my monitor, but I decided that since I never use the desk in the standing position, that I would gift it to someone who would actually use it as intended. It’s going to a new home tomorrow and I’m back to having my computer and monitor on the desk. Standing desks may be great, but only if you actually use them in the standing position.
Source: The sample for this review was provided by Ergo Desktop. Please visit their site for more info.
Product Information
| Price: | $499 for the Kangaroo Pro |
| Manufacturer: | Ergo Desktop |
| Pros: |
|
| Cons: |
|
Gadgeteer Comment Policy - Please read before commenting
check out the Humanscale Quick Stand, it is amazing!
@bob that’s a nice looking desk but it requires that you have a free standing desk that it can clamp on. Unlike my desk which butts against the wall.
Julie,
I have installed several Humanscale Quick Stand at work and if you would have room to snake a wire between the desk and the wall you would have room to install one. We do it on Steelcase cubes without removing the desk surface.
How do you get the C clamp installed if it’s that close to the wall?
The main bracket slips between the wall and desktop. The C clamp part then bolts to the main bracket with 2 bolts. Tighten the two clamps and it will not move at all. I installed one today and can take pics if you want to see several different installations.
@Michael sure, I would be interested. Email them to me at [email protected]
I find the most important standing-desk accessory to be good, proper shoes. Don’t expect to stand long in anything with heels, even men’s. Flat or wedge is the best for me.
A floor mat is also a good idea.
For me nothing works as well as barefoot for comfort when I work at home. But may be it’s time to start barefoot Fridays.
Speaking of floor mat, I seen the ads for mats used in professional kitchens which supposes to help standing for long hours. I saw checkout people used them at my local grocery store.
looks like a bunch of 80/20 aluminum extrusions, brackets and knobs for $500. Time to search to see what kind of custom standing desk I can make out of 80/20!
@walk you’ll need some hydraulics and VESA brackets too. 🙂
Julie this does bring up a good point. DIY standing desks (building one, or using boxes or hacking ikea tables) are popular, and are perhaps a great start to someone who wants to try standing, but the lack of being able to easily adjust the height means that taking breaks from standing leads to losing access to your workstation.
@Patrick that’s what I did before I reviewed my first standing desk. I piled up a bunch of boxes just to see if I’d like it. Not the best solution, but it works in a pinch.
Just an FYI, if you work in a cubicle, you can raise up your current desk with just a screwdriver and a hammer. A cubicle desk is just a shelf screwed to a bracket that’s attached to vertical rail built into the cube wall. Unscrew the desk, hammer up the bracket, reposition, and reassemble.
For sitting, buy a cheap bar height chair from Ikea. It’s not necessary to have the best chair in the world, because you won’t spend much time sitting.
this may be of interest when deciding which sit stand desk riser makes the most sense for your body type: http://blog.ergoprise.com/choosing-best-sit-stand-desk-riser-body-type-1-year-later-new-risers/?fb_action_ids=10155174307507979&fb_action_types=news.publishes&fb_source=og_snowlift_photo_robotext