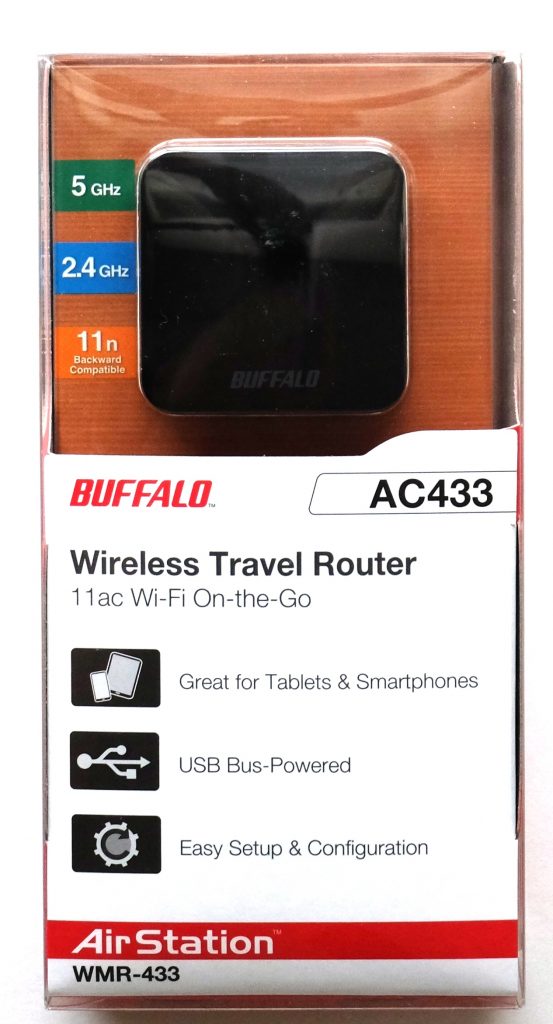
Even though WiFi is usually provided for free in hotels here in the United States, it is very common to have a weak signal. Enter the travel router. It will connect to the hotel’s internet connection via Ethernet cable (or wirelessly via WiFi) and allow you to connect all your devices to it wirelessly. Travel routers are probably most useful to those who travel internationally because those hotels often charge you for each device you wish to use to connect to their WiFi. With the travel router, you can pay for one connection then share it via WiFi with all of your other devices. Travel routers also provide a private wireless network in public WiFi hotspots and they can also act as a wireless access point (with the necessary Ethernet connection) within your home to cover WiFi weak spots. I chose to try out the Buffalo AirStation AC433 Wireless Travel Router to use it mainly as a wireless access point in our home to extend our WiFi coverage.

Package Contents
- AirStation AC433 Wireless Travel Router
- USB Cable
- Quick Setup Guide
- Warranty Statement
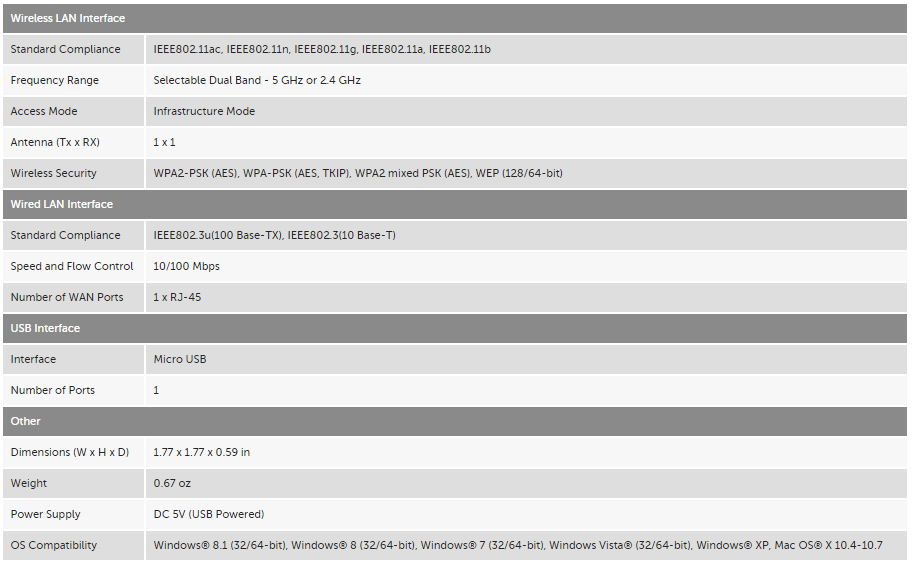
Technical Specifications
Design & Build Quality
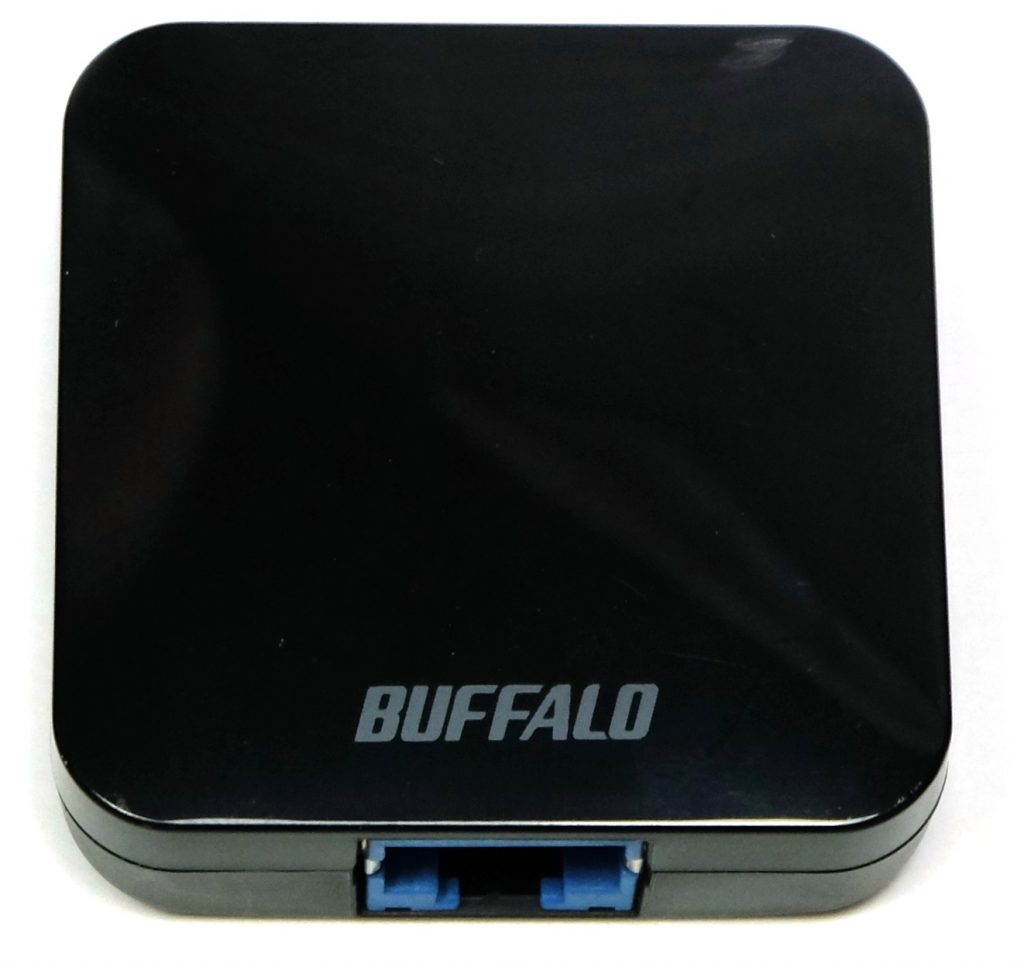
The Buffalo Wireless Travel Router is a small device measuring 1.77″ x 1.77″ x 0.59″. The top of the device is made up of shiny black hard plastic. It is lightweight but seems fairly rugged.

The bottom of the travel router is made of matte black plastic and has an recessed reset button. Also printed on the back of the device is the IP, username, and password/key information.
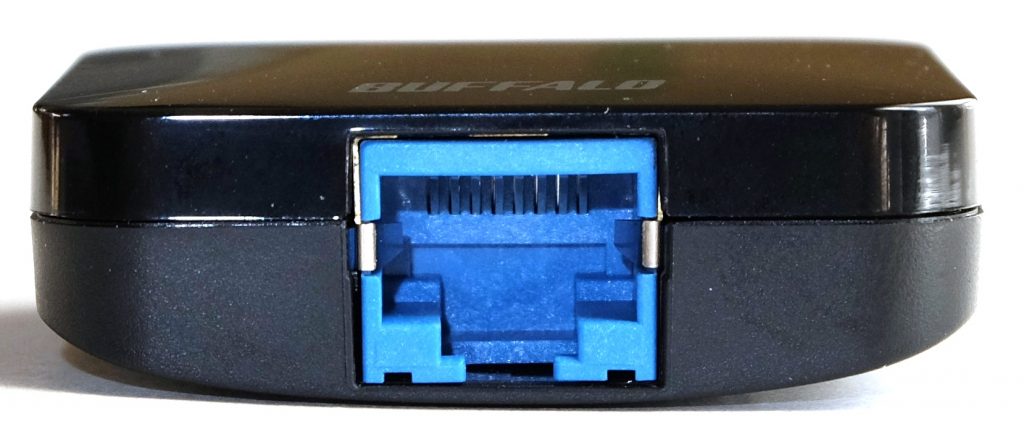
There is an Ethernet port to directly wire the router into the available network, but it will also connect wirelessly via WiFi.
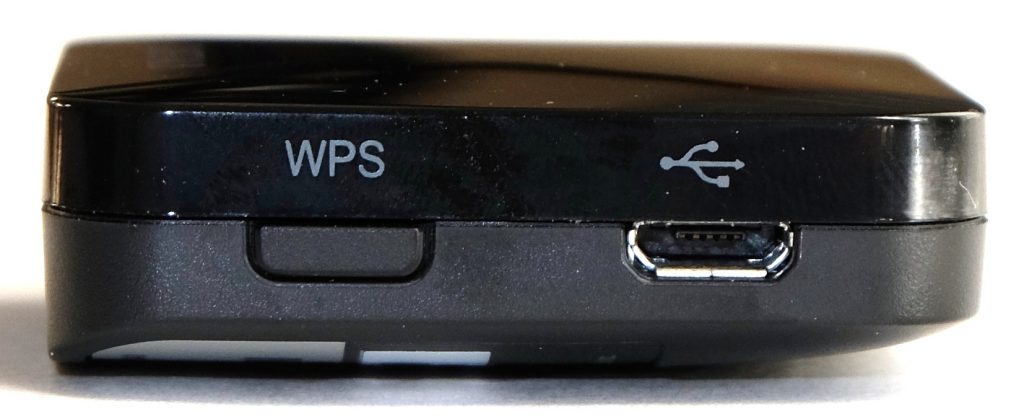
The router has WPS support for easy setup and configuration. This side of the router also has the micro USB port to connect the micro USB to USB A cable to a computer or power adapter for power; this router does NOT have a battery (which allows it to remain small but makes it a little less portable than others that have on-board batteries).
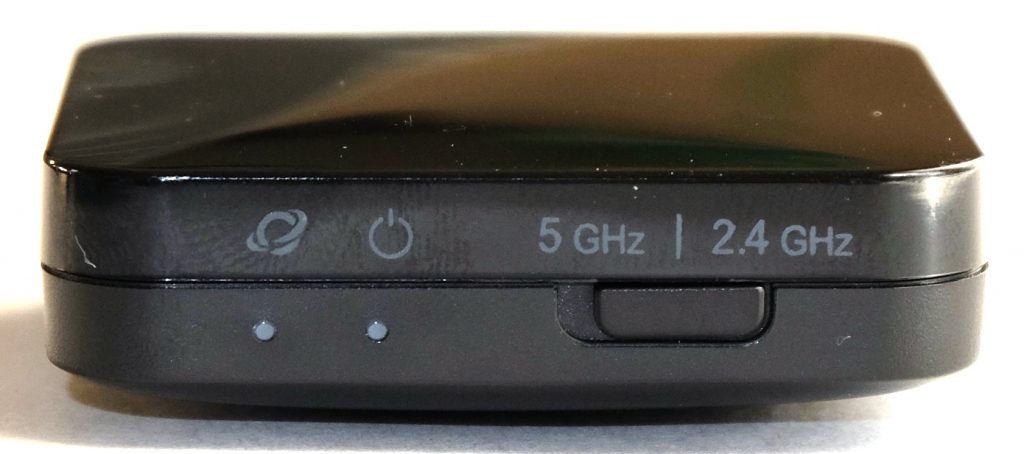
On this side of the travel router there are LED status lights to indicate that you are connected to the internet (left LED) and that the router is receiving power (right LED). There is also a switch to change between the 5GHz or 2.4 GHz band. From the photo above, you might also notice that the smooth black plastic of the router easily attracts fingerprints and smudges, but for this type of device, I don’t think it matters much.
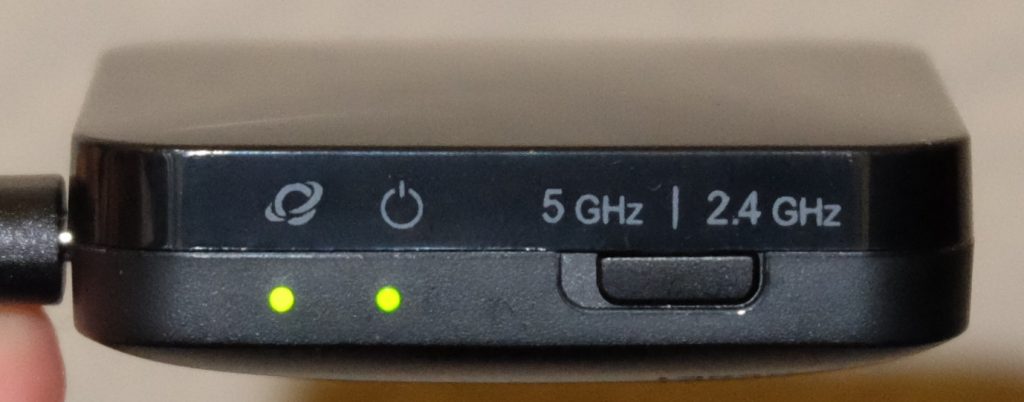
When you plug in the device and it is connected to the internet, both LEDs will be green. When the Link LED light (on the left) is blinking green, that means that information is being transmitted on the internet side. When the same LED is off, there is no internet connection. When the Power LED light (on the right) is blinking green, that means that information is being transmitted on the LAN side. When the same LED is red, the router is initializing or waiting for a WPS security key.
Setup
I first powered up the wireless travel router by plugging it into the USB port on our computer. I then successfully connected our computer to the device via WiFi but there was no internet connection. I then went to the web interface for the travel router to check for a firmware update.
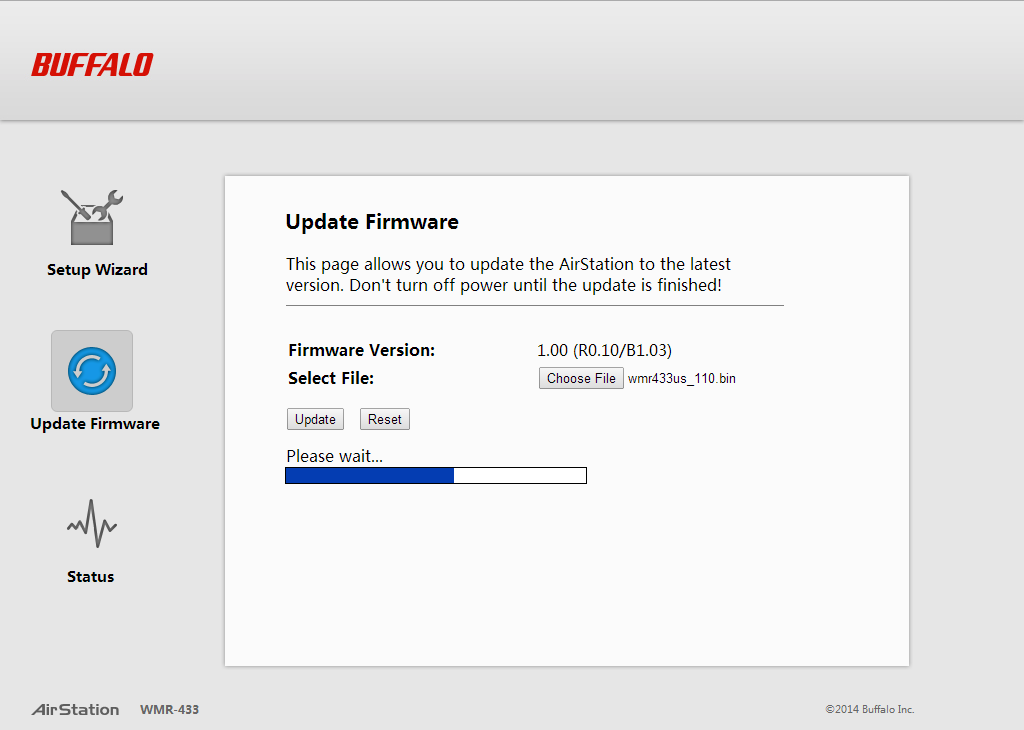
An update was available. I downloaded the file onto my computer then from the online setup under “Update Firmware”, I went to the location on my computer where it was saved, selected it, and clicked on “Update”.

The firmware was then successfully updated.
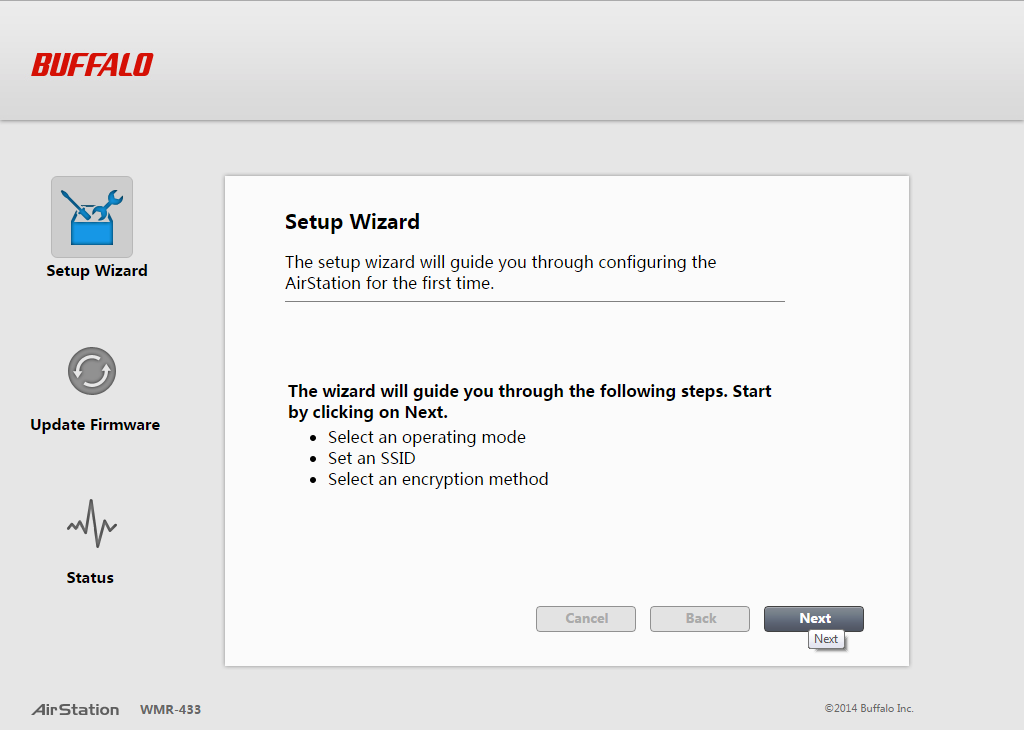
I then went through the online setup.
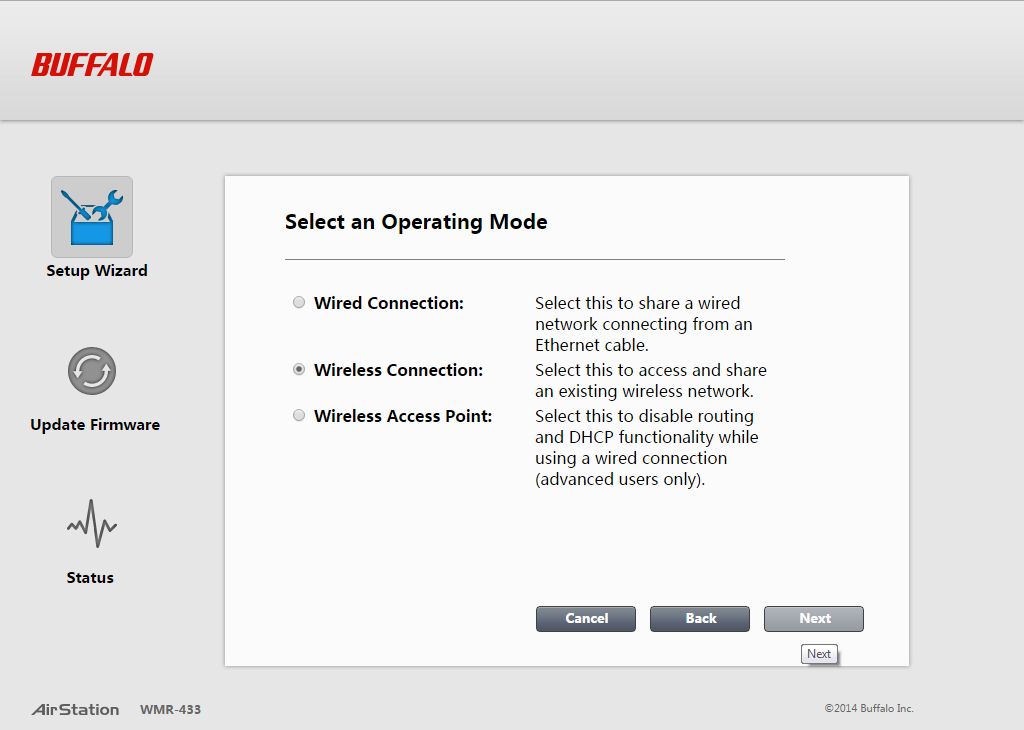
There were options available for a wired or wireless connection and wireless access point. In this case, I wanted to try the “Wireless Connection”.
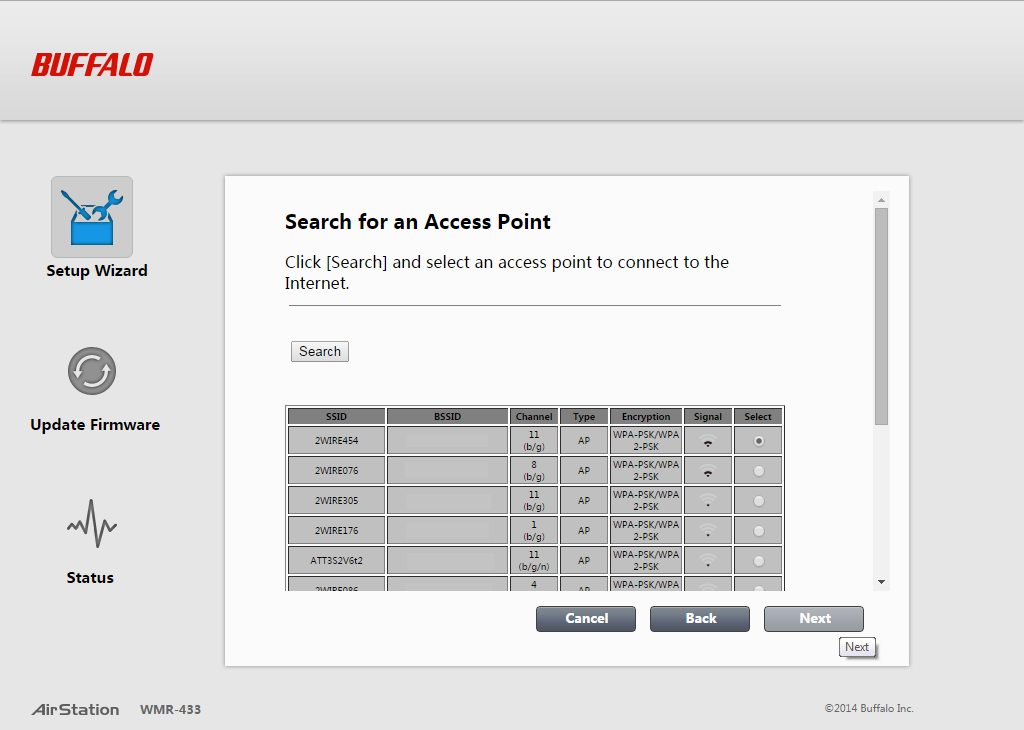
The next step was to connect the travel router to our home network.

I then needed to provide our home router’s key.
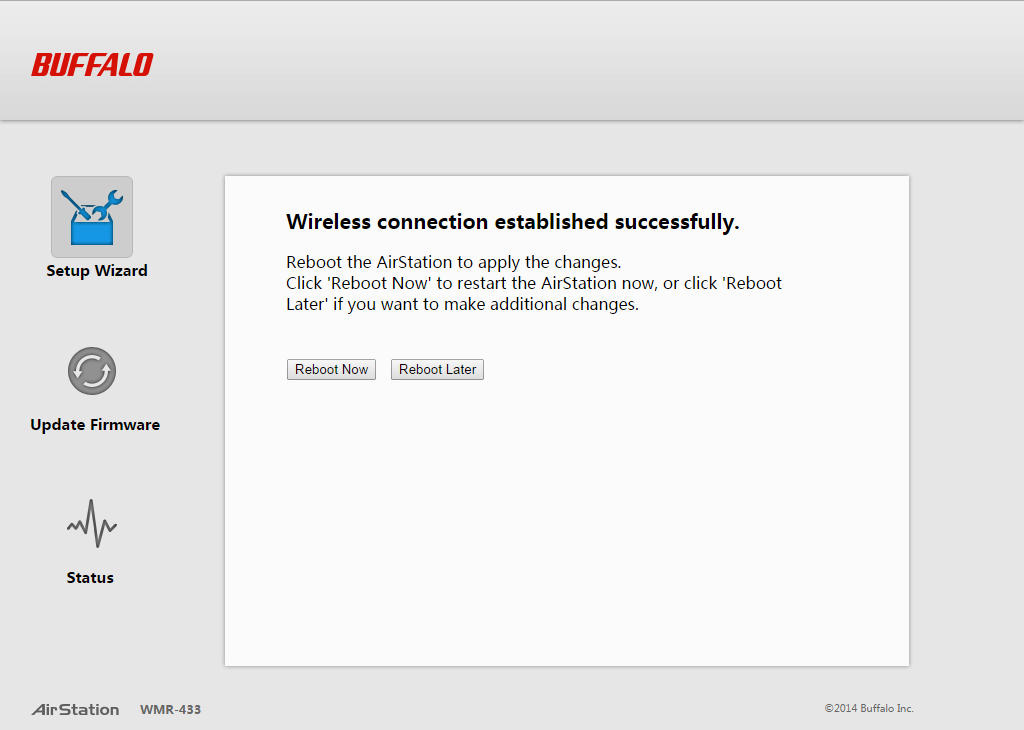
Once wireless connection between the travel router and our home’s router was established, it was necessary to reboot the travel router.

After rebooting, the wireless travel router was ready for use.
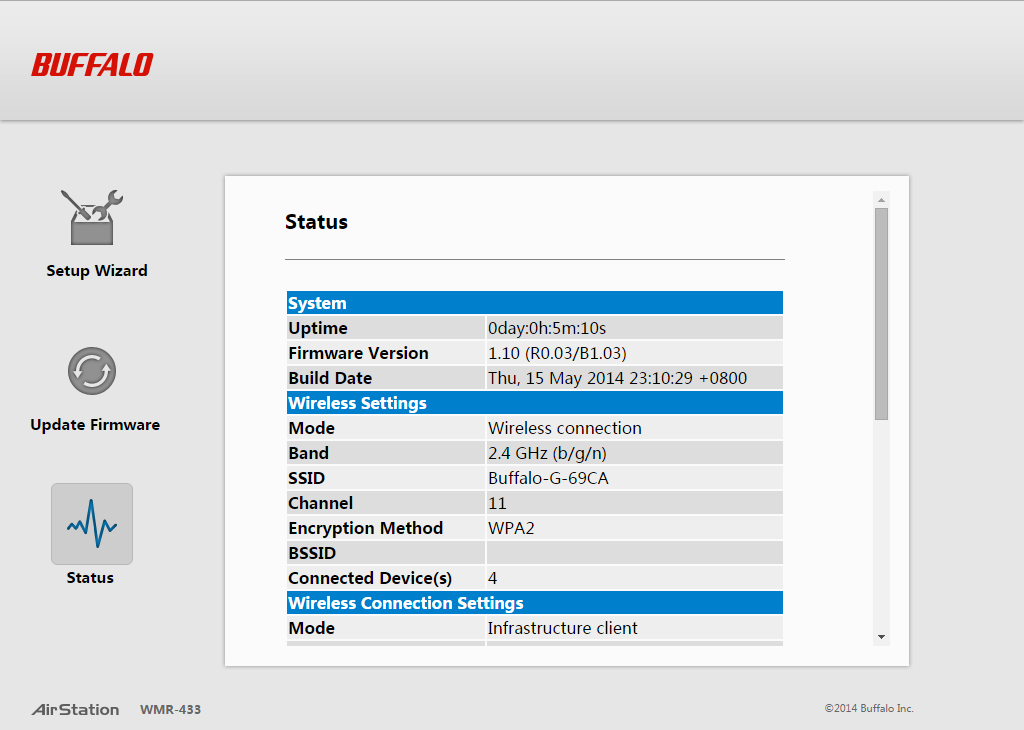
While online, you can also obtain information on the travel router’s status.

After trying out the Wireless Connection mode, I also wanted to try the travel router’s “Wired Connection” and “Wireless Access Point” modes. The following is the setup for both.
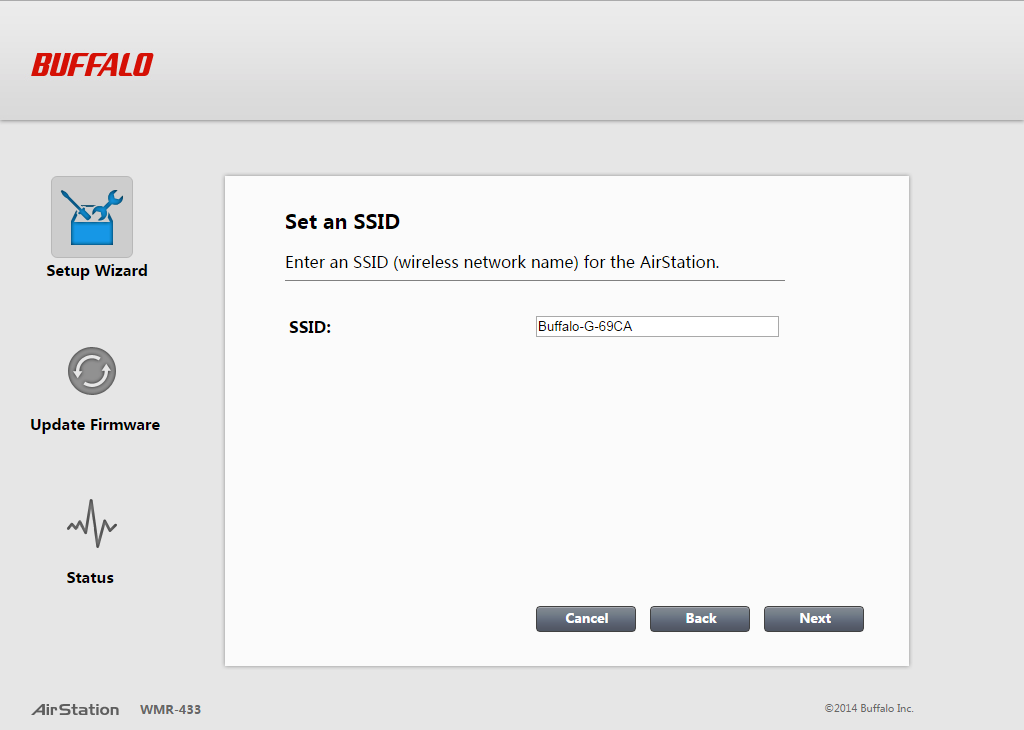
This is the default SSID for the wireless travel router. It is possible to change this (and the encryption method and key), but I chose not to change the default settings and continued with the setup.

In this step it is necessary to input the travel router’s key…
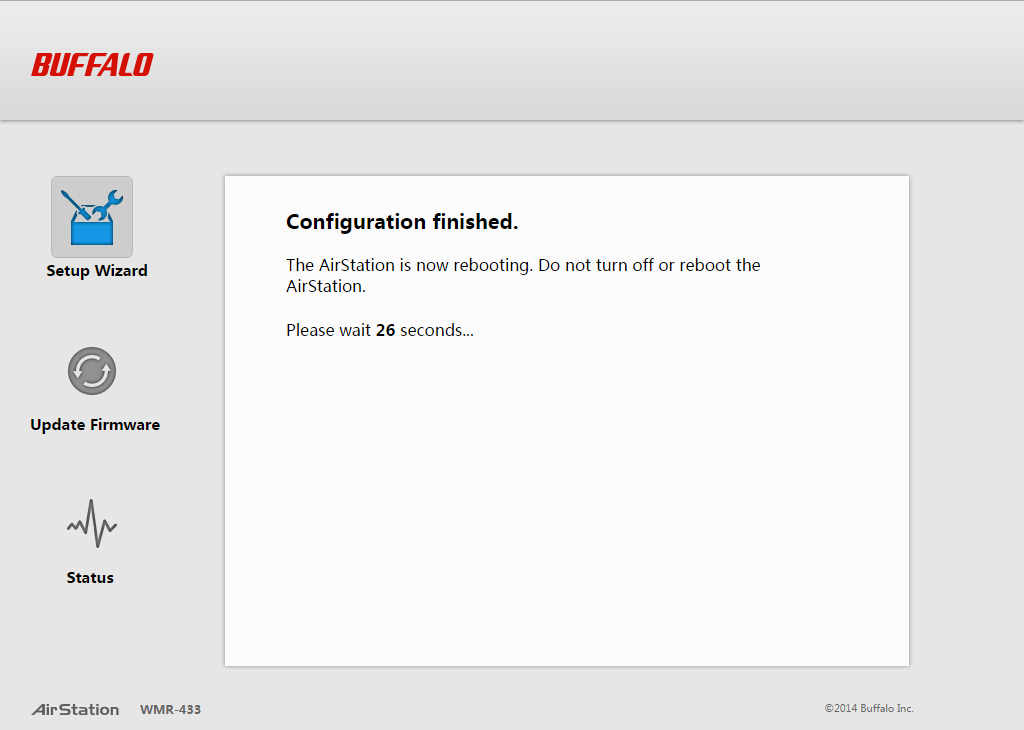
…then reboot. At this point the travel router is ready for use.
According the the Buffalo Wireless Travel Router User Manual, if you use the router in “Wireless Access Point” mode (which disables router and DHCP functions) there are steps that you can perform to gain access to the web interface again or you can simply reset the travel router to its original factory settings by holding the reset button for about seven seconds.
Use
The 2.4GHz band was used for all of my tests (our home router does not support 5GHz).
After installing the firmware update and performing the “Wireless Connection” setup, I plugged the the travel router into the USB port of one of the laptops (to provide power) located in our living room where there is a WiFi weak spot. I then wirelessly connected both living room laptops, my phone, and a Nexus 7 (2012) tablet to the travel router. I had no trouble connecting the travel router to our home network and surfing around the internet using all of the aforementioned devices. The Wireless Connection setup created a private network within our home network. To verify that it was a private network, I found that I could not access the shared files on my den’s computer, which was connected to our home’s router, from the laptops connected to the travel router.
I also tried the “Wired Connection” mode which also created a private network within our home network. I plugged the travel router into an outlet using a USB power adapter and then connected it to an Ethernet port via Ethernet cable in our living room. Again, I was able to connect the laptops to it easily and perform internet searches without issues. Shared files from the Buffalo network (laptops) were inaccessible from our home network (den computer) and vise versa, thus proving to be a private network within our home’s network.
And last, I tried the “Wireless Access Point” mode. This setup disables the router and DHCP functions of the travel router. Again, I plugged the travel router into an outlet using a USB power adapter and then connected it to an Ethernet port via Ethernet cable in our living room. This setup mode allowed me to connect the laptops to it while the den computer was connected to our home router and for all shared files to be visible to all computers thus eliminating the private network within our home network. This is how I am currently using the travel router. It provides a strong WiFi signal in the previously weaker areas of our house, thus giving us an option to connect to it when experiencing difficulties with the WiFi signal from the home router. It is important to point out that this particular setup option requires the travel router to be connected to your network via Ethernet cable to allow devices to connect to it wirelessly.
Final Thoughts
I found that the Buffalo AirStation AC433 Wireless Travel Router performed as expected. When functioning as a wireless (WiFi) access point, it filled in for the weak WiFi spot in our home and thus extended our WiFi coverage without creating a private network within our home network. This setting allows me to share files among all of our computers. The travel router also proved that it could provide a private network when functioning in “Wireless Connection” and “Wired Connection” modes, which is important for those traveling or just needing to protect their devices while connecting to public WiFi hotspots. Each of the setups was easy enough to perform via the online interface, but the router first needed a firmware update before successfully setting up the device for use.
Update 01/01/15
After three months of using the Buffalo AirStation AC433 Wireless Travel Router in Wireless Access Point mode in our home (we haven’t traveled much during this time), it still works flawlessly.
Source: The AirStation AC433 Wireless Travel Router was provided by Buffalo Americas, Inc. It has a three year limited warranty and can be purchased from Amazon for $54.21.
Product Information
| Price: | $51.24 |
| Manufacturer: | Buffalo Americas, Inc. |
| Retailer: | Amazon |
| Pros: |
|
| Cons: |
|
Gadgeteer Comment Policy - Please read before commenting
For travel use, there’s on important thing that’s not mentioned in this article: How well does it deal with web-based access forms? Nearly every public wifi these days needs you to sign in (or at least click ‘I accept’) via a http-based form before the wifi will let you actually *do* anything. I can see this device just being blocked from accessing anything else, and not allowing anyone through to fix it. (I can also see it passing the form through without problems – depending on how the device is set up.)
My experience is that when using the travel router to create a private network connected to a public WiFi hotspot, I needed to log into the IP address of the travel router and go through the wireless connection setup process. At the point where you search for an access point to connect to, I selected the hotspot. Next it asked me for a password for the hotspot. There was none, so I continued. Once the setup was complete, I needed to reboot the router. After rebooting, a web page came up for the business that was running the hotspot. Here is where I was required to accept the terms of use for the Buffalo travel router to use the hotspot (since it was the travel router needing access to the hotspot and not any other device). After doing this, all of our devices were able to connect to the Buffalo travel router which was connected to the public WiFi hotspot.