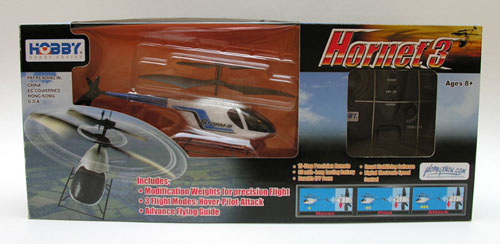
Last year at this time, I reviewed my very first RC helicopter. It was the PicooZ from HobbyTron. I guess it’s only fitting that almost one year later, that I review a step up from the PiccoZ; today I’m going tell you about the Hornet 3.
Features
15 Step Digital Proportional Controls
Tail Rotor Trim Dial (persists through power down)
EPP Foam CP2 ‘Crash Proof’ Design
Hi-Capacity Li-Poly Battery (7-9 min fly times)
Charges From the Controller
3 Flight Modes (hover, pilot, attack)
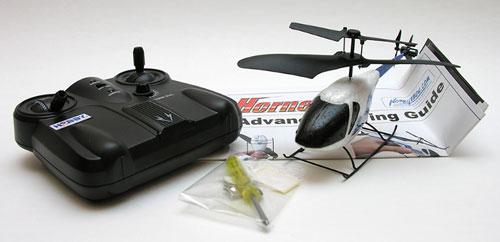
Package Contents
Hornet 3 Mini RC Helicopter
Controller
Advanced Tuning Guide
Tool Set
Customizable Decals
Very similar in size, shape and design, the Hornet 3 does have some nice upgrades that make it a great choice of RC toy for those of you that have small spaces to fly in. This is an indoors only RC helicopter. You can ‘try’ to fly it outside, but any slight breeze will play havoc with controlling it.
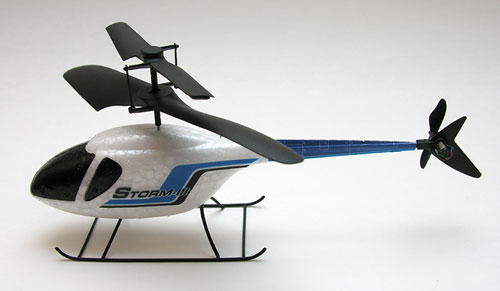
The Hornet 3 has a more realistic shape than the PicooZ. It’s made of EPP foam, which is dense, but very light weight and crash resistant. Even though this helicopter feels very fragile, it can take quite a bit of abuse and not be any worse for wear.
As you can see in the image above, the Hornet 3 has landing gear instead of foam fins. This is a nice improvement over the PicooZ as it allows you to land more easily.
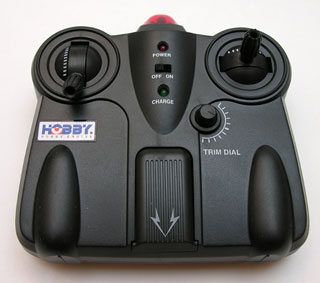
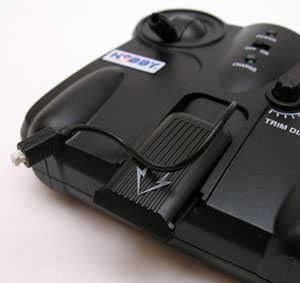
A nice handheld controller is included with the helicopter. This controller is powered by 6 AA batteries which are not included. The controller has thumb controls for lift up/down and turn left/right. There is also a trim dial that you can use to adjust the rotation of helicopter while flying. For the most part you do not want it to rotate at all. You want it to remain steady as you lift up and down and turn left and right.
The battery in the helicopter has to be charged before you can fly it. This is done by plugging it into the handheld controller. There is a charging cable hidden in a compartment that is accessed by a sliding door on the top of the controller.
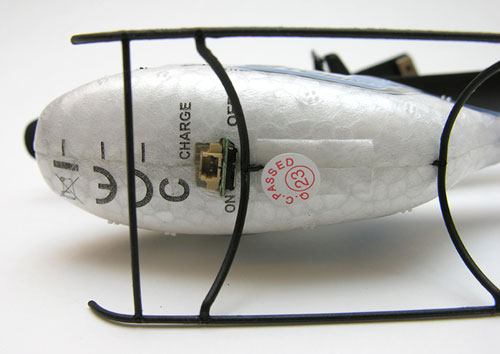
The cable plugs into the bottom of the helicopter, next to the power switch. Charging takes approximately 10 minutes, which will yield you about 7-9 minutes of flight time.
You might also notice the vertical lines on the belly of the helicopter. This are the indicators for adding the included stick-on weights. These weights let you change the way the helicopter flies. There are three ‘modes’… Hover, Pilot and Attack. The instructions really don’t explain what the differences are between the modes. I gave each one a try and found that when the weight is the attack position, the helicopter flies with it’s nose pointed down just a bit. In the pilot position, the weight allows you to navigate easier. And in the hover position, the weight let’s you more easily — hover. Who would have guessed ;o)
Of all the RC flying toys that I’ve reviewed thus far, I would have to say that the Hornet 3 is the easiest to control and is the most fun to fly.
Product Information
| Price: | 29.95 |
| Retailer: | HobbyTron |
| Requirements: |
|
| Pros: |
|
| Cons: |
|
Gadgeteer Comment Policy - Please read before commenting
http://www.hobby-estore.com